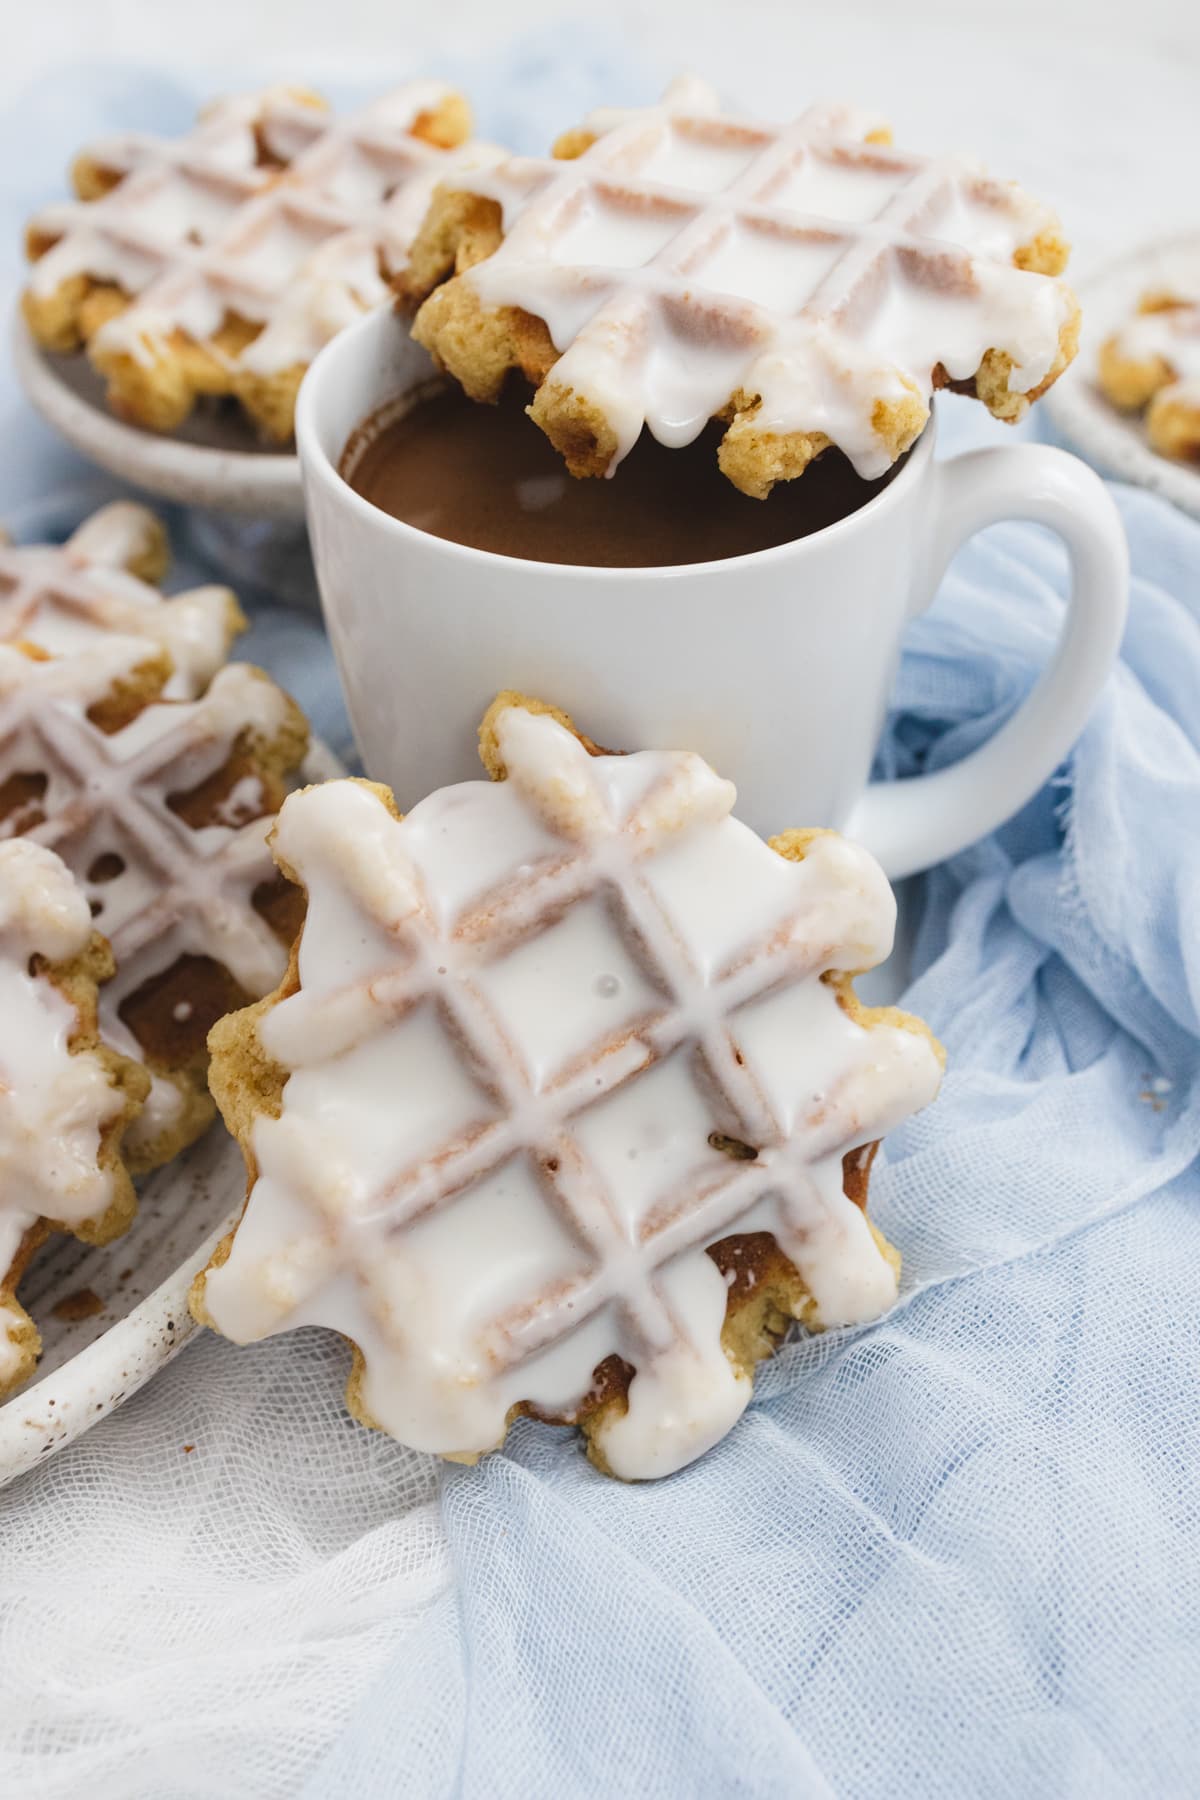
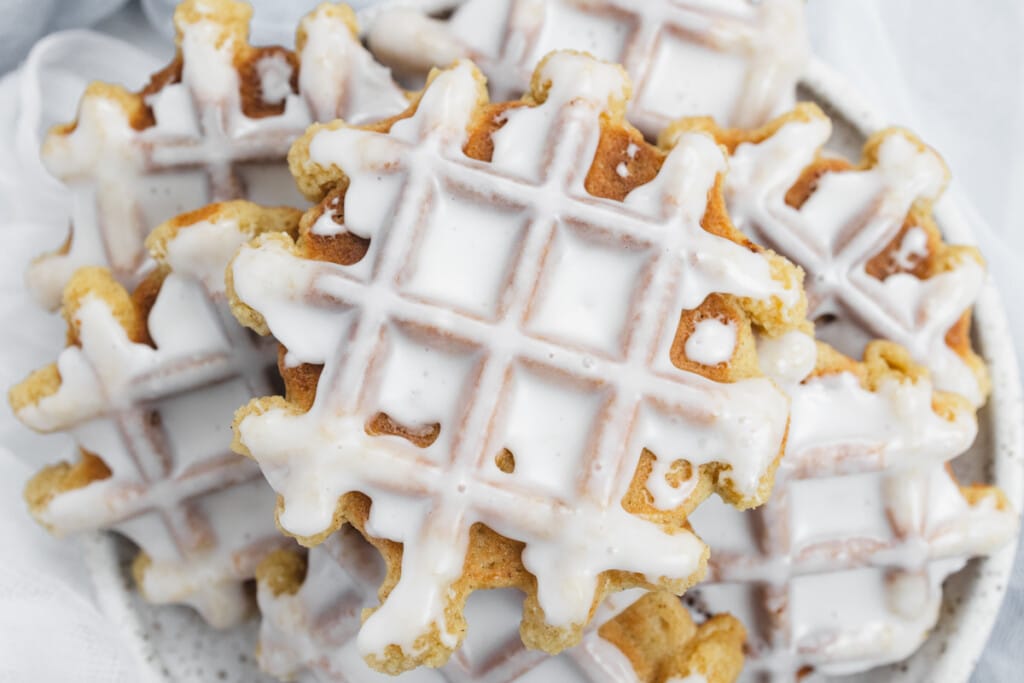
This easy Waffle Cookie recipe combines a classic cookie with the crispy texture of a waffle! Waffle Cookies is a great recipe for fans of regular waffles or even the thinner, crispier pizzelle style.
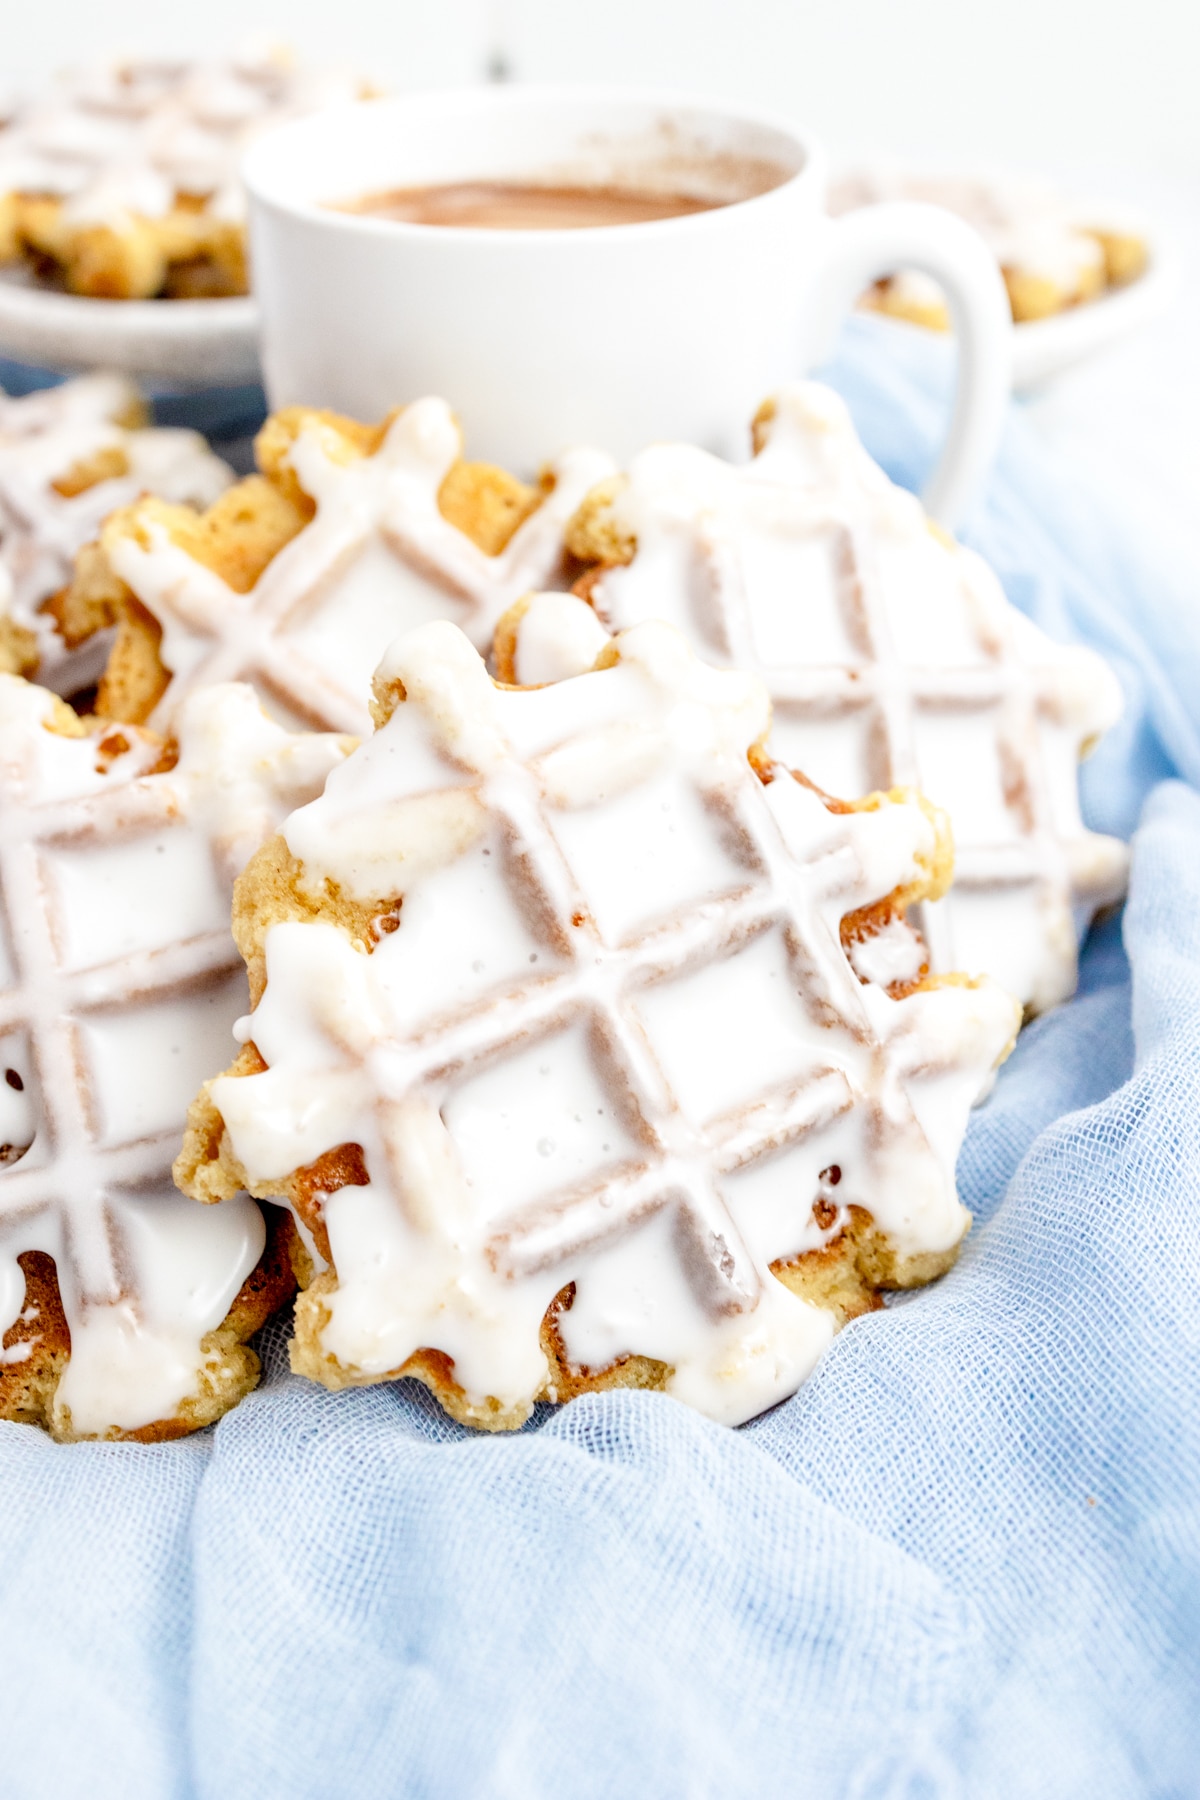
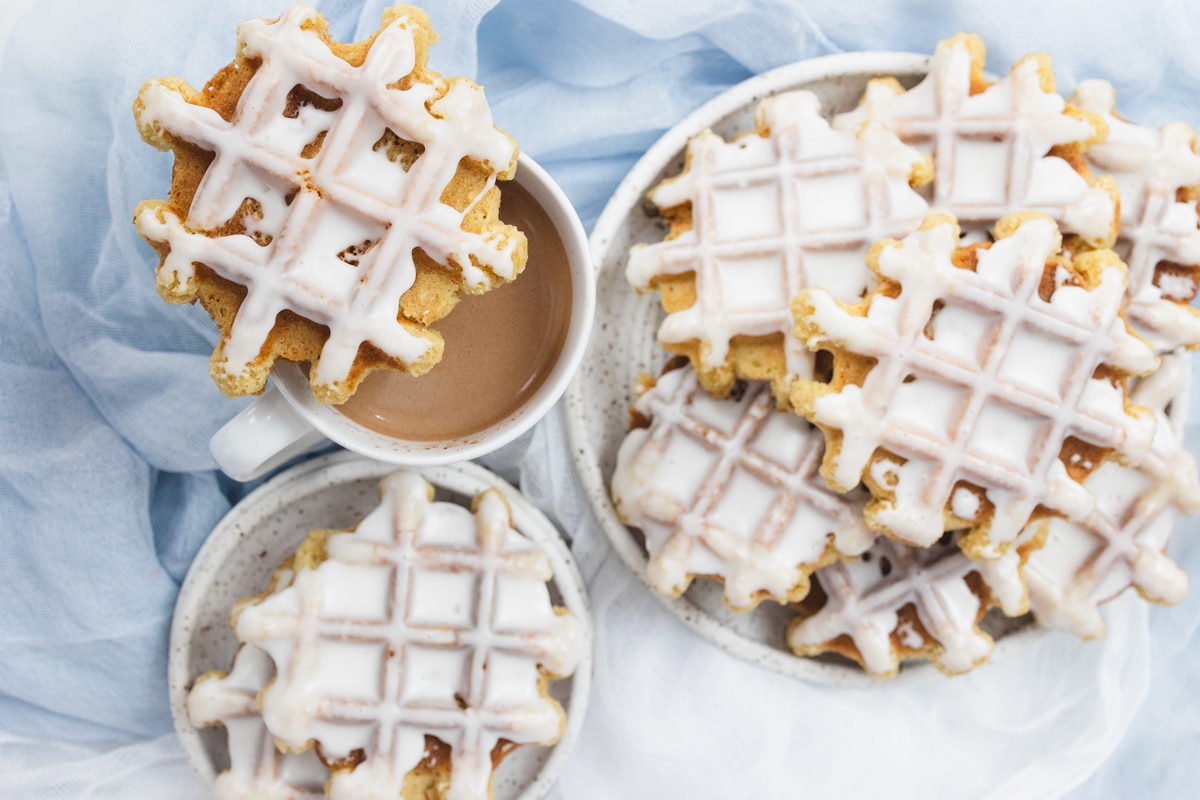
With a few simple ingredients and a waffle iron, you can have a batch of these Waffle Cookies ready in minutes.
You can experiment with different flavors, from vanilla waffle cookies to chocolate waffle cookies, or even add in your favorite mix-ins like chocolate chips or nuts.
Their unique appearance and delightful taste make them a stand-out treat for any event, be it a cozy family gathering or a festive cookie exchange.
For more eye-catching easy cookie recipes, check out my Air Fryer Chocolate Chip Cookies, Cosmic Brownie Cookies, Muddy Buddy Cookies, Crumbl Copycat Churro Cookies, Better than Sex Cookies, and Pina Colada Cookies!
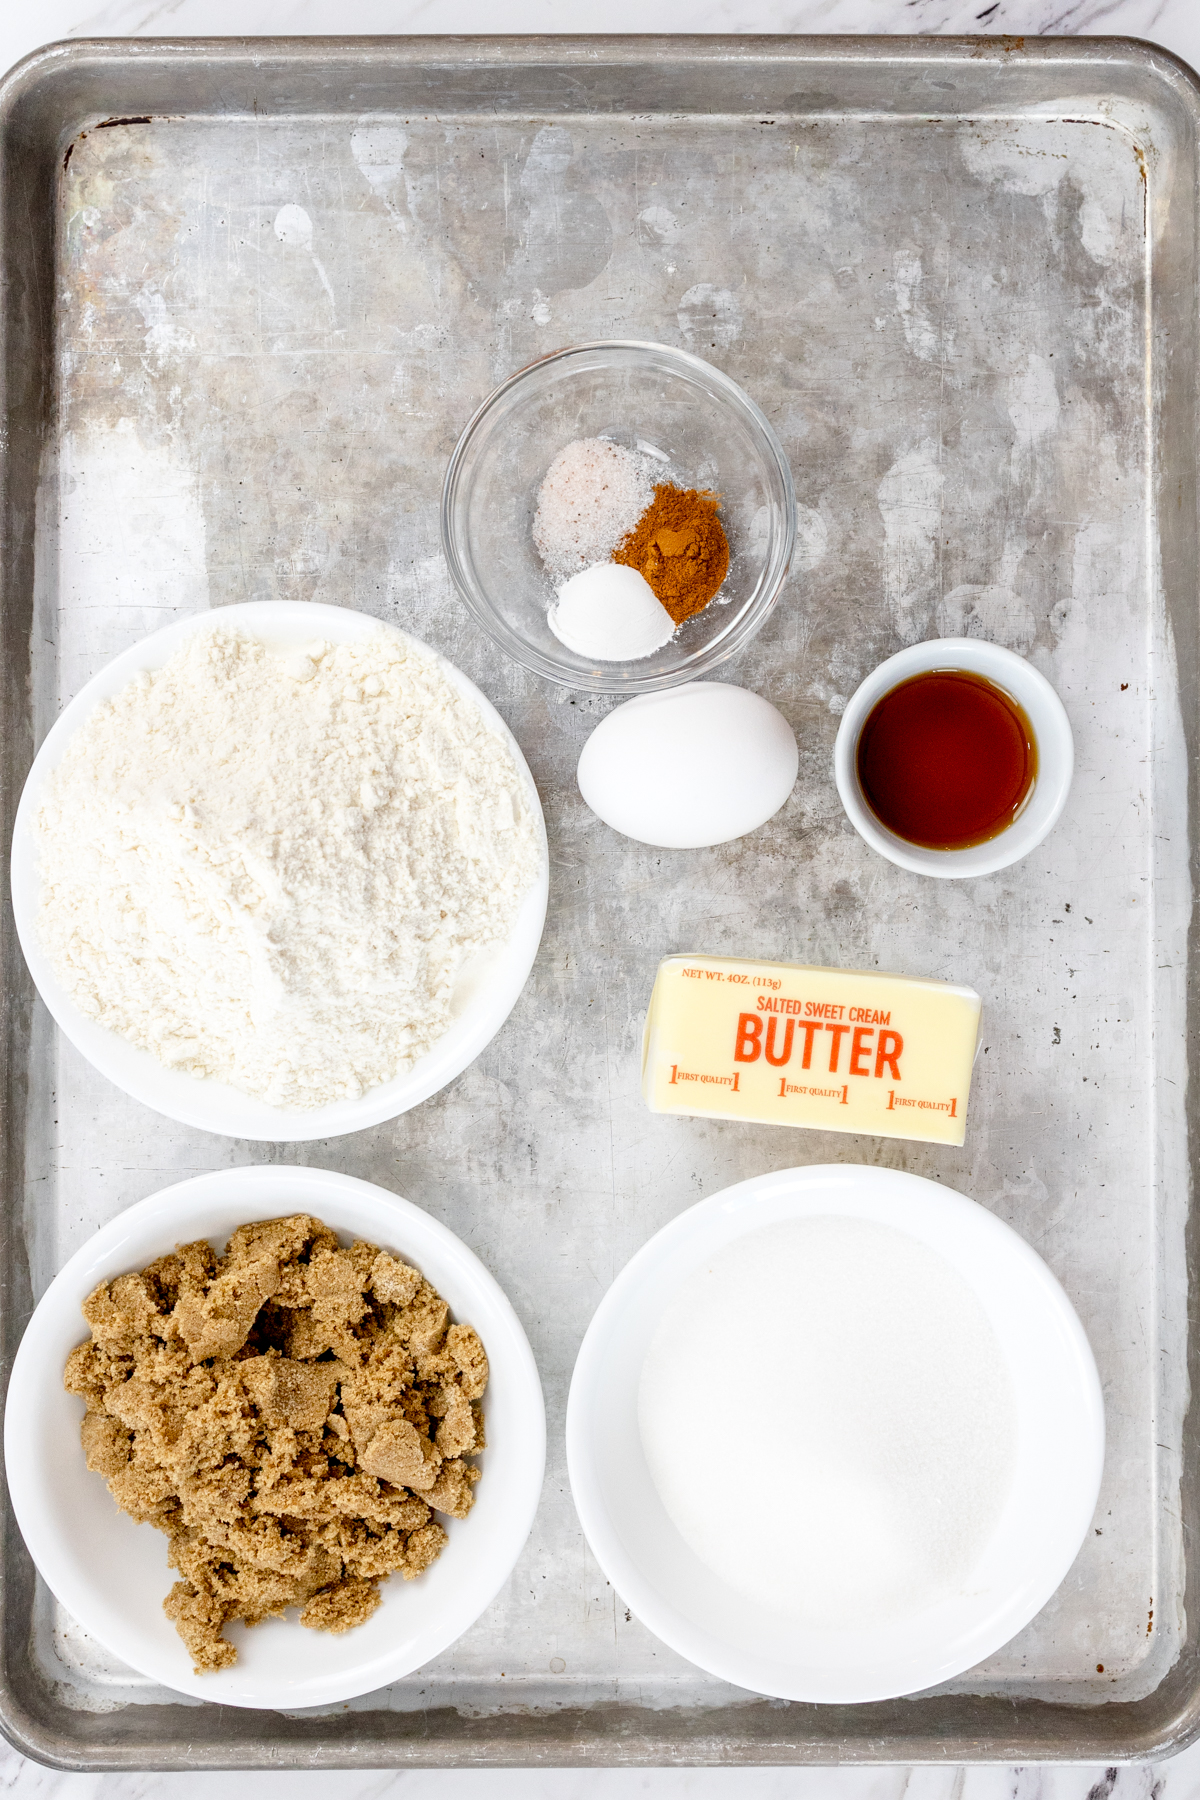
Ingredients for Vanilla Waffle Cookies
Wet Ingredients. Butter, Vanilla Extract, Egg, Milk
Dry Ingredients. All Purpose Flour, Granulated Sugar, Powdered Sugar, Brown Sugar, Baking Powder, Ground Cinnamon, Salt
How to Make Belgian Waffle Cookies
Waffle Cookies
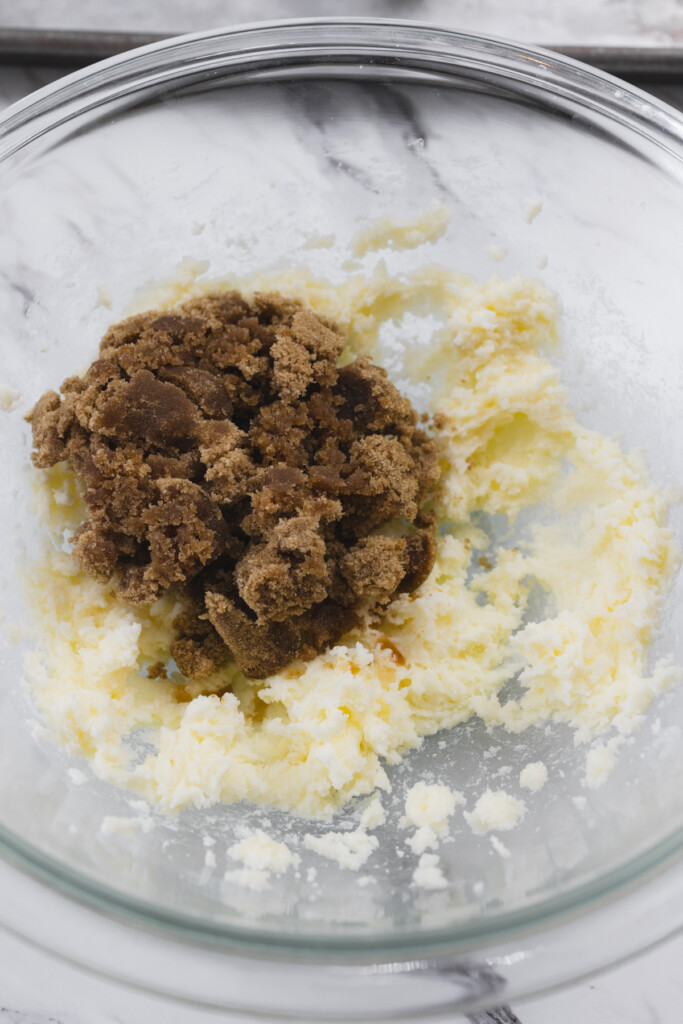
- In a large bowl using a hand mixer or in the bowl of a stand mixer with a paddle attachment, cream together softened Butter and Granulated Sugar until fluffy. Add Brown Sugar and cream together again to combine.
- Then mix the Egg and Vanilla Extract, and cream ingredients together. The mixture will change in texture and become a lighter color and consistency after 2–3 minutes.
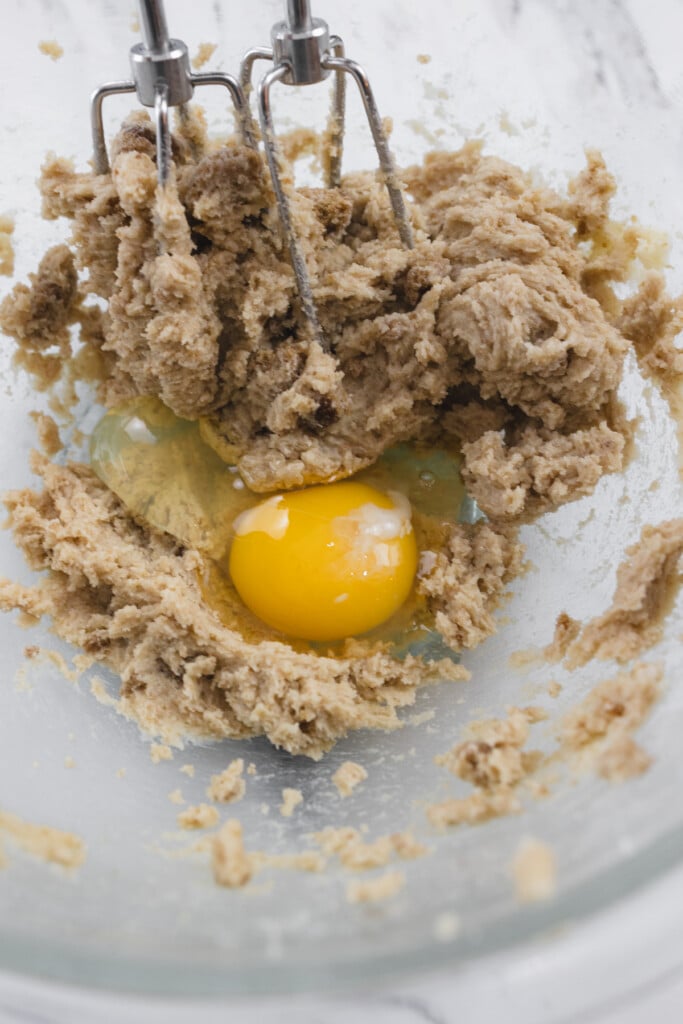
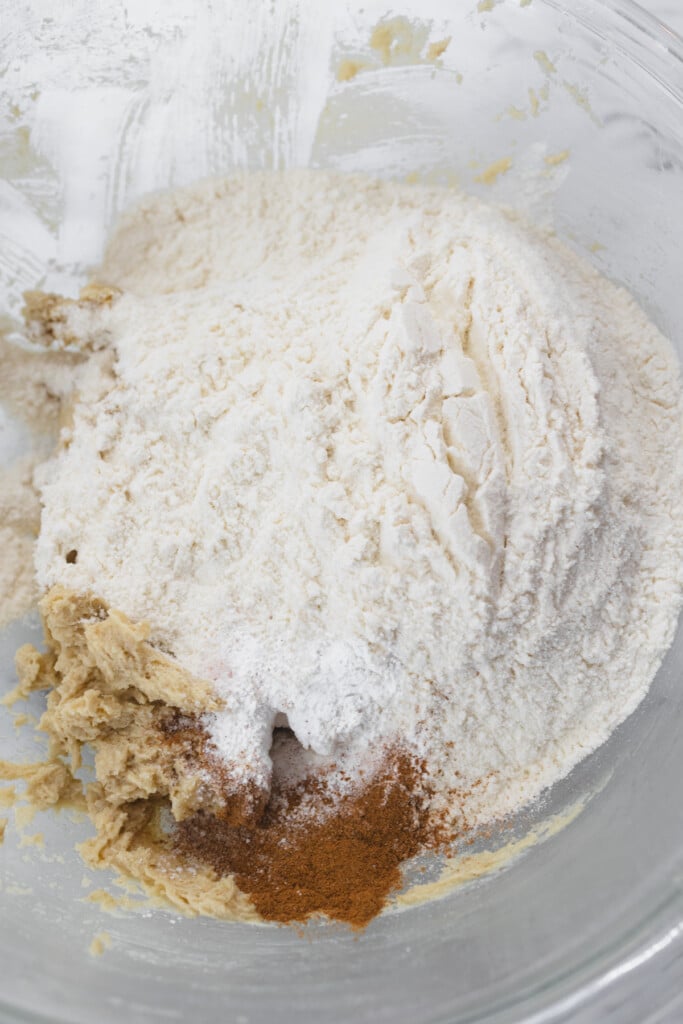
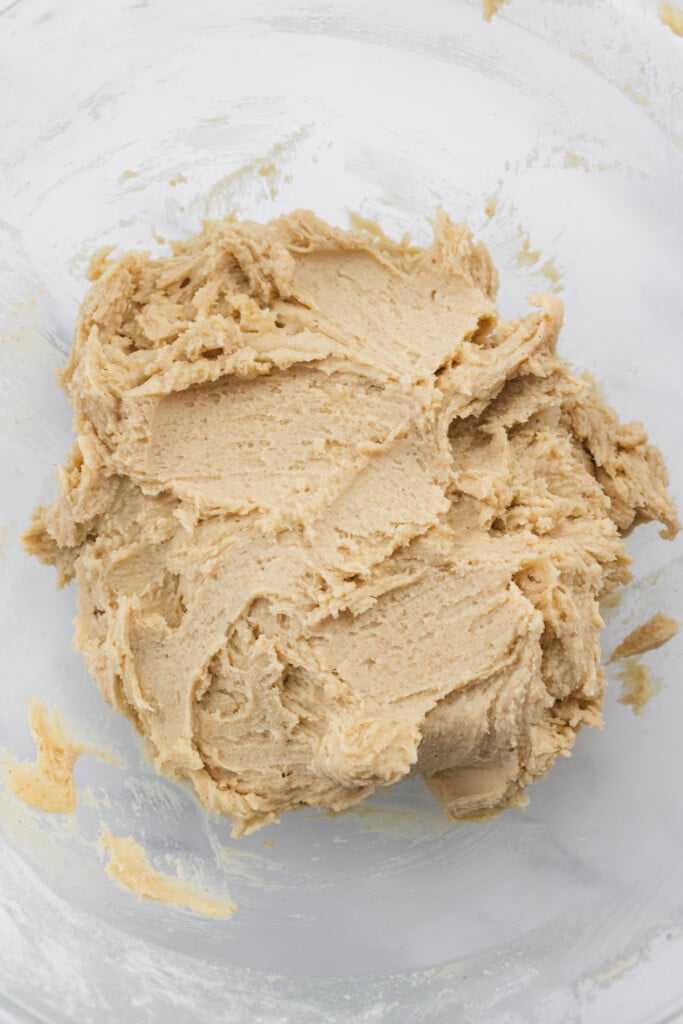
- Add the remaining dry ingredients to the butter mixture and mix until combined.
- The dough will be softer than cookie dough, thicker than muffin batter, and sticky. Preheat the Waffle Iron until it is hot. Spray lightly with nonstick cooking spray; you only need to do this for the first waffle cookie.
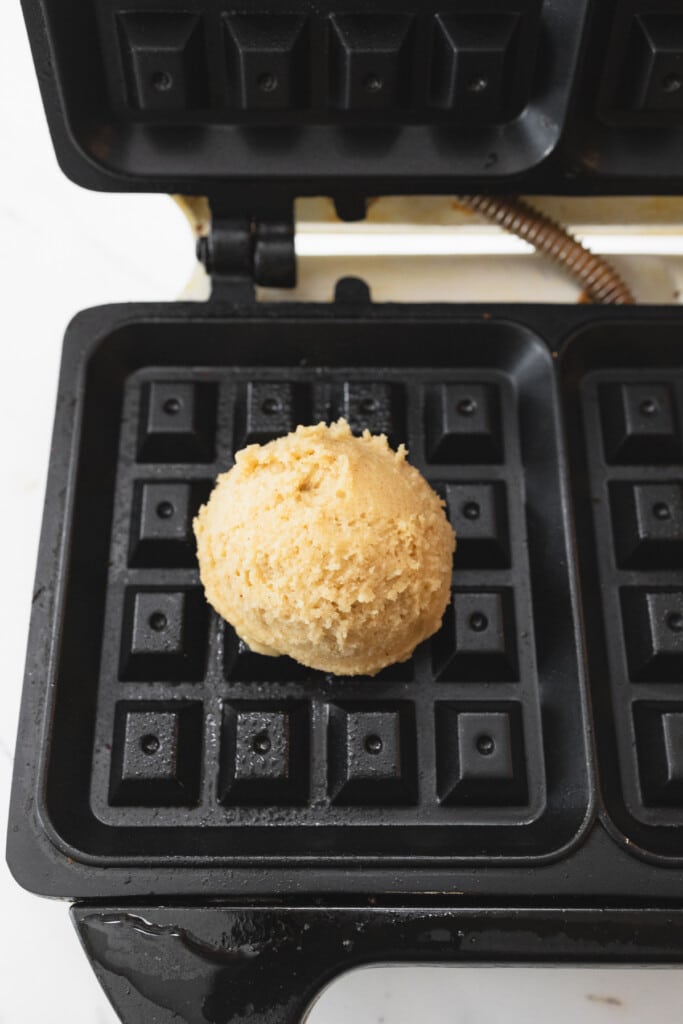
- Place 1 scoop, or about 3 tablespoons, of dough into the hot waffle iron and close the lid. Note: My waffle iron has two separate wells, so I used 1 scoop per well. Allow the waffle cookies to cook for 2–3 minutes. Each waffle iron will cook a bit differently - mine takes about 2 minutes and 30 seconds.
- Open the lid and allow the waffle to sit for up to 20 seconds before trying to remove it. It will be quite soft initially and get firmer as it cools, making it easier to remove.
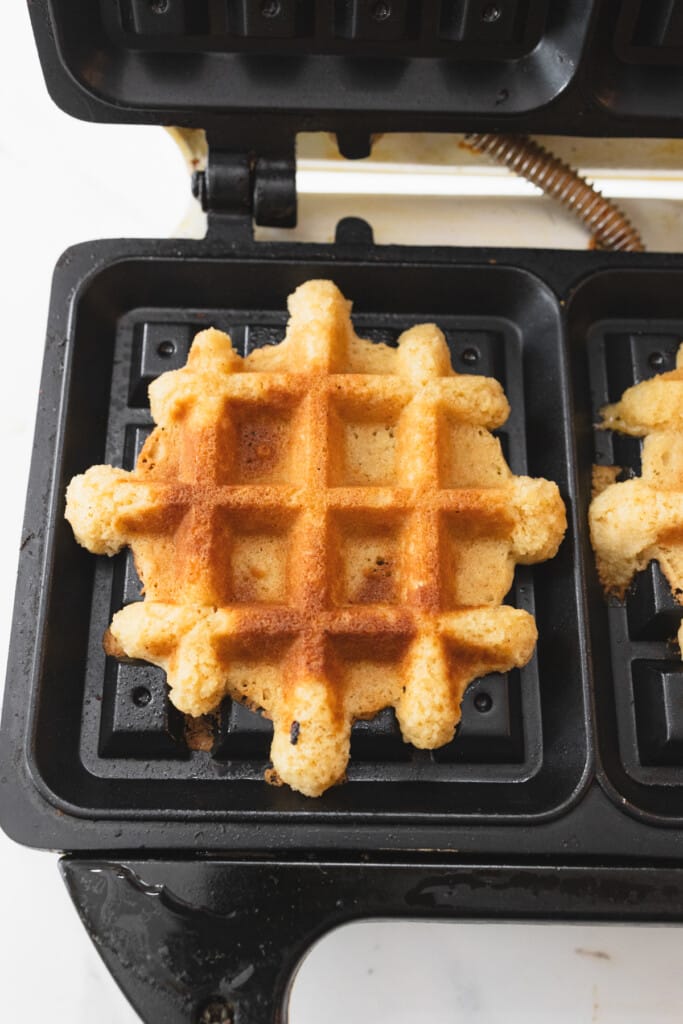
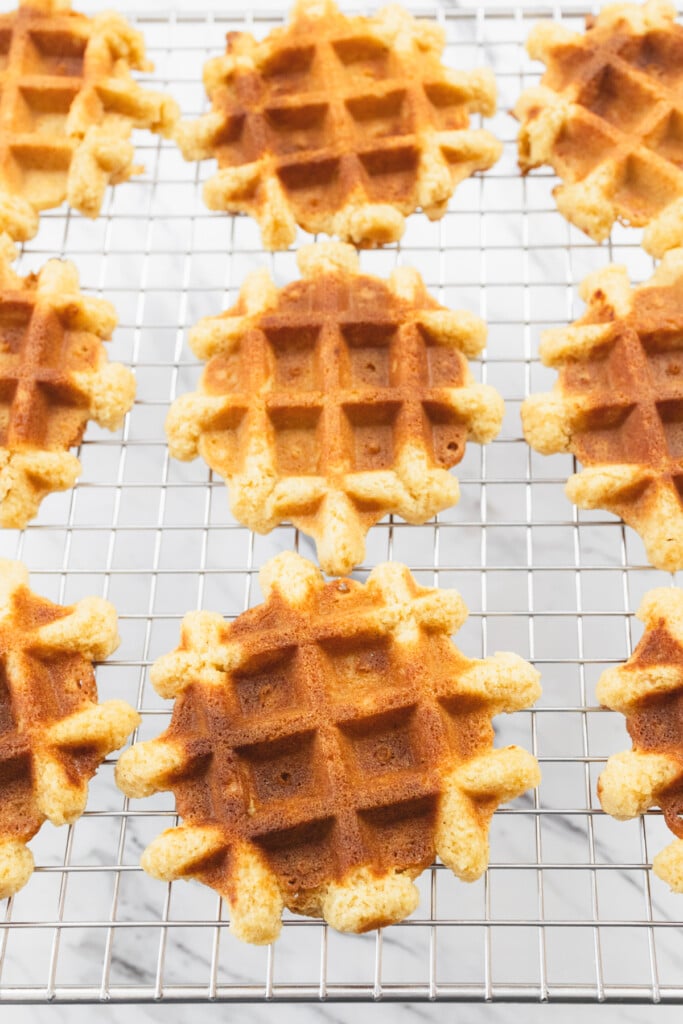
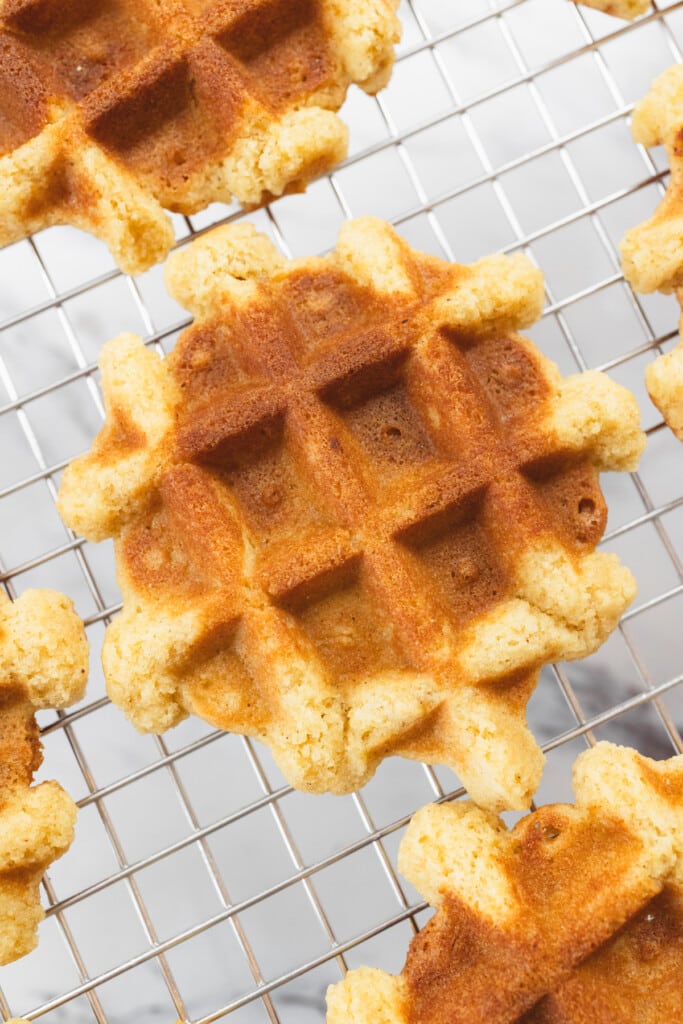
- Carefully remove the cookie and place it on a wire cooling rack to cool.
Icing
- In a small bowl, combine powdered sugar with extract and slowly add milk, a little at a time. Whisk ingredients together, adding additional milk as needed until desired consistency is reached.
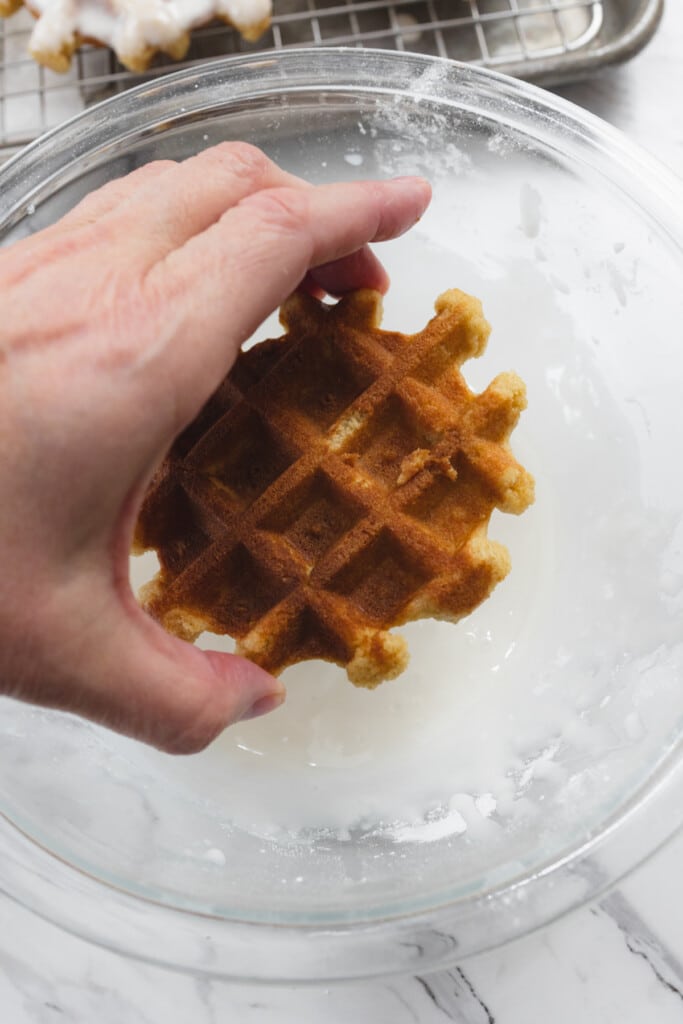
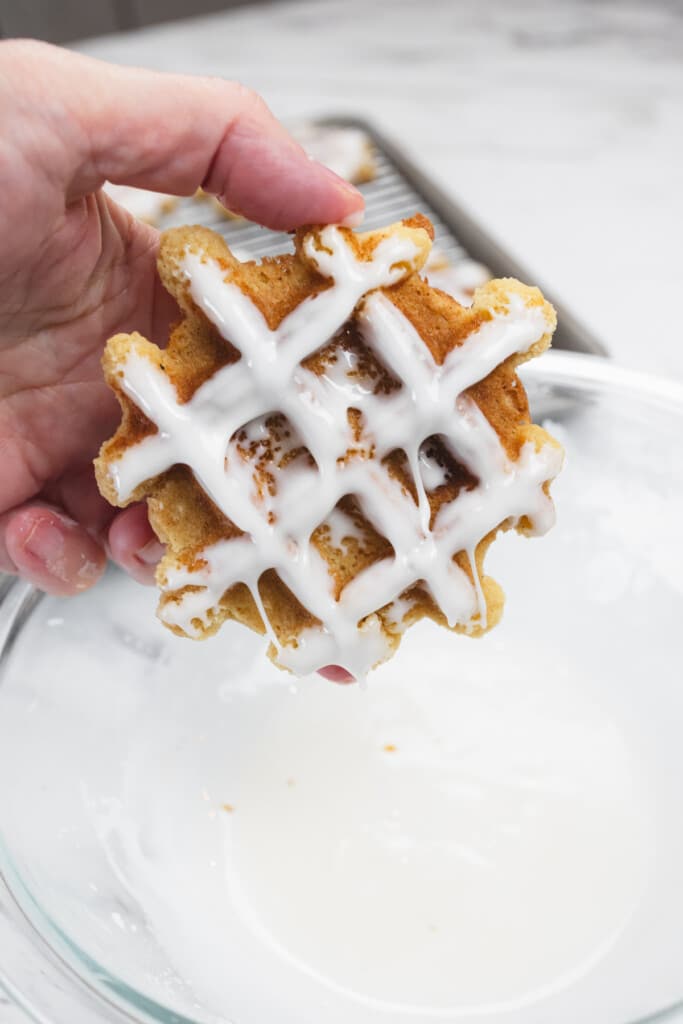
- Carefully dip cooled waffle cookies into the icing, allowing excess to drip off, and place them on the cooling rack for the icing to set.
FAQs
You can use a pizzelle iron for a thinner, crispier version of these cookies if you don't have a waffle iron.
The perfect cooking time will vary depending on your waffle iron, just like your oven when you bake cookies in it. Usually, it takes about 2–3 minutes per batch, but I'd always recommend making a small test batch before cooking a whole batch. The cookies will be ready when they turn a golden brown color.
Storage & Freezing
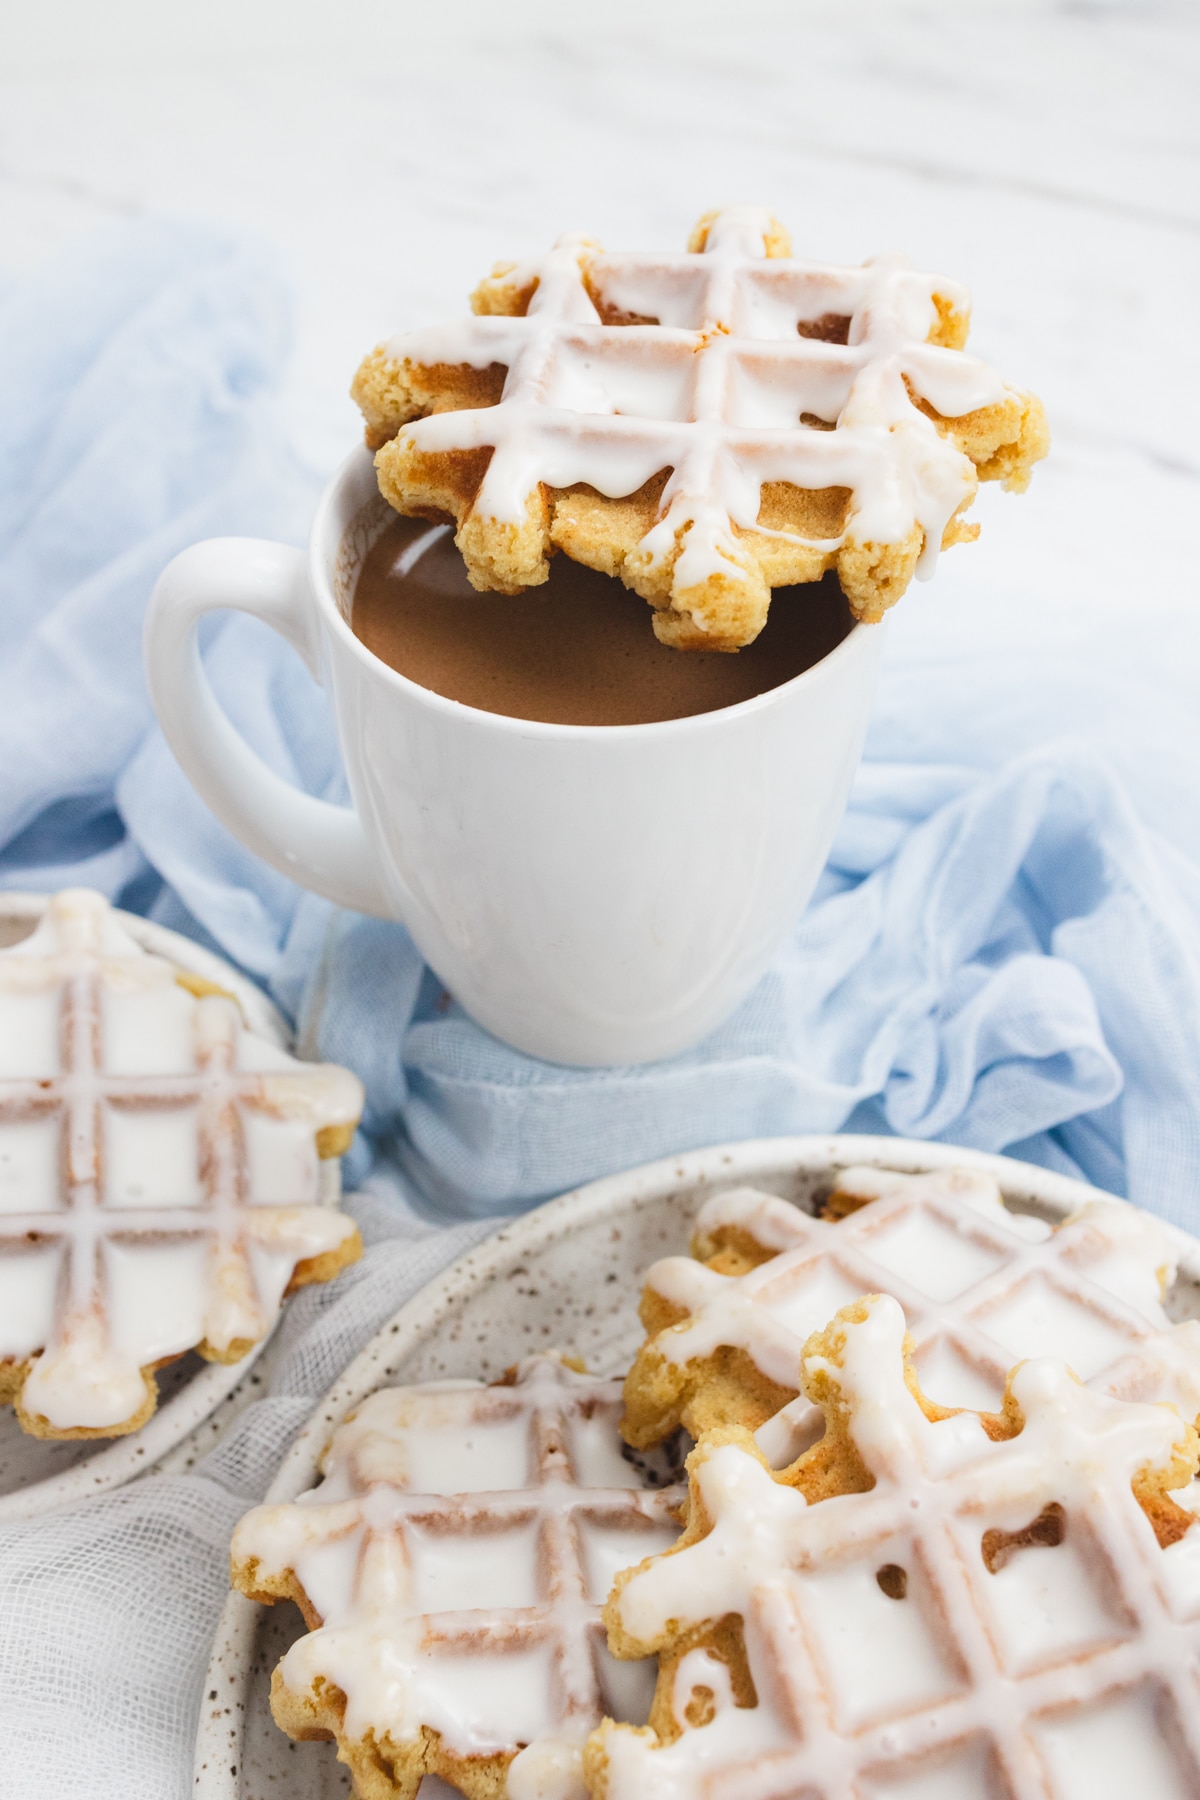
Storage: Store these waffle cookies once they have fully cooled in an airtight container at room temperature for up to 4 days, separating any iced cookies with parchment paper. Cookies are best enjoyed within 2–3 days.
Freezing: Waffle Cookies can be stored in a sealed container and frozen for up to 3 months. Place parchment paper between each cookie to prevent them from sticking together. Simply defrost them before eating them; you can warm them slightly in the waffle iron before eating them if you wish!
Substitutions & Variations
- I use salted butter in my cookies, but if you only have unsalted butter, add ⅛ teaspoon of salt to the dough.
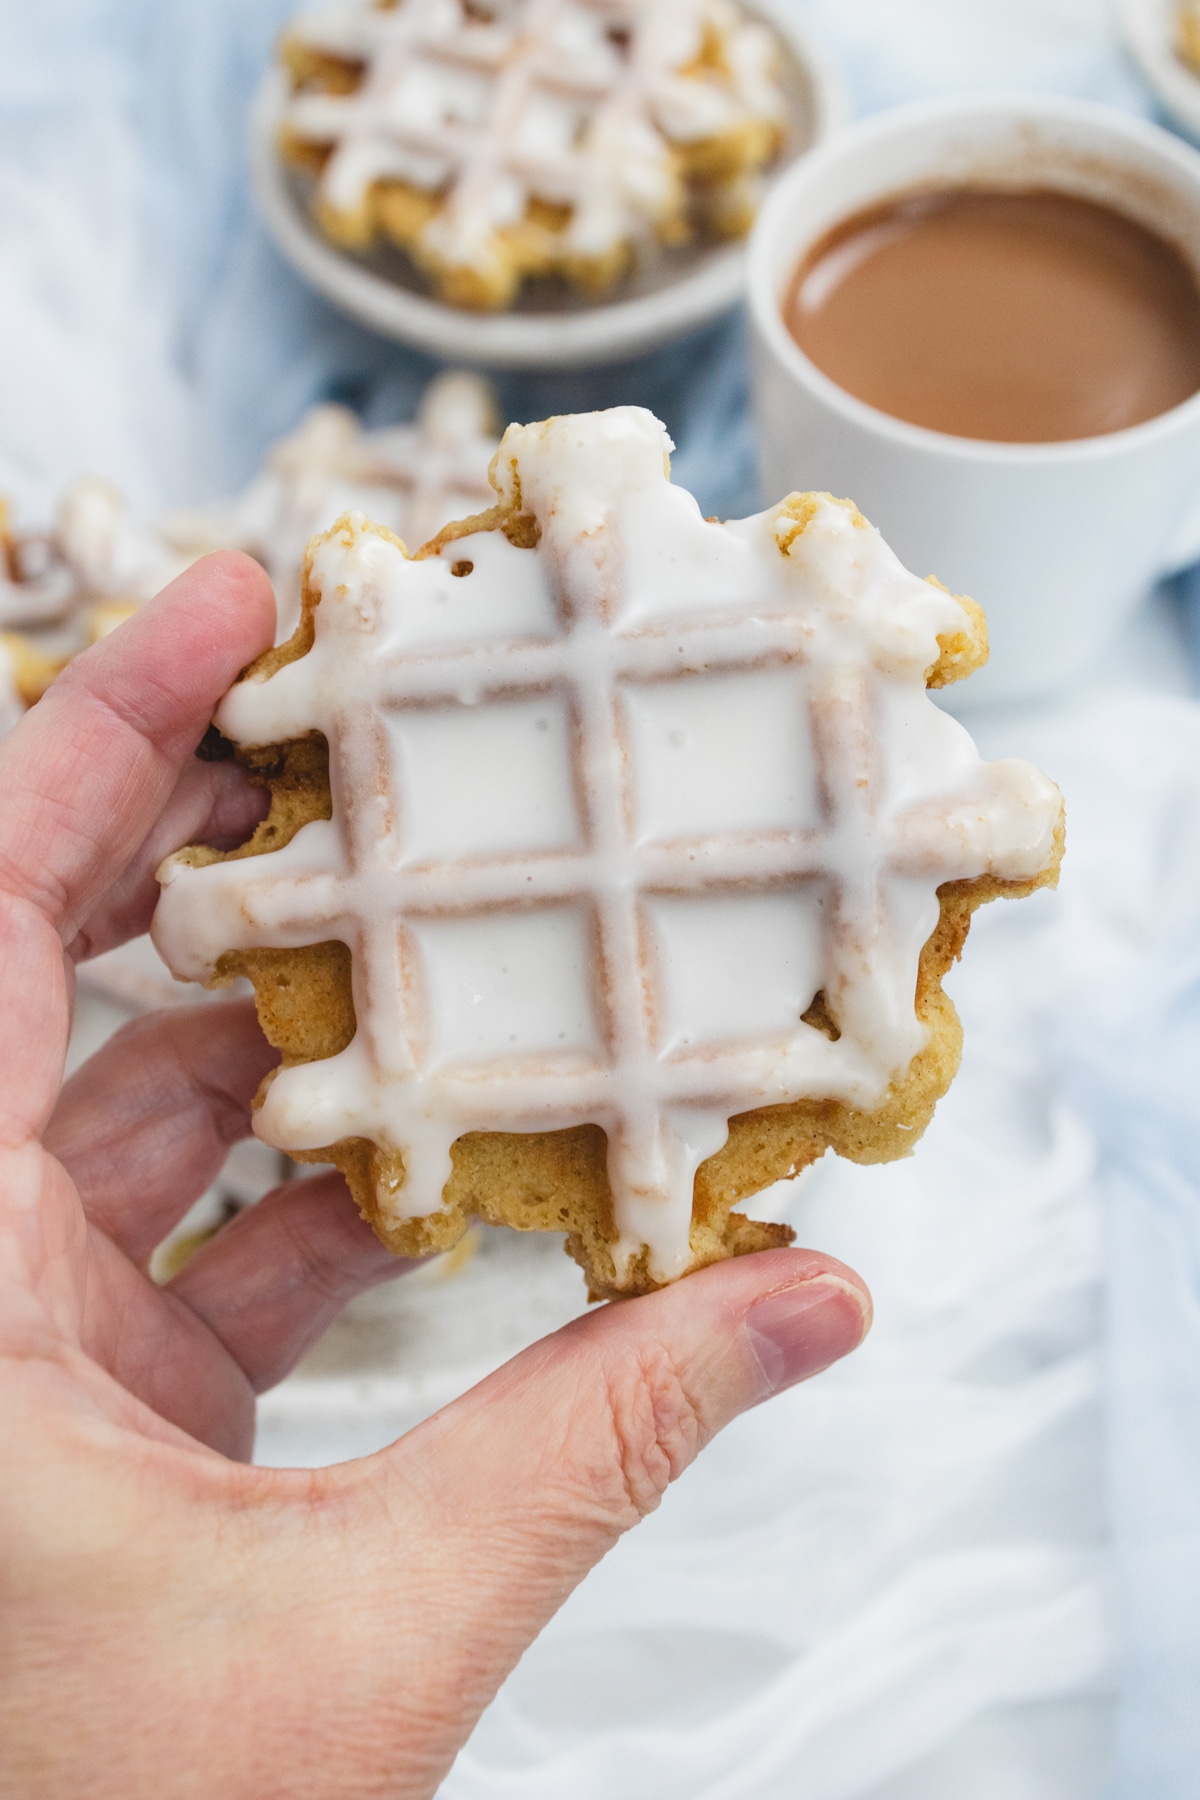
- Experiment with different flavors of waffle cookies. Use raspberry extract, almond extract, lemon extract, or peppermint extract instead of vanilla, and instead of cinnamon, you could use nutmeg or pumpkin spice. Alternatively, add some cocoa powder to the mix to make chocolate cookie waffles!
- Add in some chocolate chips, chopped or whole nuts, or dried fruits to the waffles for more texture and flavor. Put them into the batter just before cooking.
- Decorate your cookies with some melted chocolate or dollops of frosting to look like whipped cream on top of mini waffles for your dessert table!
Pro Tips
What makes a good cookie? Does it have a soft center and crispy edges, and is it chewy? Each of these makes a great-quality cookie. To make perfect cookies every time, here are some pro tips.
Weighing Ingredients.
Baking is a science and adding too much or too little of any of the ingredients will alter the recipe. Weighing and measuring dry ingredients properly makes a world of difference. Investing in a kitchen scale is ideal. When a kitchen scale is not available, make sure to stir and lift ingredients before scooping them into a measuring cup.
| Volume | Ounces | Grams | |
| All Purpose Flour | 1 Cup | 4½ Ounces | 120 Grams |
| Bread Flour | 1 Cup | 4½ Ounces | 120 Grams |
| Granulated Sugar | 1 Cup | 7 Ounces | 200 Grams |
| Brown Sugar | 1 Cup | 7½ Ounces | 213 Grams |
| Confectionary Sugar | 1 Cup | 4 Ounces | 113 Grams |
Baking Spray.
Spray Waffle Iron with non-stick baking spray before the first set of cookies. Do not spray in between cookies.
Cookie Scoop.
Using a cookie scoop keeps each ball of cookie dough the same size, which is essential for ensuring even baking. The cookie dough should be sticky with a very soft texture but not runny, so a scoop will hold it's shape.
Baking Time.
Each waffle iron is uniquely different. Mine cooked in 2 minutes, 30 seconds. Allowing about 15-20 seconds with the lid up for them to cool just slightly before taking off the hot iron.
Removing from the Iron.
Lifting baked cookies off the Waffle Iron can be tricky. Flip them out, use a fork, or, as I prefer, use a mini spatula. As the cookies cool, they firm up, making them easier to remove from the hot iron, so leave them on the iron for at least 20-30 seconds before attempting to lift them.
Cooling Rack.
Allow cookies to cool on the baking sheet for a minute or two before moving them to a cooling rack to cool completely. Allow the cookies to fully cool before dipping them into the icing.
- Kitchen Scale. I use this for accuracy in measuring, and it's a lifesaver when it comes to consistent baking.
- Wire Rack for cooling cookies. I like to have at least two cooling racks.
- Mixing Bowls. A Large Mixing Bowl for mixing ingredients and small and medium mixing bowls for other ingredients.
- Cookie Sheet. Most recipes will take two batches to bake. It's great to have multiple baking sheets available.
- Parchment Paper or Silicone Baking Mat. Line the Cookie Sheet with parchment paper for easy cleanup and to prevent sticking.
- Cookie Scoop. A small #60 Cookie Scoop or a Medium Cookie Scoop #50 are great choices for uniform drops of cookie dough.
- Storage Container. An Airtight Container to store cookies or a Ziploc Bag works great too.
- Additional supplies. Measuring Cups and Measuring Spoons along with a silicone spatula, are all helpful.
To find out more, check out my Pro Tips Guide for making the best cookies every time!
Have you tried this Waffle Cookie recipe?
Let me know what you think of this recipe! Tag @bestcookierecipes on social media so I can see how great your cookies turned out! I would also love to read your comments below. Let me know what you think of these cookies. It really does help!
Waffle Cookies
Ingredients
- ½ cup Butter Softened
- ½ cup Granulated Sugar 100g
- ½ cup Brown Sugar 106g
- 1 ¾ cups All Purpose Flour 210g
- 1 teaspoon Baking Powder
- 1 Egg Large
- 1 teaspoon Vanilla Extract
- ¼ teaspoon Salt
- ½ teaspoon Ground Cinnamon
- 1-2 tablespoons Milk
Icing
- 1 ½ cups Powdered Sugar
- ½ teaspoon Vanilla Extract
- 1-2 tablespoons Milk
Instructions
Waffle Cookies
- In a large bowl using a hand mixer or in the bowl of a stand mixer with a paddle attachment, cream together softened Butter and Granulated Sugar until fluffy. Add Brown Sugar and cream together again to combine.
- Then mix the Egg and Vanilla Extract, and cream ingredients together. The mixture will change in texture and become a lighter color and consistency after 2–3 minutes.
- Add the remaining dry ingredients to the butter mixture and mix until combined.
- The dough will be softer than cookie dough, thicker than muffin batter, and sticky. Preheat the Waffle Iron until it is hot. Spray lightly with nonstick cooking spray; you only need to do this for the first waffle cookie.
- Place 1 scoop, or about 3 tablespoons, of dough into the hot waffle iron and close the lid. Note: My waffle iron has two separate wells, so I used 1 scoop per well. Allow the waffle cookies to cook for 2–3 minutes. Each waffle iron will cook a bit differently - mine takes about 2 minutes and 30 seconds.
- Open the lid and allow the waffle to sit for up to 20 seconds before trying to remove it. It will be quite soft initially and get firmer as it cools, making it easier to remove.
- Carefully remove the cookie and place it on a wire cooling rack to cool.
Icing
- In a small bowl, combine powdered sugar with extract and slowly add milk, a little at a time. Whisk ingredients together, adding additional milk as needed until desired consistency is reached.
- Carefully dip cooled waffle cookies into the icing, allowing excess to drip off, and place them on the cooling rack for the icing to set.
Notes
- Store: Store cooled waffle cookies in an airtight container at room temperature for up to 4 days, separating any iced cookies with parchment paper. Cookies are best enjoyed within 2–3 days.
- Freeze: Freeze in a sealed container for up to 3 months. Place parchment paper between each cookie to prevent them from sticking together. Defrost before eating.



Submit a Comment