My step-by-step tutorial will show you how to brown butter in a quick and easy way! Whether used in savory dishes or dessert recipes, the bold flavor of this liquid gold makes it the secret ingredient that will have everyone asking for your recipe!
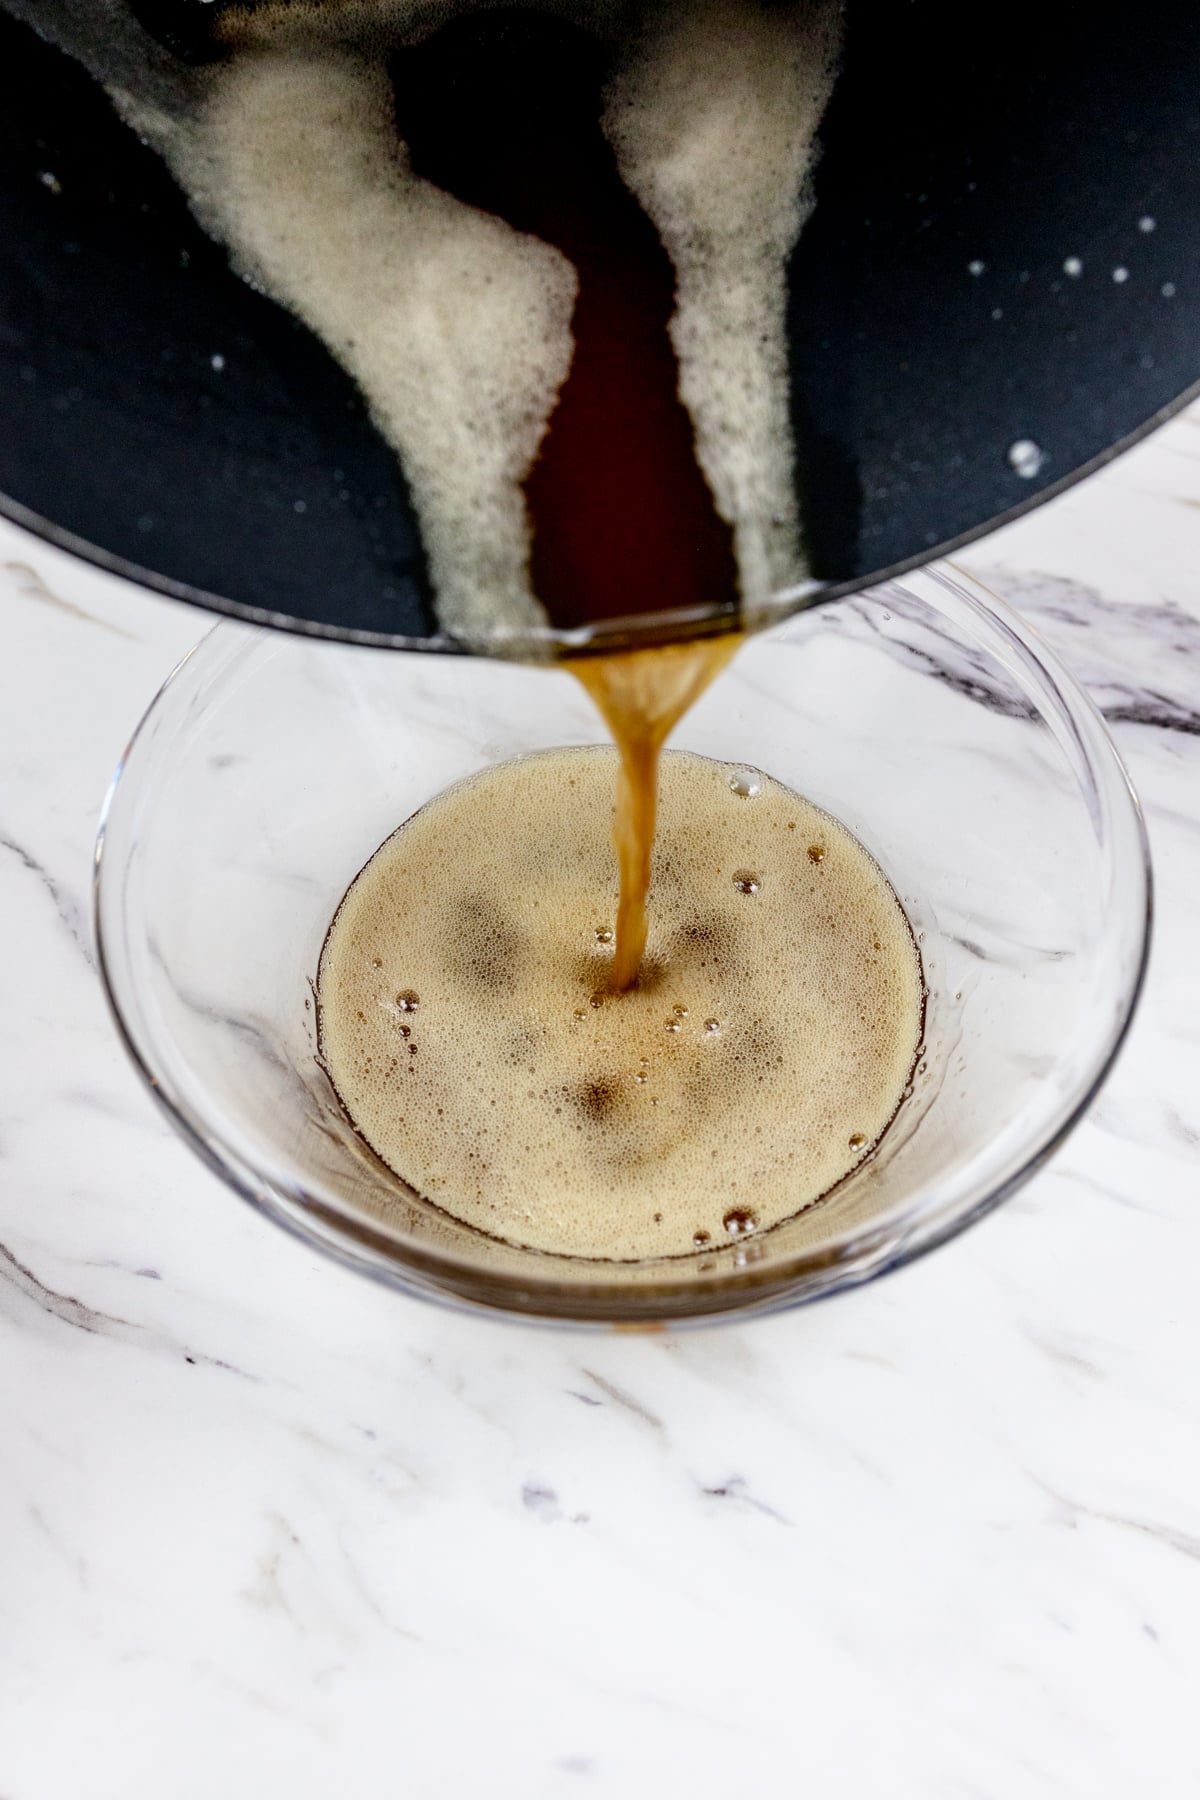
Browned butter, or beurre noisette as it's known in French cuisine, is butter that has been melted and cooked until it reaches a rich golden brown color and develops a deep, complex flavor that regular melted butter simply can't match.
This Brown Butter Recipe adds a rich, nutty flavor to both sweet and savory recipes, making it a versatile ingredient in your culinary arsenal.
Whether you're looking to impress guests during the holidays, add complexity to your favorite dishes, or simply explore new flavors, these simple steps for browning butter will open up a world of delicious possibilities.
For easy cookie recipes to use browned butter in, check out my Caramel Snickerdoodles with Browned Butter, Brown Butter Sugar Cookies, Blonde Brownie Butterscotch Bars, Butterscotch Chocolate Chip Cookies, and Chocolate Chip Pecan Cookies!
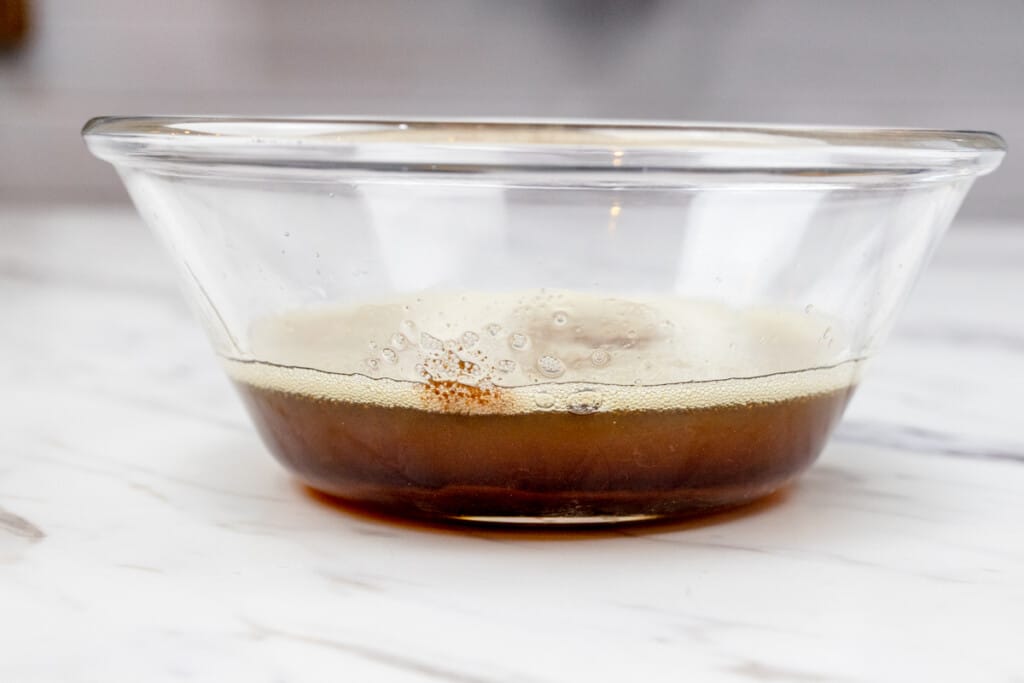
Ingredients for Browned Butter
Wet Ingredients. Unsalted Butter
How to Make Browned Butter
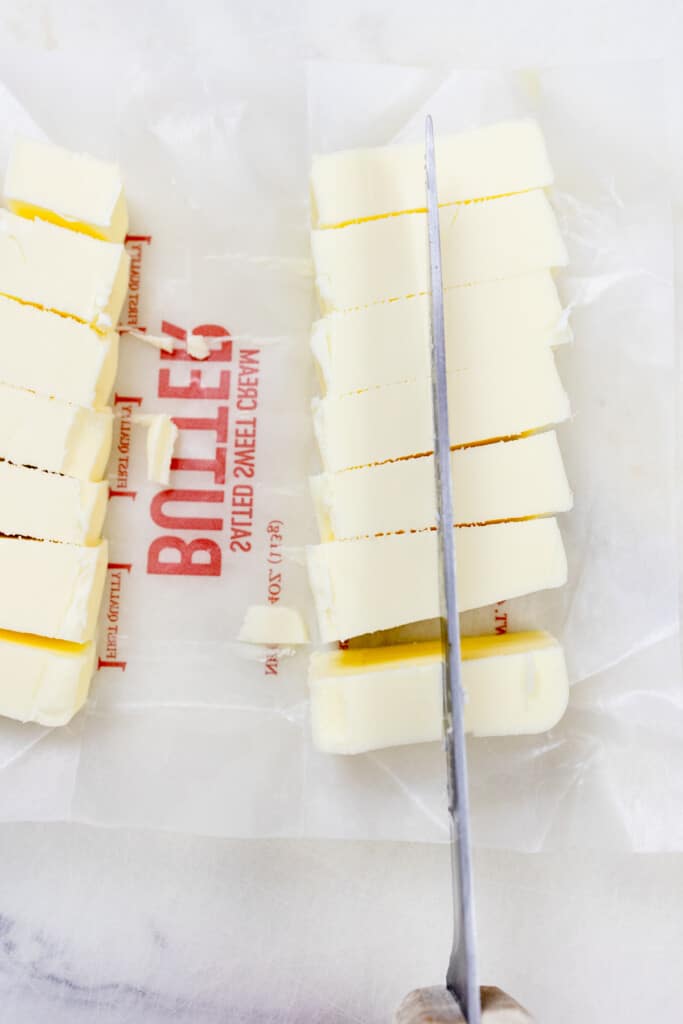
- Begin by cutting the butter into small, even pieces to ensure it melts uniformly.
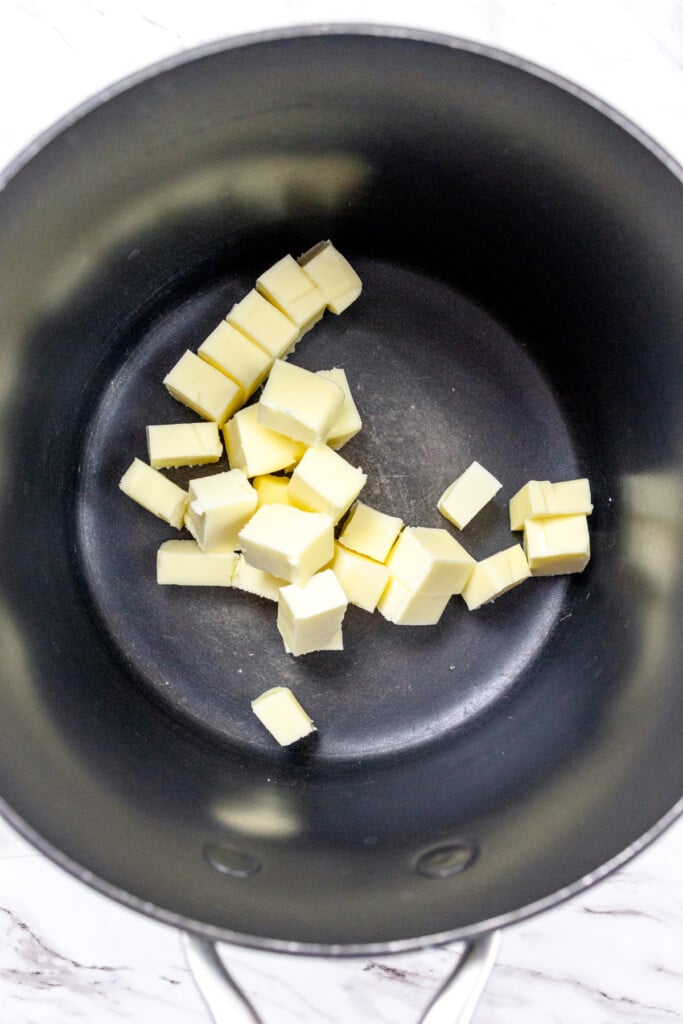
- Place the butter pieces in the pan over medium heat or high heat.
- Stir continuously with a wooden spoon or silicone spatula, making sure to scrape the bottom of the pan.
- The butter will first melt, then come to a boil and foam up. Keep stirring.
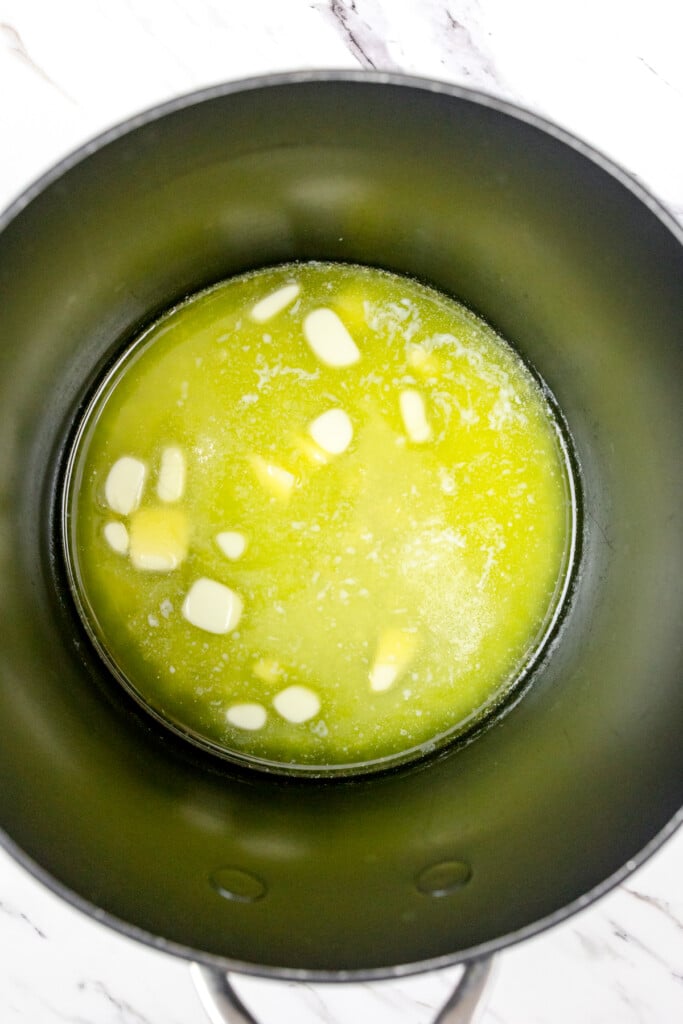
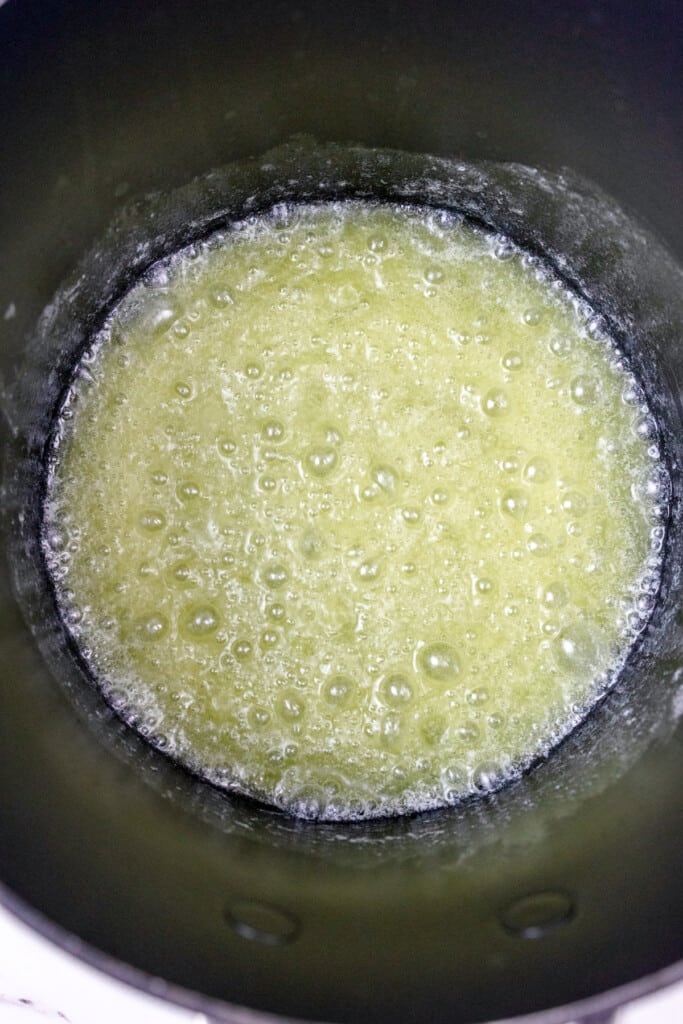
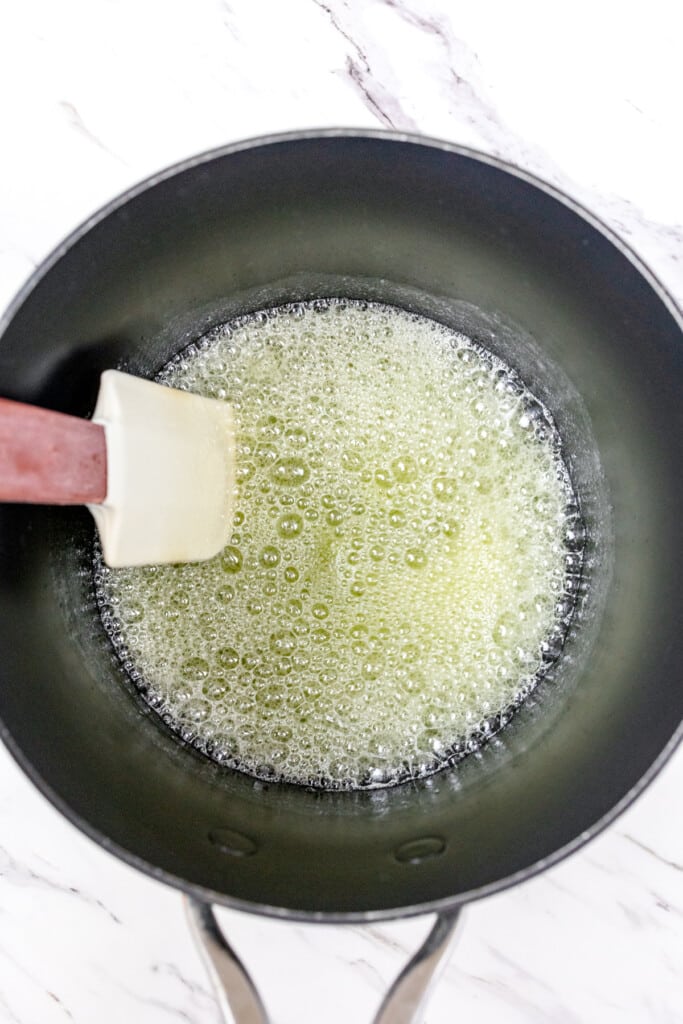
- Allow butter to boil for 3-4 minutes and allow the butter to brown. As the butter cooks, milk proteins will separate and settle at the bottom of the pan, turning golden brown. These browned bits are what give brown butter its distinctive flavor and color.
- Watch for the butter to change to a deep amber hue and for the foam to subside slightly, indicating it’s done. This process should take about 5-7 minutes, but keep a watchful eye as the butter can go from perfectly browned to burnt in a matter of seconds.
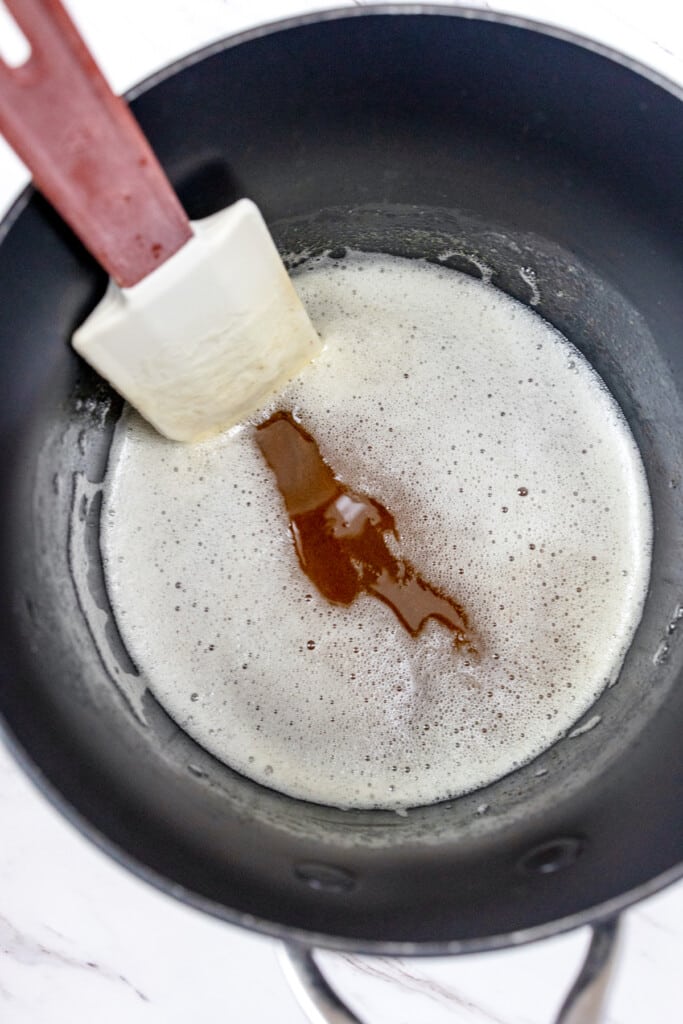
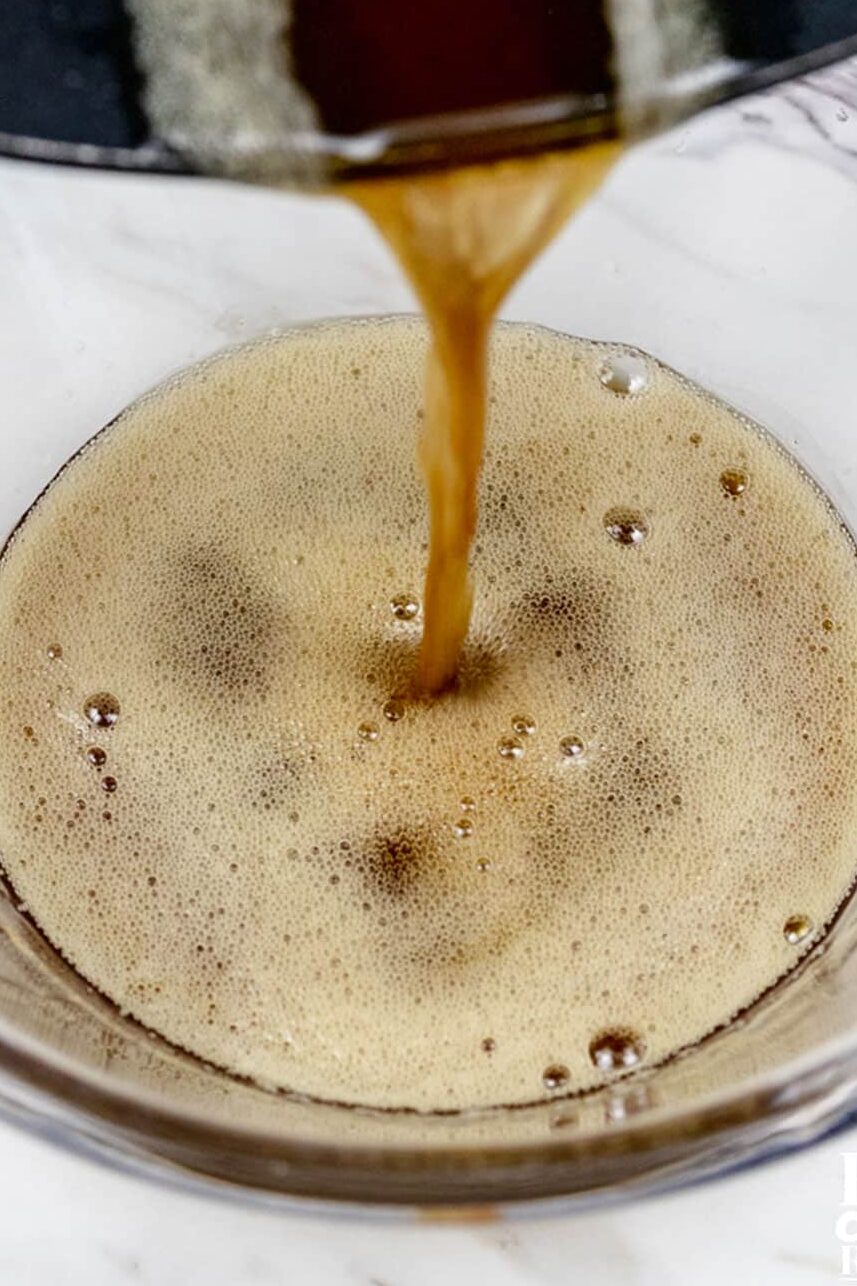
- Once the butter has reached the desired level of browning, remove it from the heat and let it cool for a few minutes. Then, pour the butter into a heatproof bowl, making sure to scrape out all the delicious little brown bits. These bits are packed with flavor and are essential for the full brown butter experience. Allow the butter to cool slightly before using it in your recipe or store it for future use. It will partially solidify as it cools.

FAQs
No, browned butter has been cooked until it has a nutty aroma and a golden-brown color. Burnt butter has been cooked past this stage to where it has a bitter, burnt taste.
Yes, you can use browned butter immediately after making it, but let it cool slightly if your recipe requires butter at room temperature.
Yes, you can use salted butter to make browned butter. Keep in mind that it will add saltiness to any dishes that you add it to, so adjust other salt amounts accordingly.
Yes, browned butter can be used in most recipes calling for butter to add depth of flavor. However, its liquid and solid state can affect some recipes, so I'd recommend using it only in recipes that specifically call for it, or where you think its unique flavor can shine.
No, browning butter does not significantly alter its fat content. The process mainly affects flavor and color by cooking the milk solids.
Storage & Freezing
Storage: Browned butter can be kept in an airtight container in the refrigerator for up to a week.
Freezing: Freeze cooled butter in an airtight container for up to 3 months. When you're ready to use your frozen browned butter, remove the necessary amount from the freezer and let it thaw in the refrigerator overnight, or if you're in a hurry, you can gently reheat the butter in a saucepan over low heat until it melts.

Pro Tips
To ensure the best results when browning butter to use in your cooking and baking, consider these expert tips. Following this advice will help you get that perfectly nutty, caramelized flavor every time.
Use a Large Pan.
The butter will foam and grow as it heats up and comes to a boil, so make sure to use a 2-quart saucepan or larger to prevent the butter from boiling over the side.
Use a Light-Colored Pan
If it's your first time browning butter, choosing a stainless steel or light-colored saucepan would be useful for monitoring the butter's color change during the browning process. It is more difficult to see the butter's true color when using a dark pan, which increases the risk of burning.
Stir Constantly
Constant stirring is crucial to evenly brown the butter without burning the milk solids, so use a wooden spoon or heat-resistant rubber spatula to stir the butter continuously. This movement helps distribute the heat evenly and prevents the solids from sticking to the bottom of the pan and burning.
Control the Heat.
The key to perfectly browned butter is controlling the heat, so if the butter is browning too quickly, reduce the heat to medium-low.
Scrape the Bottom.
To avoid a layer of burnt butter from developing on the bottom while it is on the heat, continuously stir the butter and the bottom of the pan with a silicone spatula.
Developing the Flavor.
The darker the color is the more brown bits will be present and the deeper and richer the nutty flavor, but it will burn quickly so be careful when browning it for longer.
Smell as Well as Look
The aroma of browned butter is a key indicator of its readiness. It should smell richly nutty and slightly caramel-like. If the butter starts to smell burnt, it's gone too far. Rely on your sense of smell along with visual cues to determine when the butter has reached its perfect state.
Don't Rush the Cooling Process
After achieving the perfect brown color and nutty aroma, remove the pan from the heat and transfer the butter to a heat-proof bowl. Rushing the cooling process or using the butter too hot can impact the outcome of your recipe, especially in baking. Allow the browned butter to cool to the desired temperature before incorporating it into your recipes.
- Kitchen Scale. I use this for accuracy in measuring, and it's a lifesaver when it comes to consistent baking.
- Wire Rack for cooling cookies. I like to have at least two cooling racks.
- Mixing Bowls. A Large Mixing Bowl for mixing ingredients and small and medium mixing bowls for other ingredients.
- Cookie Sheet. Most recipes will take two batches to bake. It's great to have multiple baking sheets available.
- Parchment Paper or Silicone Baking Mat. Line the Cookie Sheet with parchment paper for easy cleanup and to prevent sticking.
- Cookie Scoop. A small #60 Cookie Scoop or a Medium Cookie Scoop #50 are great choices for uniform drops of cookie dough.
- Storage Container. An Airtight Container to store cookies or a Ziploc Bag works great too.
- Additional supplies. Measuring Cups and Measuring Spoons along with a silicone spatula, are all helpful.
To find out more, check out my Pro Tips Guide for making the best cookies every time!
Have you tried this step-by-step guide to Browning Butter?
Let me know what you think of this recipe! Tag @bestcookierecipes on social media so I can see how great your cookies turned out! I would also love to read your comments below. Let me know what you think of these cookies. It really does help!
Quick & Tasty Cookie Recipes
- Tasty Chewy Nutella Cookies
- Chocolate Chip Cut Out Cookies
- Easy Chocolate Chip Cheesecake Bars
- Tasty Lemon White Chocolate Chip Cookies
- Heath Bar Cookies Recipe loaded with Toffee Bits
- Cinnamon Chip Cookies With a Snickerdoodle Twist
- Strawberry Chocolate Chip Cookies Recipe
- Easy Brownie Mix Chocolate Chip Cookies Recipe
How to Brown Butter
Ingredients
- ½ cup Butter unsalted
Instructions
- Begin by cutting the butter into small, even pieces to ensure it melts uniformly.
- Place the butter pieces in the pan over medium heat or high heat.
- Stir continuously with a wooden spoon or silicone spatula, making sure to scrape the bottom of the pan.
- The butter will first melt, then come to a boil and foam up. Keep stirring.
- Allow butter to boil for 3-4 minutes and allow the butter to brown. As the butter cooks, milk proteins will separate and settle at the bottom of the pan, turning golden brown. These browned bits are what give brown butter its distinctive flavor and color.
- Watch for the butter to change to a deep amber hue and for the foam to subside slightly, indicating it’s done. This process should take about 5-7 minutes, but keep a watchful eye as the butter can go from perfectly browned to burnt in a matter of seconds.
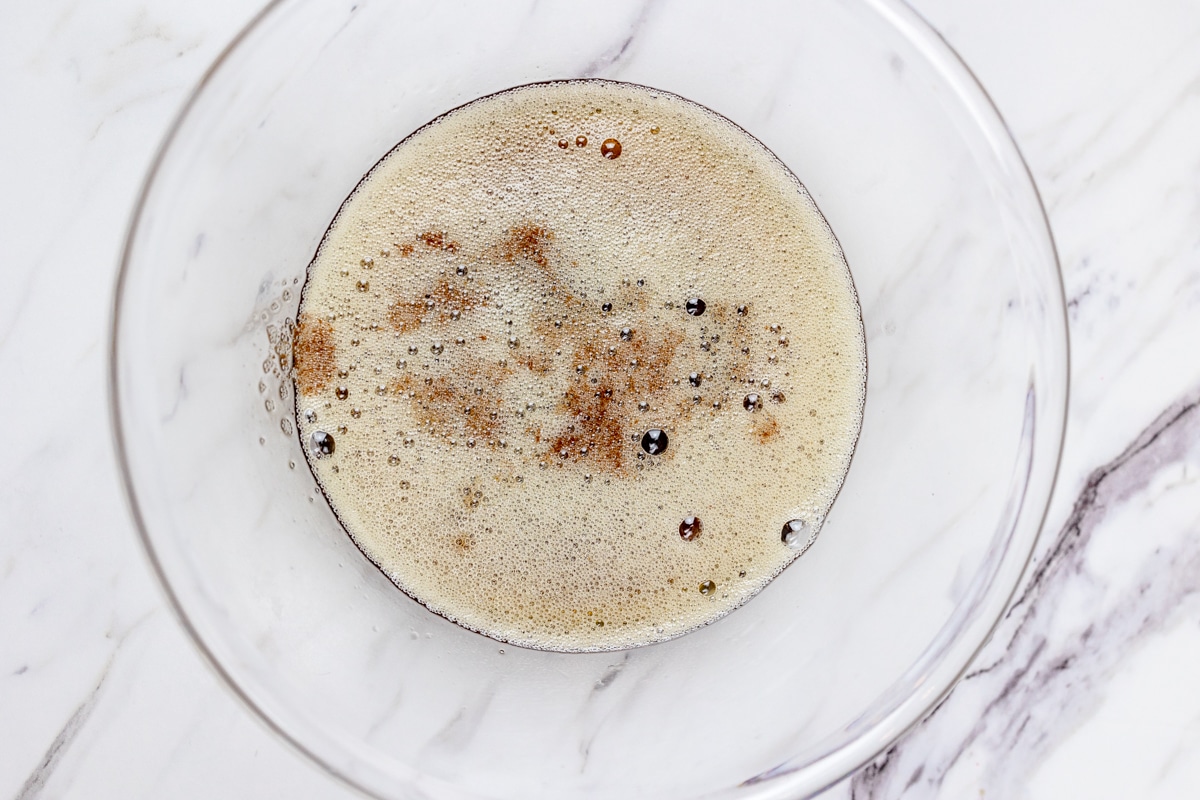
- Once the butter has reached the desired level of browning, remove it from the heat and let it cool for a few minutes. Then, pour the butter into a heat-safe bowl, making sure to scrape out all the delicious little brown bits. These bits are packed with flavor and are essential for the full brown butter experience. Allow the butter to cool slightly before using it in your recipe or store it for future use. It will partially solidify as it cools.


Submit a Comment