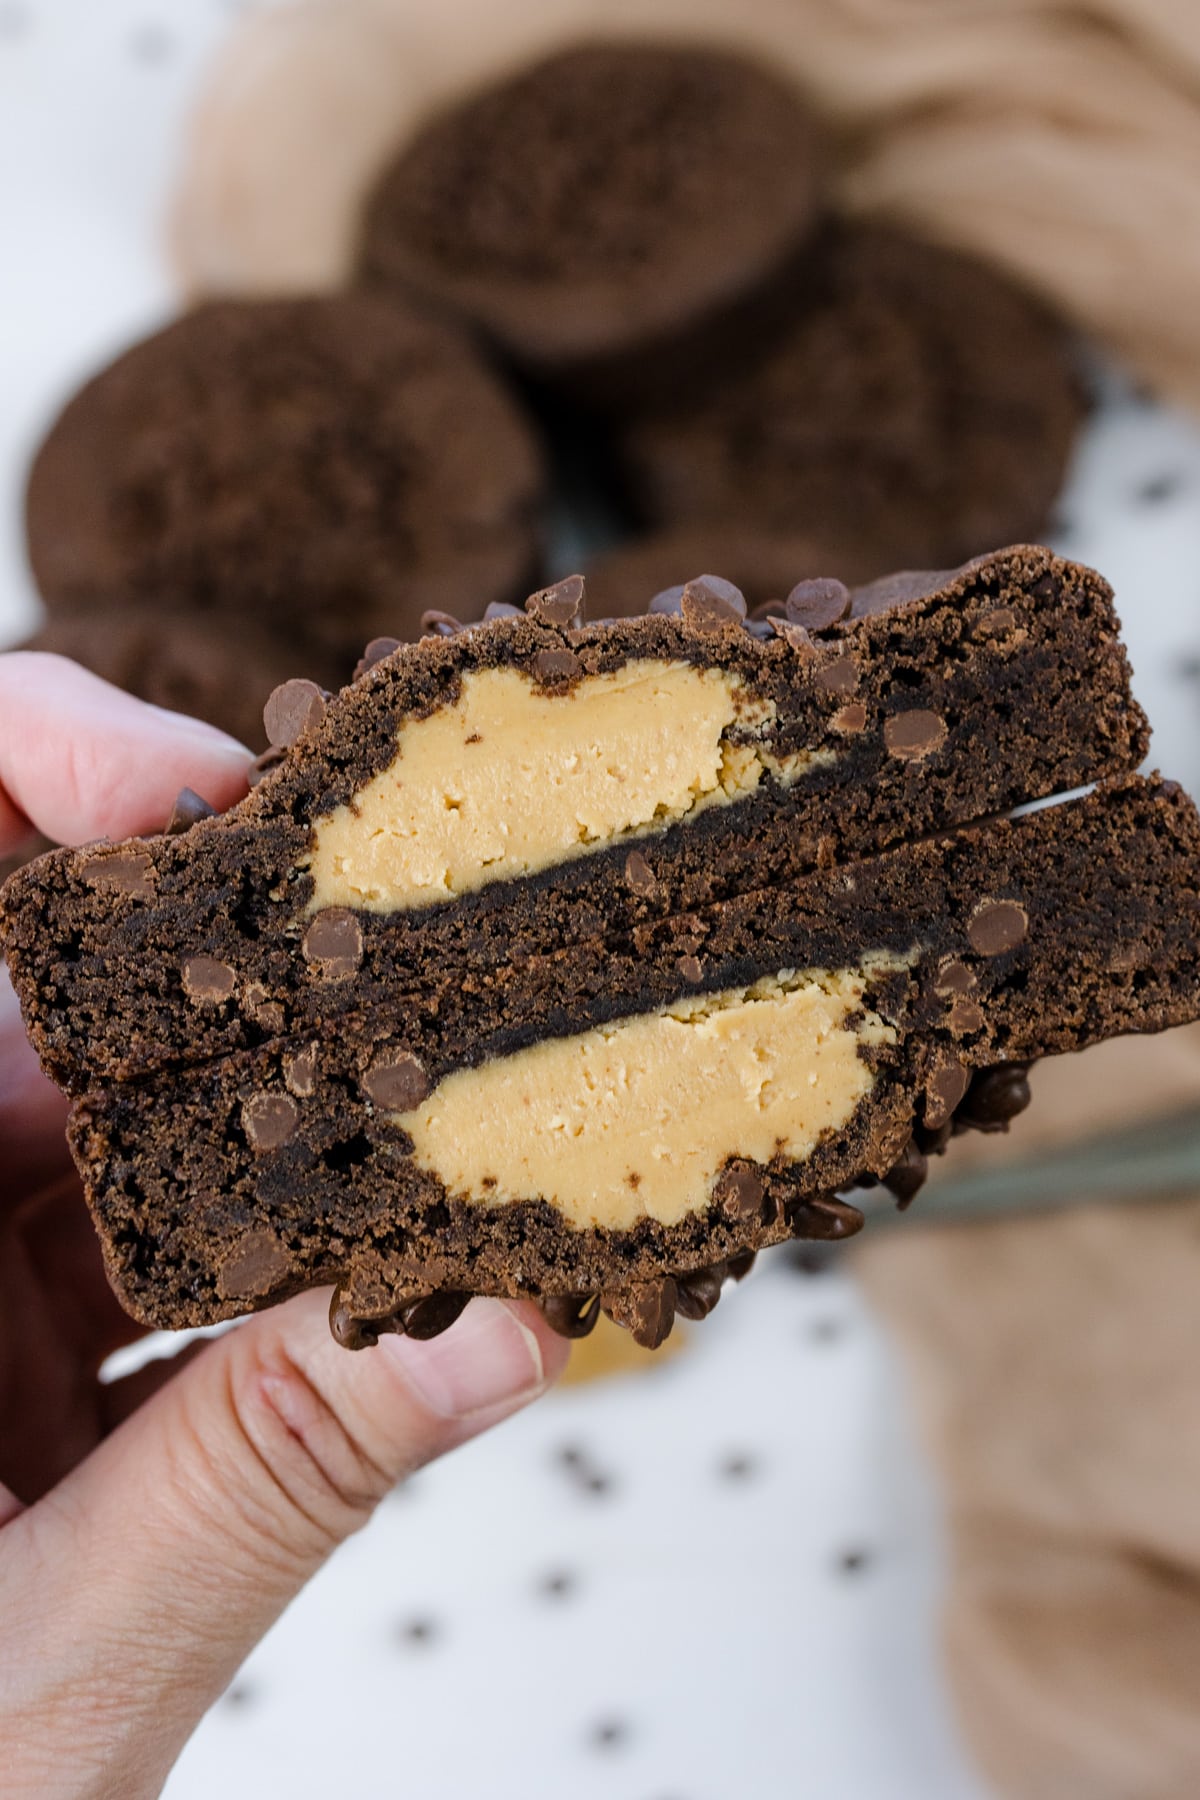
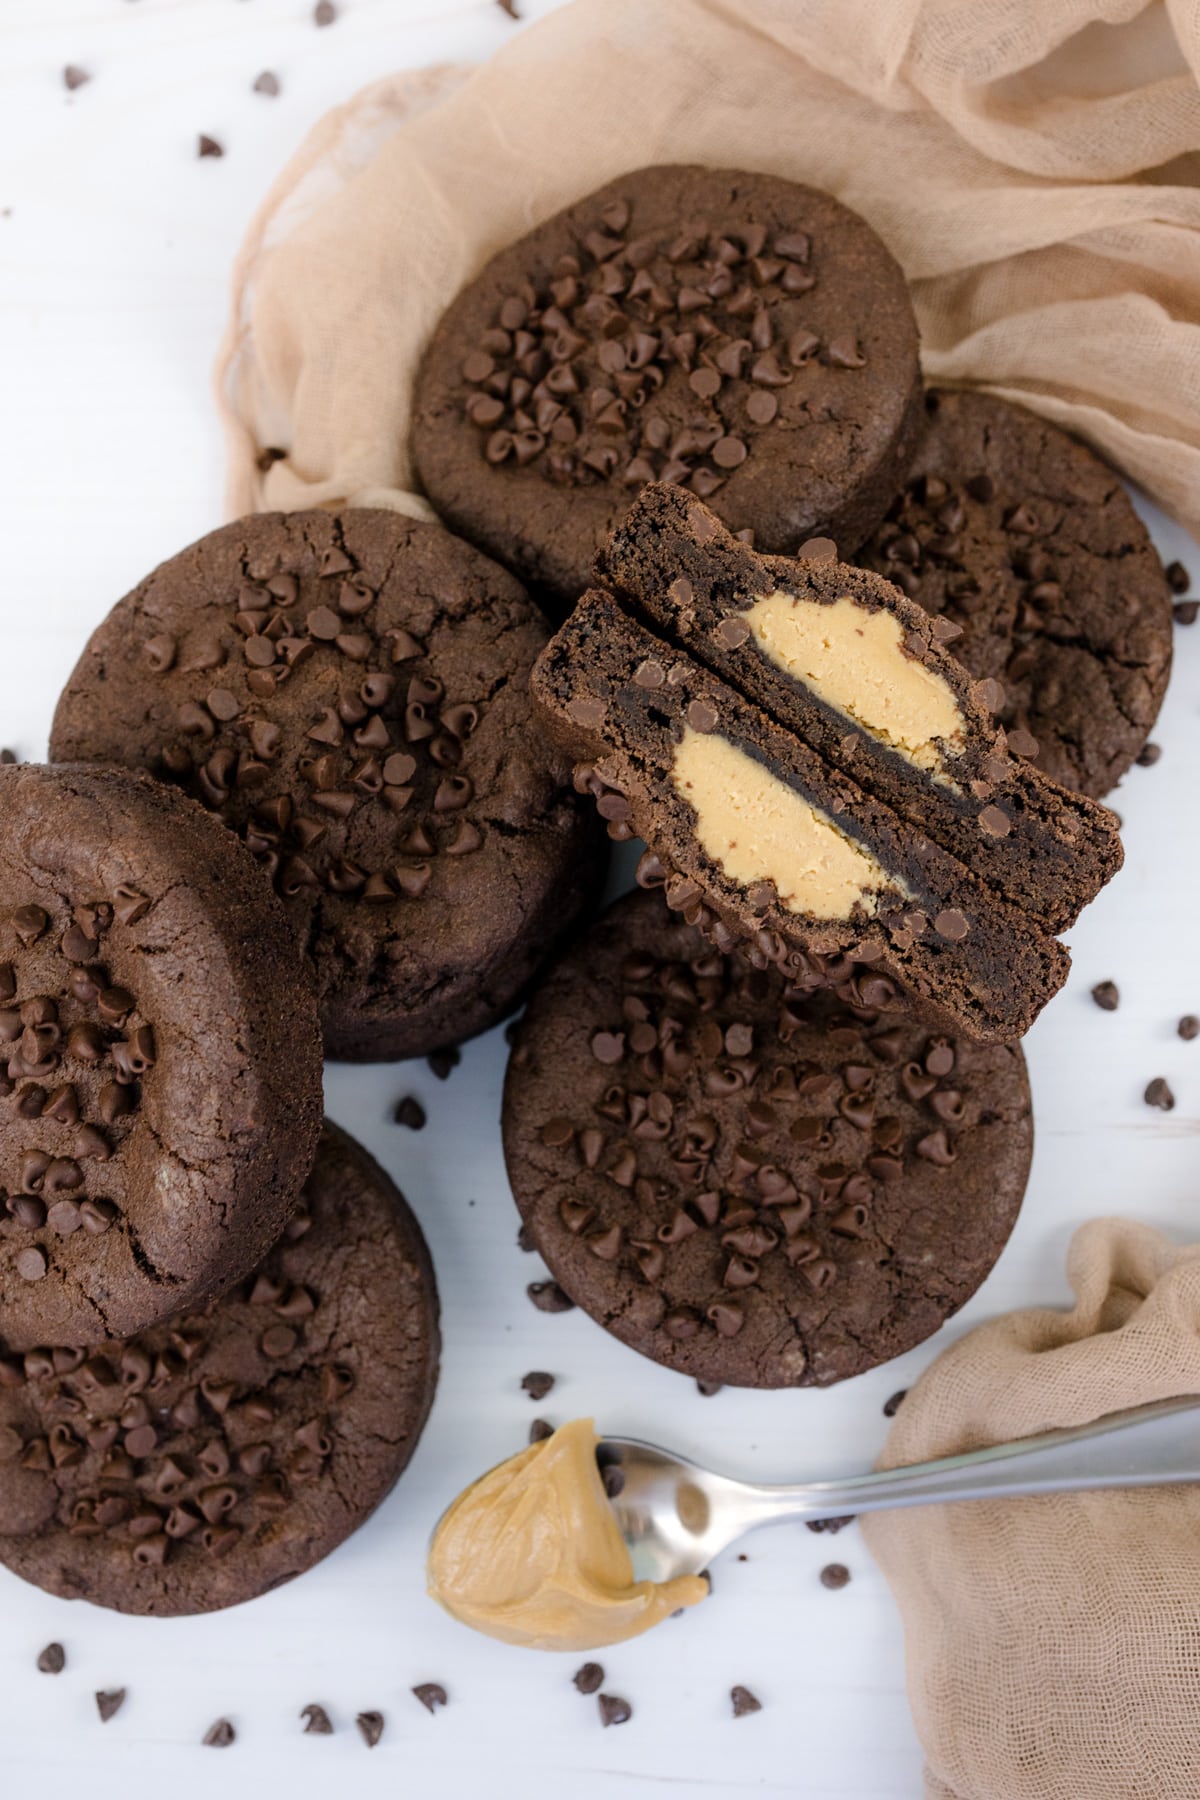
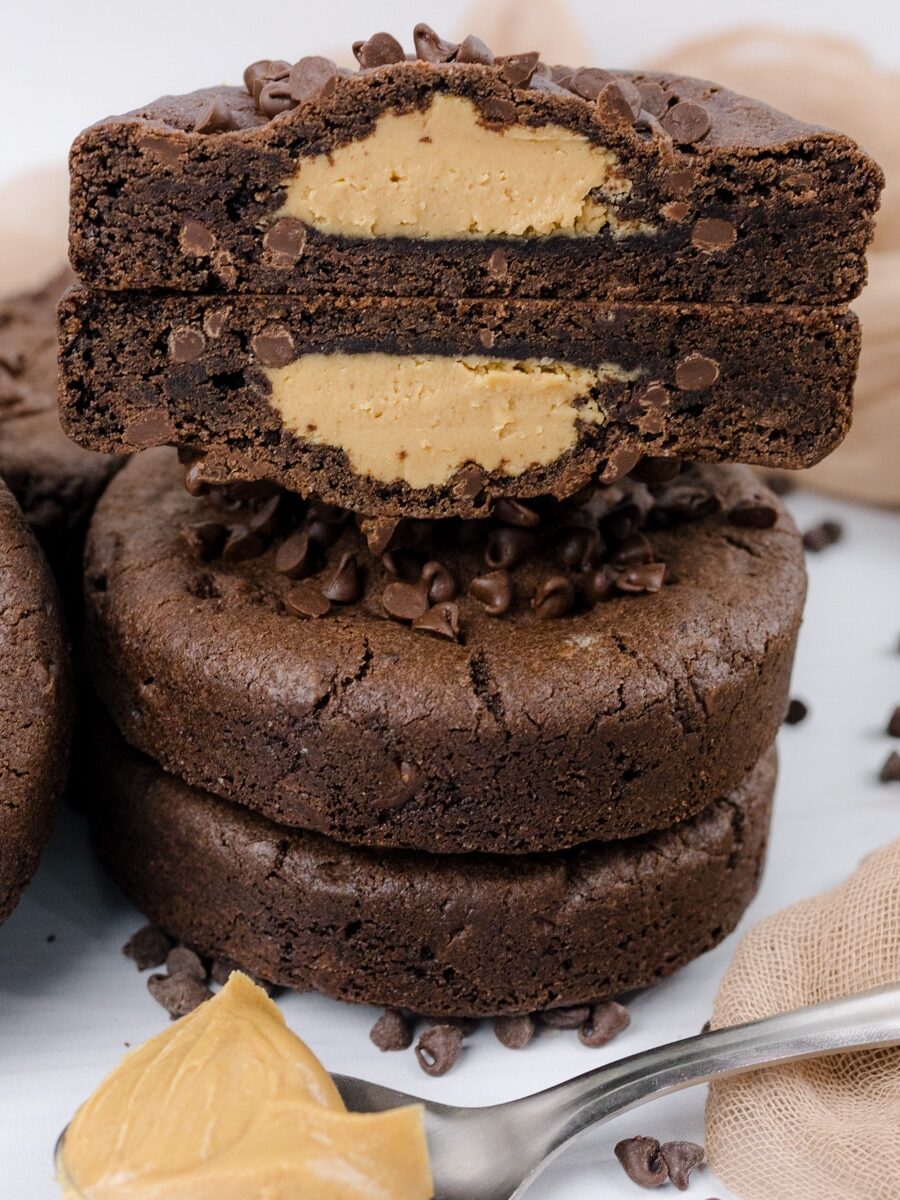
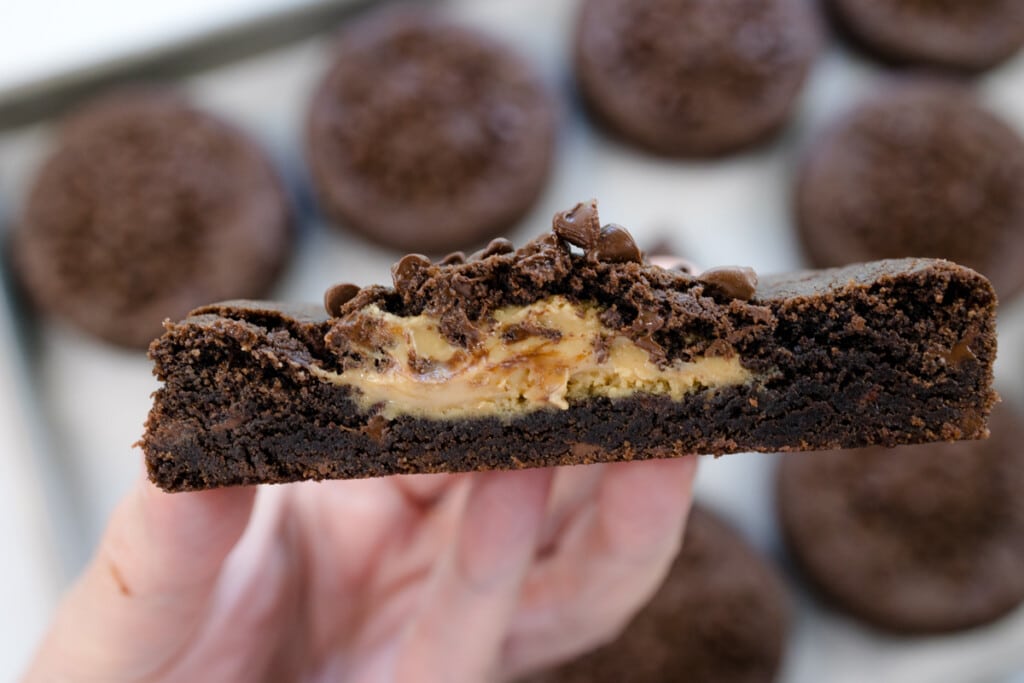
Imagine sinking your teeth into a warm, gooey chocolate cookie, only to be greeted by a creamy, peanut buttery surprise. Peanut Butter Stuffed Chocolate Cookies are a decadent dream come true. The rich, chewy chocolate exterior perfectly complements the sweet, salty peanut butter center, creating a flavor explosion that will satisfy your cravings. It's like a peanut butter cup and a chocolate chip cookie had a love child!
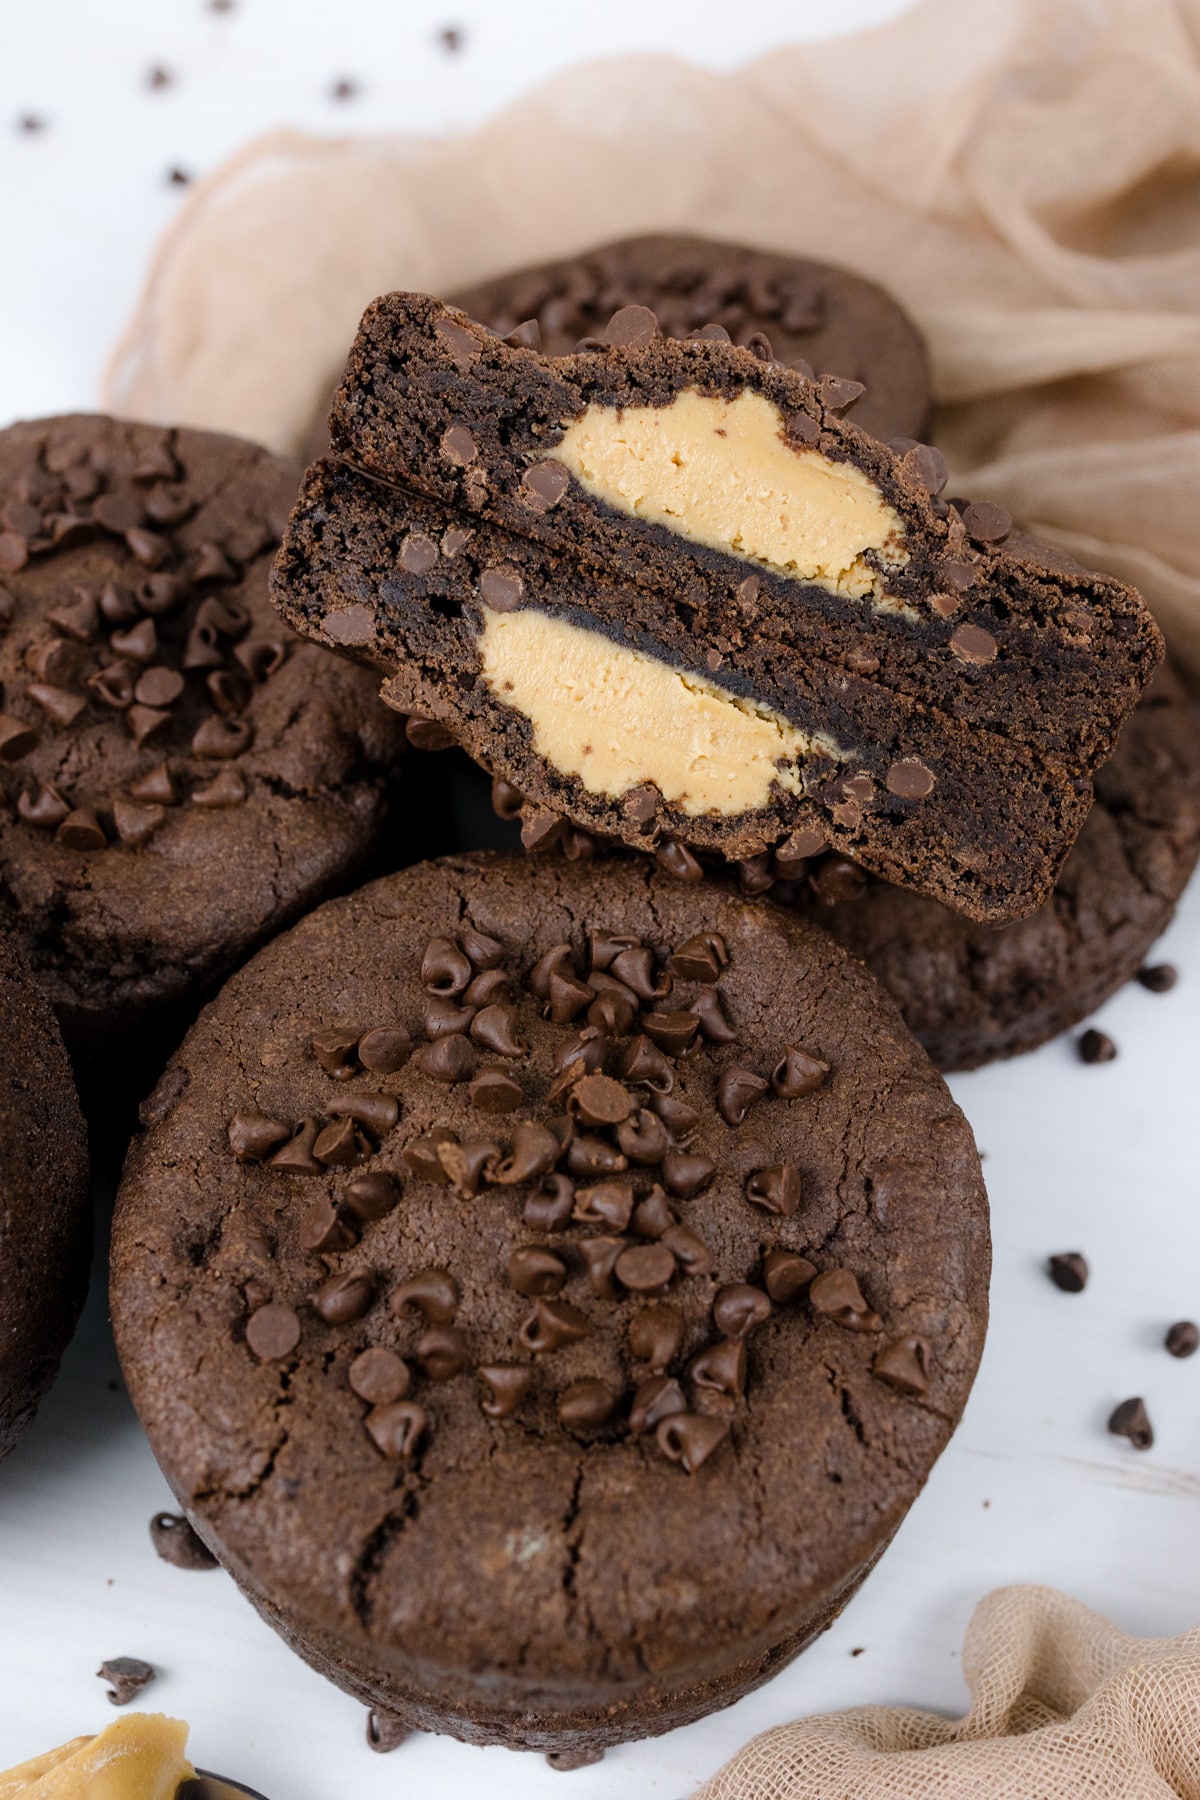
Peanut Butter Stuffed Chocolate Cookies are the ultimate treat for anyone who loves the rich combination of chocolate and peanut butter! This cookie recipe creates perfectly chewy chocolate cookie dough filled with a creamy peanut butter surprise.
Whether you love peanut butter cookies or peanut butter chocolate chip cookies, these are a must-try!
The dough is loaded with Dutch processed cocoa and semi sweet chocolate chips, giving you a rich, decadent bite every time. The best part? You can freeze the dough or bake it fresh whenever a craving hits!
With their gooey peanut butter filling and rich chocolate exterior, these cookies are perfect for sharing or indulging solo!
Craving more stuffed cookie goodness? Don’t miss my Easy Oreo Stuffed Chocolate Chip Cookie Recipe, Cookie Monster Cookies recipe (Stuffed Blue Cookies), Easy Fluffernutter Cookies Recipe, Chocolate Stuffed Peppermint Patty cookies Crumbl Copycat, and Easy Chocolate Rolo Cookies Recipe Stuffed with Caramel!
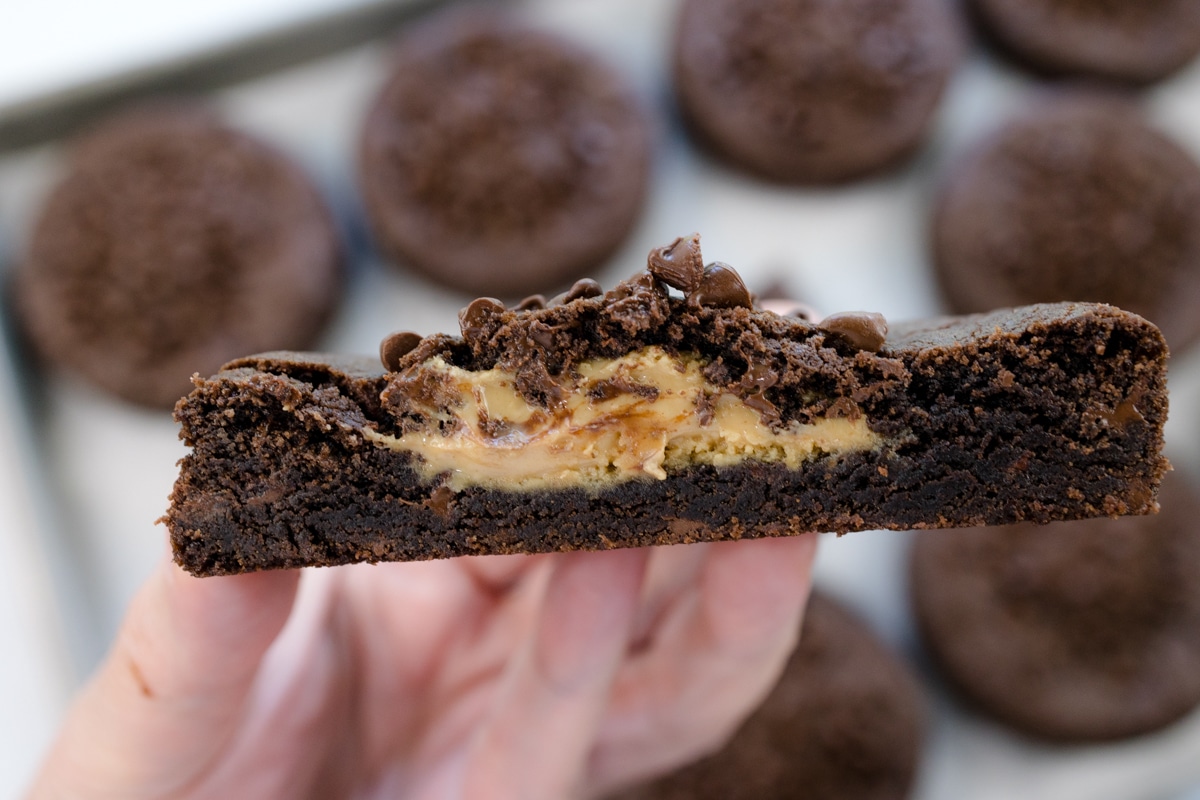
Ingredients for Stuffed Peanut Butter Chocolate Chip Cookies
Wet Ingredients. Butter, Eggs, Vanilla Extract
Dry Ingredients. All Purpose Flour, Granulated Sugar, Brown Sugar, Dutch Processed Cocoa, Baking Soda, Baking Powder, Salt
Extras. Semi Sweet Chocolate Chips (mini), Crushed Brownie Brittle, Mini Chocolate Chips for topping
Supplies
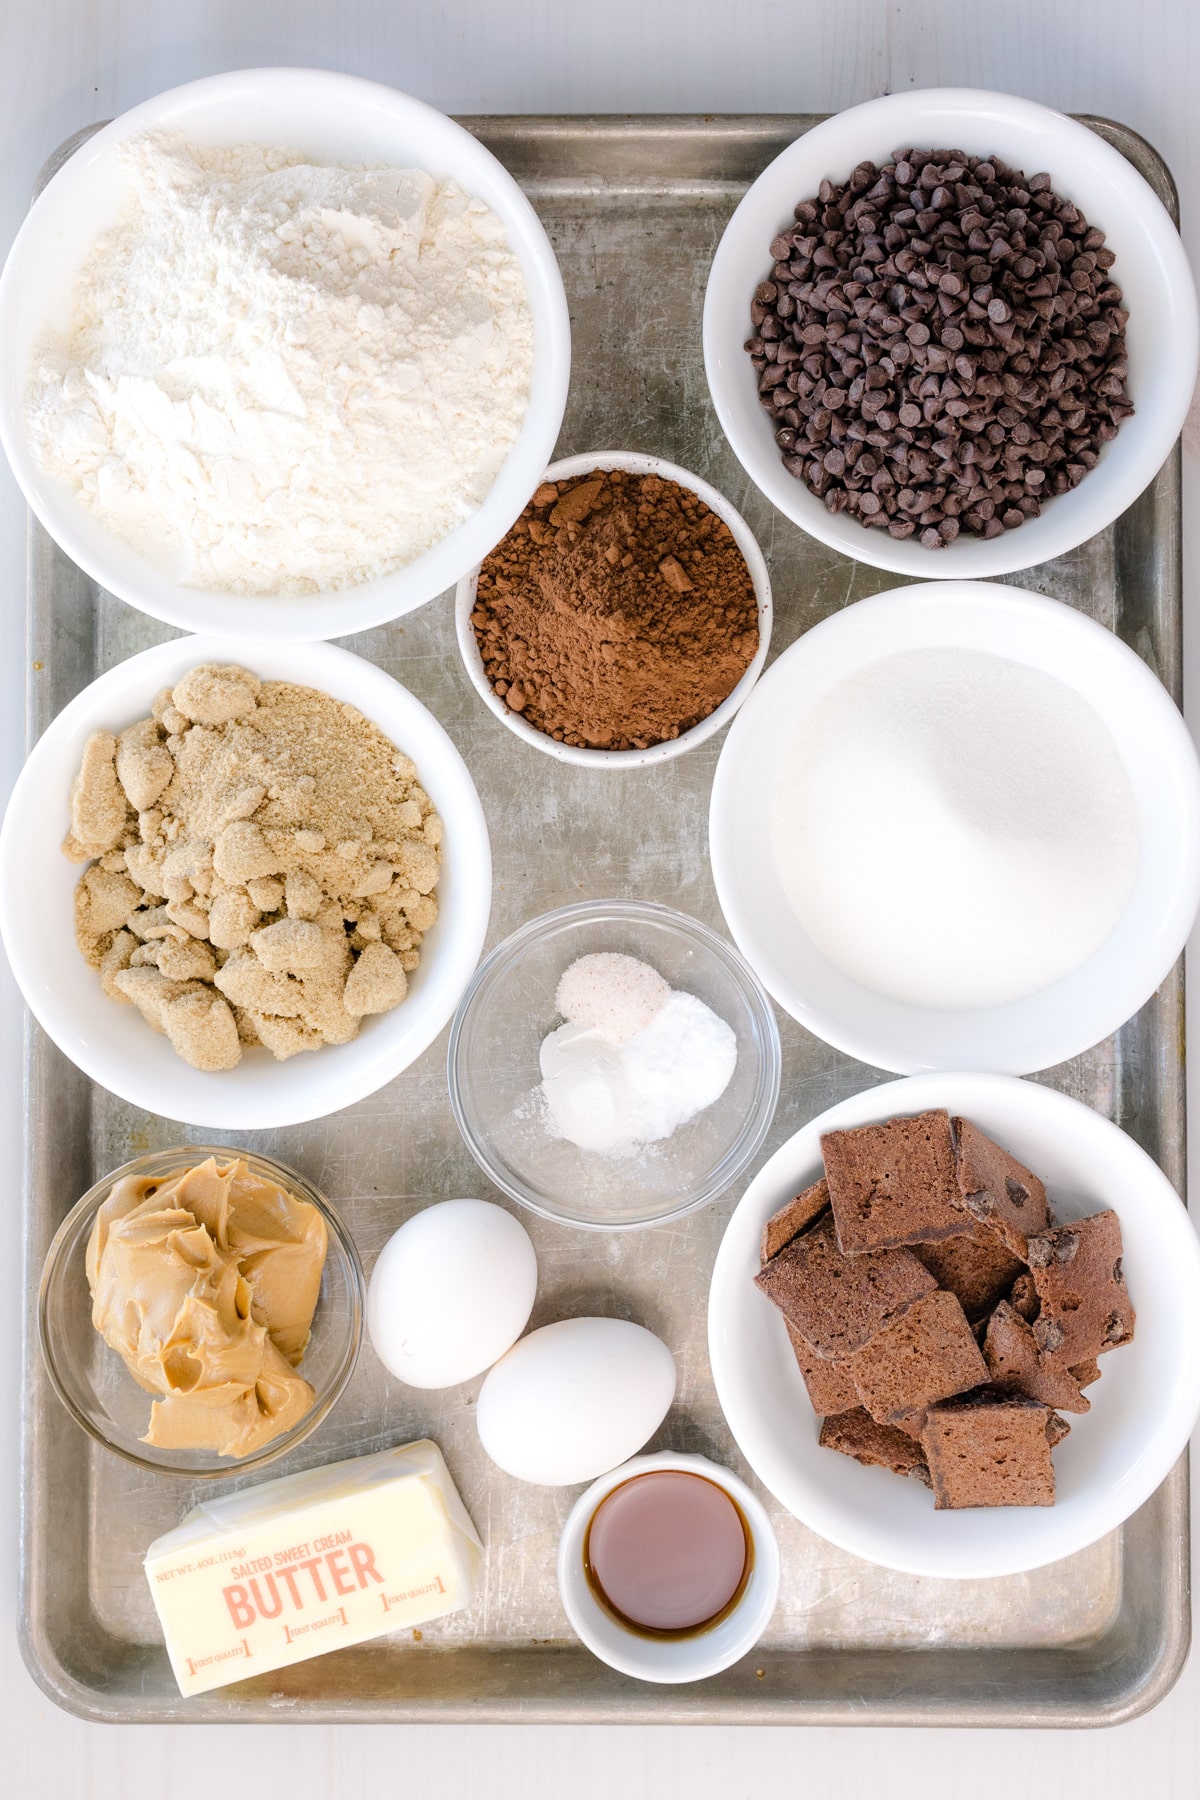
How to Make Chocolate Peanut Butter Stuffed Cookies
Peanut Butter Filling
- Start by mixing your peanut butter with powdered sugar and a splash of vanilla extract. This step is key to getting that creamy peanut butter surprise center.
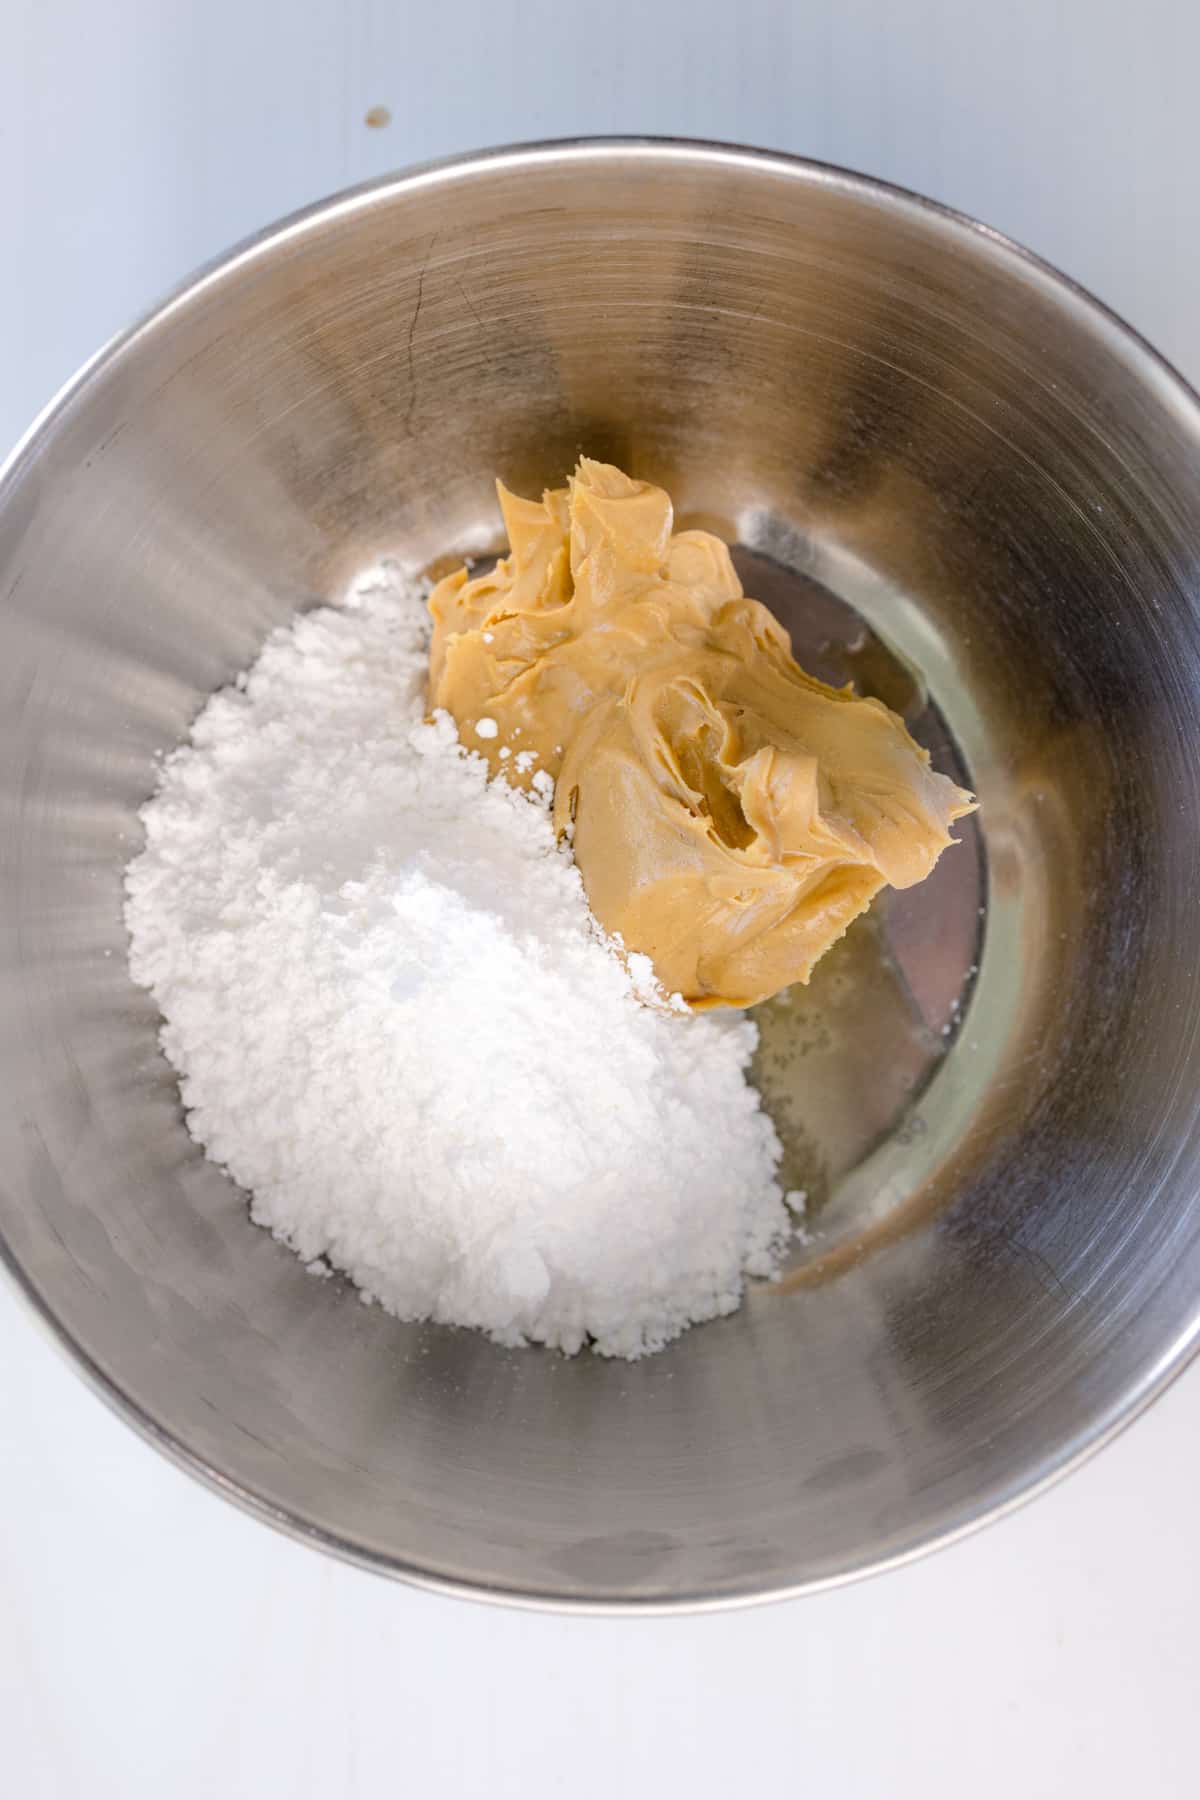
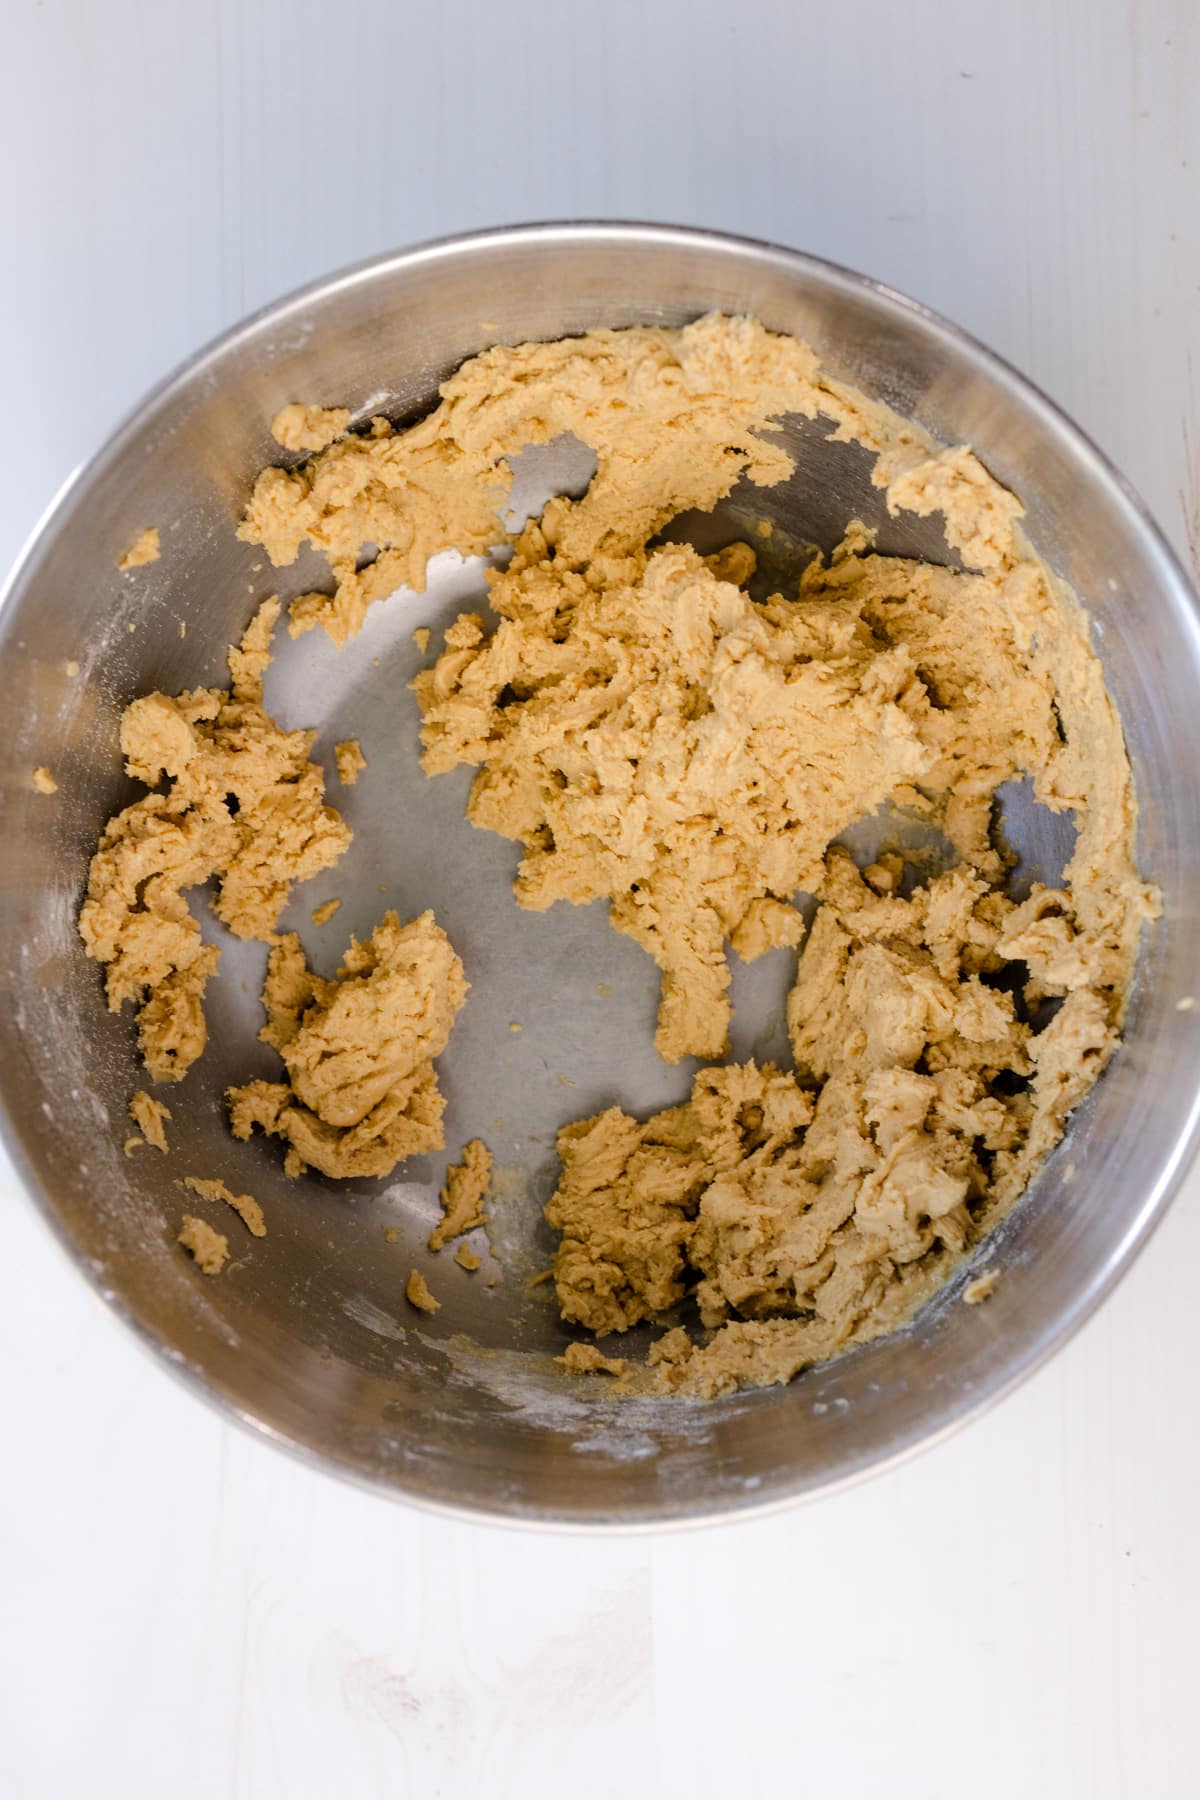
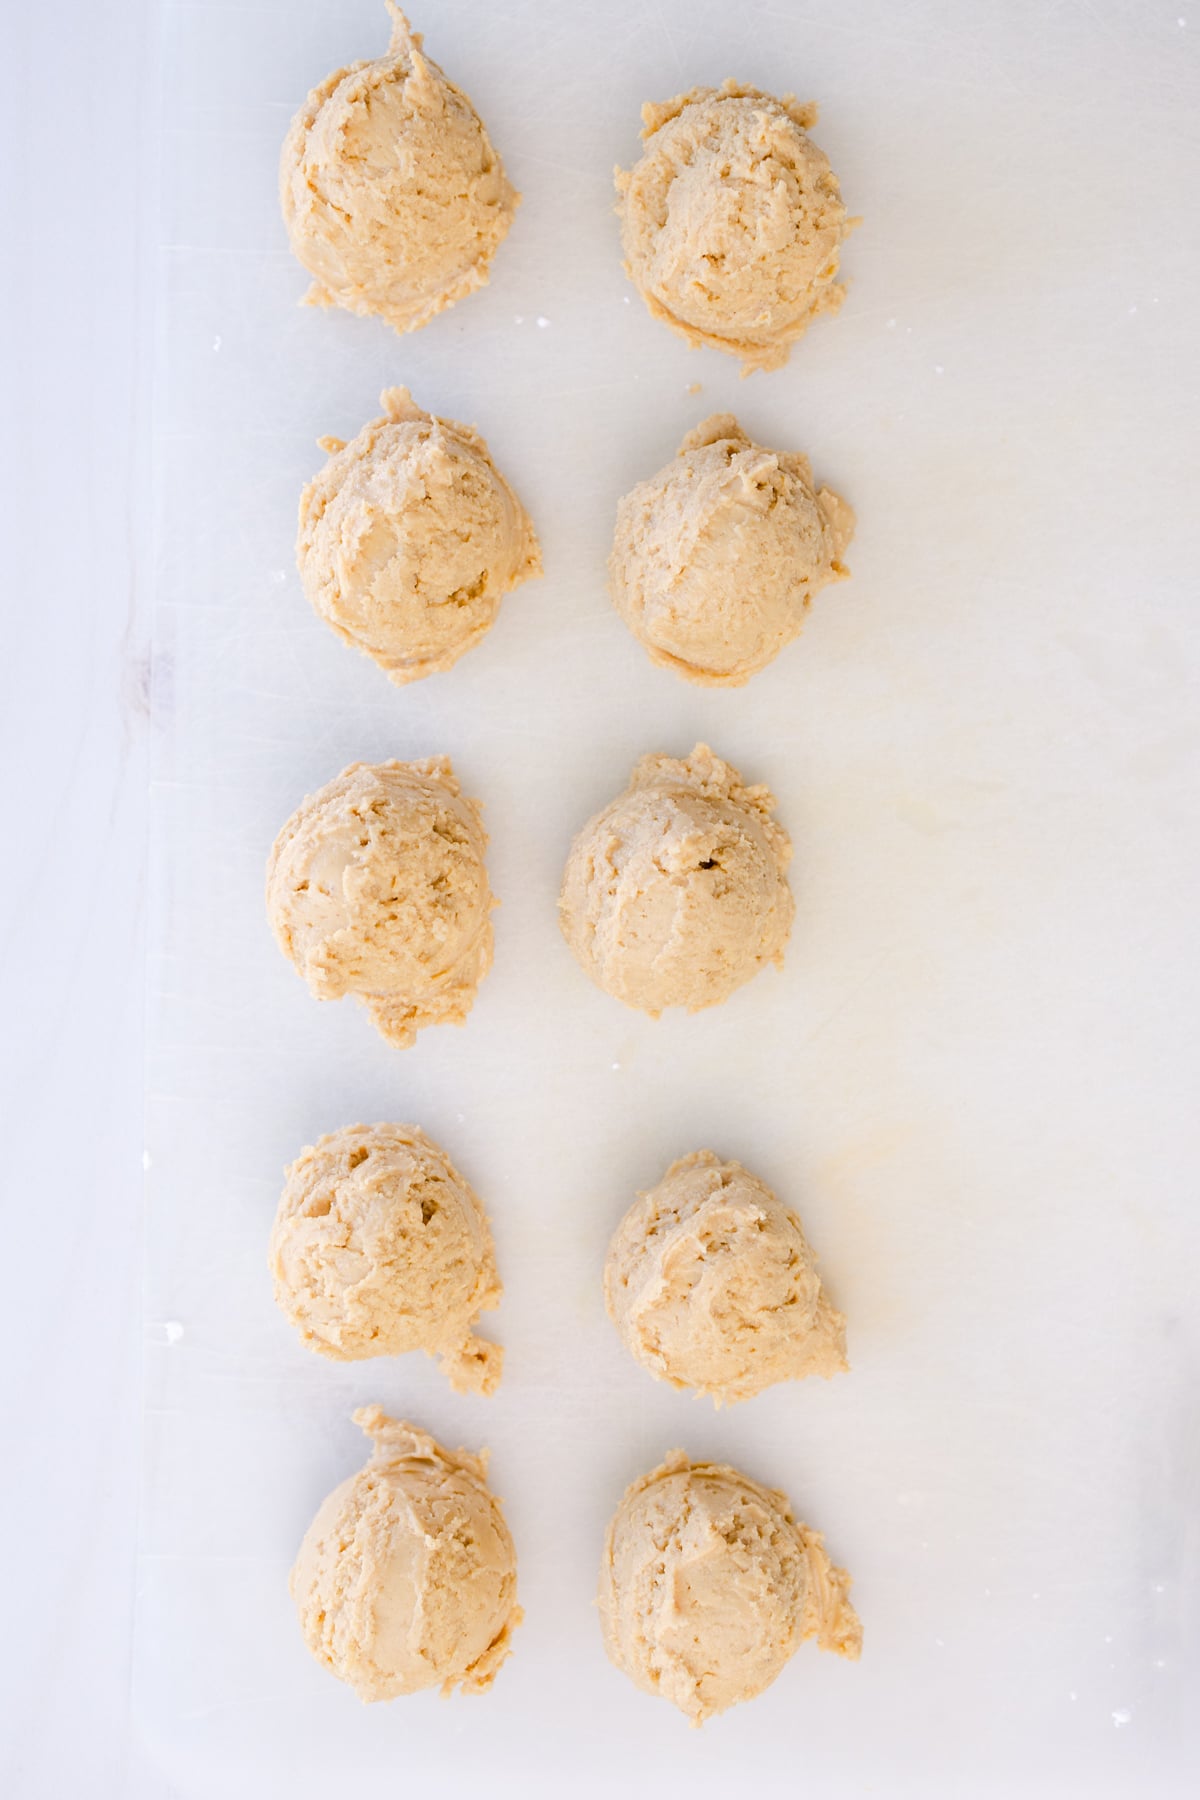
- Once smooth, divide the mixture into small portions (about a tablespoon each), roll them into balls, and pop them in the freezer while you make the cookie dough. Freezing the filling helps it stay firm and easy to stuff into the cookie dough later.
- Now before beginning the dough, preheat your oven to 375°F, line a baking sheet with parchment paper, and set aside. If you're aiming for those thick, bakery-style cookies, grab a 4-inch cookie ring.
Cookie Dough
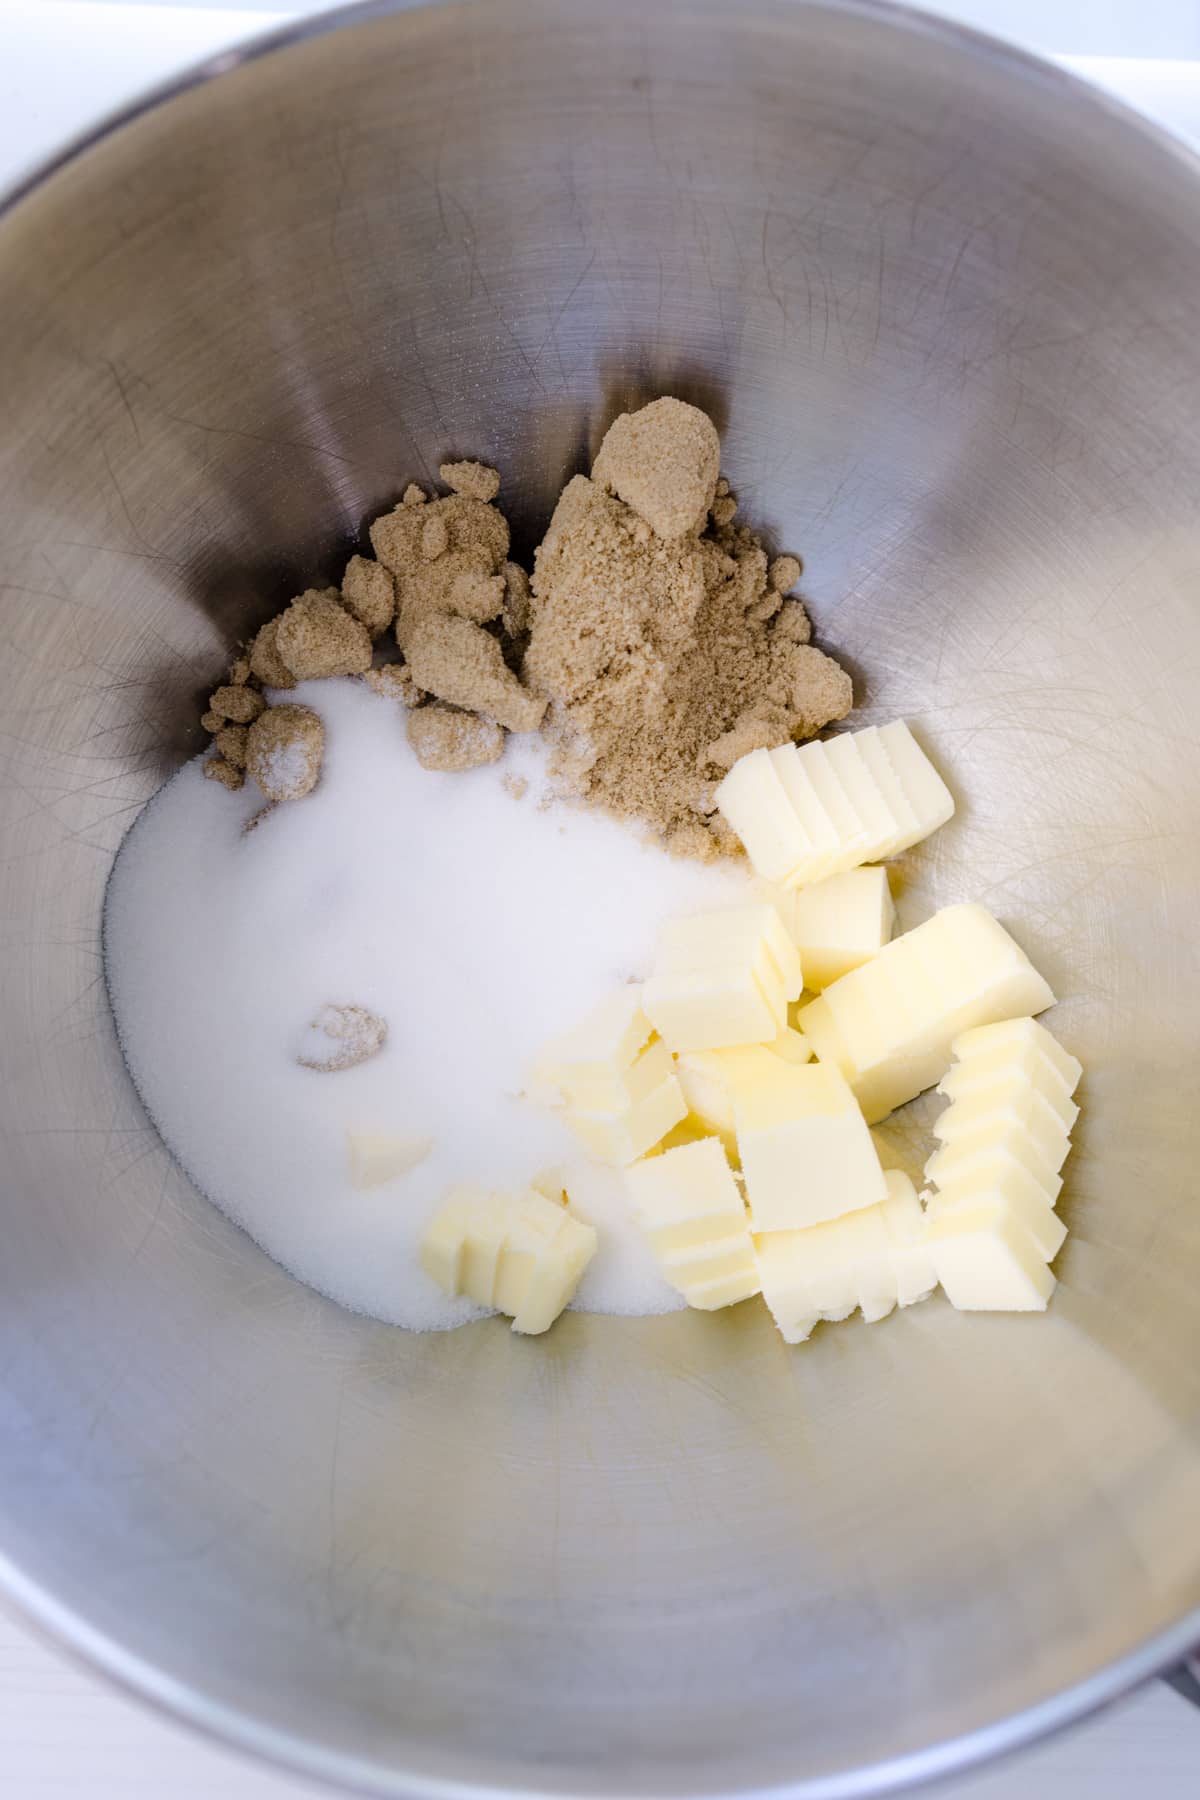
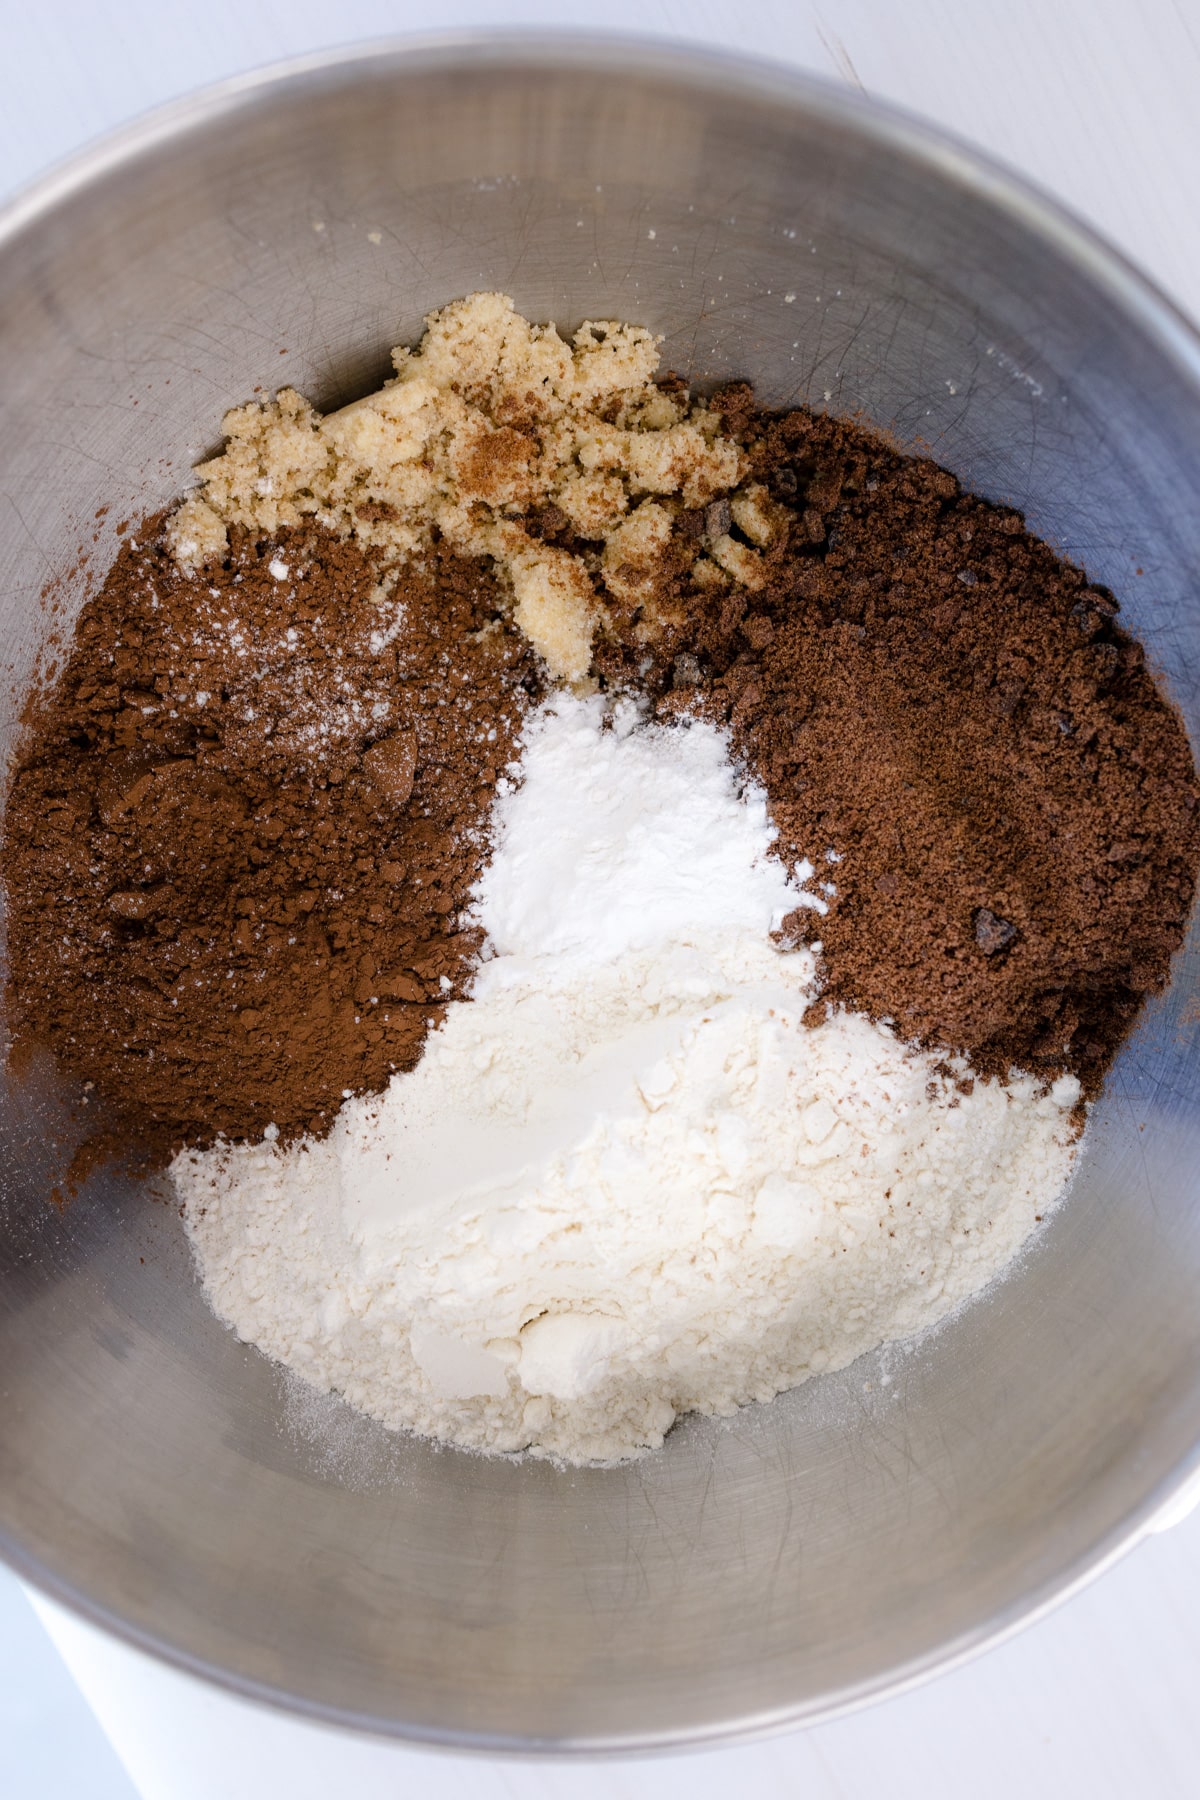
- In a large bowl or the bowl of your stand mixer, cream together the cold butter, granulated sugar, and brown sugar. The butter should be cold to create that perfect texture in the cookie.
- Mix on low speed until the butter is broken down into tiny bits and coated with sugar—this will take about 2-3 minutes.
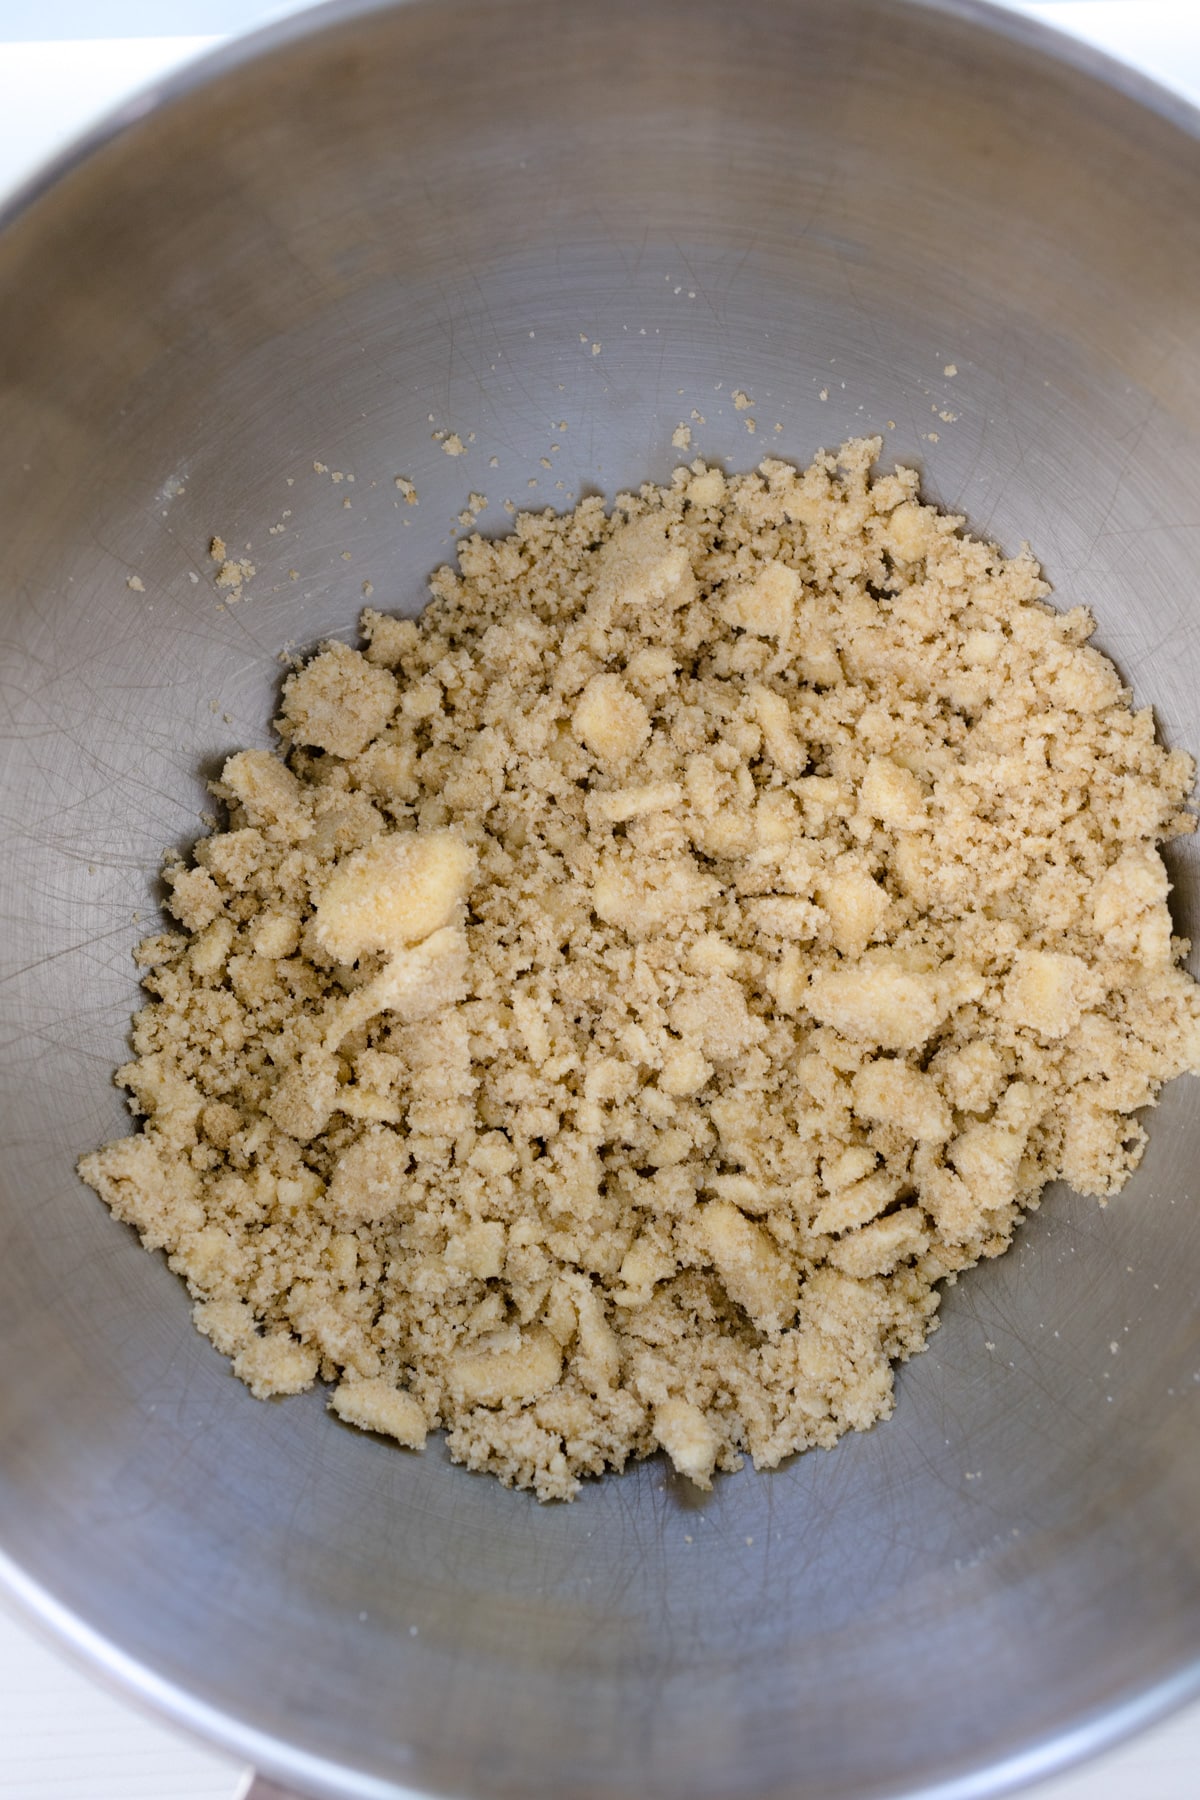
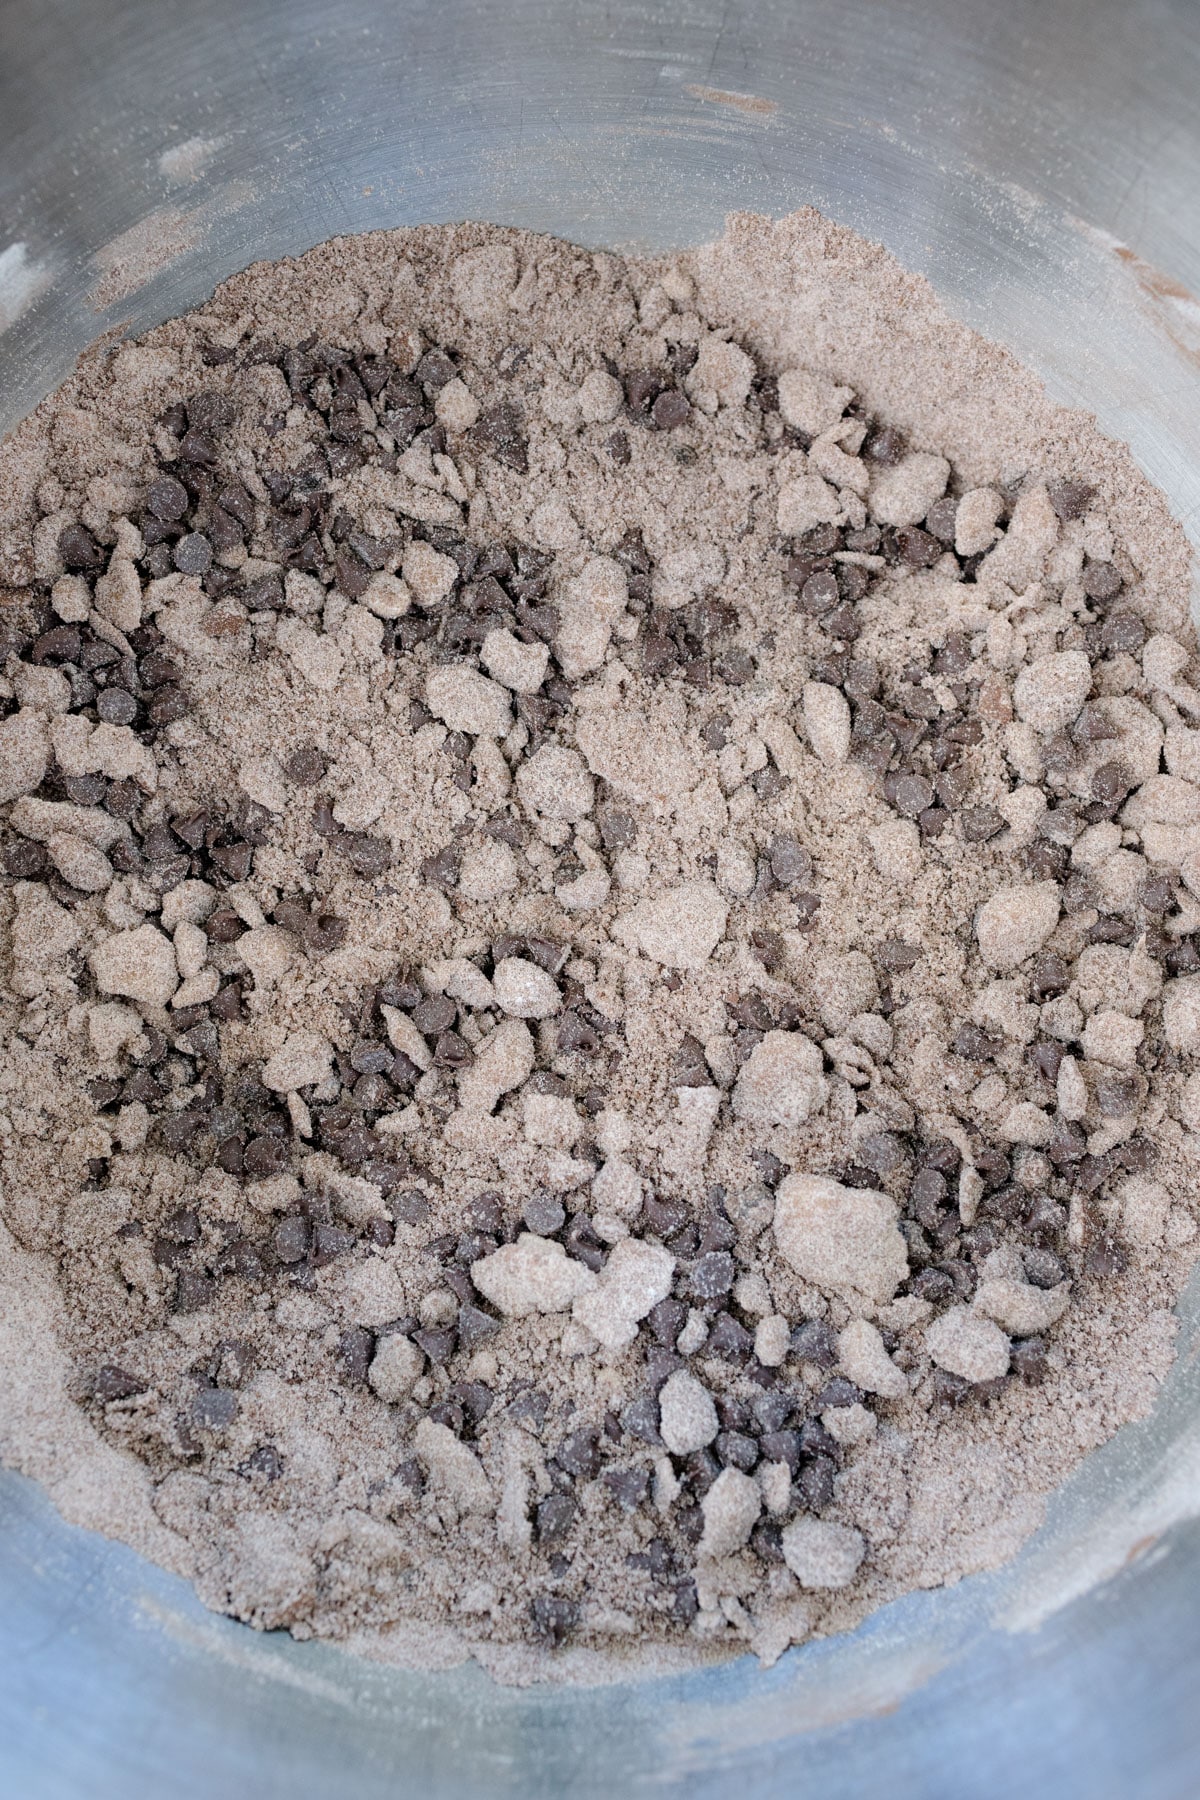
- Next, toss in your dry ingredients: All Purpose Flour, Baking Soda, Baking Powder, crushed Brownie Brittle, and Dutch Process Cocoa. Keep mixing on low for another 2-3 minutes until the mixture looks like a crumbly dry blend.
- Fold in the Milk Chocolate Chips for a chocolatey boost.
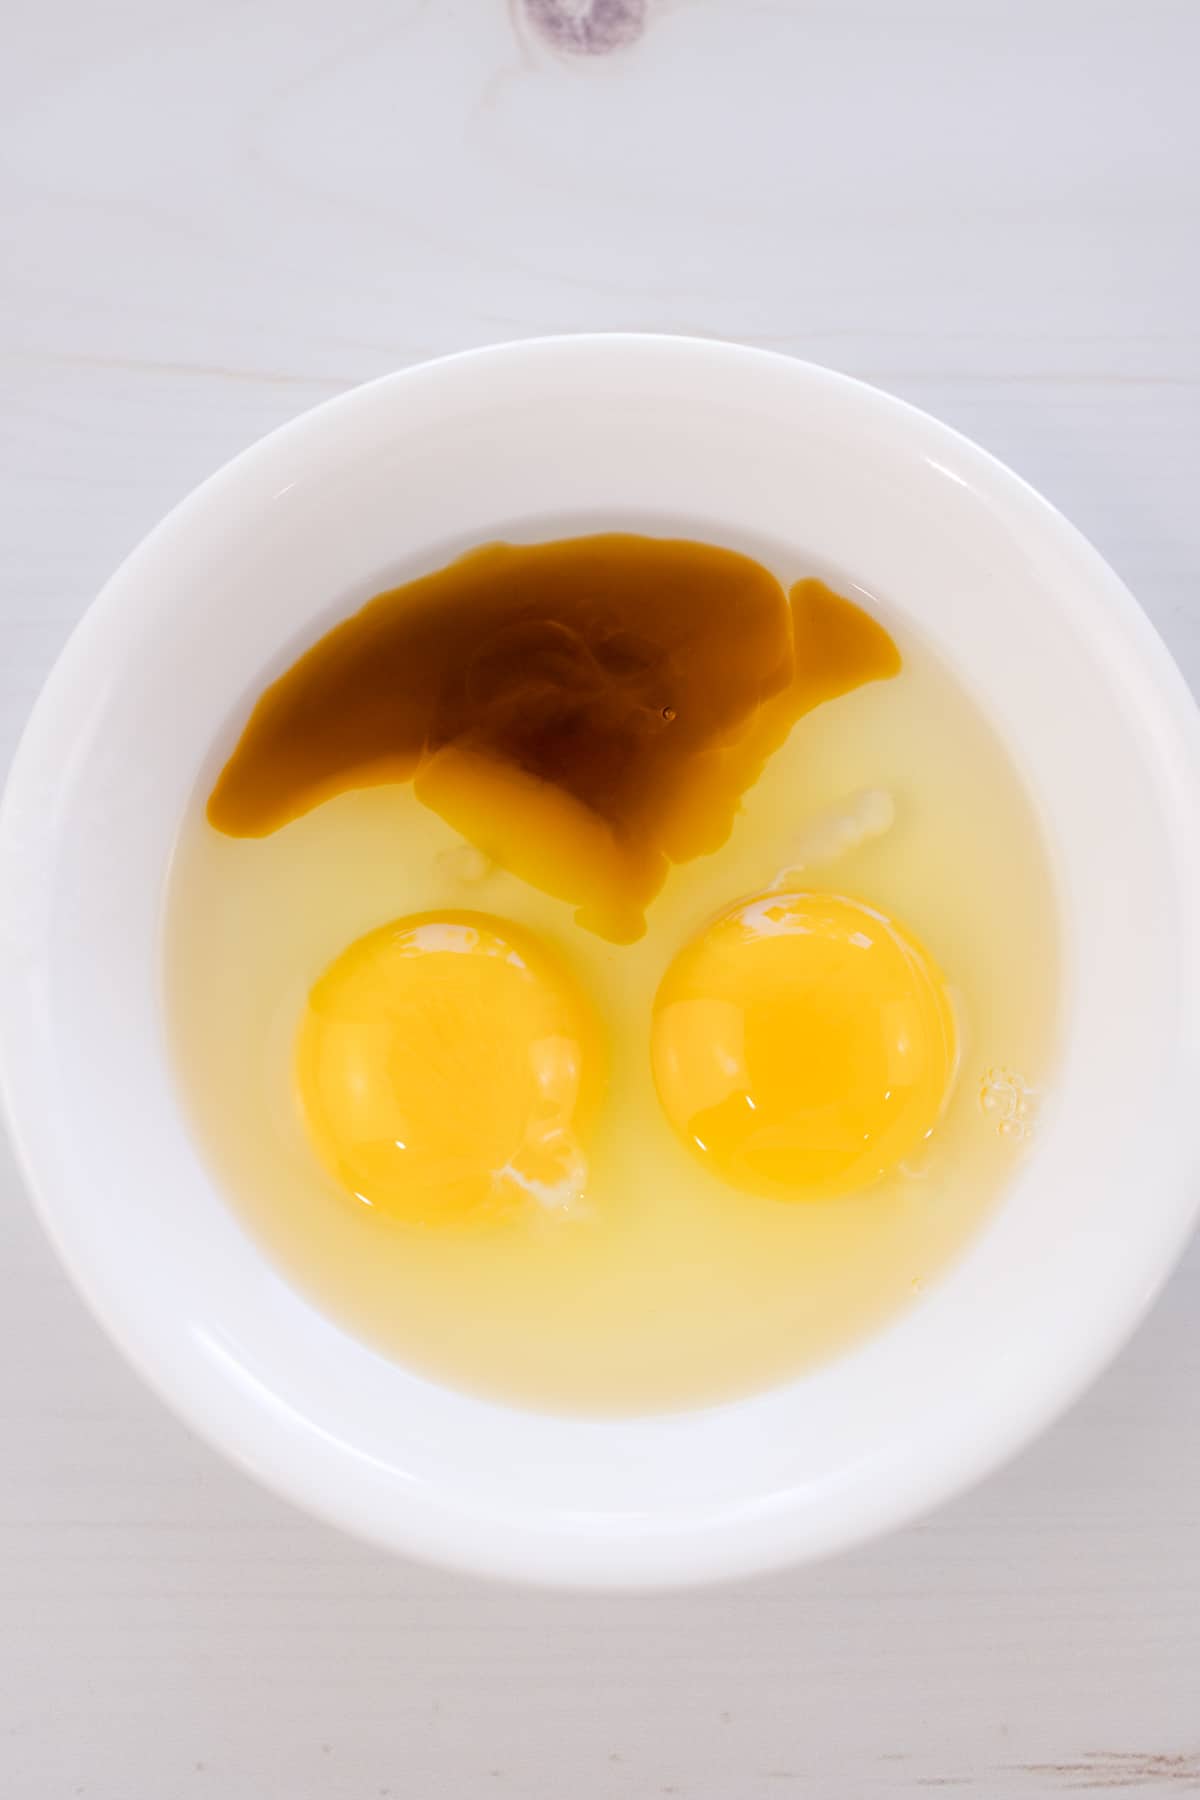
- In a separate bowl, whisk the eggs and Vanilla Extract.

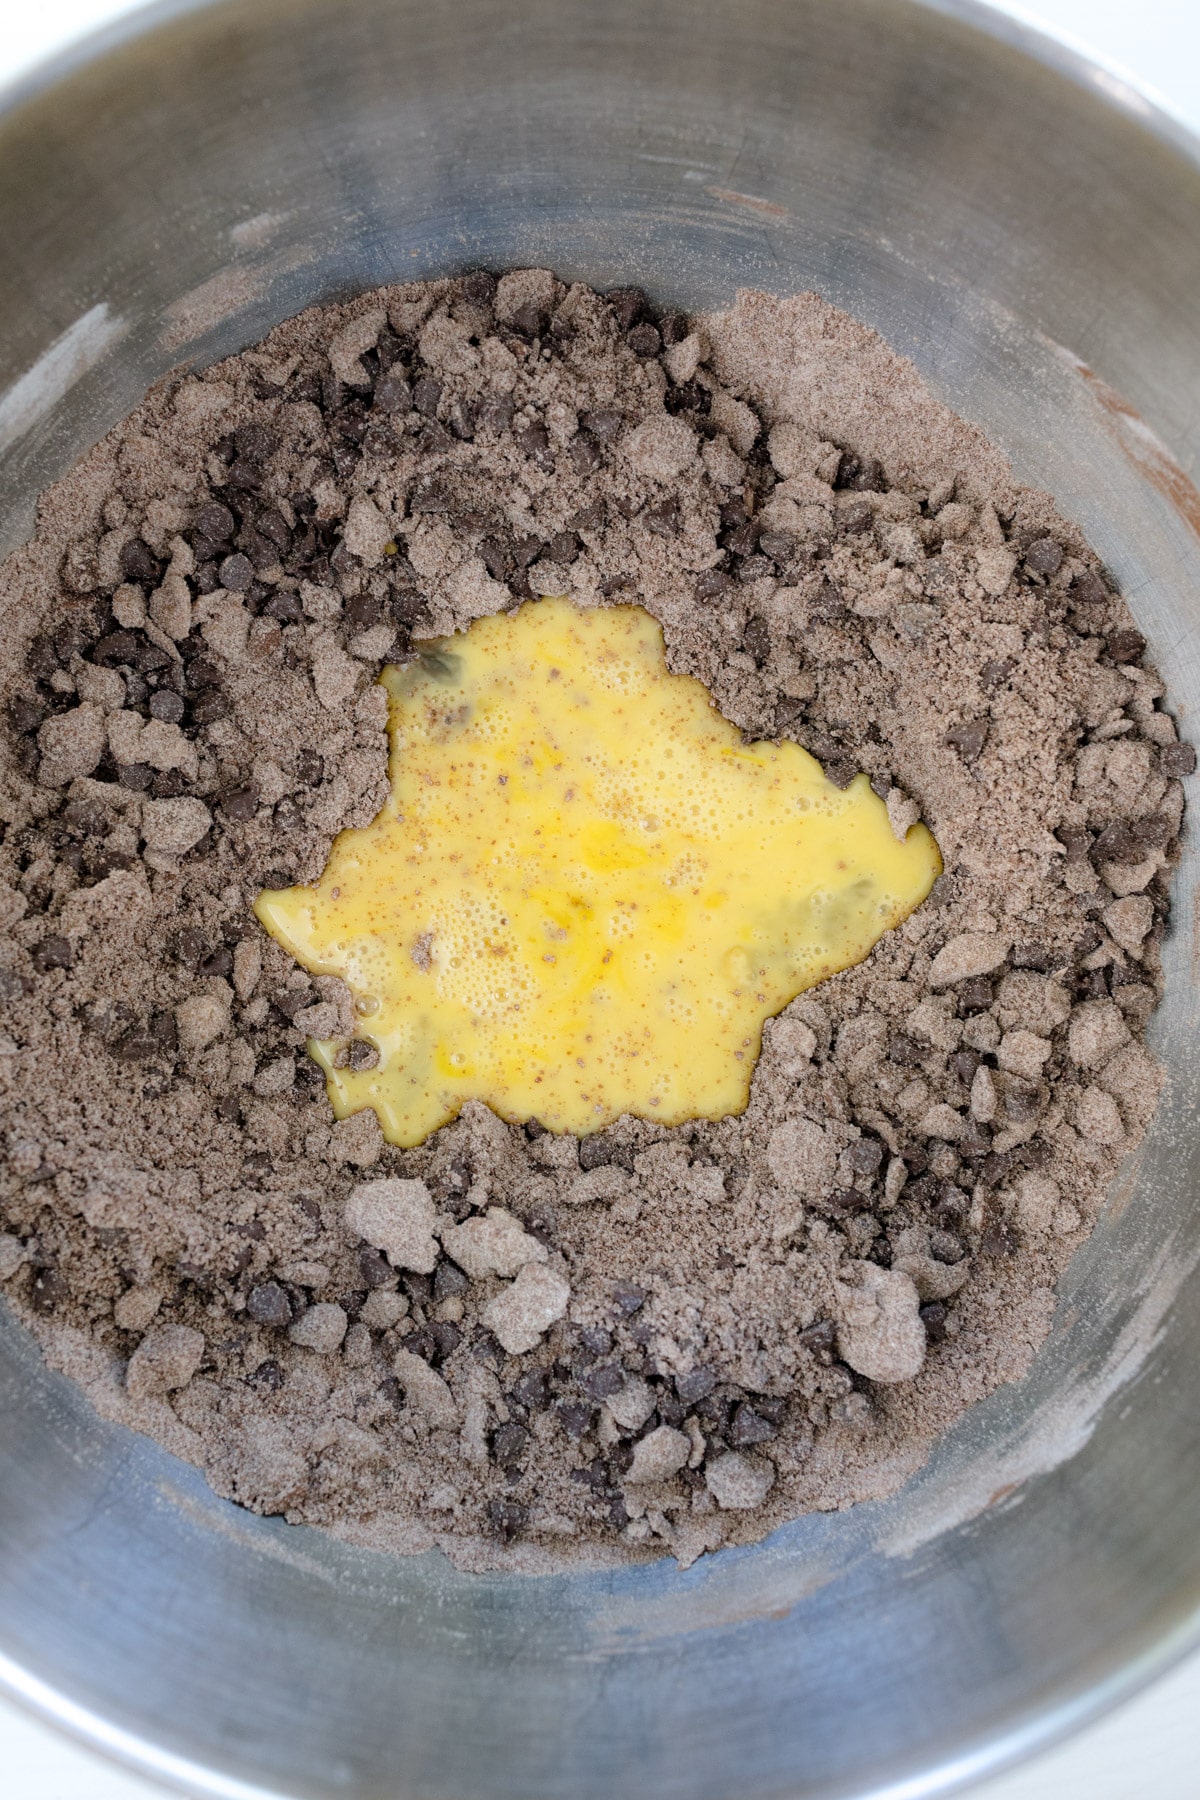
- Add this wet mixture to your dry ingredients and mix on low until the dough comes together. Trust the process—it’ll be worth it!
- Now, divide the dough into 10 equal portions, or weigh out 120g for each cookie dough ball if you're feeling precise.
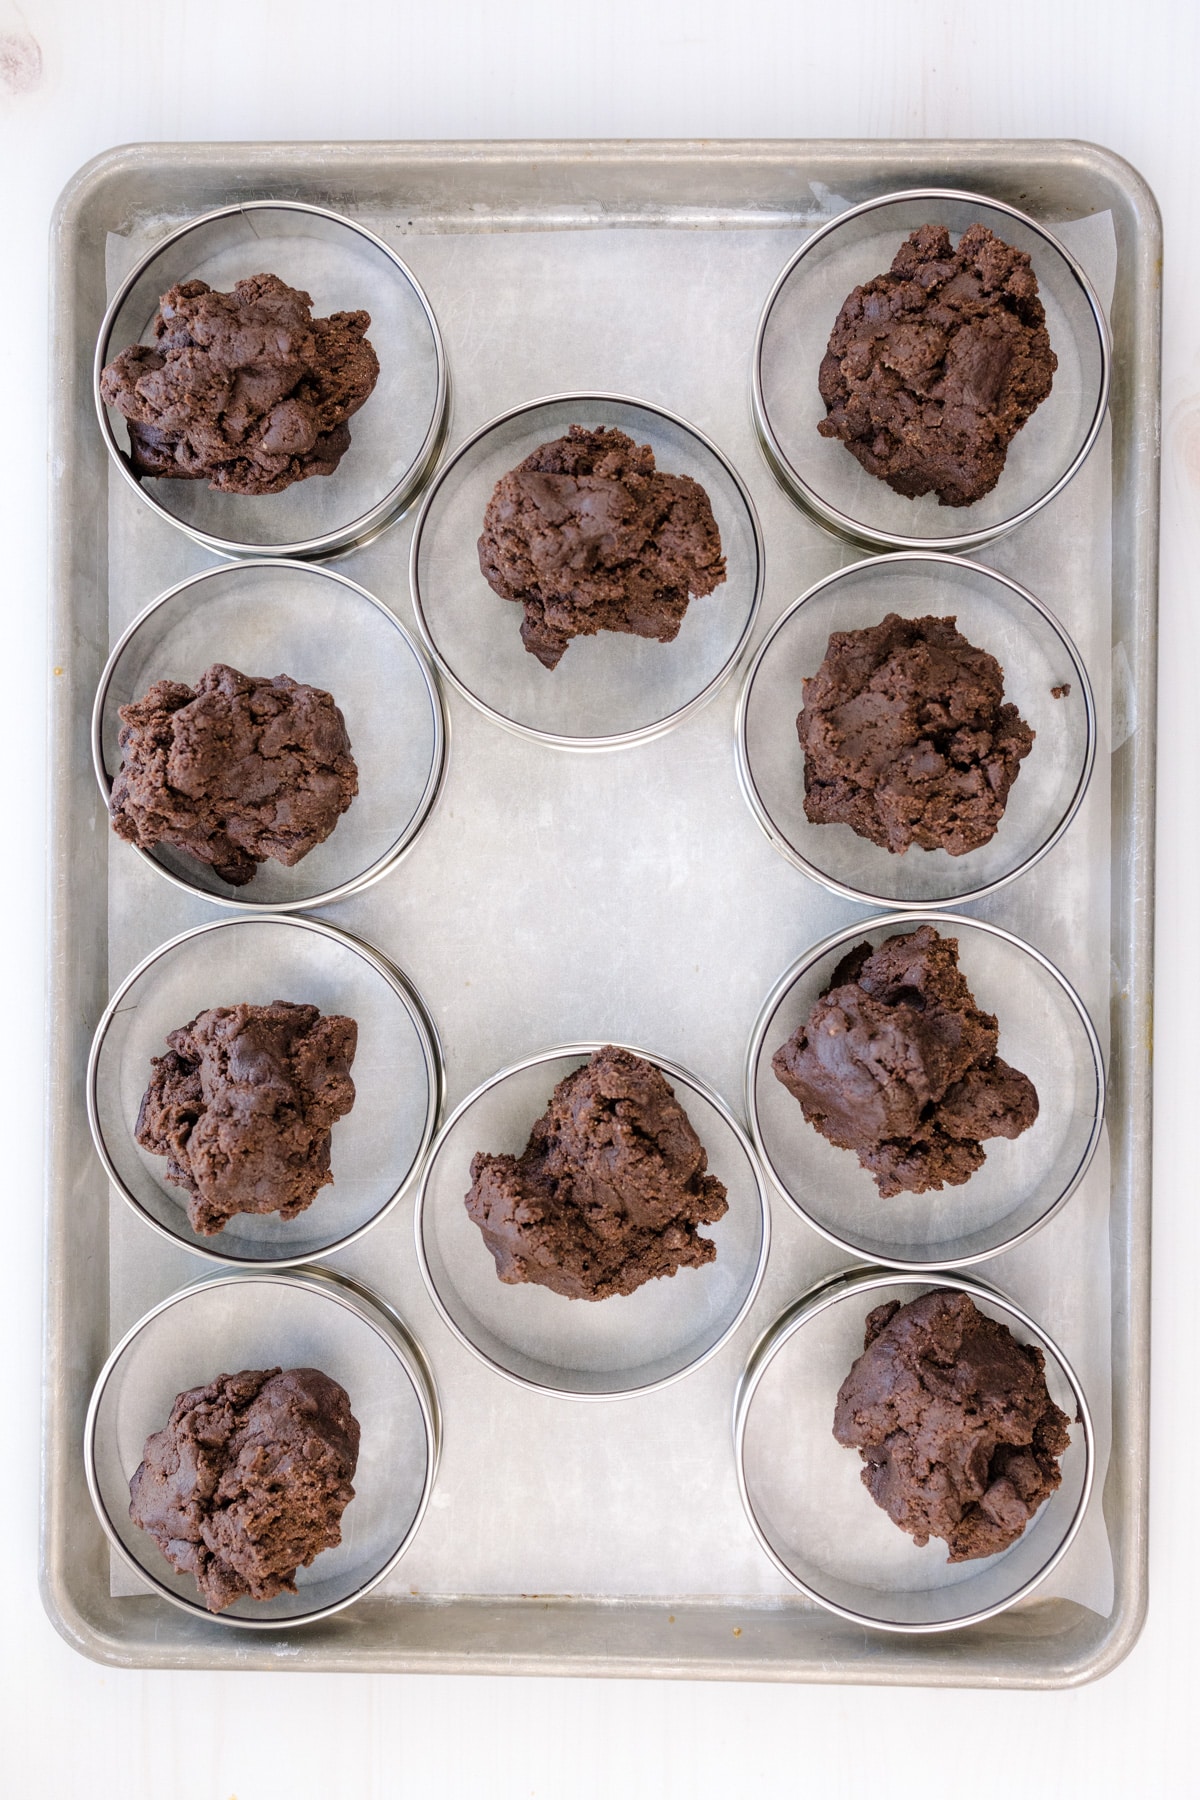
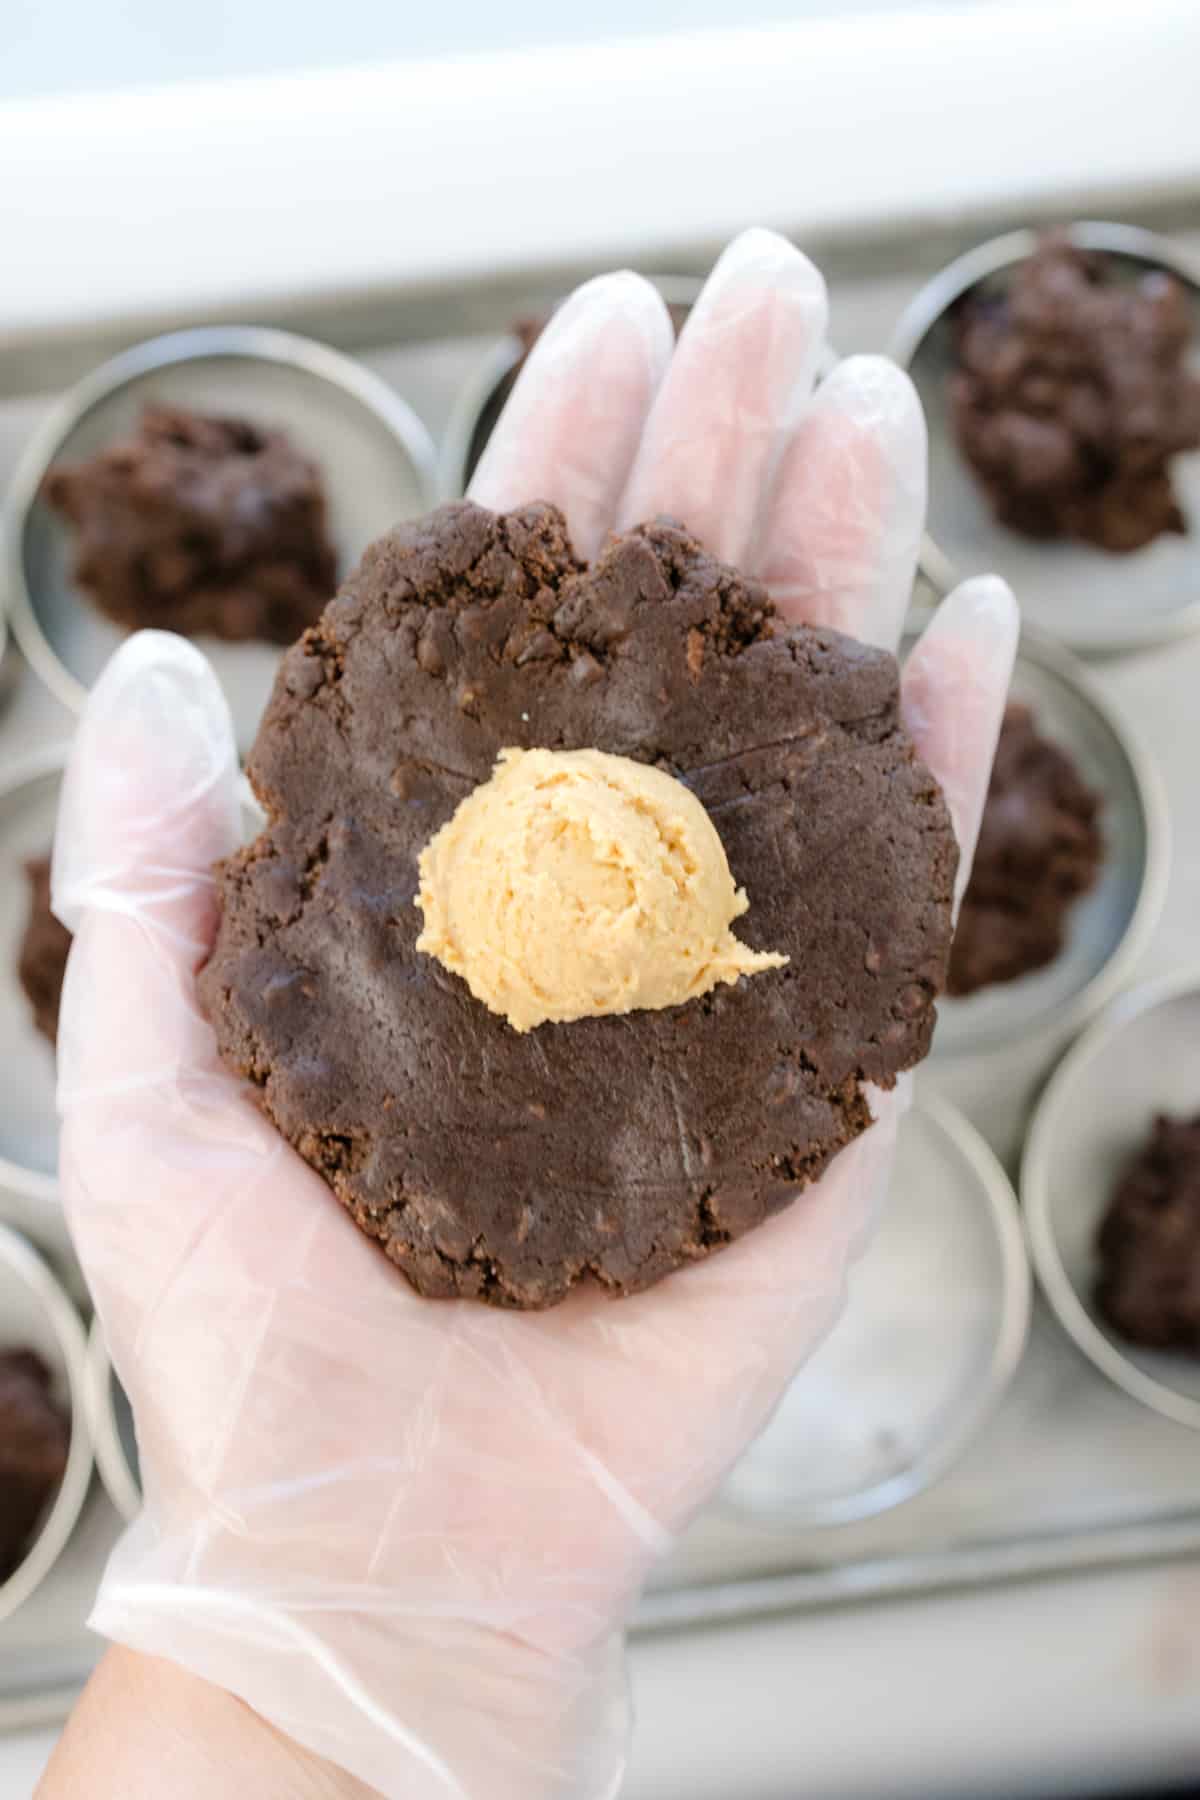
- Flatten each dough ball, place 1 tablespoon of frozen Peanut Butter filling in the center, and carefully wrap the dough around it to form a sealed ball.
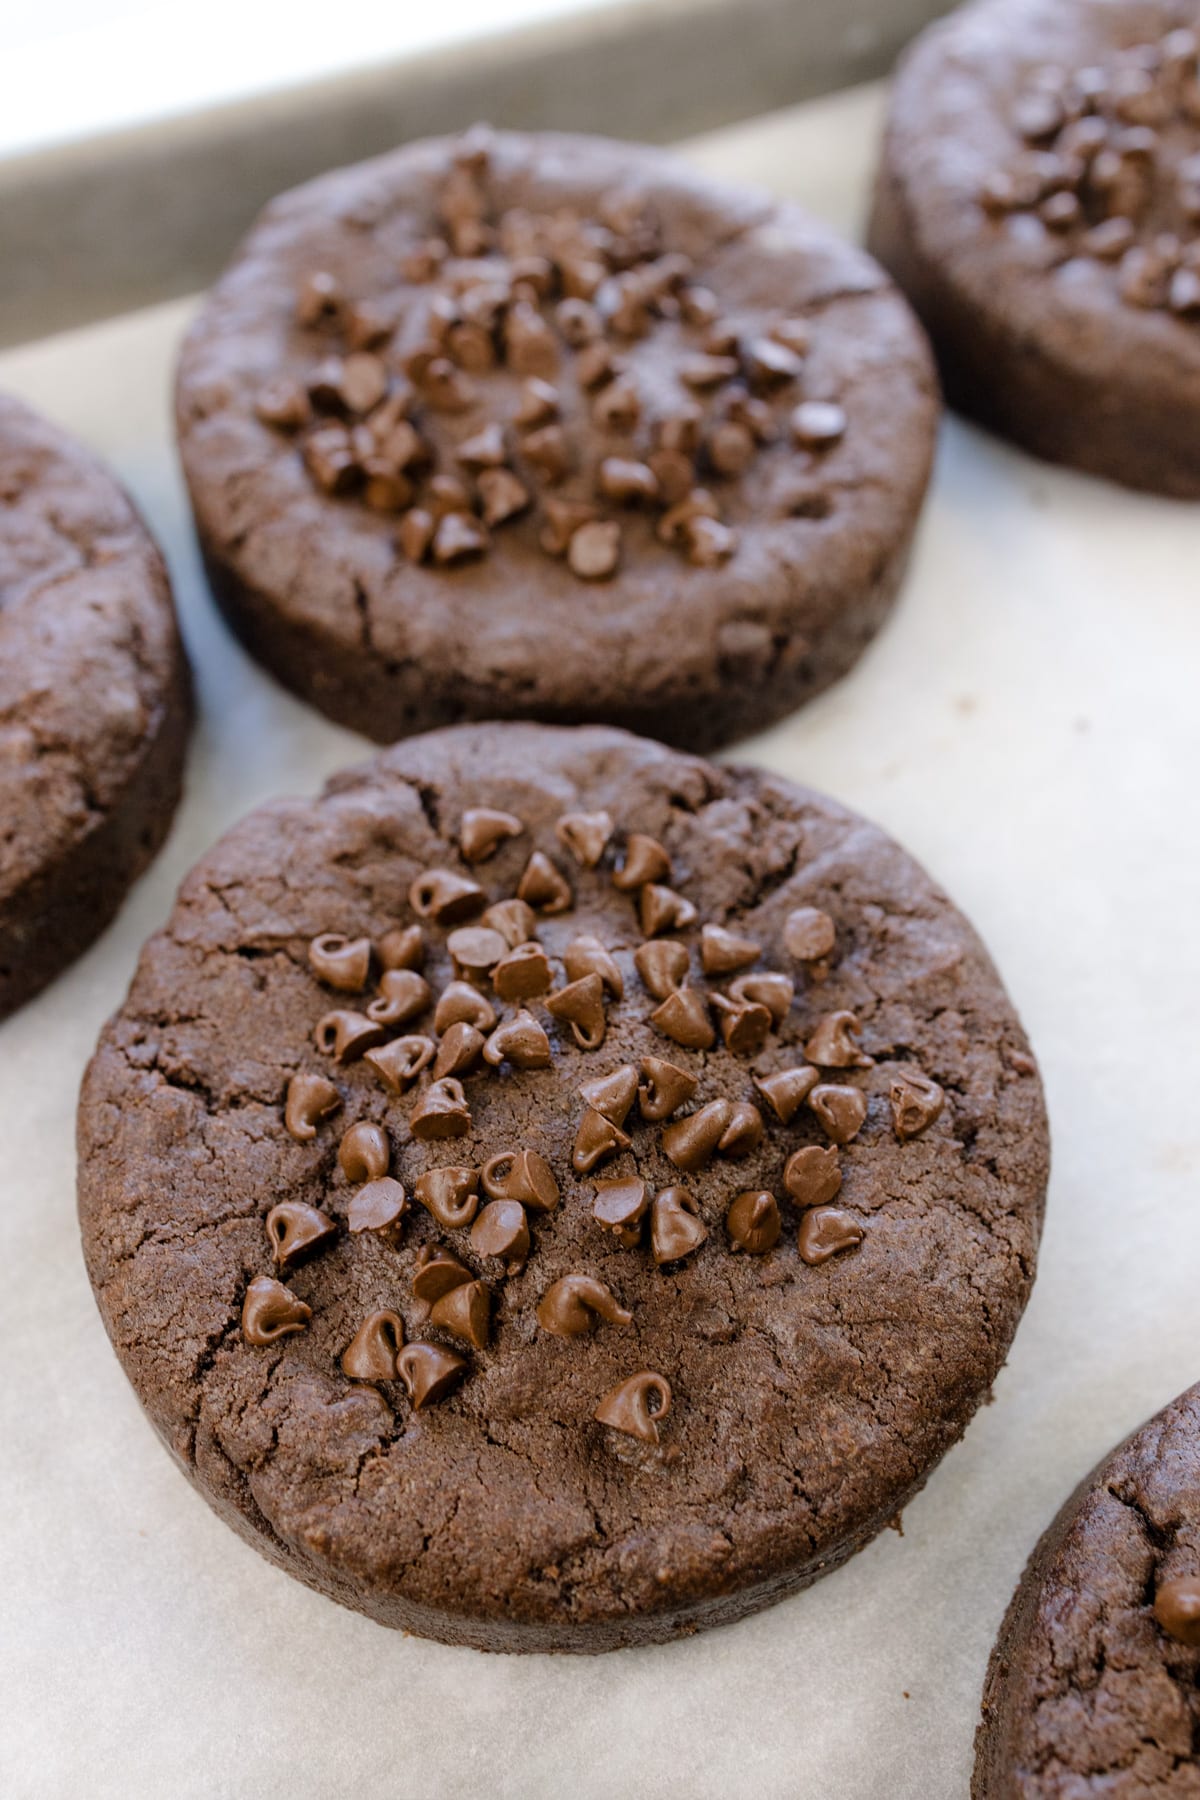
- Lastly, place each cookie ball on your lined baking sheet, using a 4-inch cookie ring for that perfect round shape. For extra decadence, sprinkle mini chocolate chips on top if you’d like.
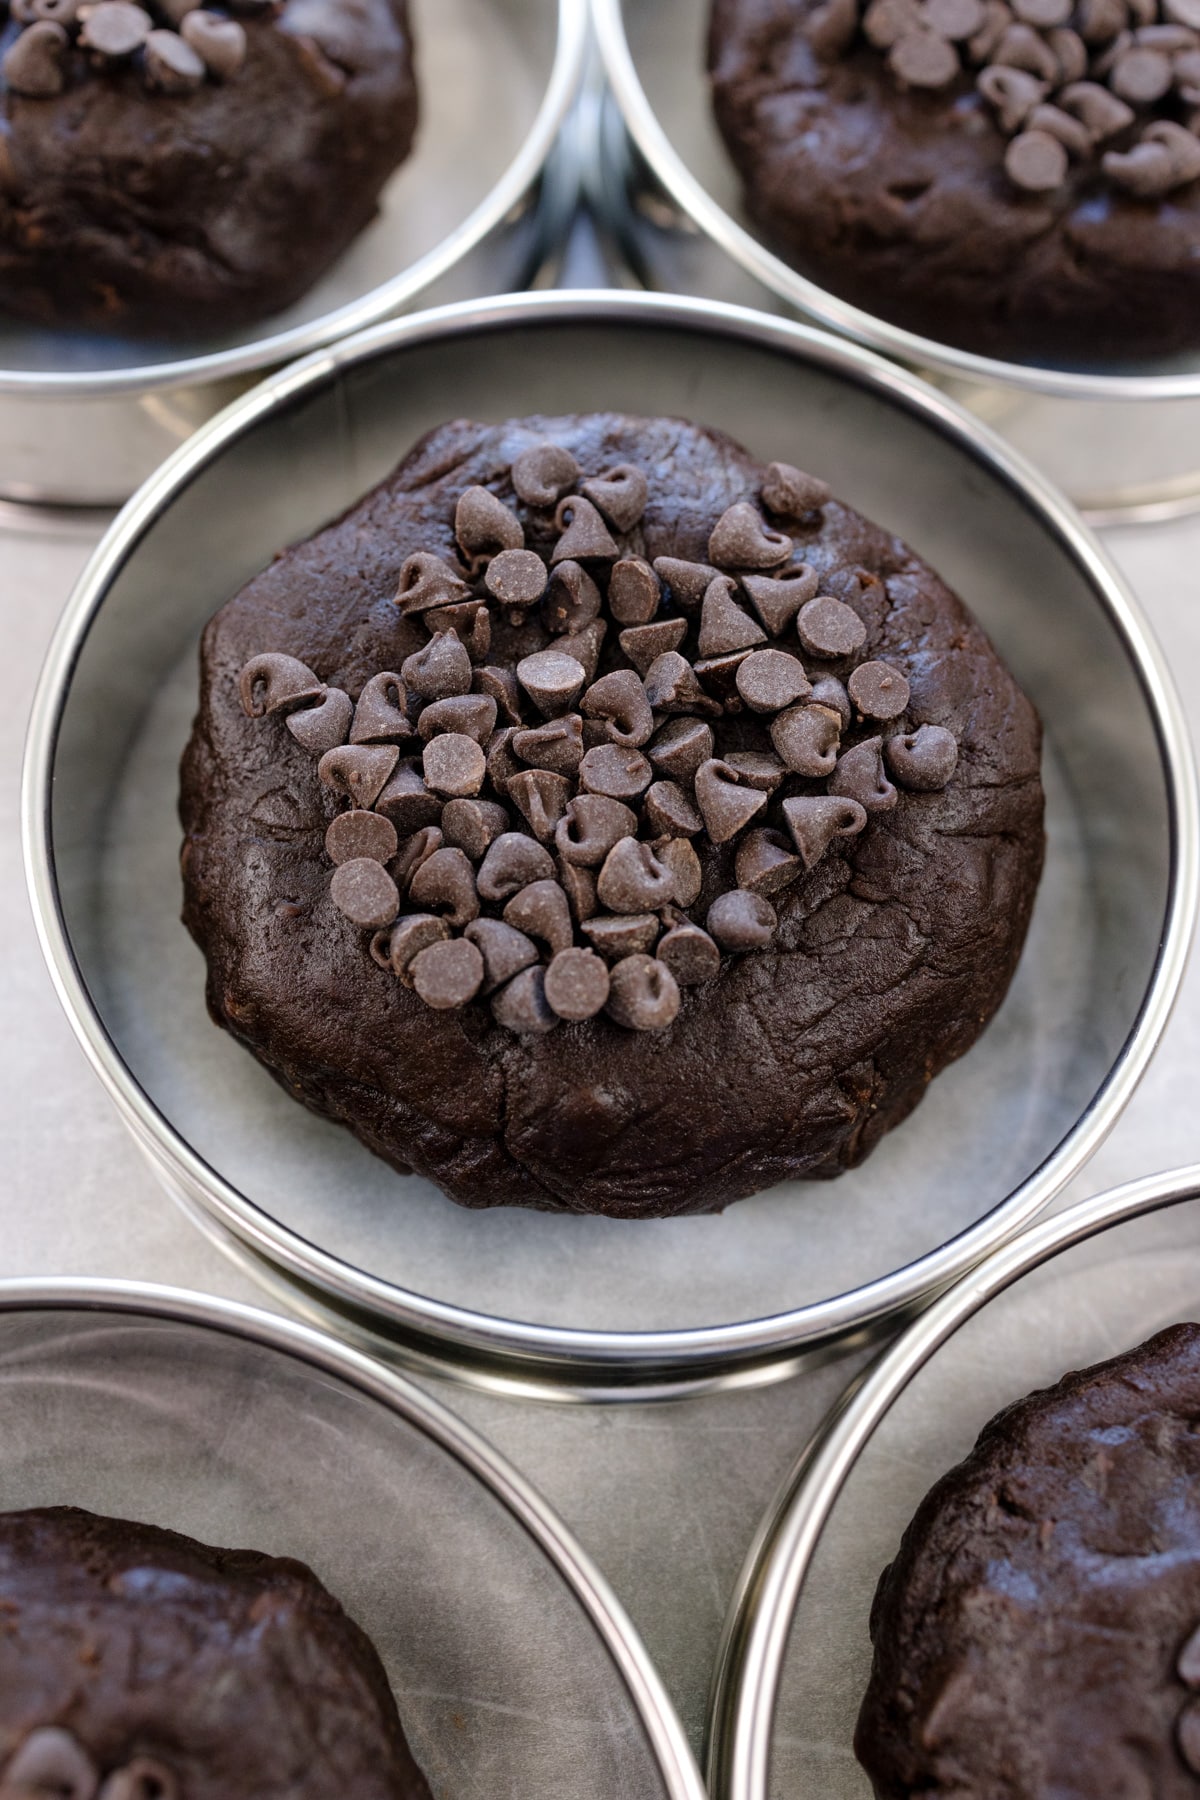
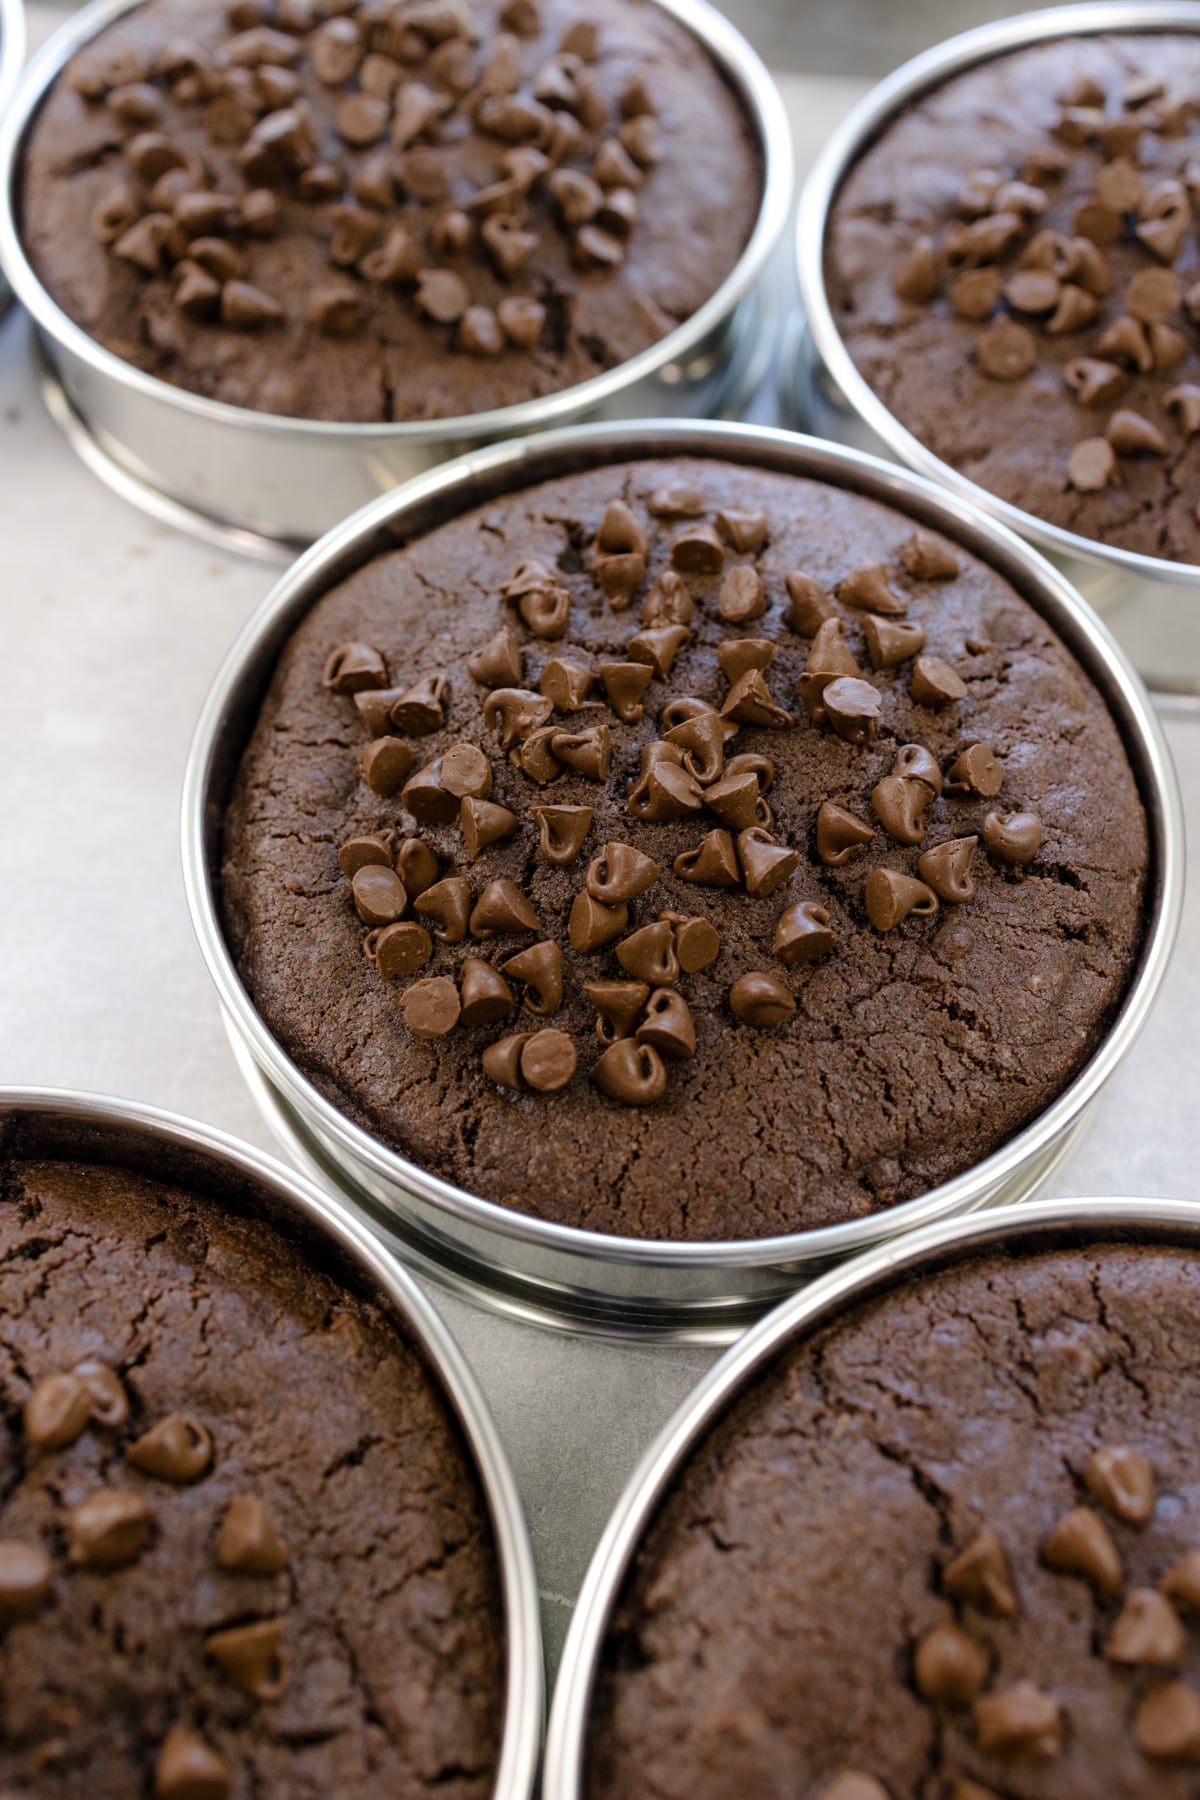
- Bake at 375°F for 16-18 minutes, until the centers are no longer glossy and the edges turn lightly golden. Let them cool on the baking sheet for 3-4 minutes.
- If the cookie rings stick, gently run a knife along the edges to release them. Allow the cookies to cool completely on the sheet for at least an hour before transferring them to a cooling rack.
FAQs
Yes, but make sure to stir it well to combine the oils before using. It might make the filling slightly softer, so chilling it longer may help.
No worries! You can use a hand mixer or mix everything by hand instead. Although, be prepared to put in a little extra elbow grease to get that cookie dough perfectly combined!
Absolutely! Just reduce the baking time by a few minutes accordingly to make sure they don’t overbake. Smaller cookies will undoubtedly bake faster.
Look for edges that are lightly golden and centers that have just set. The cookies will continue to firm up as they cool.
Definitely! You can swap out milk chocolate chips for dark, white, or even peanut butter chips for an extra flavor boost.
No problem! Just space the cookies a couple of inches apart on the baking sheet. They’ll spread a little more, but they’ll still taste amazing!
Baking Rings
Let's talk about Baking Rings and why I love them to make gourmet stuffed cookies! Who doesn't love a giant cookie, right? When using a baking ring and the perfect amount of cookie dough, the cookies will be an even thickness across. Making a delicious deep dish style cookie dessert.
Gourmet Cookies have been all the rage over the past few years and these deep dish cookies won't disappoint. I've purchased 2 sets of these baking rings so I can bake an entire batch of cookies at once. And let me tell you, I love it!
Storage & Freezing
Storage: Store cooled cookies in an airtight container at room temperature for up to 4-5 days. Make sure they’re fully cooled before sealing.
Freezing: Freeze unbaked dough balls on a tray, then transfer to a freezer-safe container. Bake directly from frozen, adding a couple of minutes. Baked cookies can also be frozen for up to 3 months.
Reheating: Microwave a cookie for 10-15 seconds for a warm, melty peanut butter center. Perfect with a hot drink or ice cream!
Make Ahead: Freeze dough or baked cookies for up to 3 months. Bake frozen dough directly or thaw baked cookies for an easy treat anytime.
Substitutions & Variations
- If you’re out of butter or looking for a dairy-free option, you can swap in margarine or plant-based butter. Keep in mind, this might slightly alter the flavor and texture, but your cookies will still be deliciously indulgent!
- Want to mix things up? You can replace the peanut butter with almond butter or even hazelnut spread for a fun twist. Crunchy peanut butter will add a bit of texture, while smooth peanut butter gives that classic creamy center. Natural peanut butter works, too, but make sure to stir it well beforehand.
- If you want a chewier texture, try using bread flour instead of all-purpose flour. It adds a bit more structure and chewiness to the cookies. You can also experiment with gluten-free flour blends to accommodate dietary restrictions, though results may vary.
- While milk chocolate chips are a classic choice, feel free to get creative with dark chocolate, white chocolate, or even peanut butter chips! For extra crunch, toss in some crushed peanut butter cups, brownie brittle, or toffee bits.
- For a healthier twist, you can replace the granulated sugar with coconut sugar or maple syrup, though the texture will change slightly. Coconut sugar adds a mild caramel flavor, which pairs beautifully with chocolate and peanut butter.
Pro Tips
What makes a good cookie? Does it have a soft center and crispy edges, and is it chewy? Each of these makes a great quality cookie. To make perfect cookies every time here are some pro tips.
Don’t Overbake.
Keep a close eye on your cookies in the last few minutes of baking. You want the edges to be golden but the centers to still look slightly soft. They’ll firm up as they cool, leaving you with perfectly gooey, chewy cookies.
Serving Suggestions.
These cookies are a dream on their own, but they’re even better when served warm with a scoop of vanilla ice cream or a drizzle of melted chocolate. They also pair beautifully with a cold glass of milk or a cozy hot chocolate for the ultimate sweet treat experience.
Use Cold Butter.
Using cold butter is key to creating that perfectly thick, chewy cookie texture. This prevents the dough from spreading too much while baking, keeping the peanut butter center intact and giving your cookies that bakery-style look.
Freeze the Filling.
Make sure to freeze the peanut butter balls for at least an hour before assembling the cookies. This ensures they stay intact during baking and don’t ooze out of the cookies.
Weighing Ingredients.
Baking is a science and adding too much or too little of any of the ingredients will alter the recipe consequently. Weighing and measuring dry ingredients properly makes a world of difference. Investing in a kitchen scale is ideal. When a kitchen scale is not available, make sure to stir and lift ingredients before scooping them into a measuring cup.
| Volume | Ounces | Grams | |
| All Purpose Flour | 1 Cup | 4½ Ounces | 120 Grams |
| Bread Flour | 1 Cup | 4½ Ounces | 120 Grams |
| Granulated Sugar | 1 Cup | 7 Ounces | 200 Grams |
| Brown Sugar | 1 Cup | 7½ Ounces | 213 Grams |
| Confectionary Sugar | 1 Cup | 4 Ounces | 113 Grams |
Baking Sheets.
You can also use an ungreased cookie sheet if you prefer. I like to use Parchment Paper to line baking sheets or a Silicone Mat for easy cleanup.
Baking Time.
Baking times can vary, as every oven is different. Adjust yours accordingly - I find 17 to 18 minutes works perfectly in mine! I recommend doing a test batch of 1-3 cookies to test the baking time for a perfectly baked cookie before baking the remaining dough.
Cookies.
Cookies are perfectly baked when the edges are set and the centers are no longer glossy.
Cooling Rack.
Allow cookies to cool on the baking sheet for a minute or two before moving them to a cooling rack to cool completely.
Useful Equipment:
- Kitchen Scale. I use this for accuracy in measuring, and it's a lifesaver when it comes to consistent baking.
- Wire Rack for cooling cookies. I like to have at least two cooling racks.
- Mixing Bowls. A Large Mixing Bowl for mixing ingredients and small and medium mixing bowls for other ingredients.
- Cookie Sheet. Most recipes will take two batches to bake. It's great to have multiple baking sheets available.
- Parchment Paper or Silicone Baking Mat. Line the Cookie Sheet with parchment paper for easy cleanup and to prevent sticking.
- Cookie Scoop. A small #60 Cookie Scoop or a Medium Cookie Scoop #50 are great choices for uniform drops of cookie dough.
- Storage Container. An Airtight Container to store cookies or a Ziploc Bag works great too.
- Additional supplies. Measuring Cups and Measuring Spoons along with a silicone spatula, are all helpful.
To find out more, check out my Pro Tips Guide for making the best cookies every time!
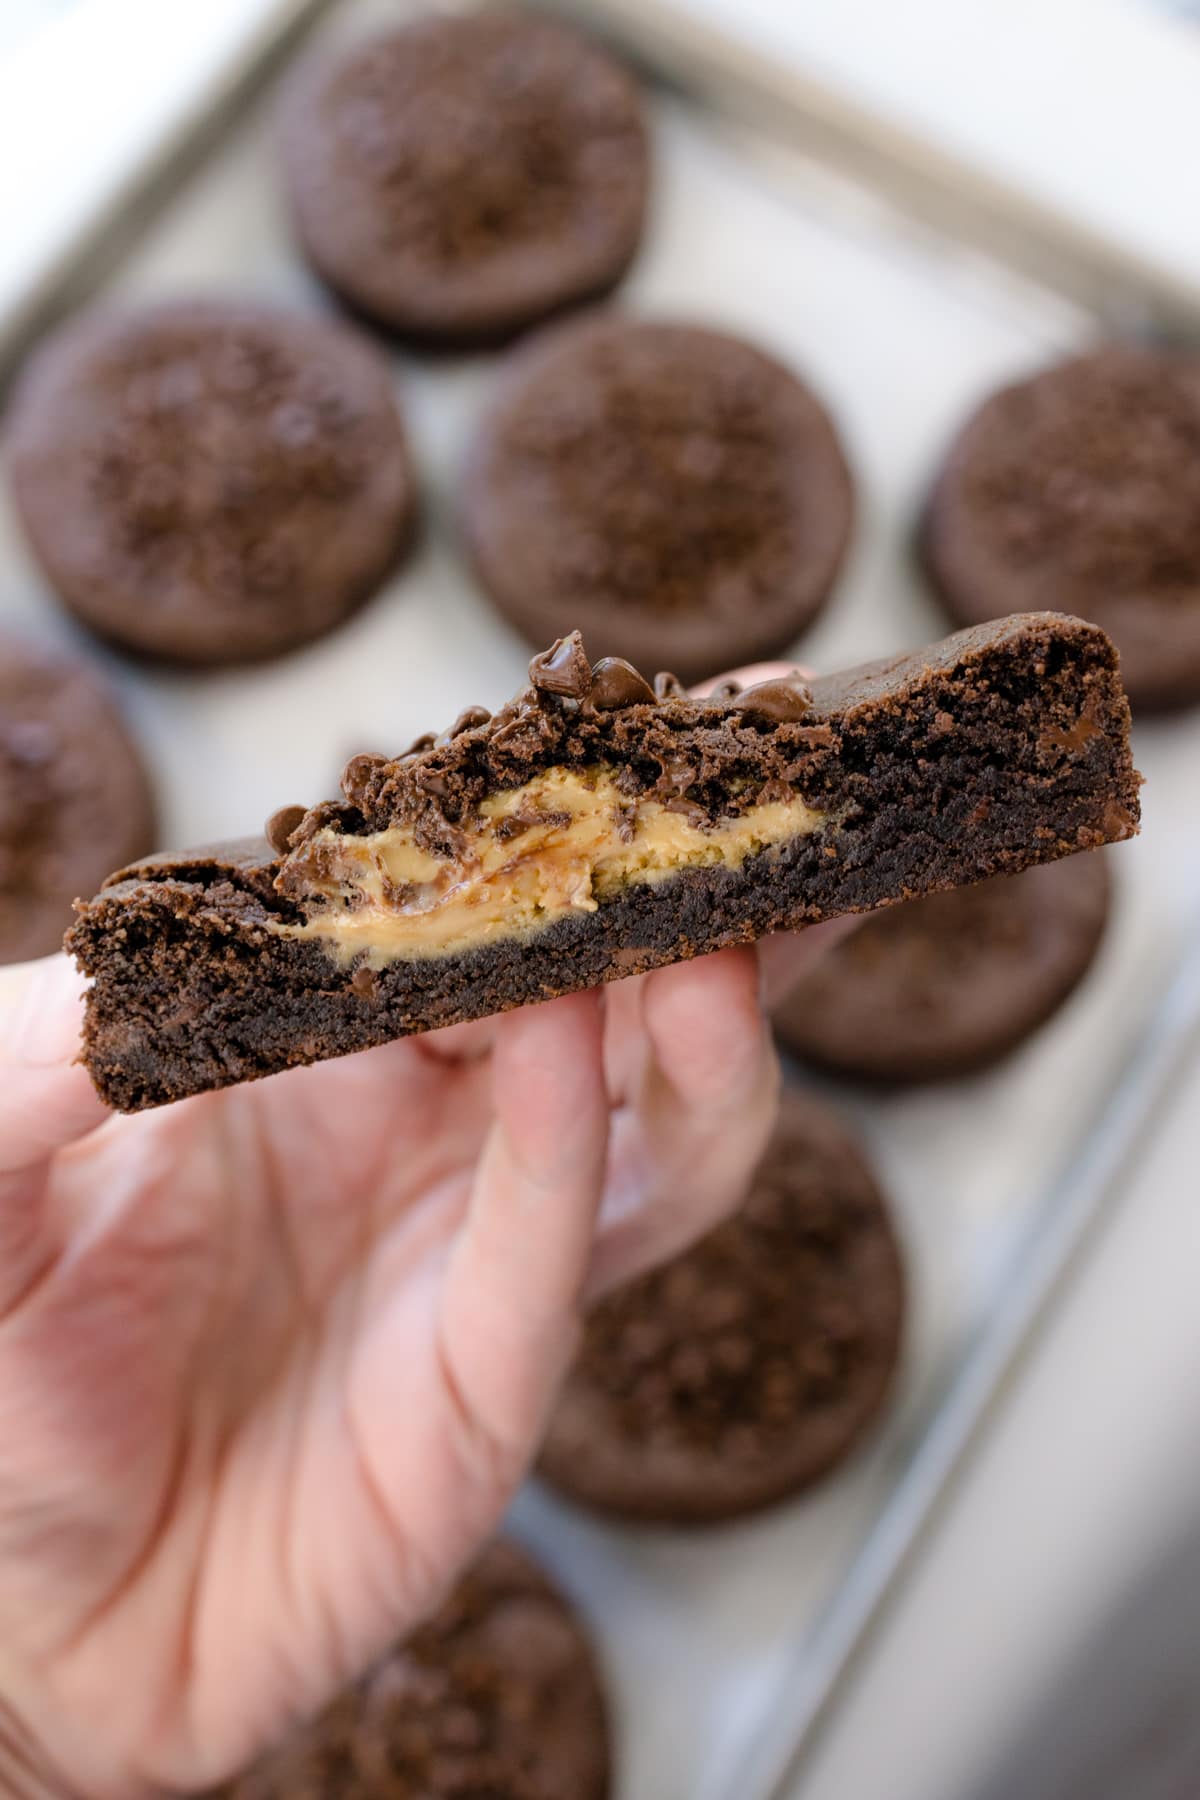
Have you tried this Peanut Butter Stuffed Chewy Chocolate Cookies recipe?
Let me know what you think of this recipe! Tag @bestcookierecipes on social media so I can see how great your cookies turned out! I would also love to read your comments below. Let me know what you think of these cookies. It really does help!
More Rich Chocolate Cookie Recipes
- Chocolate Cake Cookies (Crumbl Copycat Recipe)
- Delicious Chocolate Cherry Cookies
- Better than Sex Cookies (Crumbl Chocolate Heath Copycat)
- Chocolate Rocky Road Cookie Recipe loaded w/ Marshmallows
- Tasty Chocolate Snickerdoodles Cookies Recipe
- Best Chocolate Peanut Butter Cookies Recipe with Reese's
- German Chocolate Cake Cookies - How to Make the Best
- Texas Sheet Cake Cookies with Fudgy Chocolate Icing
Peanut Butter Stuffed Chocolate Cookie
Ingredients
Cookie Base
- ¾ Cup Butter Cold 172g
- ⅔ Cup Granulated Sugar 132g
- ⅔ Cup Brown Sugar 140g
- 85 Grams Brownie Brittle Crushed about 22 pieces
- 2 ½ Cups All Purpose Flour 300g
- 1 teaspoon Baking Powder
- 1 teaspoon Baking Soda
- 1 teaspoon Salt
- ⅔ Cup Dutch Processed Cocoa 60g
- 1 ¼ Cup Milk Chocolate Chips 200g
- 2 Eggs Large
- 1 Tablespoon Vanilla Extract
- ½ Cup Semi Sweet Mini Chocolate Chips *Garnish on top
Peanut Butter Filling
- ½ Cup Peanut Butter
- ½ Cup Powdered Sugar
- ½ teaspoon Vanilla Extract
Instructions
- Begin by combining the peanut butter, powdered sugar, and a splash of vanilla extract in a mixing bowl. This step is essential to achieving a smooth, creamy peanut butter filling.
- Once the mixture is well combined, divide it into small portions—about one tablespoon each. Roll these into balls and place them in the freezer while you prepare the cookie dough. Freezing the filling ensures it remains firm and easy to handle when stuffing the cookies.
- Preheat your oven to 375°F. Line a baking sheet with parchment paper and set it aside. If you're looking for thick, bakery-style cookies, consider using a 4-inch cookie ring.
- In the bowl of a stand mixer (or a large mixing bowl if using a hand mixer), combine the cold butter, granulated sugar, and brown sugar. Using cold butter is key to creating the ideal cookie texture. Mix on low speed for 2-3 minutes until the butter breaks down into small pieces and is fully coated in sugar.
- Next, add the dry ingredients: all-purpose flour, baking soda, baking powder, crushed brownie brittle, and Dutch-process cocoa.
- Continue mixing on low speed for an additional 2-3 minutes until the mixture takes on a crumbly texture.
- At this point, fold in the milk chocolate chips to give the dough a rich, chocolatey boost.
- In a separate bowl, whisk together the eggs and vanilla extract. Slowly add this wet mixture to the dry ingredients and mix on low until the dough comes together. This may take a few minutes, but it’s important to be patient as the dough forms.
- Once the dough is ready, divide it into 10 equal portions, or weigh out 120g for each cookie ball if you prefer precision.
- Flatten each dough ball and place one tablespoon of the frozen peanut butter filling in the center. Carefully fold the dough around the filling, ensuring it is completely sealed.
- Place the stuffed cookie dough balls on your prepared baking sheet, and if using, place a 4-inch cookie ring around each ball to create perfectly round cookies.
- For an extra touch, sprinkle mini chocolate chips on top if desired.
- Bake the cookies at 375°F for 16-18 minutes, or until the centers are set and the edges are lightly golden.
- Allow the cookies to cool on the baking sheet for 3-4 minutes before removing the cookie rings. If the rings stick, gently run a knife along the edges to release them.
- Let the cookies cool completely on the sheet for at least an hour before transferring them to a cooling rack.
Notes
Baking Tips:
- Cookies can be baked without cookie ring. Allow 2+ inches between cookies for spreading. Cookies will be flatter.
Storage & Make Ahead
- Store: Keep cookies in an airtight container at room temperature for up to 5 days.
- Freeze: Wrap cookies individually and freeze in a ZipLoc bag for up to 3 months. Thaw at room temperature or microwave for 10-15 seconds.
- Make Ahead: Refrigerate unbaked cookie dough for up to 24 hours, or freeze dough balls and bake directly from frozen.
- Baking from Frozen: Freeze stuffed cookie dough individually and store in a sealed container. When ready to bake preheat oven to 350°F. Place frozen cookie dough on baking sheet using cookie rings. Add an additional 1-3 minutes when baking frozen cookie dough. Note - I find if I bake an entire tray of frozen cookie dough that baking time takes longer than if I only bake 1-2 frozen cookies at a time.

Submit a Comment