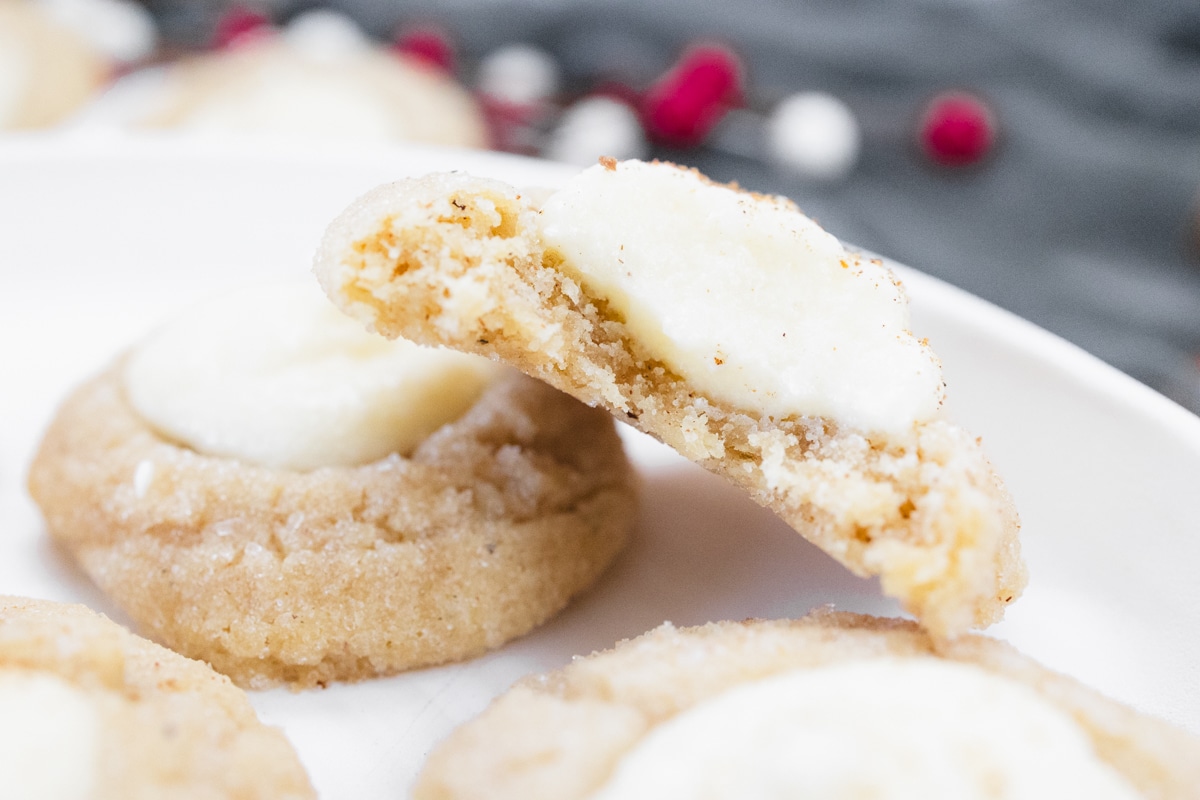
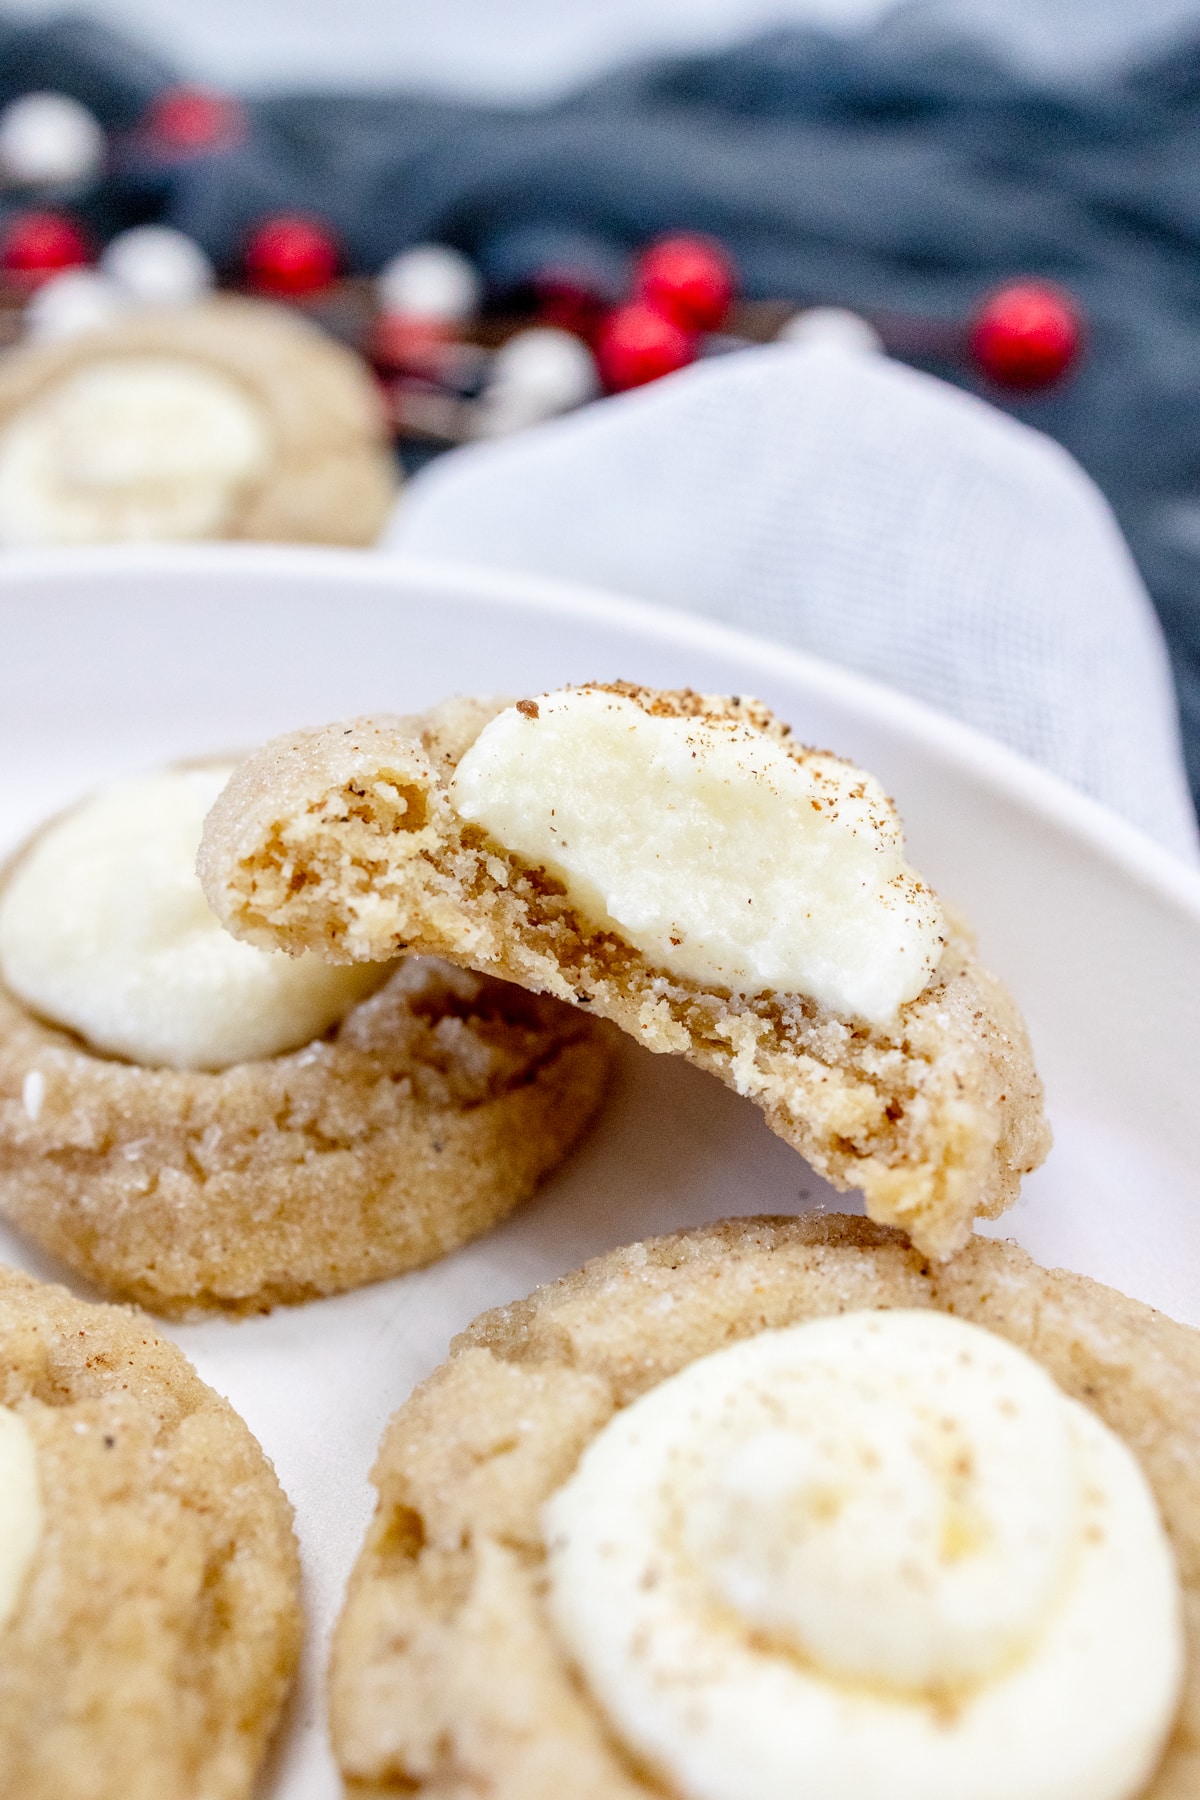
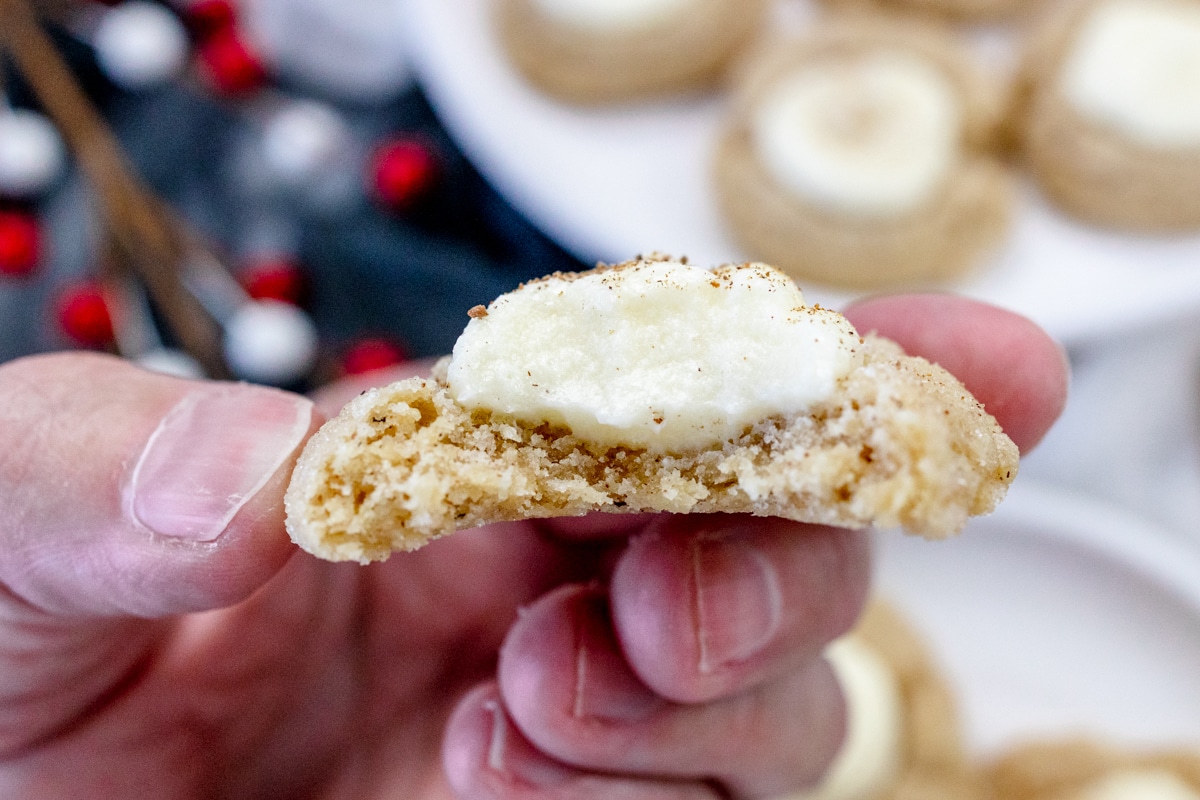
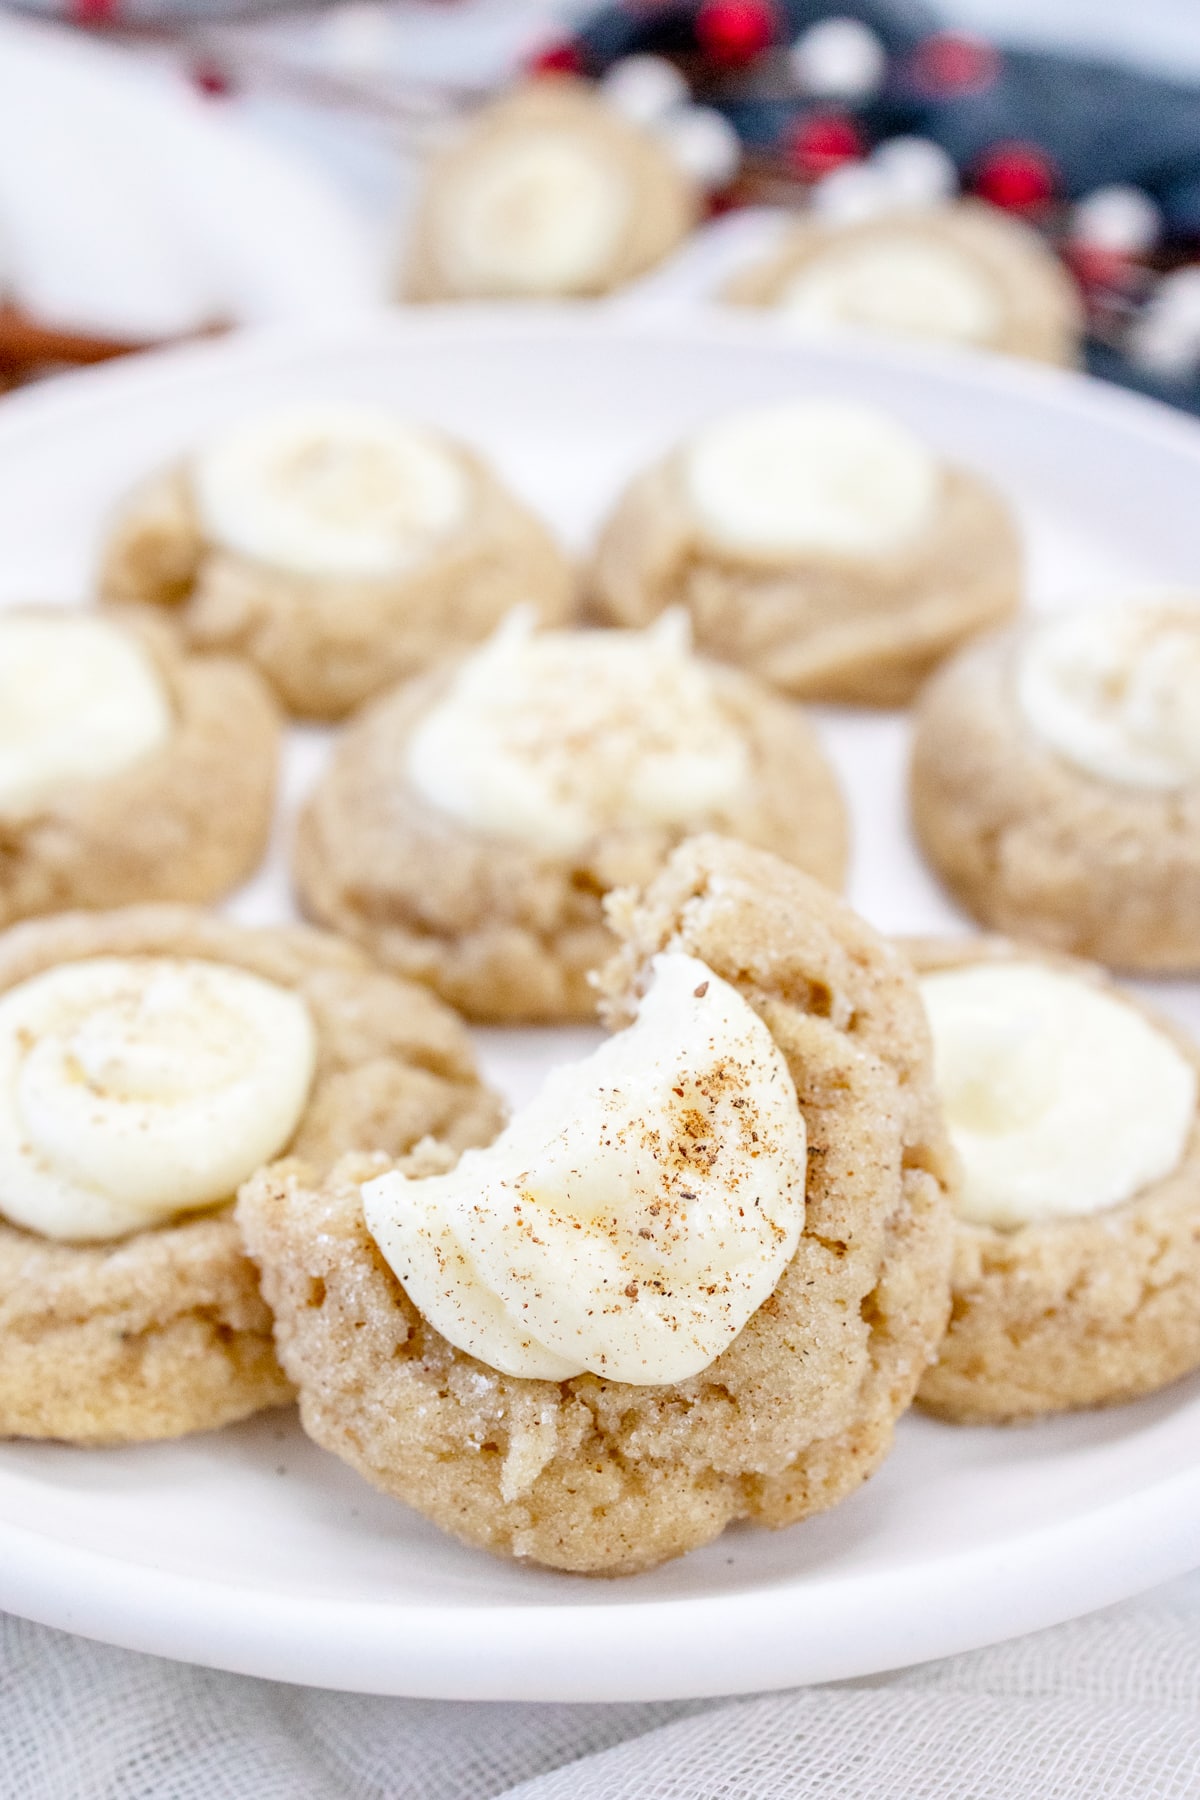
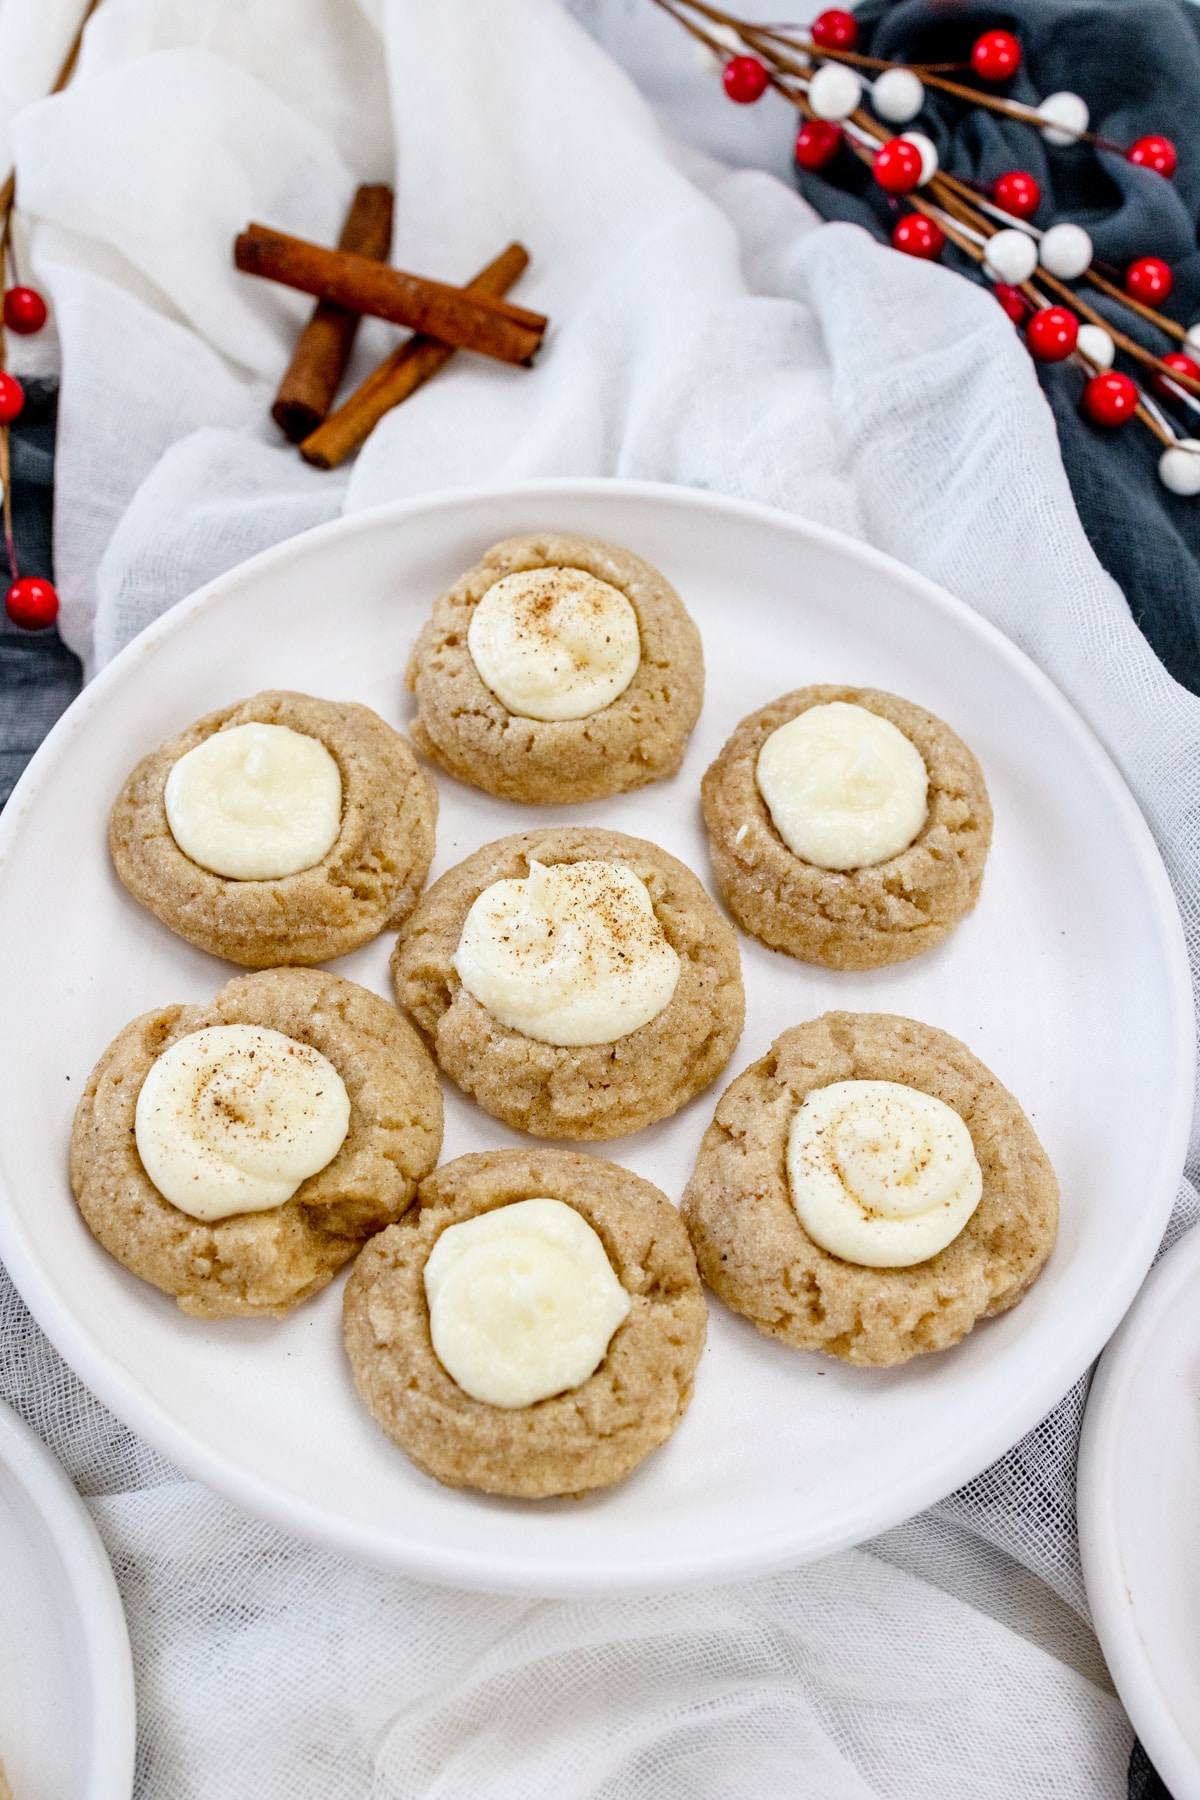
Experience the essence of the holiday season in each bite with Eggnog Thumbprint Cookies. These treats seamlessly blend the rich, spiced flavor of creamy eggnog filling with the comforting texture of buttery cookies, creating a delightful seasonal indulgence.
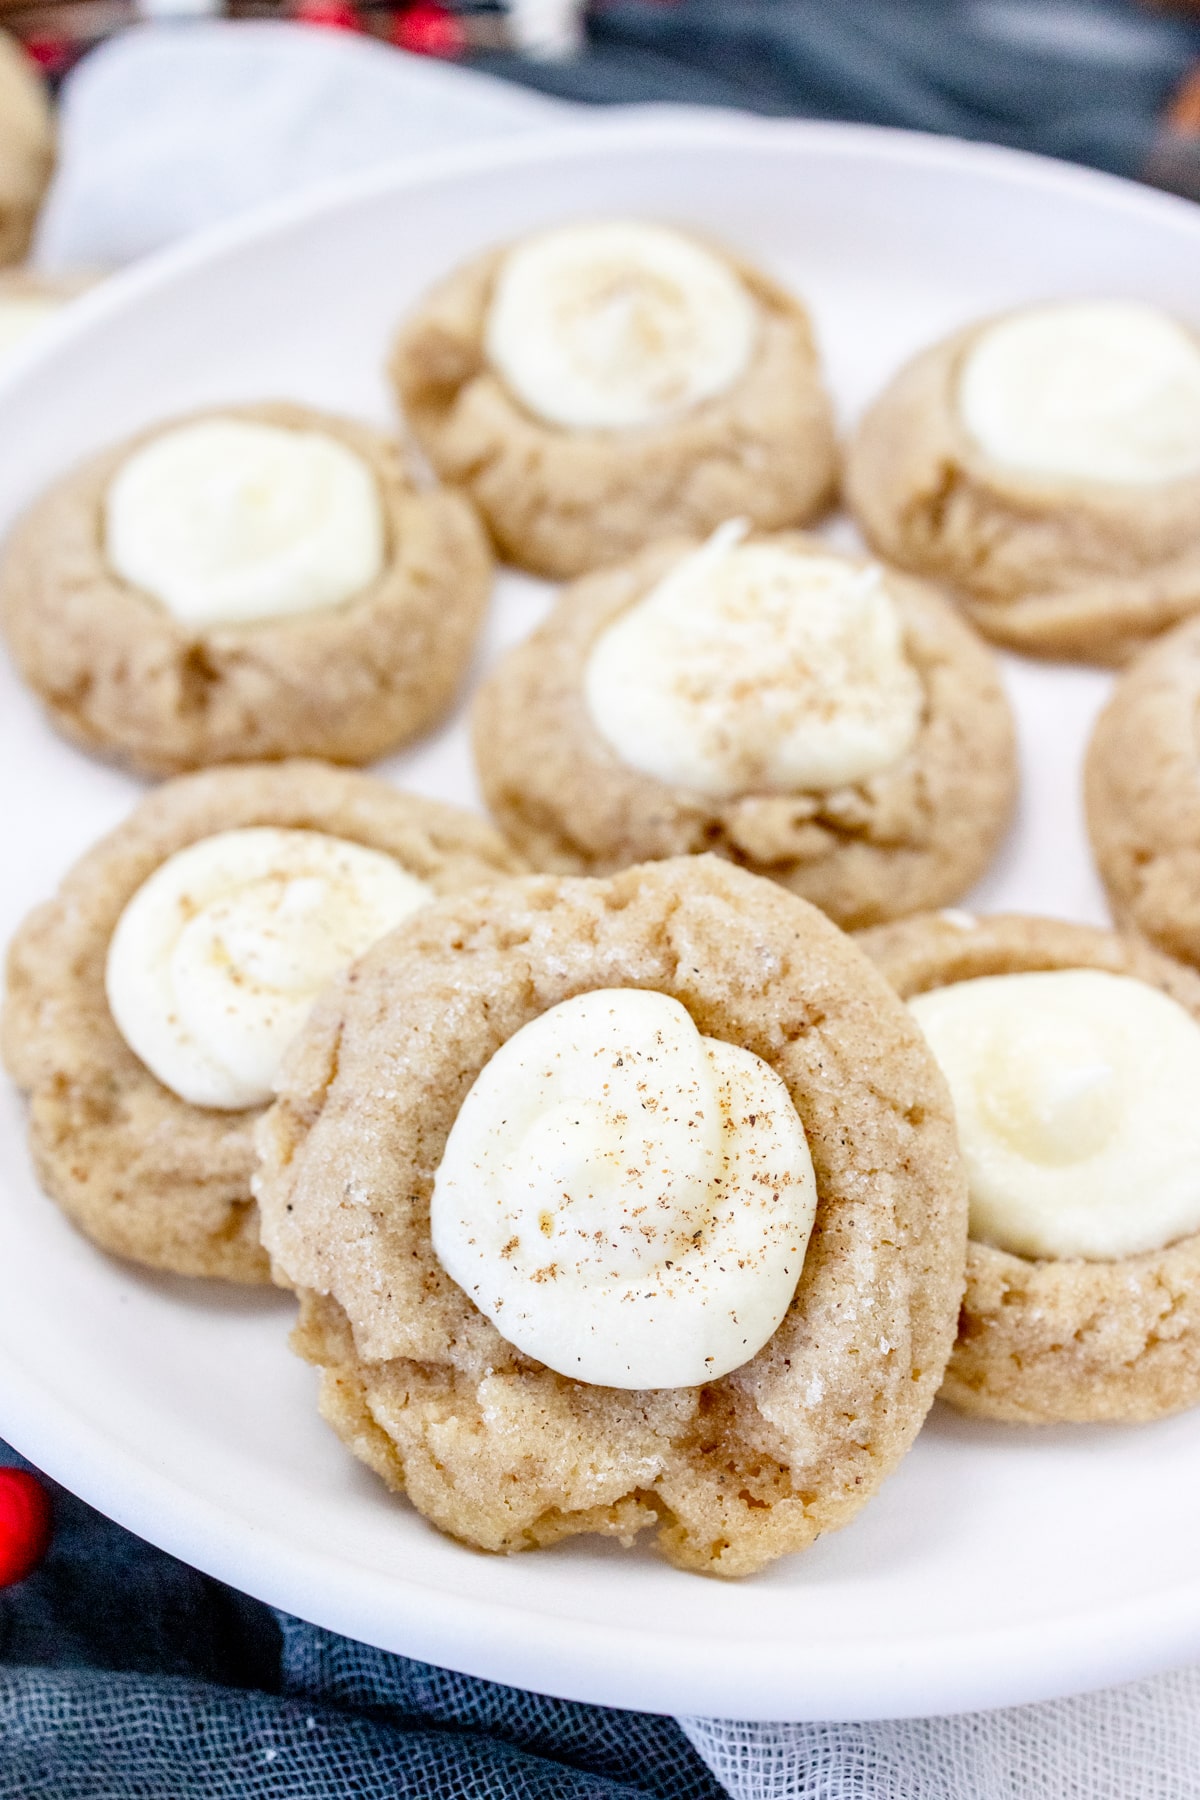
These little gems are quick to whip up, ideal for cookie exchanges, and a brilliant addition to your Christmas cookie trays.
The unique eggnog filling offers a festive twist to the classic thumbprint cookie, making them a standout among traditional Christmas cookies.
This recipe is both straightforward and forgiving, with a simple list of ingredients and clear, easy-to-follow instructions, making it ideal for bakers of all levels.
If you love eggnog during the holidays then you'll love my Spiced Eggnog Pie Sugar Cookies with Creamy Frosting, Easy Eggnog Snickerdoodles Cookies, Frosted Eggnog Cookies with Creamy Buttercream, and Eggnog Cookie Bars with Creamy Frosting!
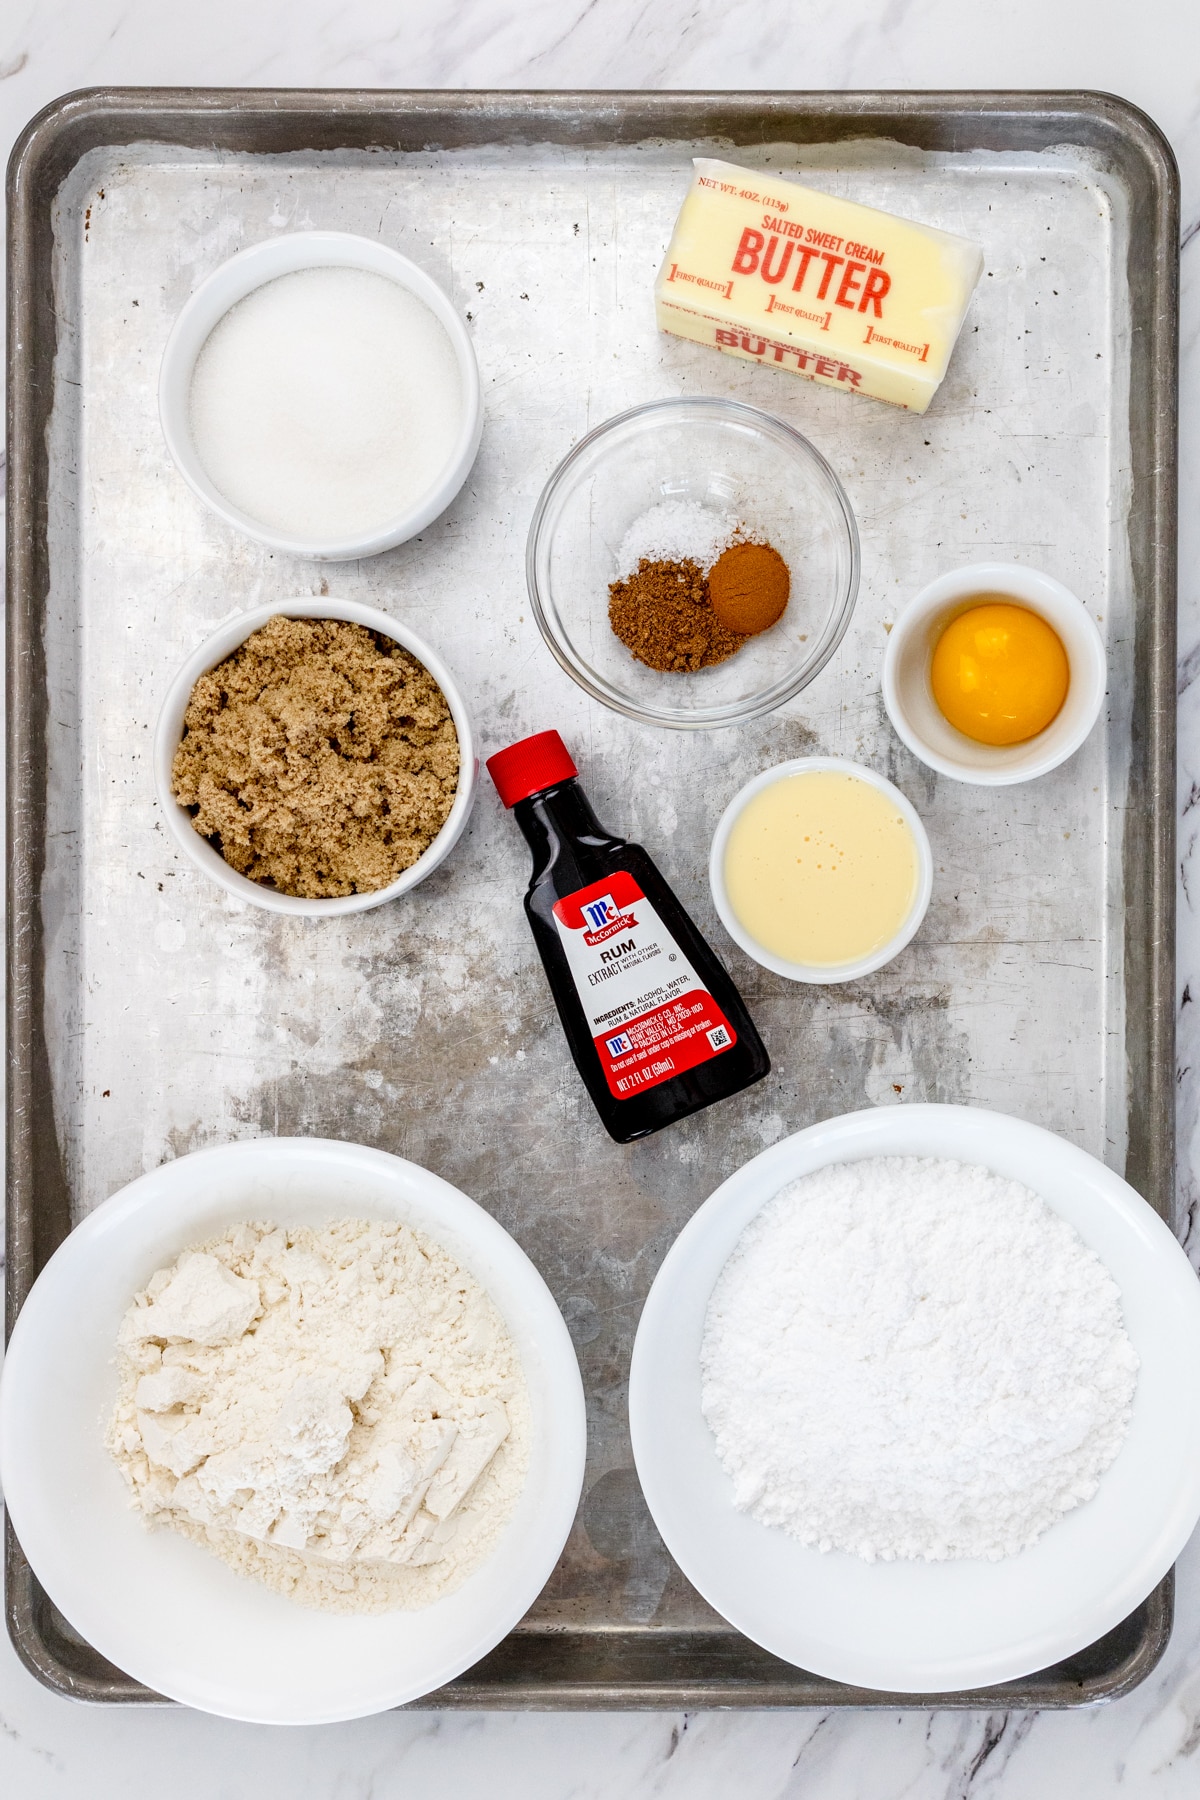
Ingredients for Eggnog Thumbprint Christmas Cookies
Wet Ingredients. Unsalted Butter, Salted Butter, Rum Extract, Egg, Eggnog
Dry Ingredients. All Purpose Flour, Granulated Sugar, Brown Sugar, Salt, Ground Cinnamon, Ground Nutmeg, Powdered Sugar
How to Make Festive Eggnog Thumbprint Cookies
Making The Eggnog Cookie Dough
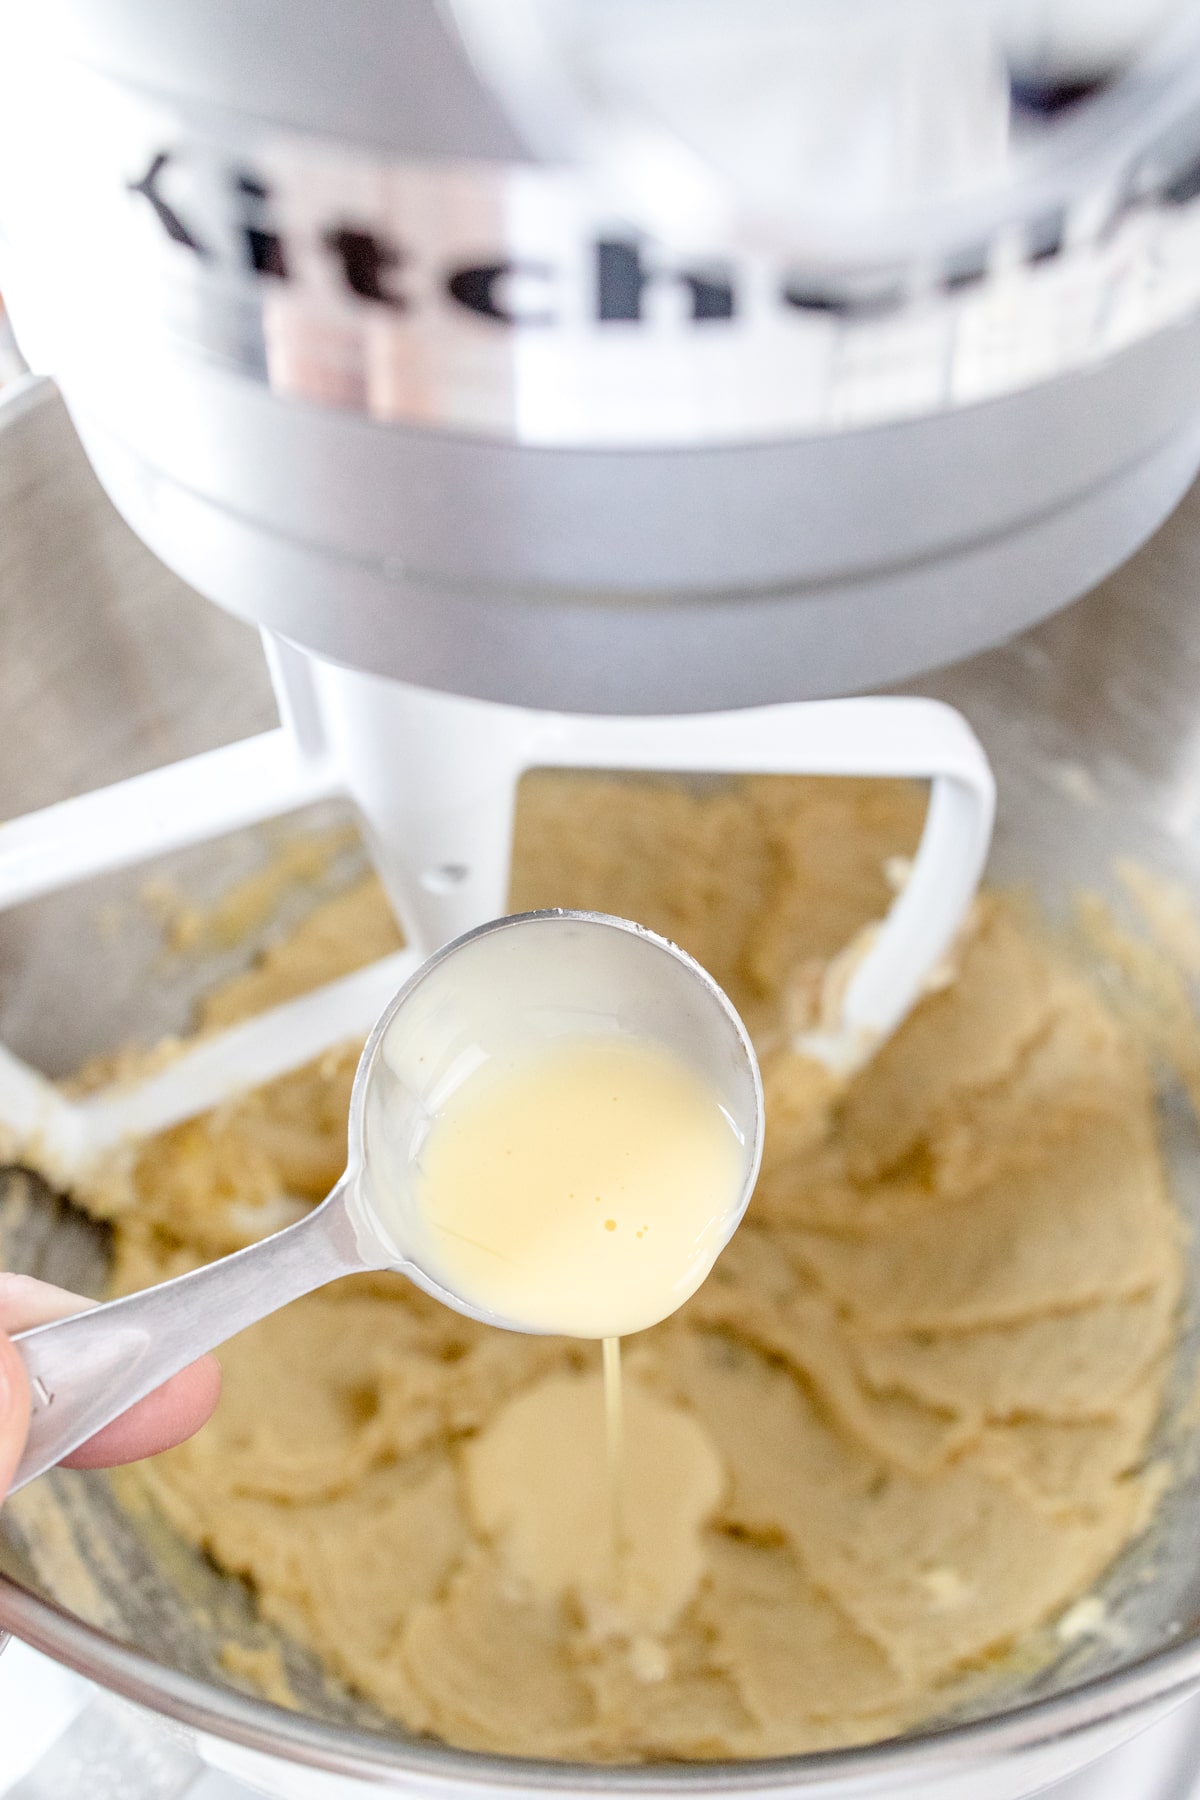
- In a large bowl with an electric mixer or using a stand mixer with a paddle attachment, cream the ½ cup Butter (unsalted) with ¼ cup Sugar and ¼ cup Brown Sugar. Creaming the Butter and Sugar should take 3-4 minutes. Make sure to scrape the sides of the bowl down multiple times. Add the Egg Yolk, Rum Extract, and Eggnog. Cream together for another 1-2 minutes.
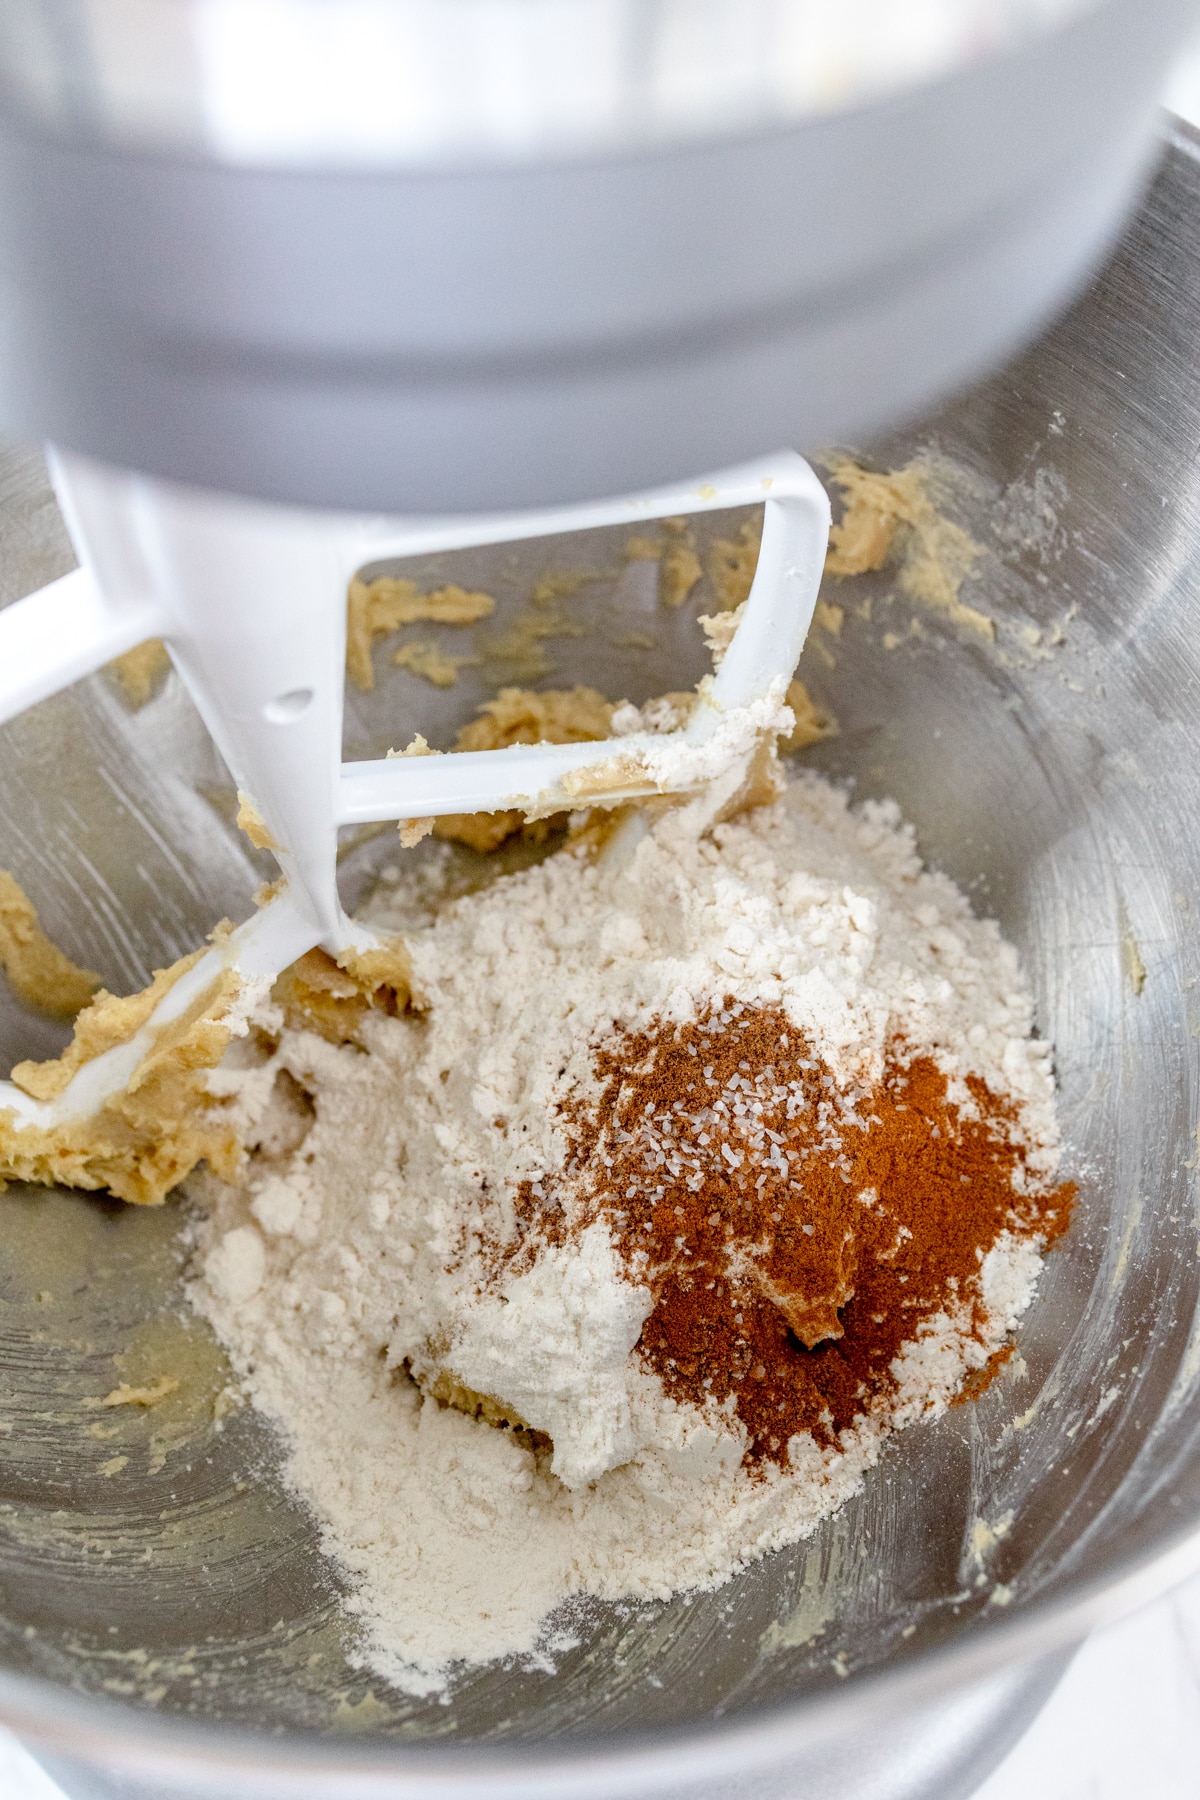
- Gradually add and mix Flour and a pinch of Salt into the creamed mixture. The flour mixture will be thick. Cover the soft dough with plastic wrap and chill mixture in the refrigerator for 30-45 minutes.
Baking The Cookies
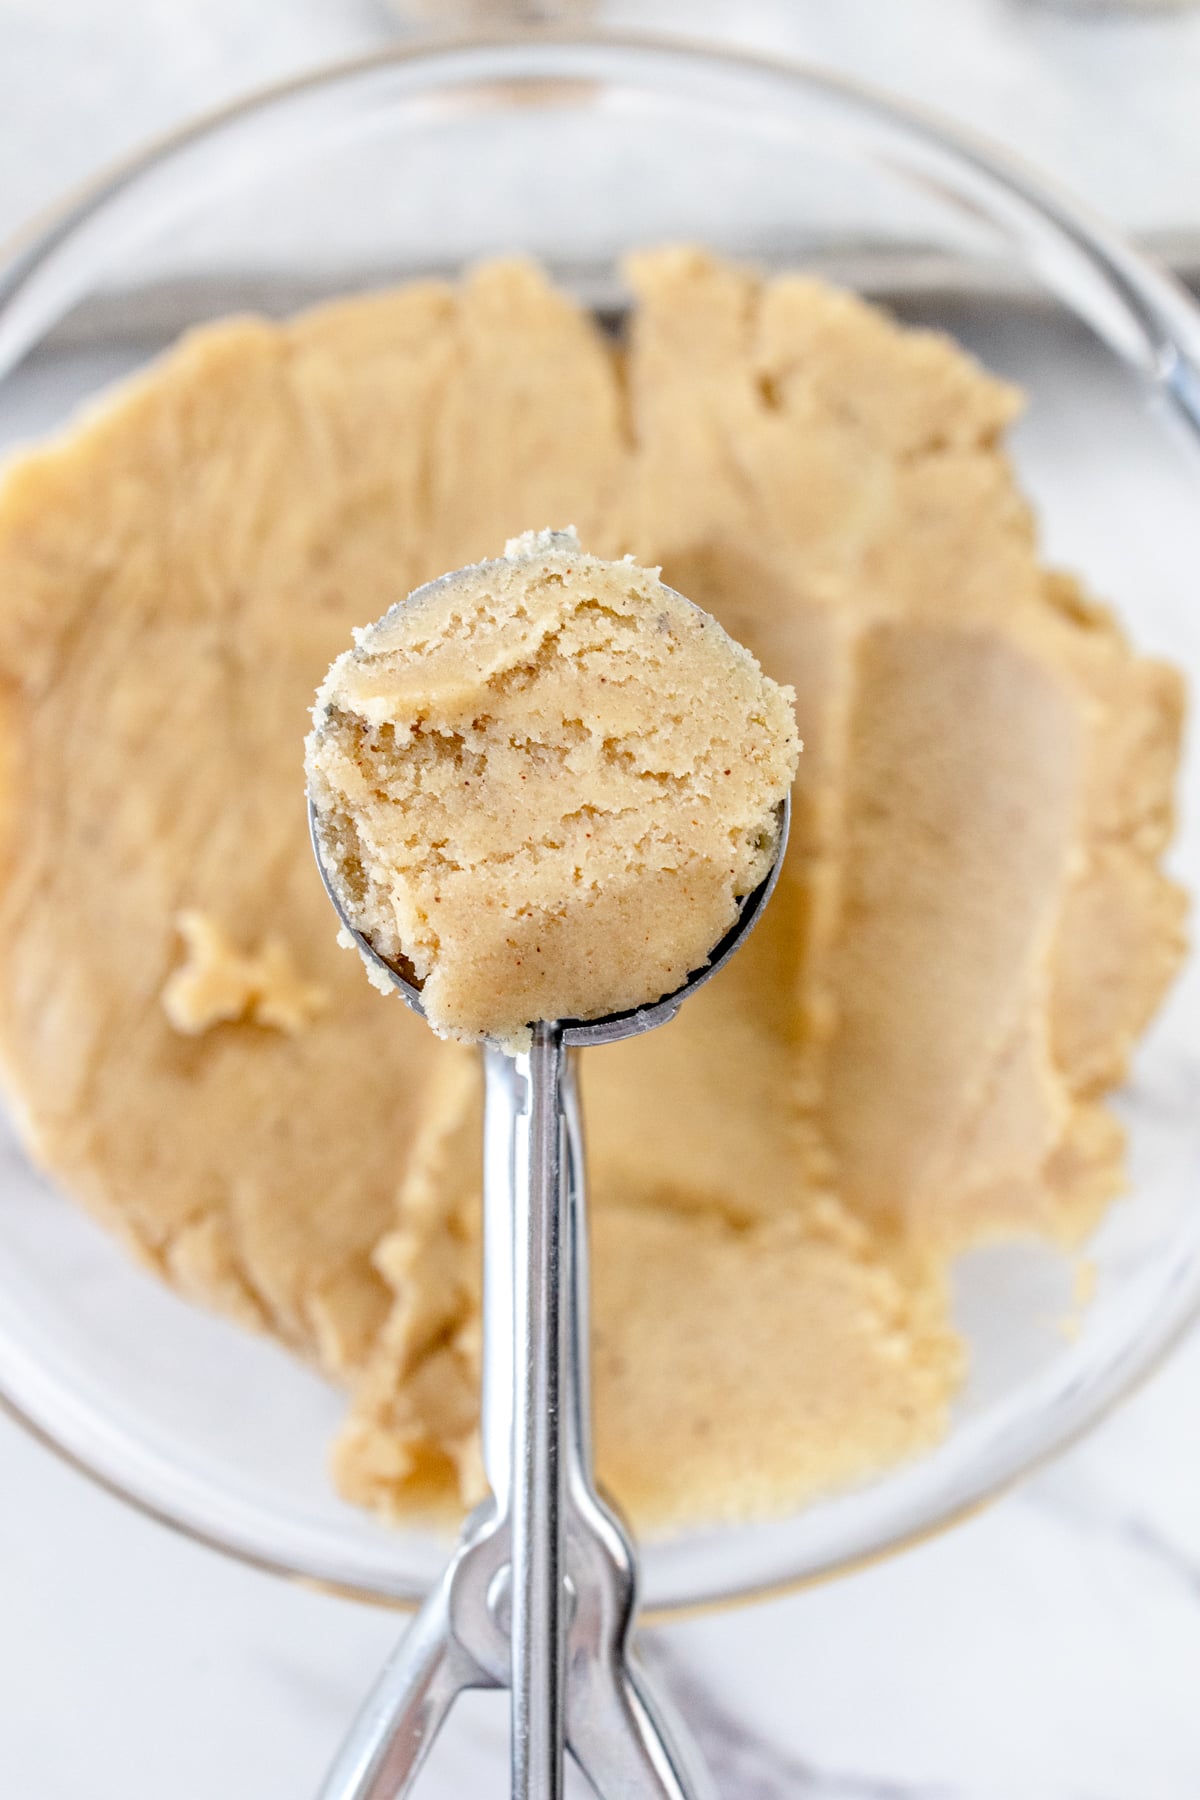
- Preheat the oven to 350 degrees F. Line a baking sheet with parchment paper or use a silicone mat. Using a small cookie scoop (#60, 1 inch in diameter), scoop 1-inch balls of dough and place them into a separate shallow bowl containing ¼ cup Granulated Sugar.
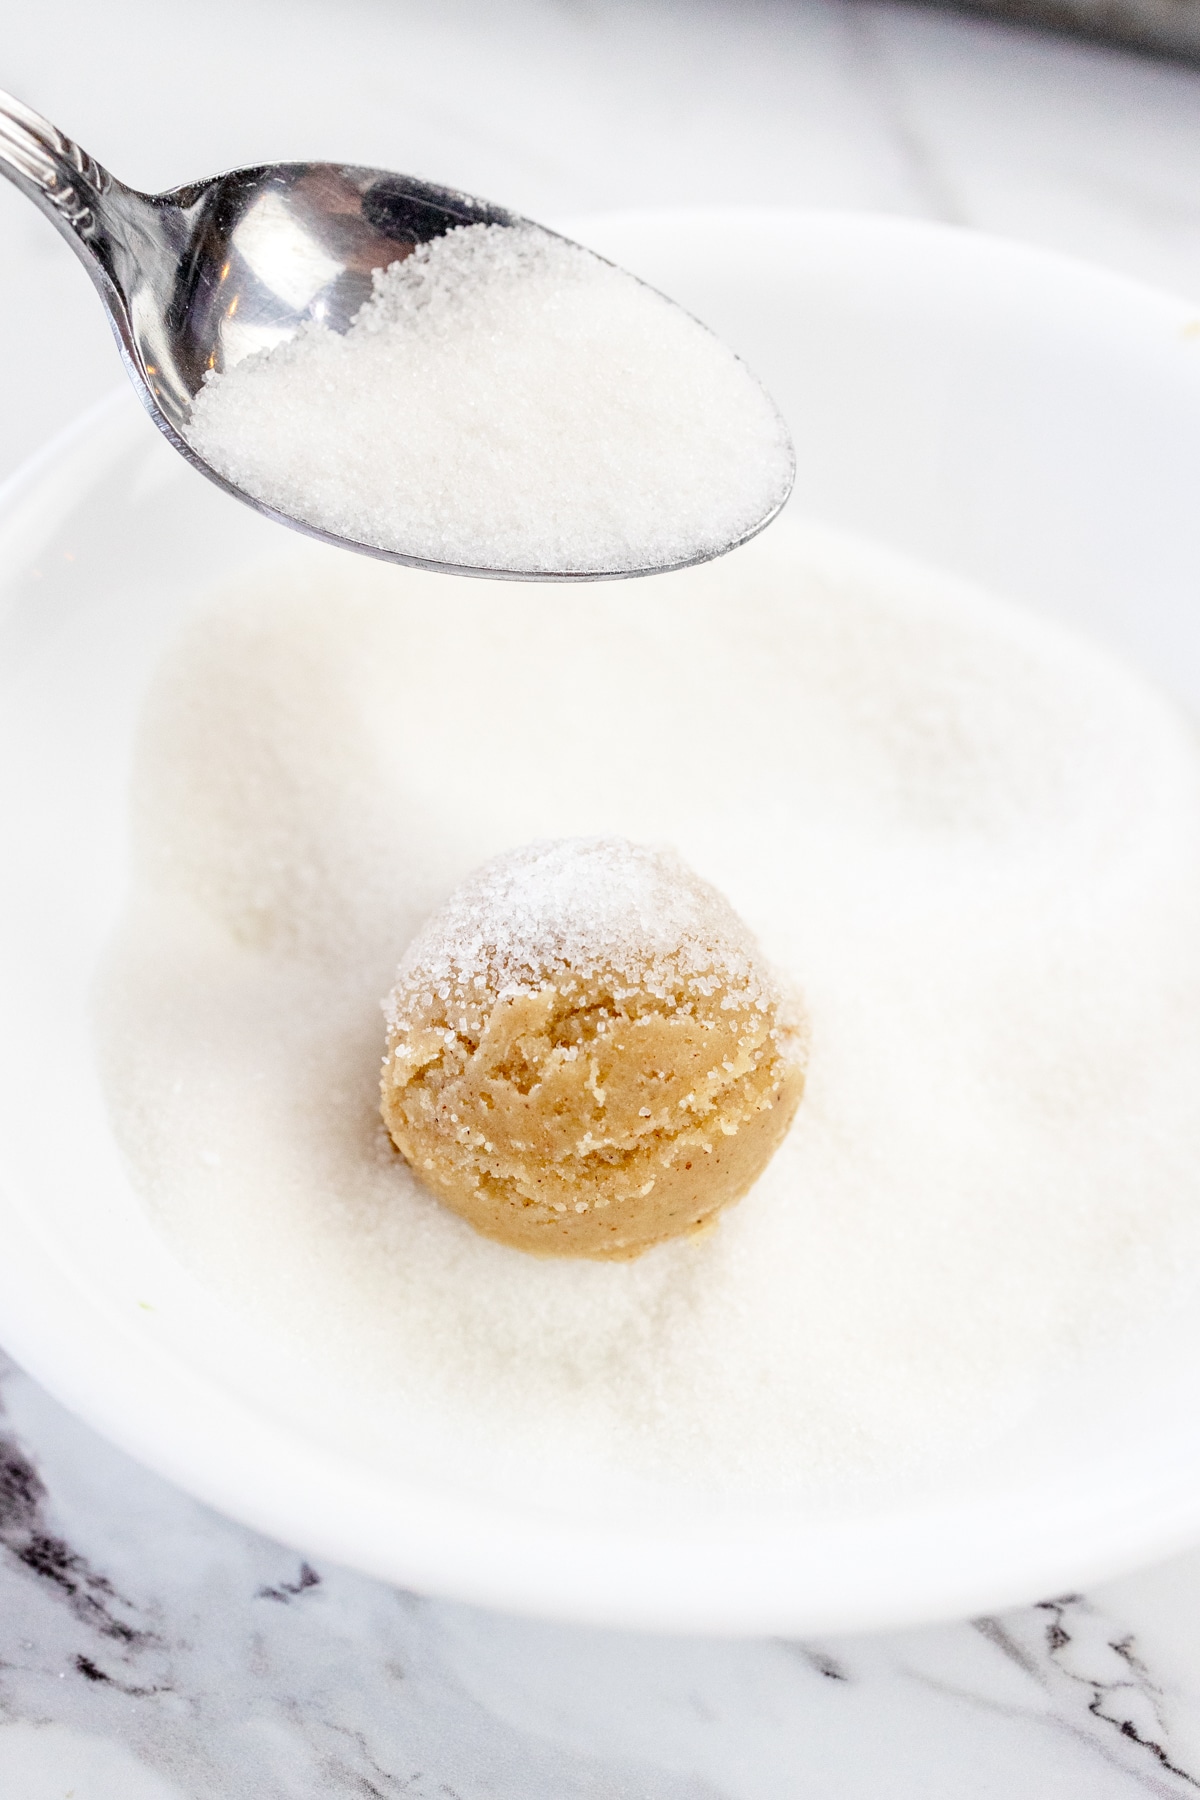
- Roll the cookie dough balls in the sugar until they are fully coated.
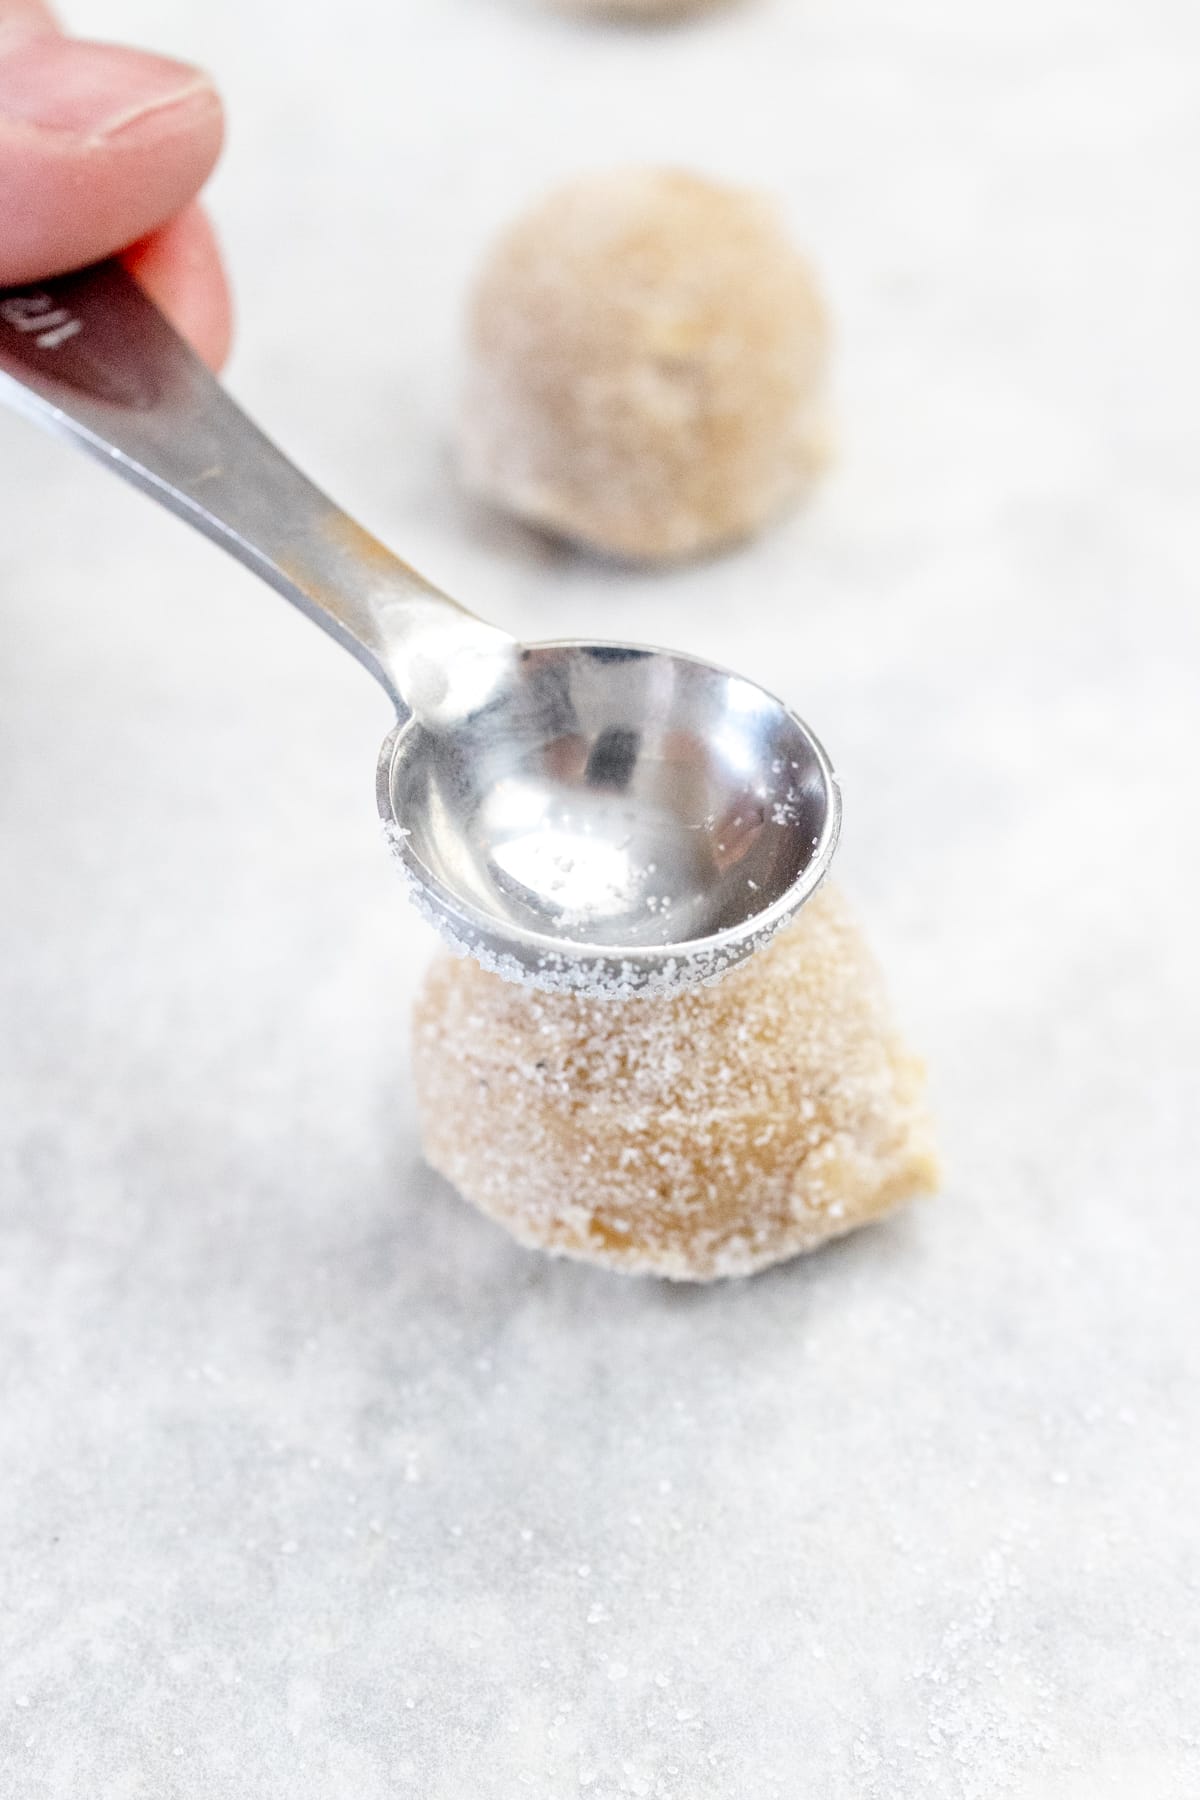
- Place the balls of cookie dough roughly 2 inches apart on the prepared baking sheet. Using the back of a small spoon, press gently into the center of each cookie.
- This should leave an impression that will act as a well to fill with the creamy eggnog filling. As the cookies bake, it is normal for this well to flatten out a little bit.
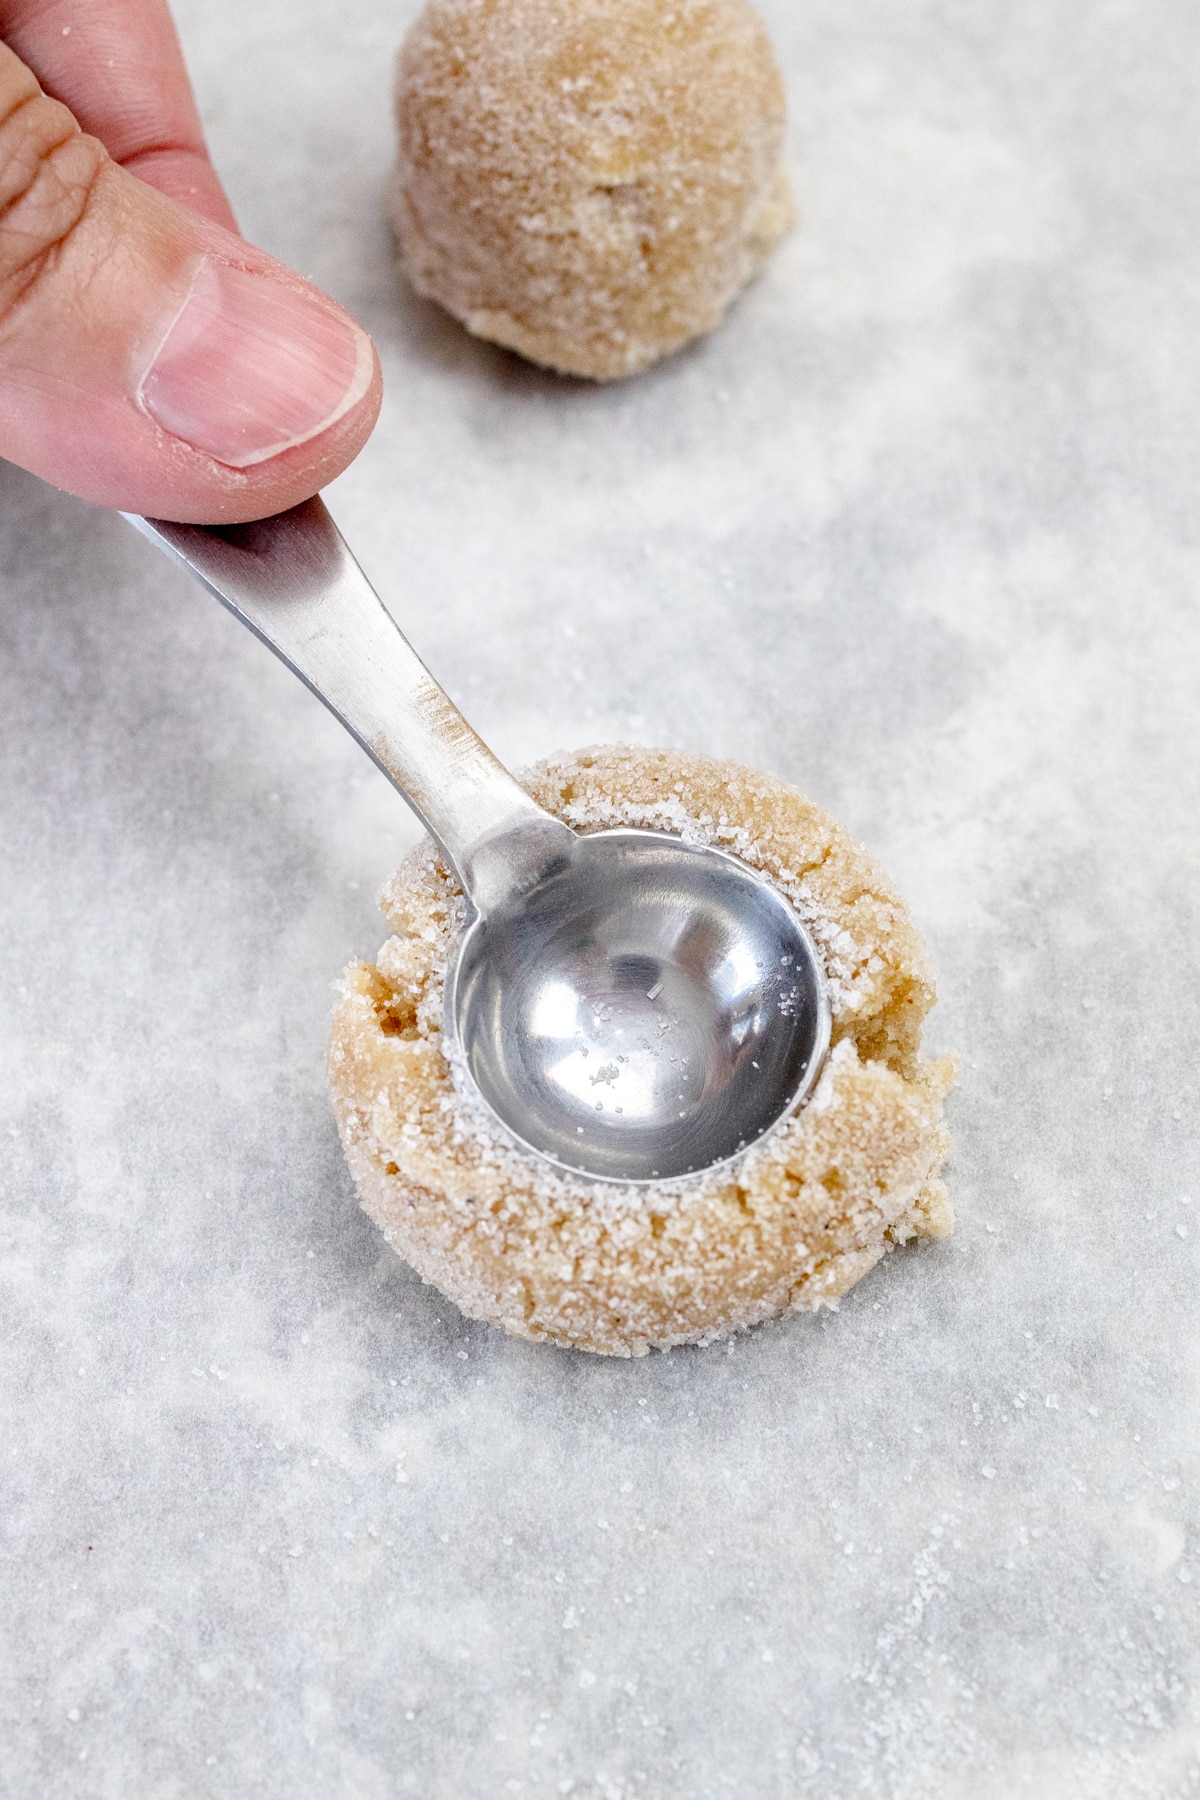
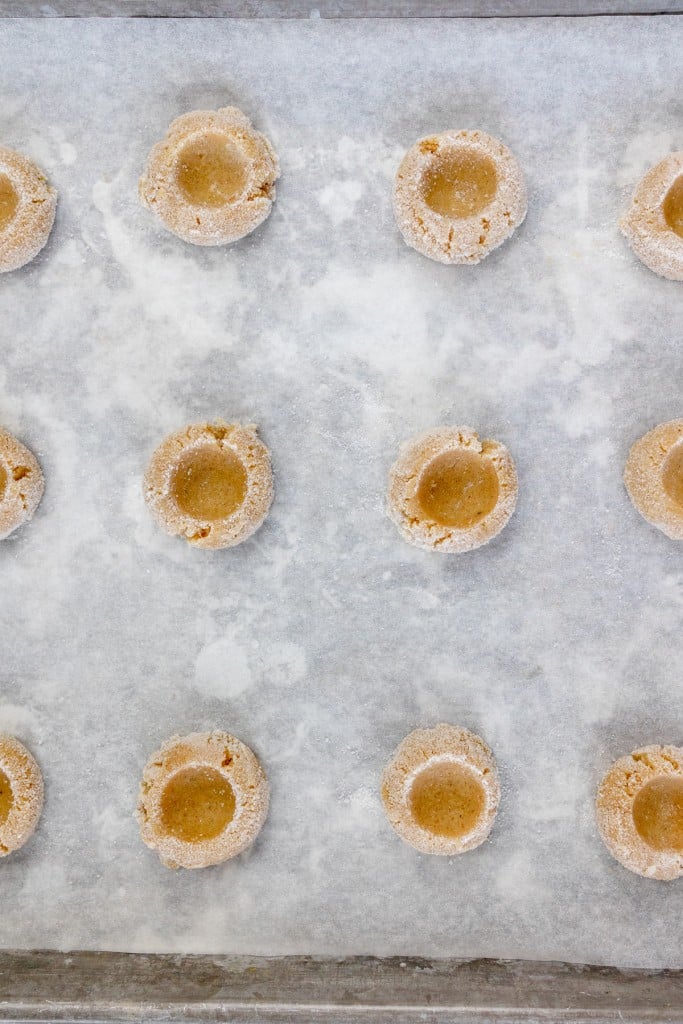
- Bake for 7-9 minutes. Edges will be set but will not be golden in color.
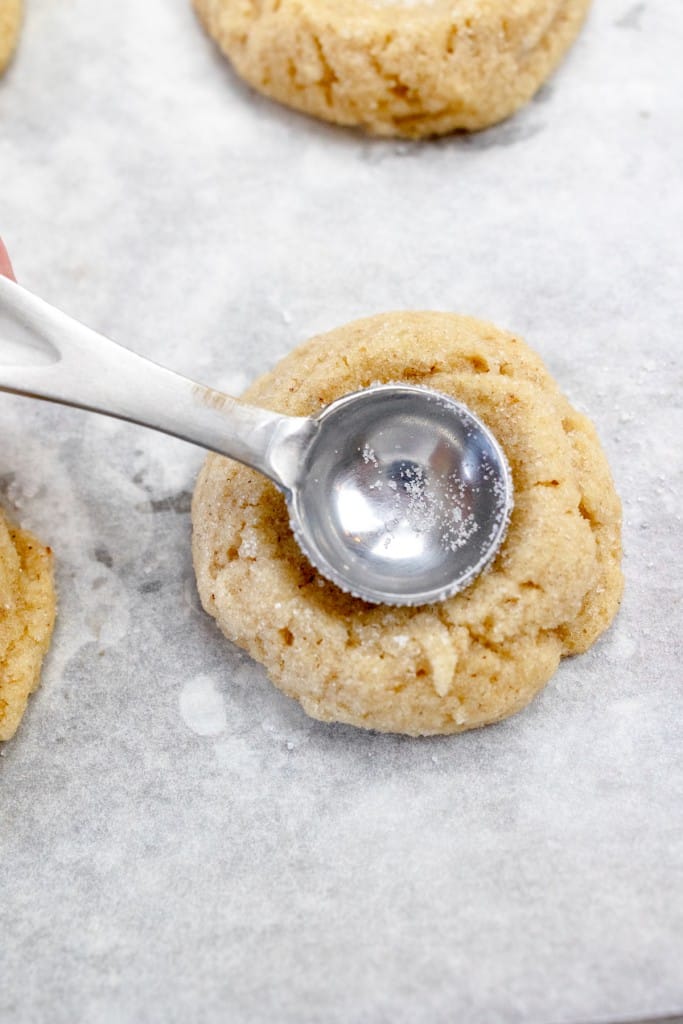
- Using a measuring teaspoon gently press into the center of each cookie again, to reinforce the well for the eggnog filling. Allow cookies to cool on the pan for 1-2 minutes before moving them to a wire rack to cool completely.
Eggnog Filling
- In a small bowl combine the Powdered Sugar and Softened Butter, mixing them together using a fork or pastry cutter. Add the Rum extract and combine. Gradually add the Eggnog a little at a time until the desired consistency is reached. The mixture should be thick.
- Use a piping bag or a small spoon to fill the eggnog thumbprints in the center of each cooled cookie with the eggnog filling and allow them to set.
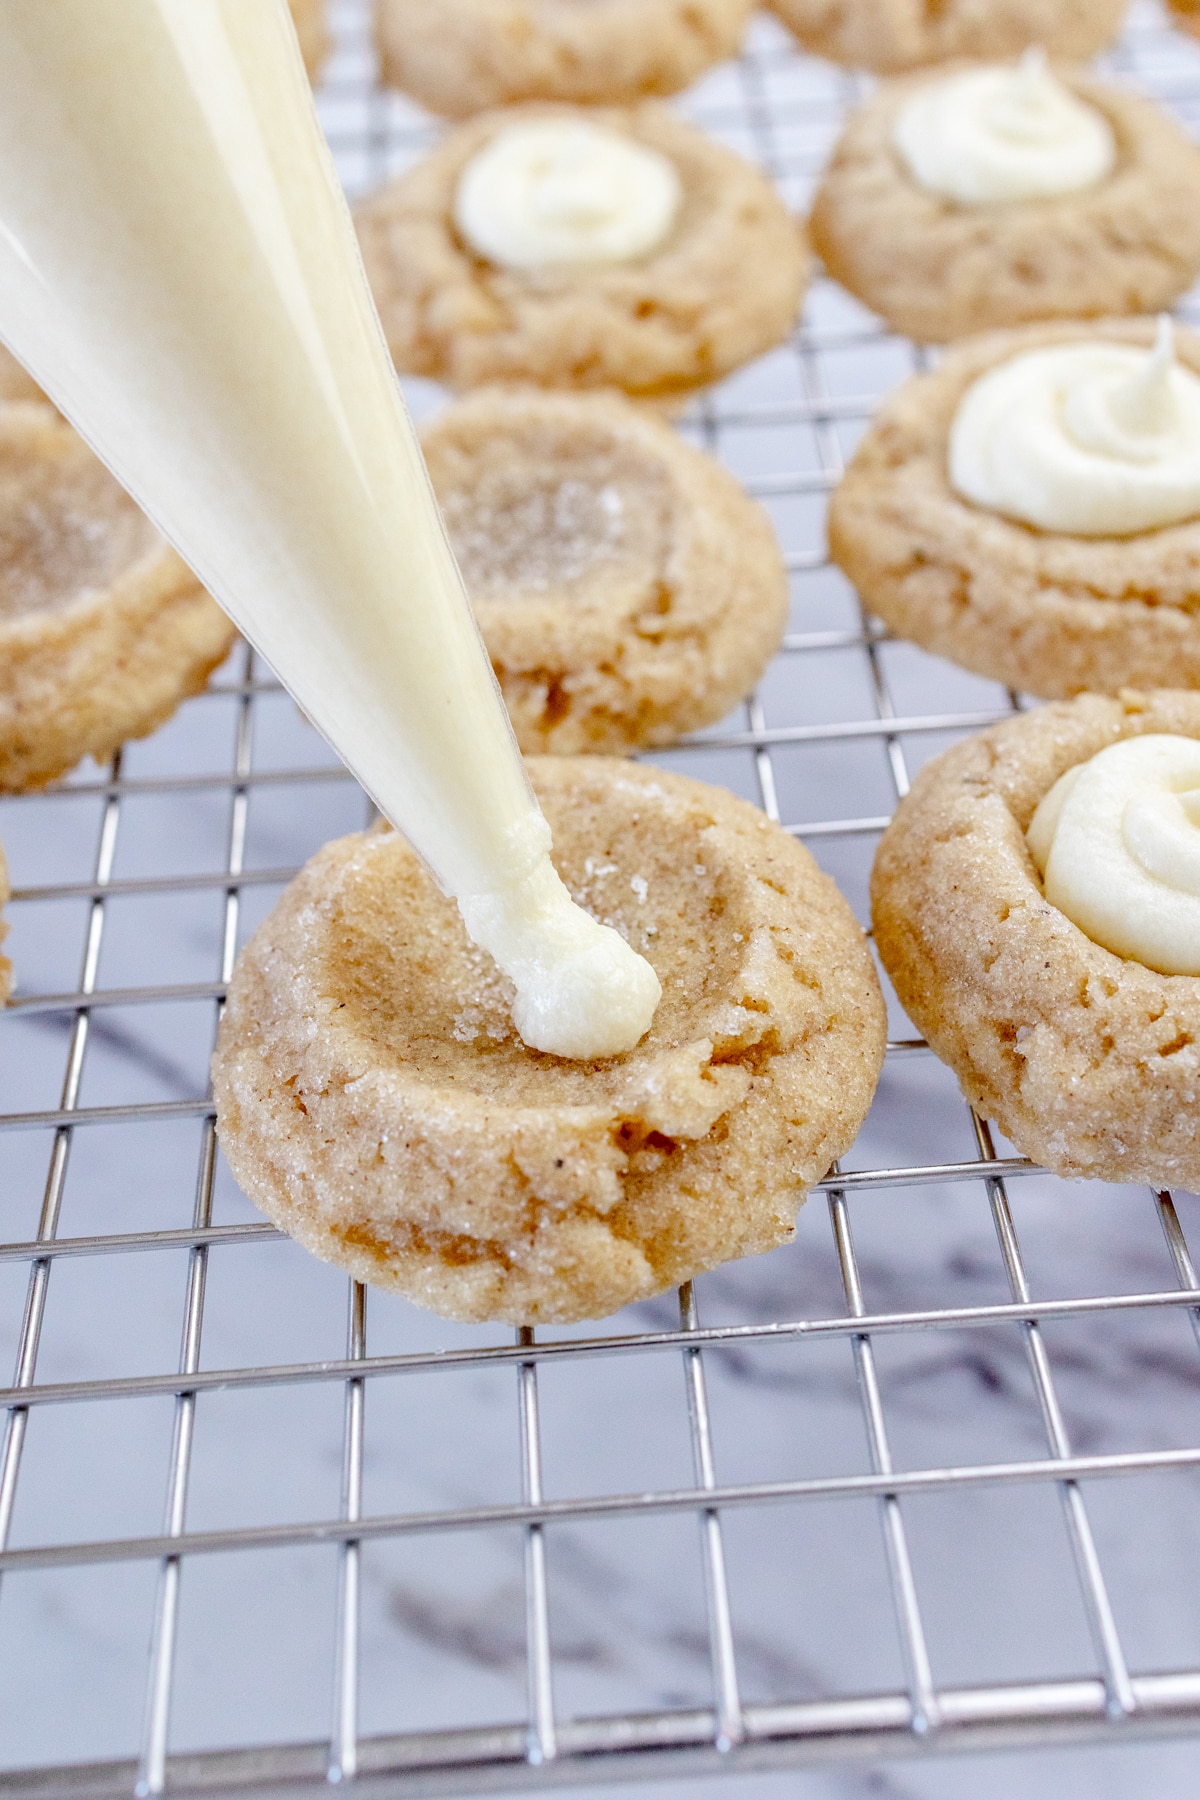
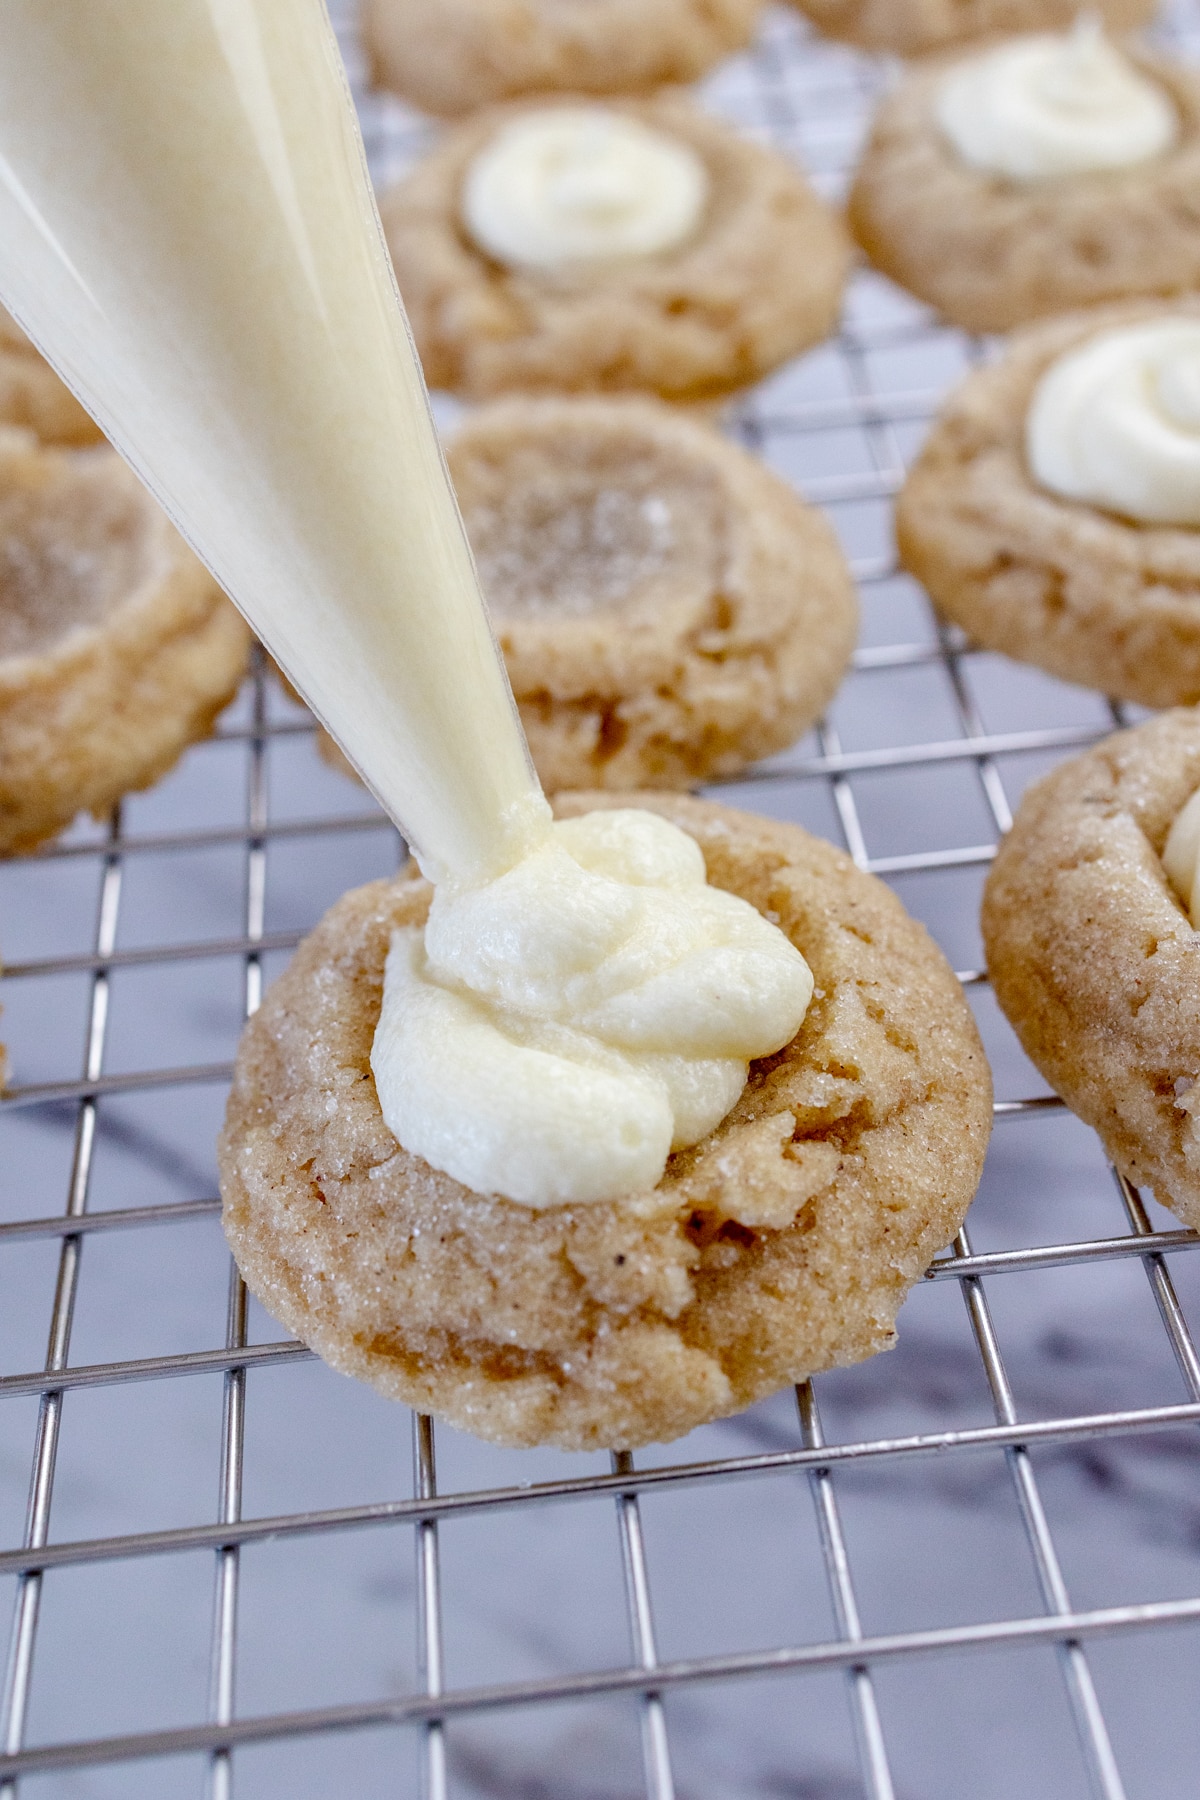
- Garnish by sprinkling a dash of ground nutmeg or ground cinnamon over the top of the cookies.
FAQs
Premade eggnog bought from a store will work perfectly for both the cookie dough and the filling.
Use a small spoon or a piping bag to neatly fill the cookies with the eggnog filling.
It is much easier to handle and shape the cookie dough after it has been chilled, so chilling the dough is always recommended for this recipe.
Storage & Freezing
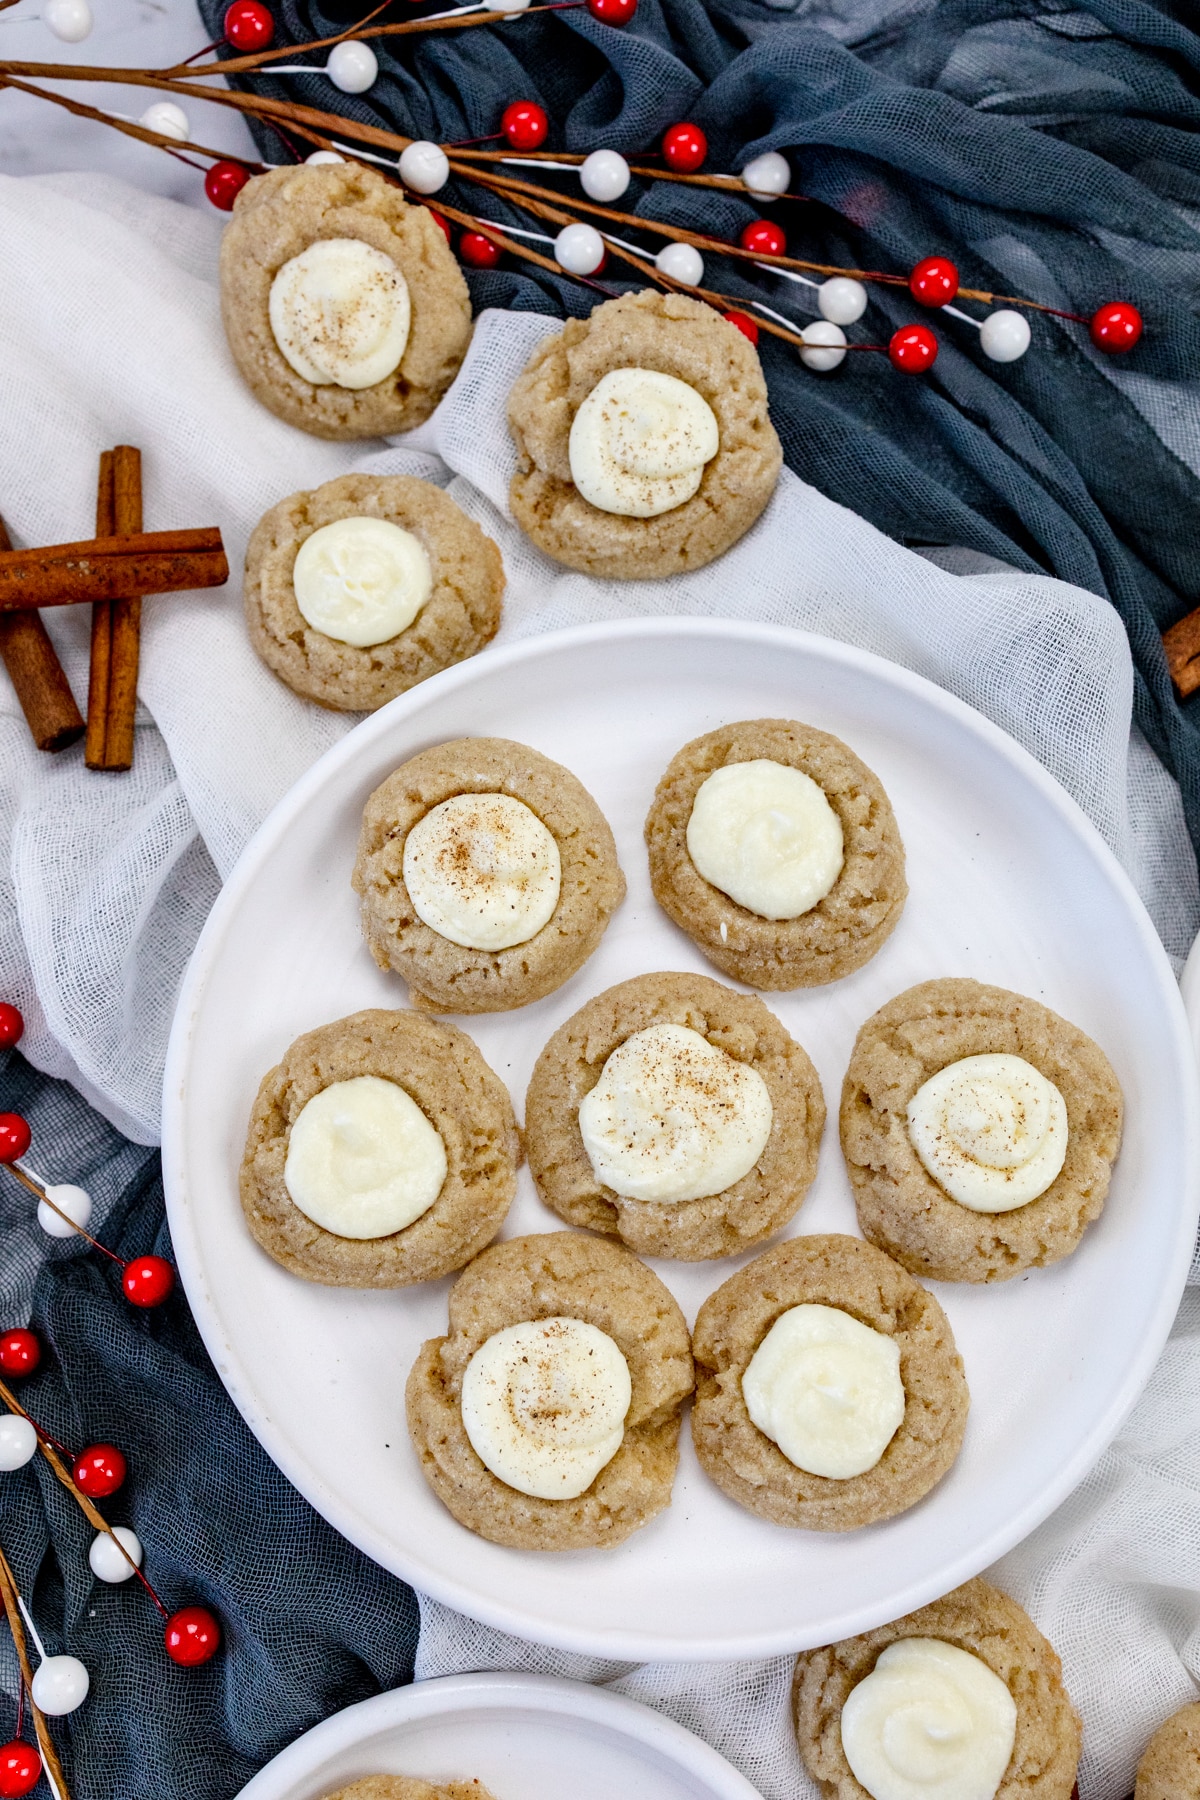
Storage: Place your cookies in an airtight container once they have cooled and the filling has set. Store them in a refrigerator with a sheet of parchment paper between each layer to prevent them from sticking together if they're stacked. I prefer to enjoy them within 2 to 3 days but your cookies will keep their texture and flavor for up to 5 days, making them an easy make-ahead treat for a busy holiday season.
Freezing the Cookie Dough: You can freeze and store the cookie dough for up to 3 months. Tightly wrap the dough in plastic wrap and place it in a Ziploc bag, making sure to squeeze as much air out of the bag as possible. When you're ready to bake the cookies, thaw the dough in the refrigerator overnight, then proceed with the shaping and baking steps of the recipe. This is a great way to have fresh cookies on hand whenever you are in the mood for them.
Freezing Baked Cookies: A batch of cookies can be frozen and stored for up to 3 months. Freeze them without the filling by placing the cooled cookies on a parchment paper-lined baking sheet and flash-freezing until solid. Place the frozen cookies into a freezer-safe container, layering them with parchment paper. Thaw the cookies at room temperature when you're ready to enjoy them and add the eggnog filling just before serving.
Substitutions & Variations
- Changing the Butter. You can use salted butter instead of unsalted butter and leave out adding extra salt. However, this may change the flavor of the cookie slightly as you will have less control over how much salt is being added to the mixture.
- Changing the Sugars. White sugar can be replaced with the same amount of coconut sugar for a deeper flavor, although this may affect the color and texture slightly. If you don't have brown sugar, you can make your own by mixing white sugar with a little molasses. Alternatively, you could use all white sugar, but you will lose some of the depth in flavor. If you don't have Powdered Sugar for the filling, you can blend granulated sugar into a fine powder using a food processor, if you're in a pinch.
- Gluten-Free Option. To make these cookies gluten-free, simply swap out the All-Purpose Flour for a gluten-free flour blend that is meant for a 1:1 substitution.
- Alcohol-Free Version. Vanilla extract can be used as a non-alcoholic substitute for rum extract, or you could try almond extract for a different flavor.
- Eggnog Substitute. Mix a little milk with a pinch of nutmeg and cinnamon to create a mixture that is like eggnog which can be used in its place if required.
- Add More Spices. Ground cinnamon and ground nutmeg are essential for the eggnog flavor, and if you're a fan of winter spices then try adding a pinch of allspice or clove for additional warmth and flavor.
Pro Tips
What makes a good cookie? Does it have a soft center and crispy edges, and is it chewy? Each of these makes a great quality cookie. To make perfect cookies every time here are some pro tips.
Weighing Ingredients.
Baking is a science and adding too much or too little of any of the ingredients will alter the recipe. Weighing and measuring dry ingredients properly makes a world of difference. Investing in a kitchen scale is ideal. When a kitchen scale is not available, make sure to stir and lift ingredients before scooping them into a measuring cup.
| Volume | Ounces | Grams | |
| All Purpose Flour | 1 Cup | 4½ Ounces | 120 Grams |
| Bread Flour | 1 Cup | 4½ Ounces | 120 Grams |
| Granulated Sugar | 1 Cup | 7 Ounces | 200 Grams |
| Brown Sugar | 1 Cup | 7½ Ounces | 213 Grams |
| Confectionary Sugar | 1 Cup | 4 Ounces | 113 Grams |
Cookie Scoop.
Using a cookie scoop keeps each ball of cookie dough the same size, which is essential for ensuring even baking.
Baking Sheets.
You can use an ungreased cookie sheet if you prefer. I like to use Parchment Paper to line baking sheets or a Silicone Mat for easy cleanup.
Baking Time.
Every oven heats a little differently. I recommend doing a test batch of 1-3 cookies to test the baking time for a perfectly baked cookie before baking the remaining dough.
Cookies.
Cookies are perfectly baked when the edges are set, but note that they will not be golden in color.
Cooling Rack.
Allow cookies to cool on the baking sheet for a minute or two before moving them to a cooling rack to cool completely.
- Kitchen Scale. I use this for accuracy in measuring, and it's a lifesaver when it comes to consistent baking.
- Wire Rack for cooling cookies. I like to have at least two cooling racks.
- Mixing Bowls. A Large Mixing Bowl for mixing ingredients and small and medium mixing bowls for other ingredients.
- Cookie Sheet. Most recipes will take two batches to bake. It's great to have multiple baking sheets available.
- Parchment Paper or Silicone Baking Mat. Line the Cookie Sheet with parchment paper for easy cleanup and to prevent sticking.
- Cookie Scoop. A small #60 Cookie Scoop or a Medium Cookie Scoop #50 are great choices for uniform drops of cookie dough.
- Storage Container. An Airtight Container to store cookies or a Ziploc Bag works great too.
- Additional supplies. Measuring Cups and Measuring Spoons along with a silicone spatula, are all helpful.
To find out more, check out my Pro Tips Guide for making the best cookies every time!
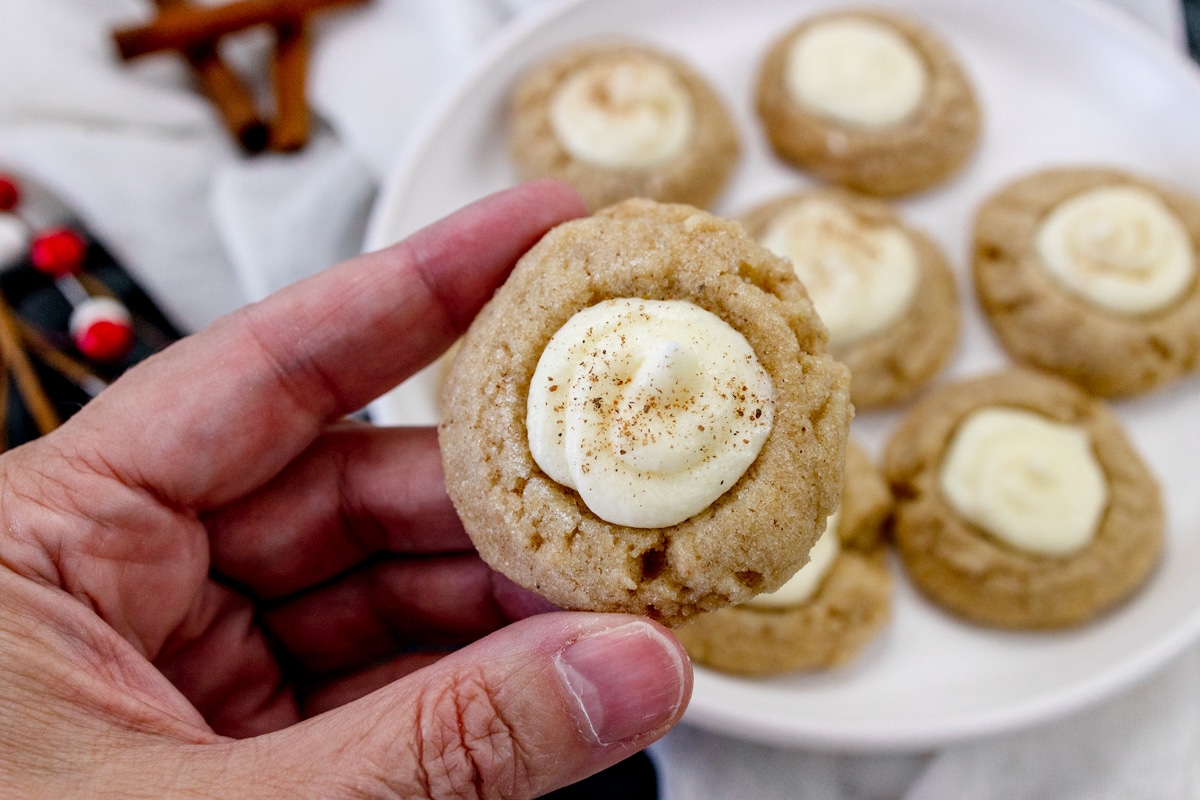
Have you tried this delicious Eggnog Thumbprint Cookies recipe?
Let me know what you think of this recipe! Tag @bestcookierecipes on social media so I can see how great your cookies turned out! I would also love to read your comments below. Let me know what you think of these cookies. It really does help!
More Christmas Cookie Recipes
- Easy Grinch Sugar Cookies with Candy Heart
- Caramel Snickerdoodles with Browned Butter
- Easy Peppermint Candy Cane Cookie Pies Cookies
- Cute Reindeer Peanut Butter Pretzel Cookies
- Easy Chocolate Sandwich Christmas Ornament Cookies
- No-Bake Pretzel Wreaths
- Chewy Chocolate Peppermint Crinkle Cookies
Eggnog Thumbprint Cookies
Ingredients
Eggnog Cookie Base
- ½ cup Unsalted Butter Softened
- ½ cup Granulated Sugar 100g Divided
- ¼ cup Brown Sugar
- 1¼ cup All-Purpose Flour
- ½ teaspoon Rum Extract
- 2 tablespoon Eggnog
- 1 Egg Yolk Large
- ¼ teaspoon Salt
- ½ teaspoon Ground Cinnamon
- ½ teaspoon Ground Nutmeg
Eggnog Filling
- 1 cup Powdered Sugar
- ½ teaspoon Rum Extract
- 2 tablespoon Butter
- 1-3 tablespoons Eggnog
- Ground Nutmeg Garnish
Instructions
Making The Eggnog Cookie Dough
- In a large bowl with an electric mixer or using a stand mixer with a paddle attachment, cream the ½ cup Butter (unsalted) with ¼ cup Sugar and ¼ cup Brown Sugar. Creaming the Butter and Sugar should take 3-4 minutes. Make sure to scrape the sides of the bowl down multiple times. Add the Egg Yolk, Rum Extract, and Eggnog. Cream together for another 1-2 minutes.
- Gradually add and mix Flour and a pinch of Salt into the creamed mixture. The flour mixture will be thick. Cover the soft dough with plastic wrap and chill mixture in the refrigerator for 30-45 minutes.
Baking The Cookies
- Preheat the oven to 350 degrees F. Line a baking sheet with parchment paper or use a silicone mat. Using a small cookie scoop (#60, 1 inch in diameter), scoop 1-inch balls of dough and place them into a separate shallow bowl containing ¼ cup Granulated Sugar.
- Roll the cookie dough balls in the sugar until they are fully coated.
- Place the balls of cookie dough roughly 2 inches apart on the prepared baking sheet. Using the back of a small spoon, press gently into the center of each cookie.
- This should leave an impression that will act as a well to fill with the creamy eggnog filling. As the cookies bake, it is normal for this well to flatten out a little bit.
- Bake for 7-9 minutes. Edges will be set but will not be golden in color.
- Using a measuring teaspoon gently press into the center of each cookie again, to reinforce the well for the eggnog filling. Allow cookies to cool on the pan for 1-2 minutes before moving them to a wire rack to cool completely.
Eggnog Filling
- In a small bowl combine the Powdered Sugar and Softened Butter, mixing them together using a fork or pastry cutter. Add the Rum extract and combine. Gradually add the Eggnog a little at a time until the desired consistency is reached. The mixture should be thick.
- Use a piping bag or a small spoon to fill the eggnog thumbprints in the center of each cooled cookie with the eggnog filling and allow them to set.
- Garnish by sprinkling a dash of ground nutmeg or ground cinnamon over the top of the cookies.
Notes
- Store: Place your cookies in an airtight container once they have cooled and the filling has set. Store them in a refrigerator with a sheet of parchment paper between each layer to prevent them from sticking together if they're stacked. I prefer to enjoy them within 2 to 3 days but your cookies will keep their texture and flavor for up to 5 days, making them an easy make-ahead treat for a busy holiday season.
- Freeze the Cookie Dough: You can freeze and store the cookie dough for up to 3 months. Tightly wrap the dough in plastic wrap and place it in a Ziploc bag, making sure to squeeze as much air out of the bag as possible. When you're ready to bake the cookies, thaw the dough in the refrigerator overnight, then proceed with the shaping and baking steps of the recipe. This is a great way to have fresh cookies on hand whenever you are in the mood for them.
- Freeze Baked Cookies: A batch of cookies can be frozen and stored for up to 3 months. Freeze them without the filling by placing the cooled cookies on a parchment paper-lined baking sheet and flash-freezing until solid. Place the frozen cookies into a freezer-safe container, layering them with parchment paper. Thaw the cookies at room temperature when you're ready to enjoy them and add the eggnog filling just before serving.


Submit a Comment