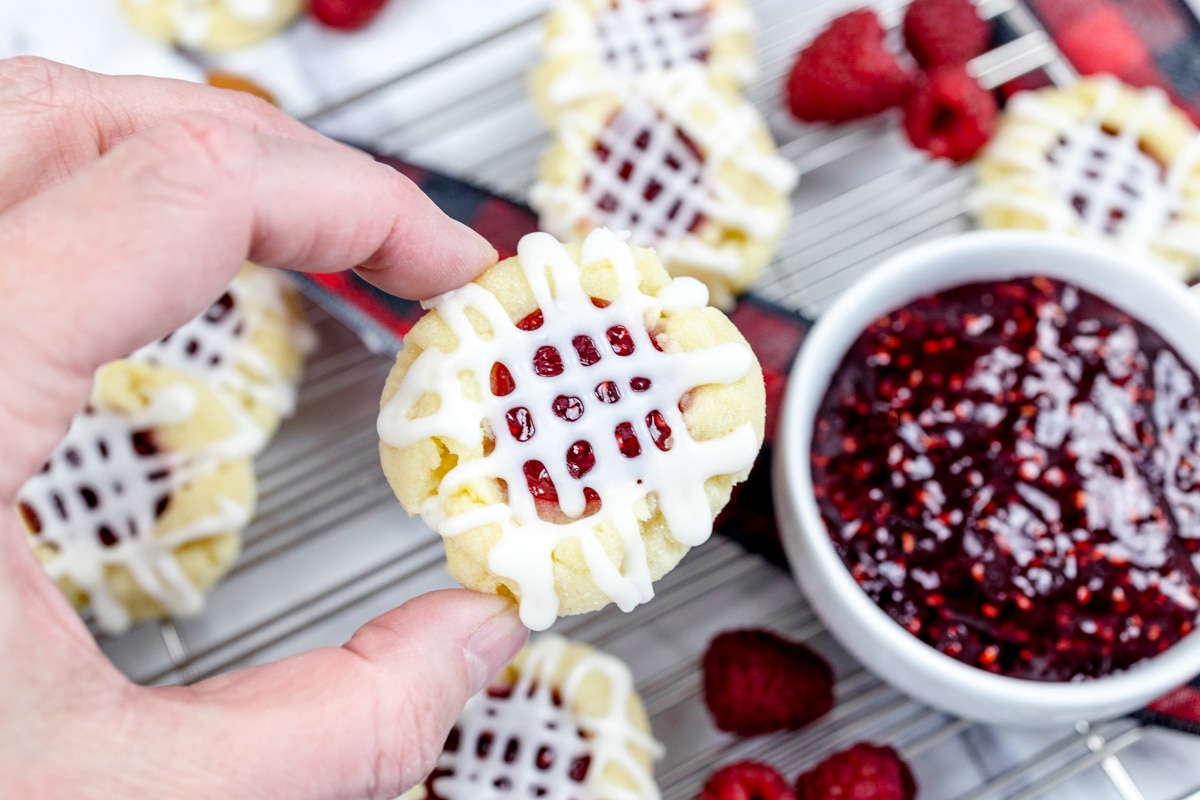
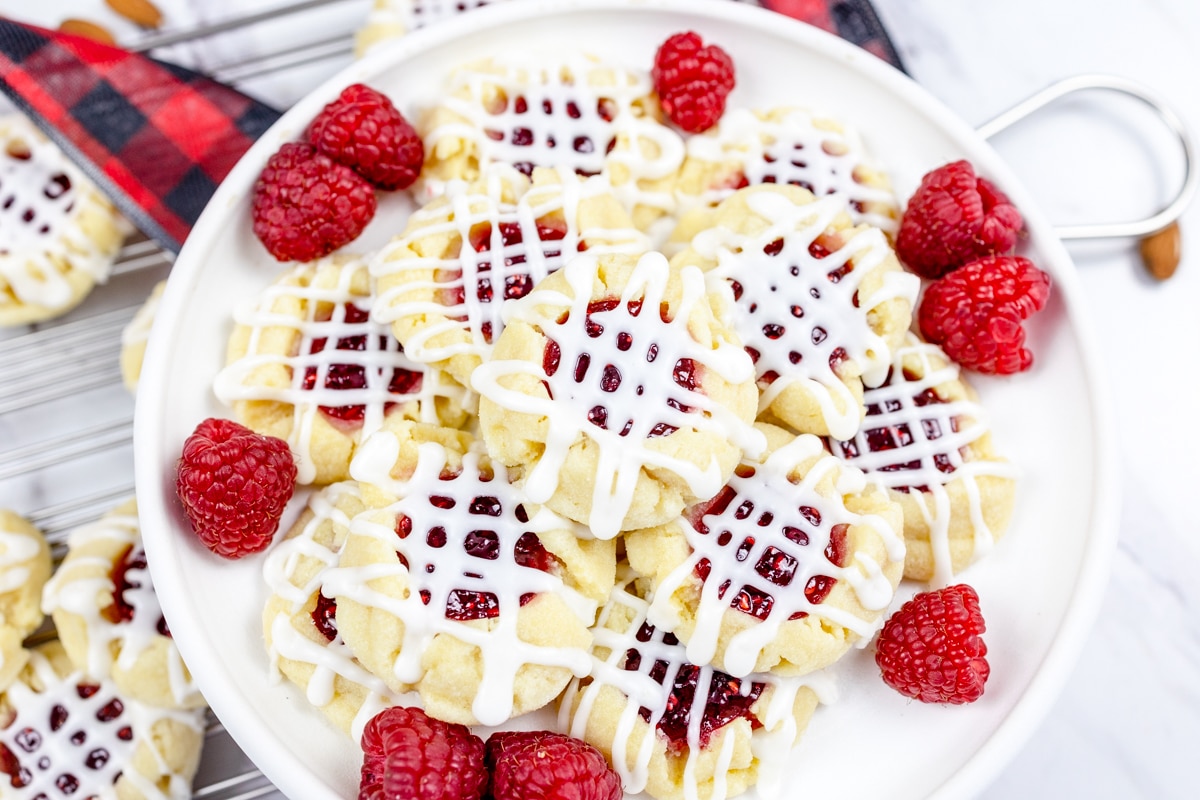
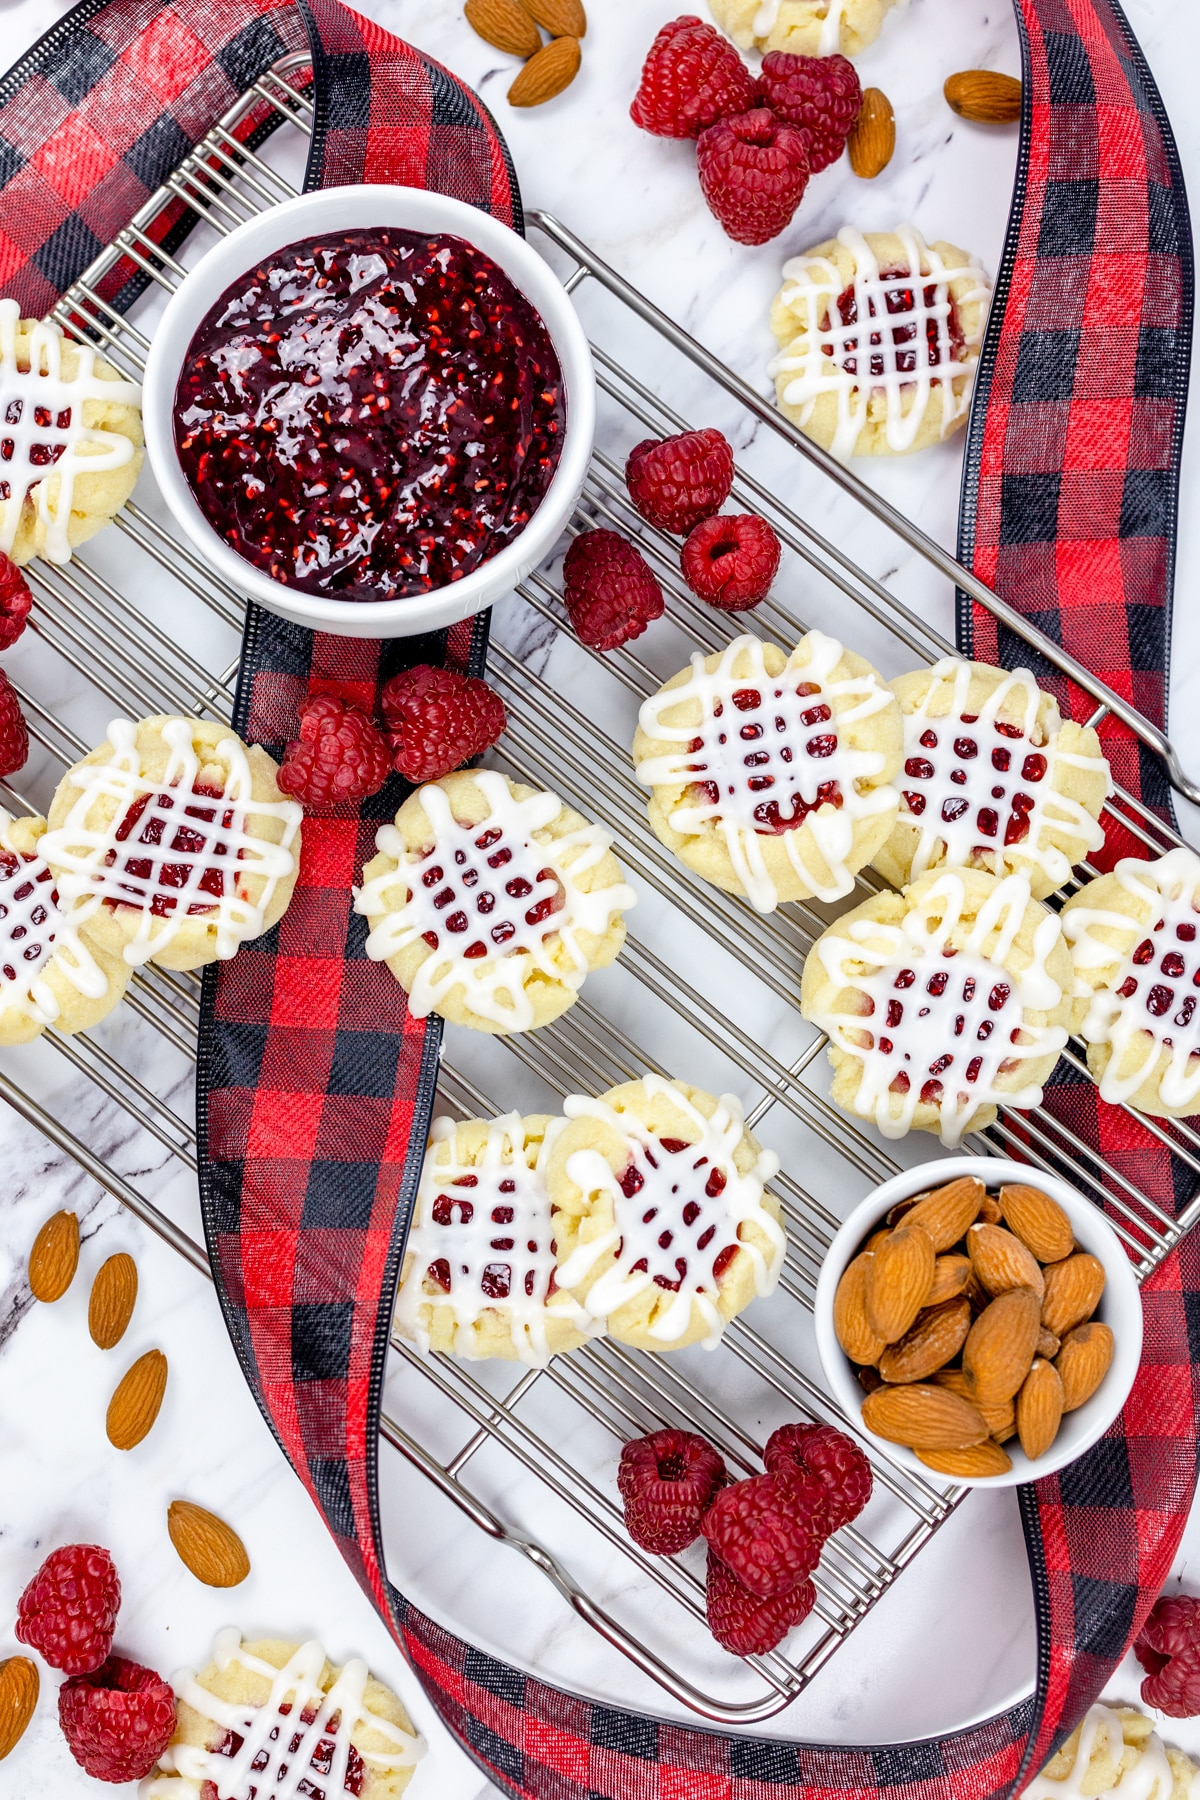
Sweet Raspberry Thumbprint Cookies are bite-size cookies with a Raspberry Jam dollop in the center and an almond icing glaze drizzled on top in a classic criss-cross pattern.
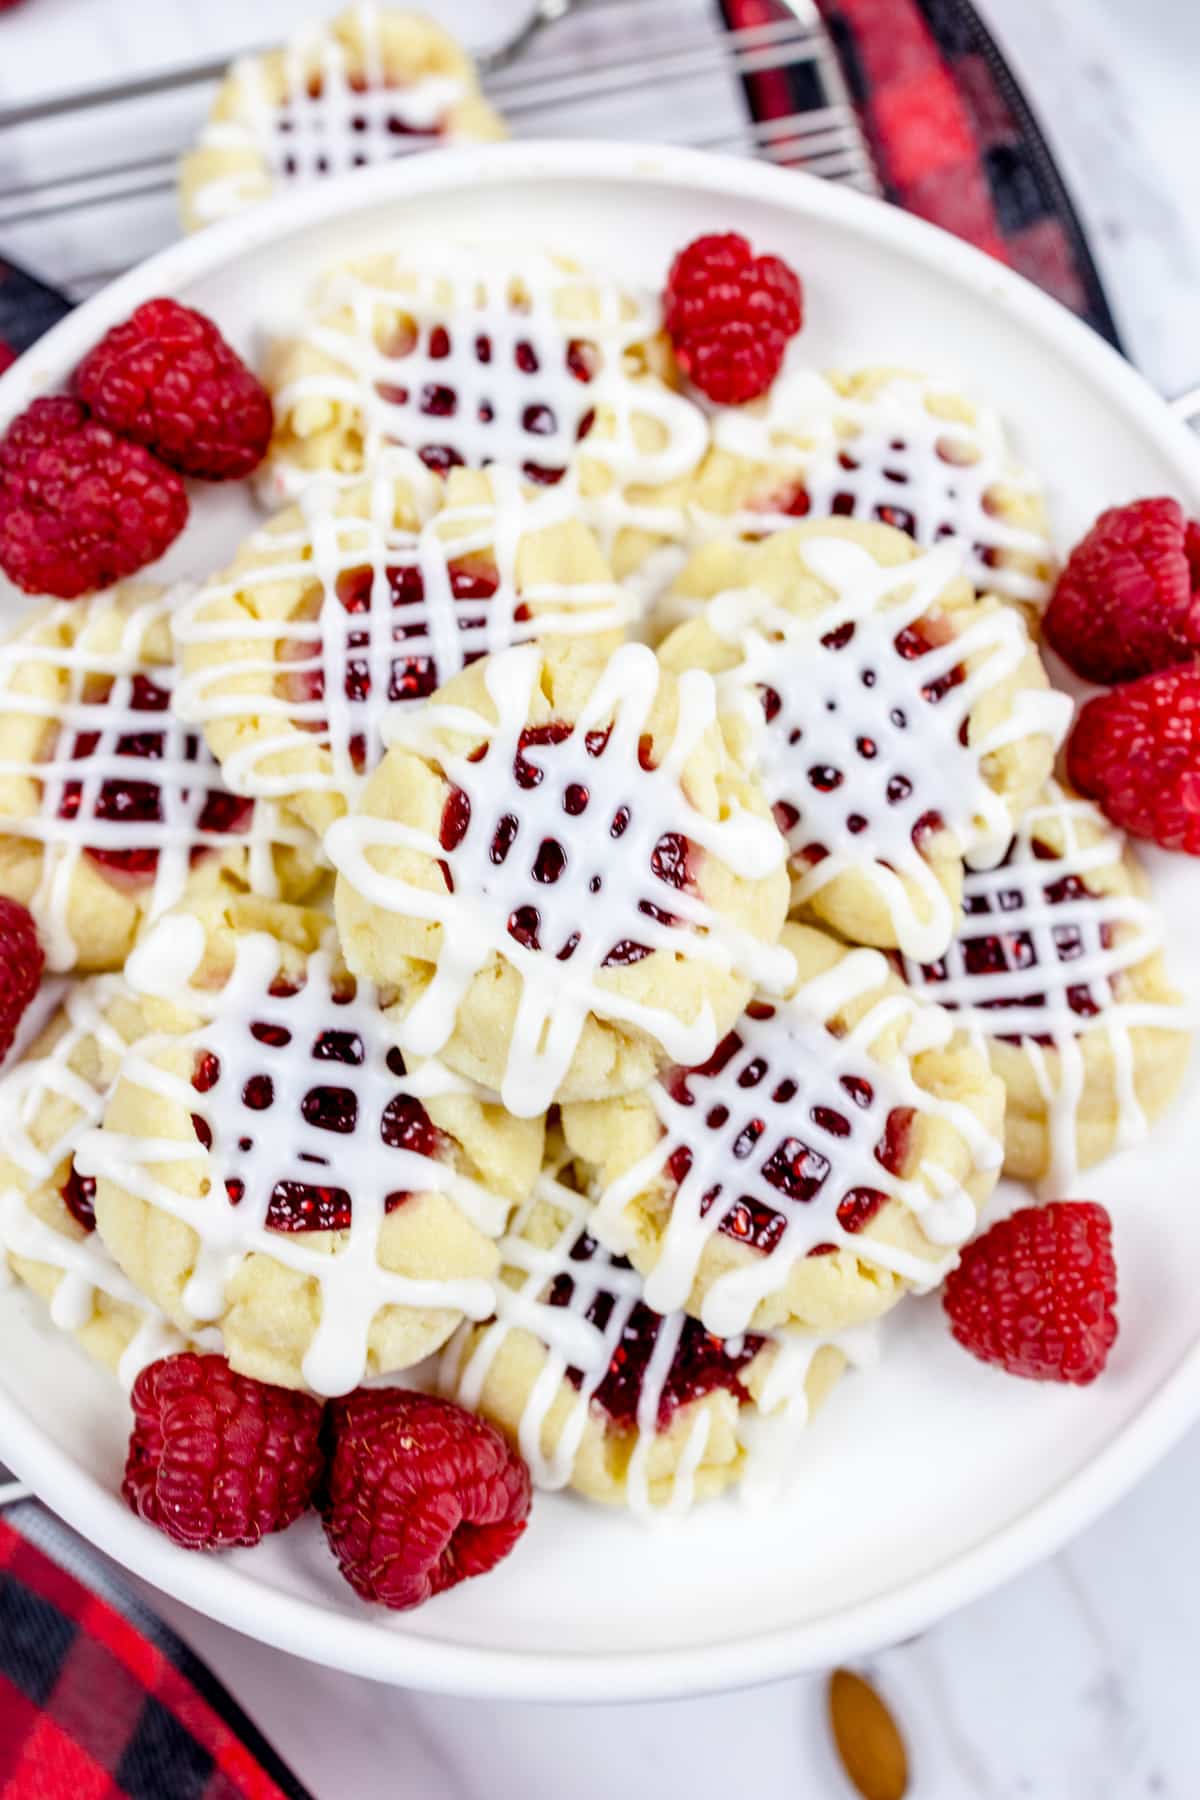
These classic thumbprint cookies are so simple to make, but they look impressively adorable!
With a sweet raspberry jam center, these buttery cookies are topped with a simple glaze with an almond flavor.
This classic cookie is great for making with kids. They love to push the well into the cookie dough and fill it with sweet jam! The icing drizzle may end up in a bit of a mess, but that's all part of the fun, right?!
They are one of my favorite cookies to make for Valentine's Day and they're perfect for a cookie exchange during the holiday season too!
With this easy recipe, these cookies are ready in under an hour, they are a must-try!
Try these Root Beer Cookies, my Red Velvet Sandwich Cookies, or my Cranberry Bars for some more Valentine's Day sweet treat ideas!
Shopping List
Wet Ingredients. Butter, Almond Extract, Egg, Milk, Raspberry Jam
Dry Ingredients. All Purpose Flour, Granulated Sugar, Powdered Sugar, Salt
How To Make Raspberry Thumbprint Cookies
Make the Cookies
In a large bowl with a hand mixer, or in the bowl of a stand mixer, cream together the Butter and ½ cup of Sugar. This should take about 3-4 minutes. Make sure to scrape down the sides of the bowl multiple times throughout this process.
Then, add the Egg Yolk and Almond Extract, and cream together again for an additional 1-2 minutes.
Gradually add the Flour and a pinch of Salt - the cookie dough will be thick when it is finished. Cover the dough with plastic wrap and chill in the refrigerator for 30 minutes.
Preheat your oven to 350 degrees F and line a baking sheet with parchment paper or a silicone mat to make sure the cookies don't stick to the pan.
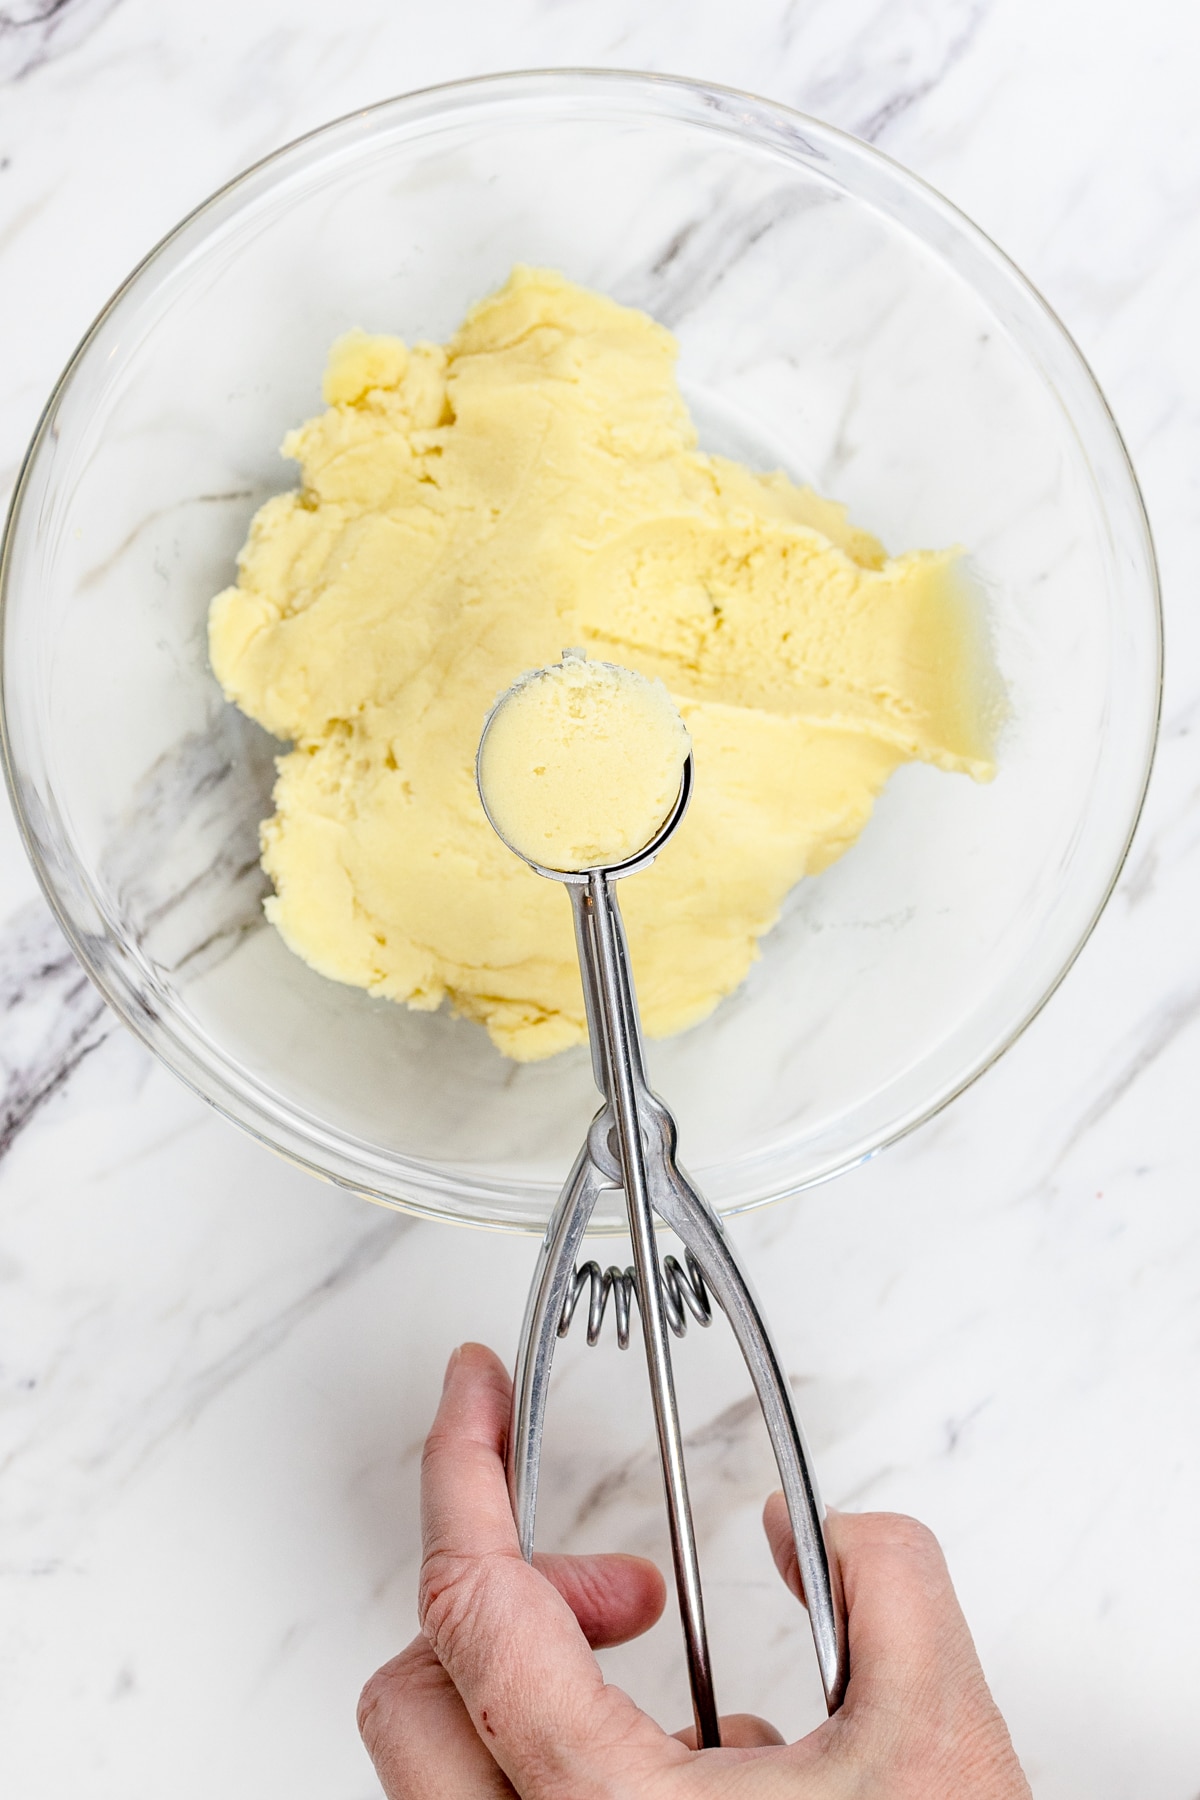
Use a small cookie scoop #60, 1 inch in diameter, for the best bite-sized cookies.
Scoop cookie dough balls then roll them in the reserved ¼ cup Granulated Sugar in a shallow bowl.
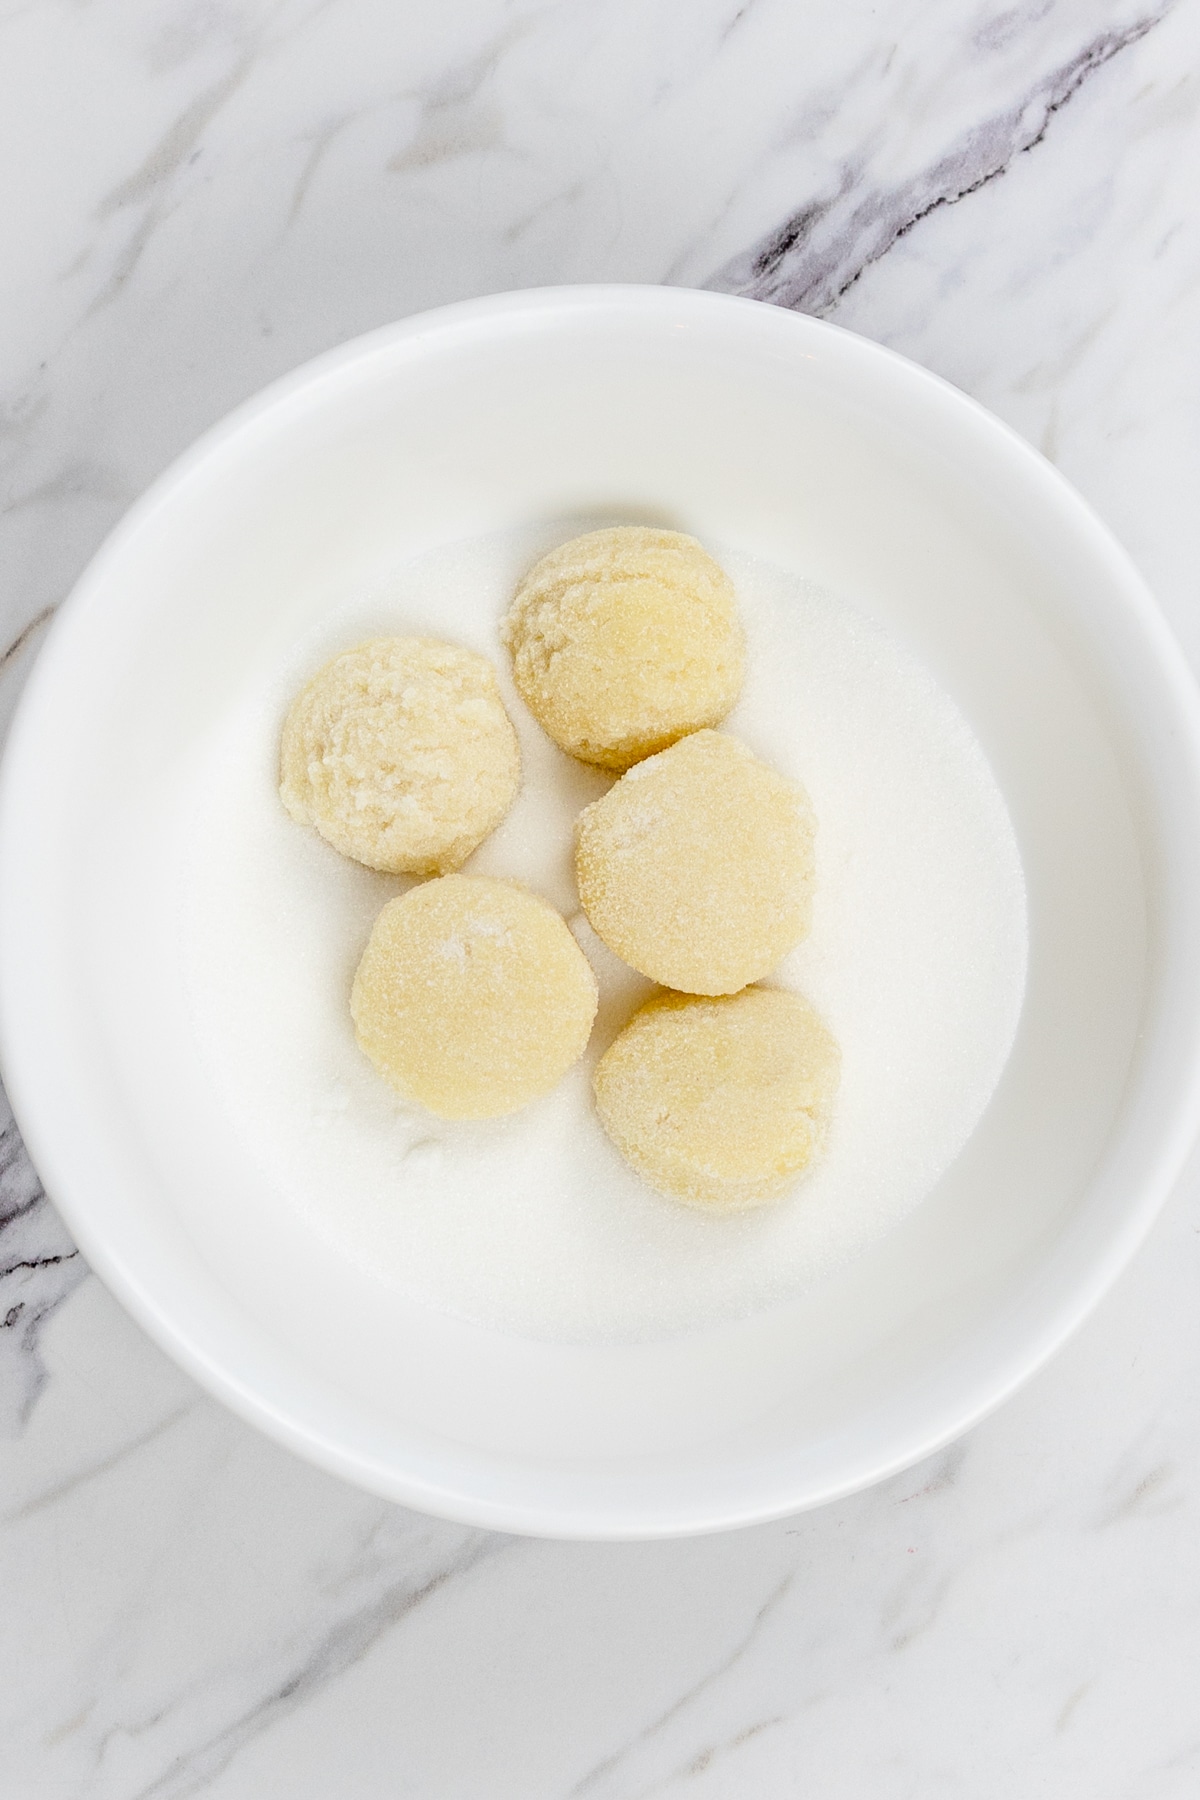
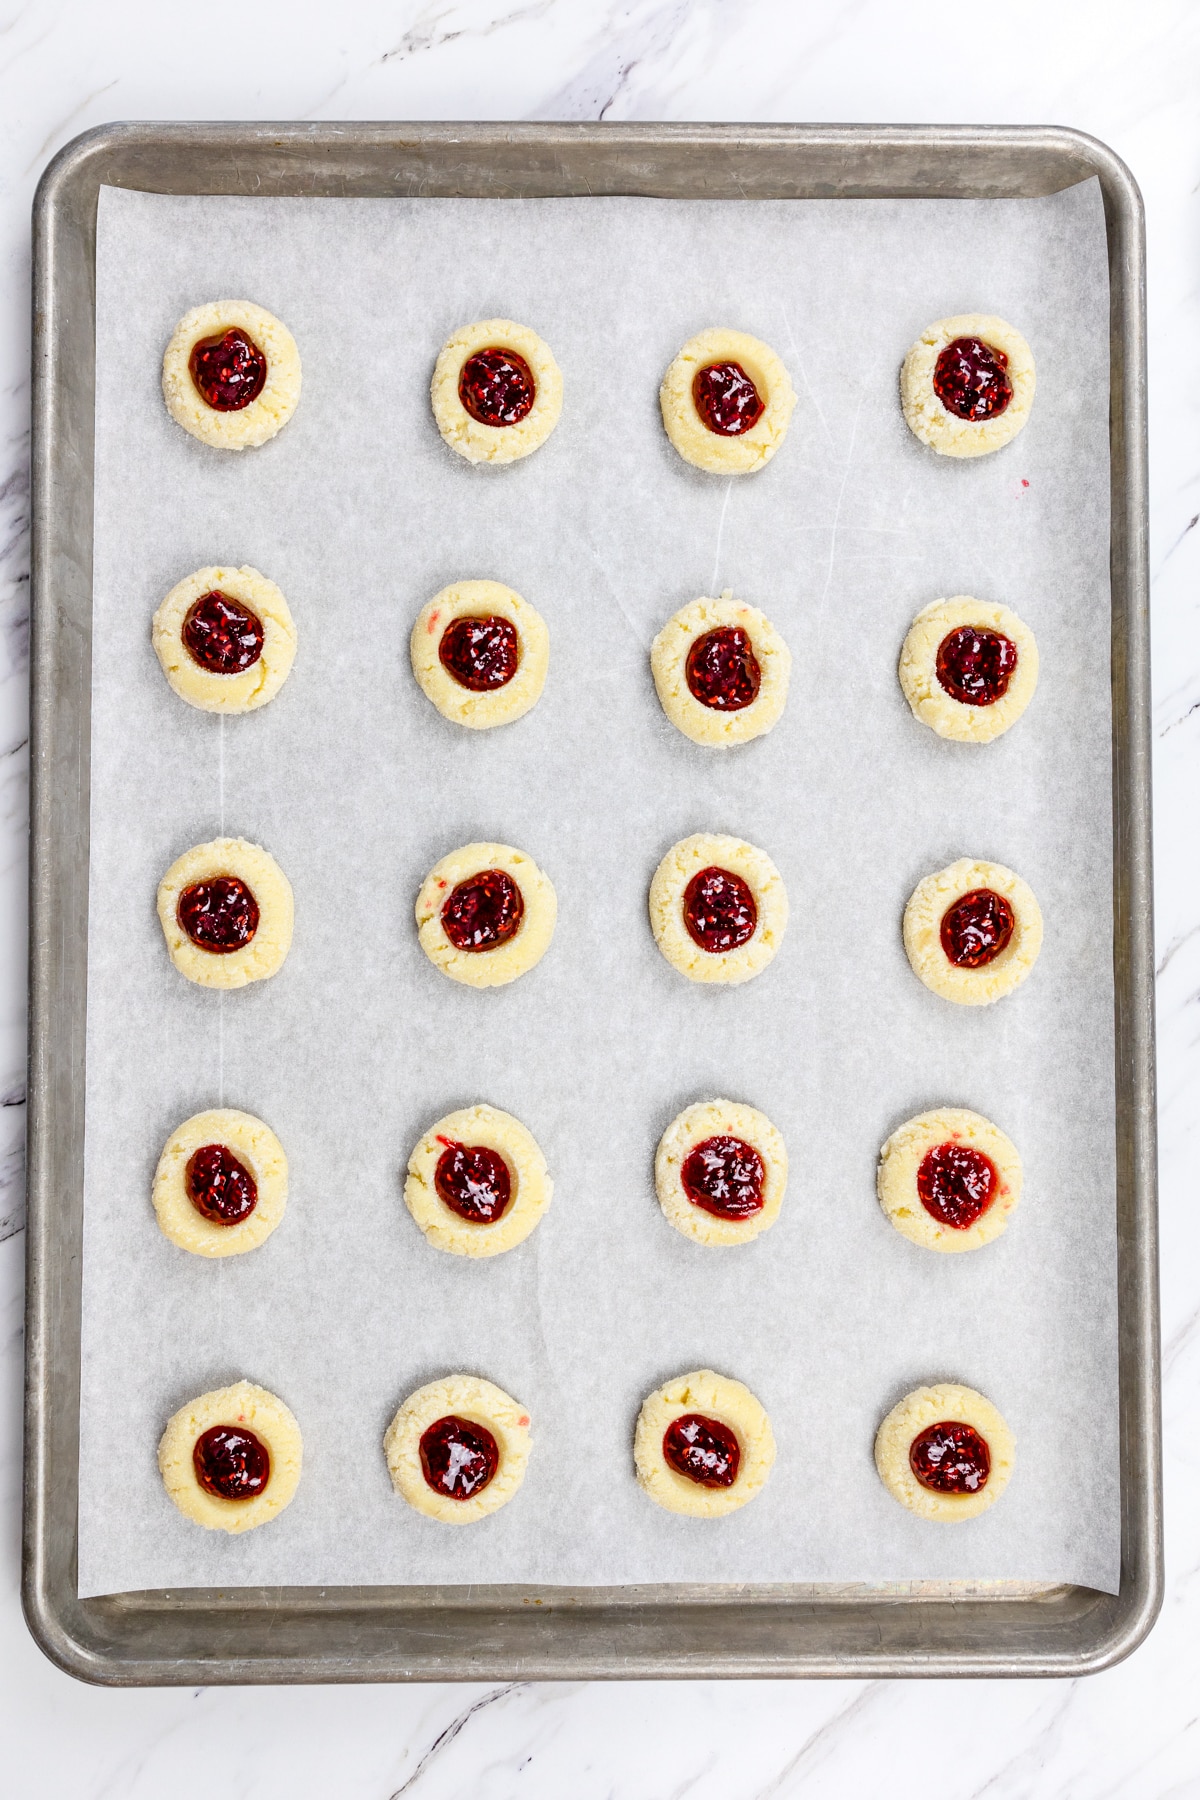
Place the cookie dough balls 2 inches apart on the prepared cookie sheet.
Use the back of a measuring teaspoon to press gently into the center of the cookie dough, leaving a well. You can do this with your thumb - hence the name 'Thumbprint Cookies' but it is easier if you have a measuring spoon for this bit.
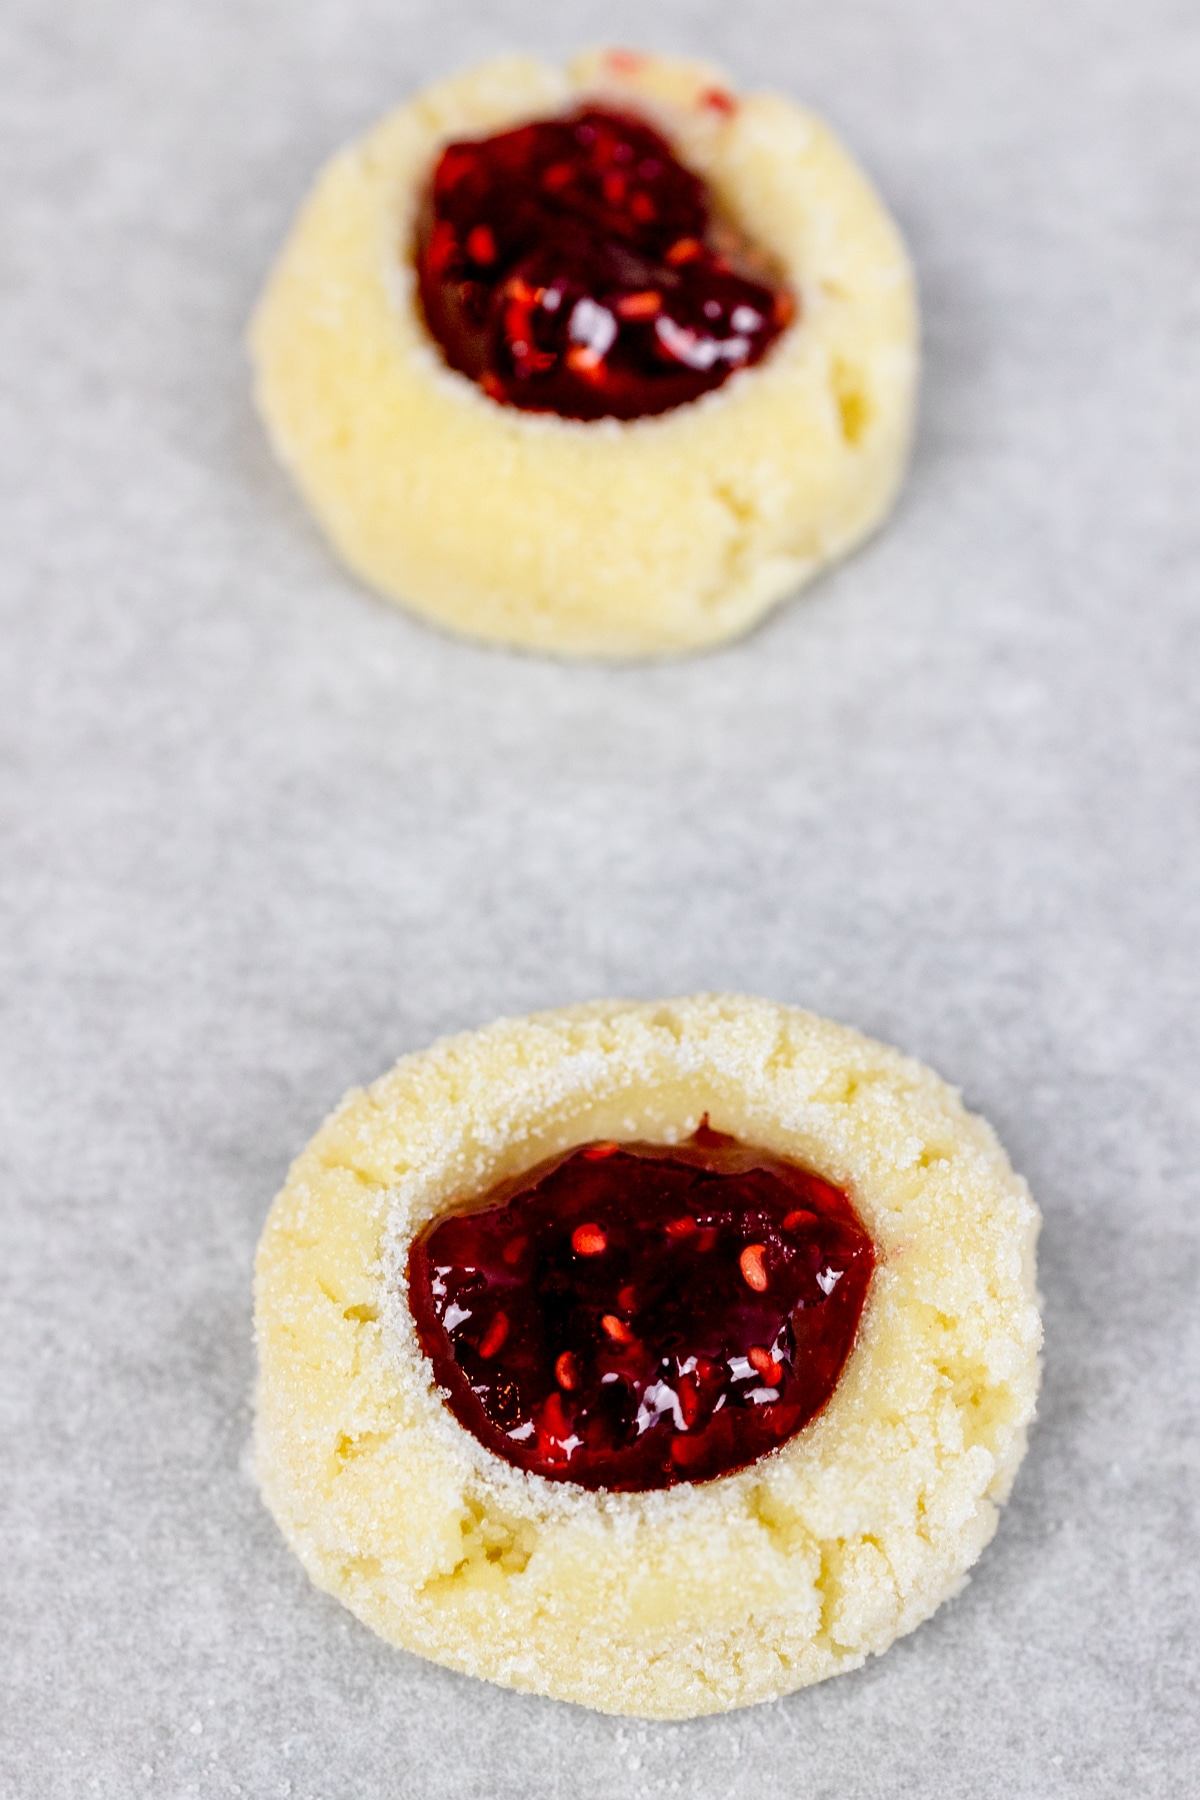
Then spoon ½ teaspoon of Jam into the well of the cookie.
Bake the cookies for 7-9 minutes. The edges will be set but will NOT be golden in color.
Make the Almond Glaze
Next, make the almond glaze for the top of the cookies. In a small bowl, combine Powdered Sugar and softened Butter. With a fork or pastry cutter, mix the ingredients together, then add Almond Extract, and combine.
Gradually add Milk a little at a time until the desired consistency is reached for a thin drizzle.
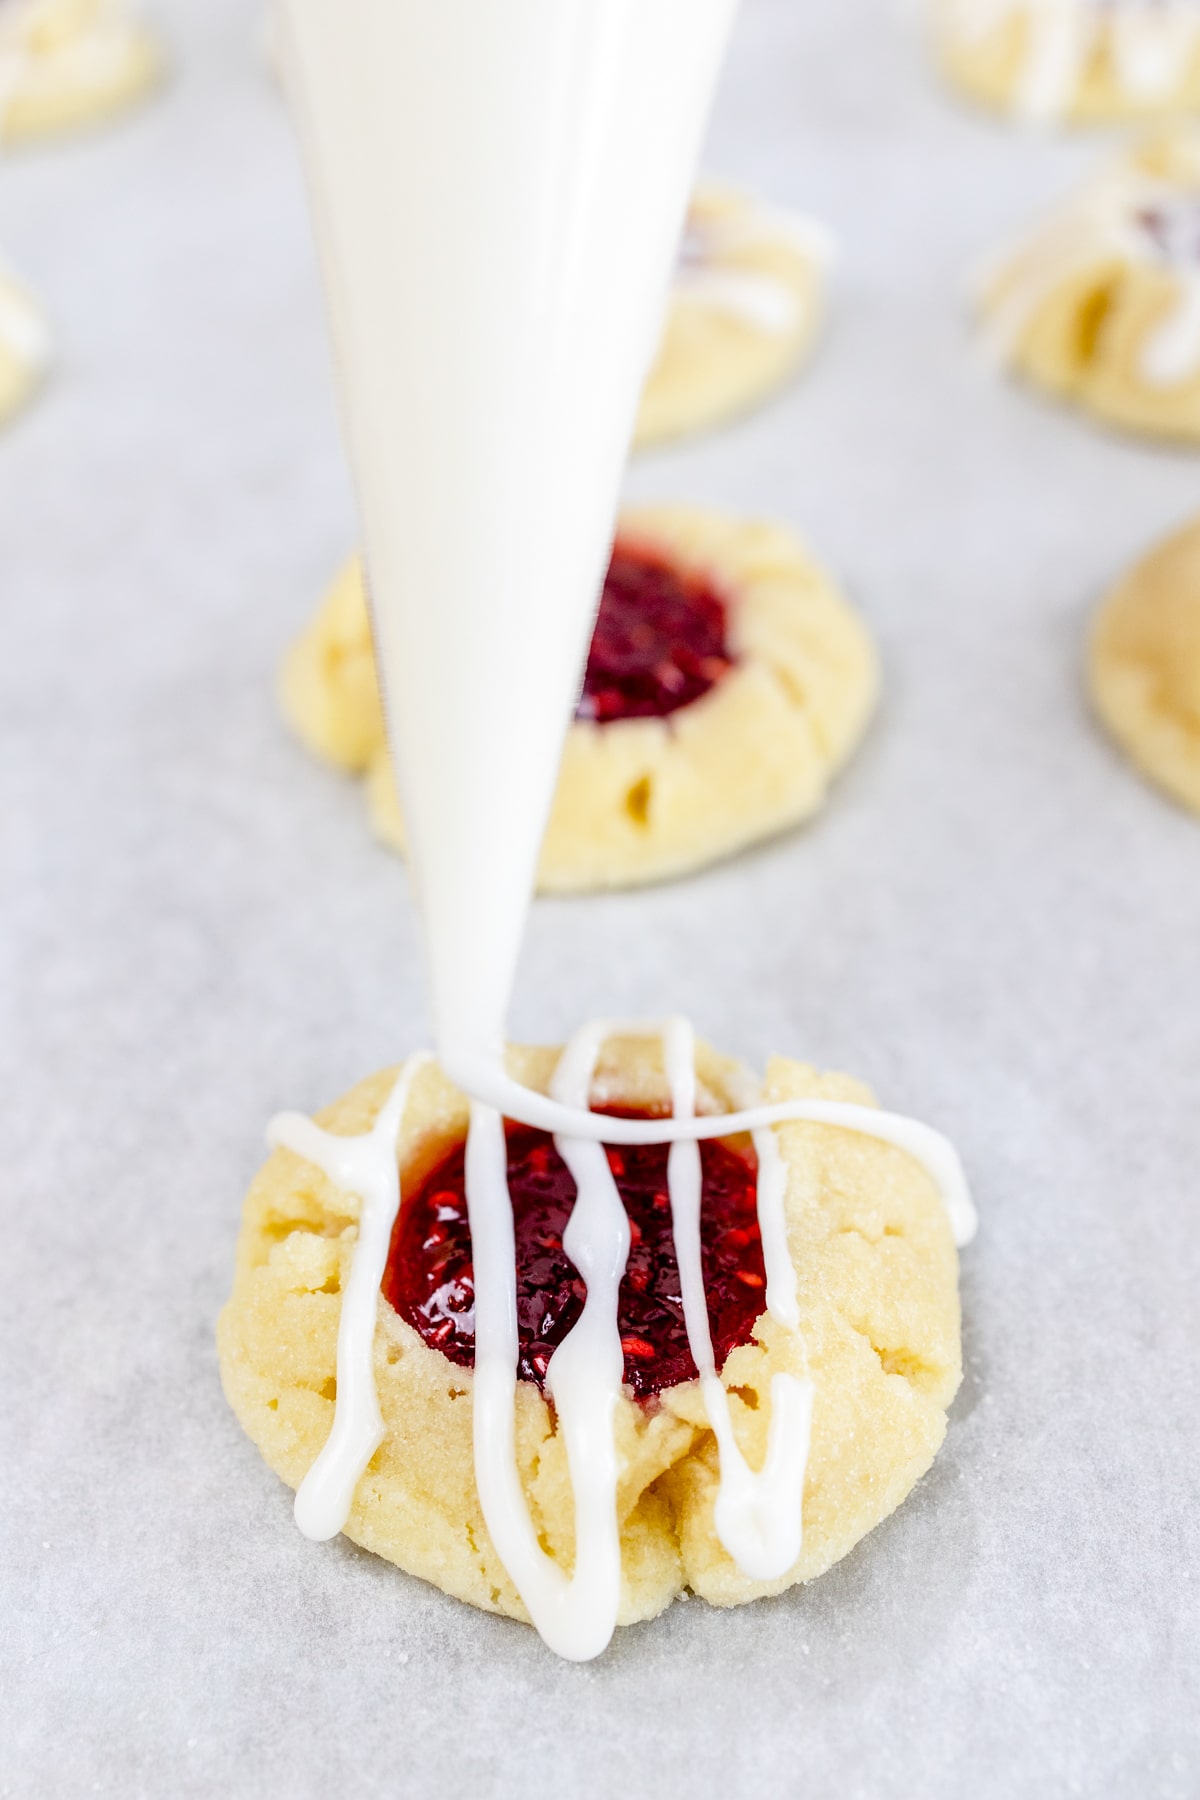
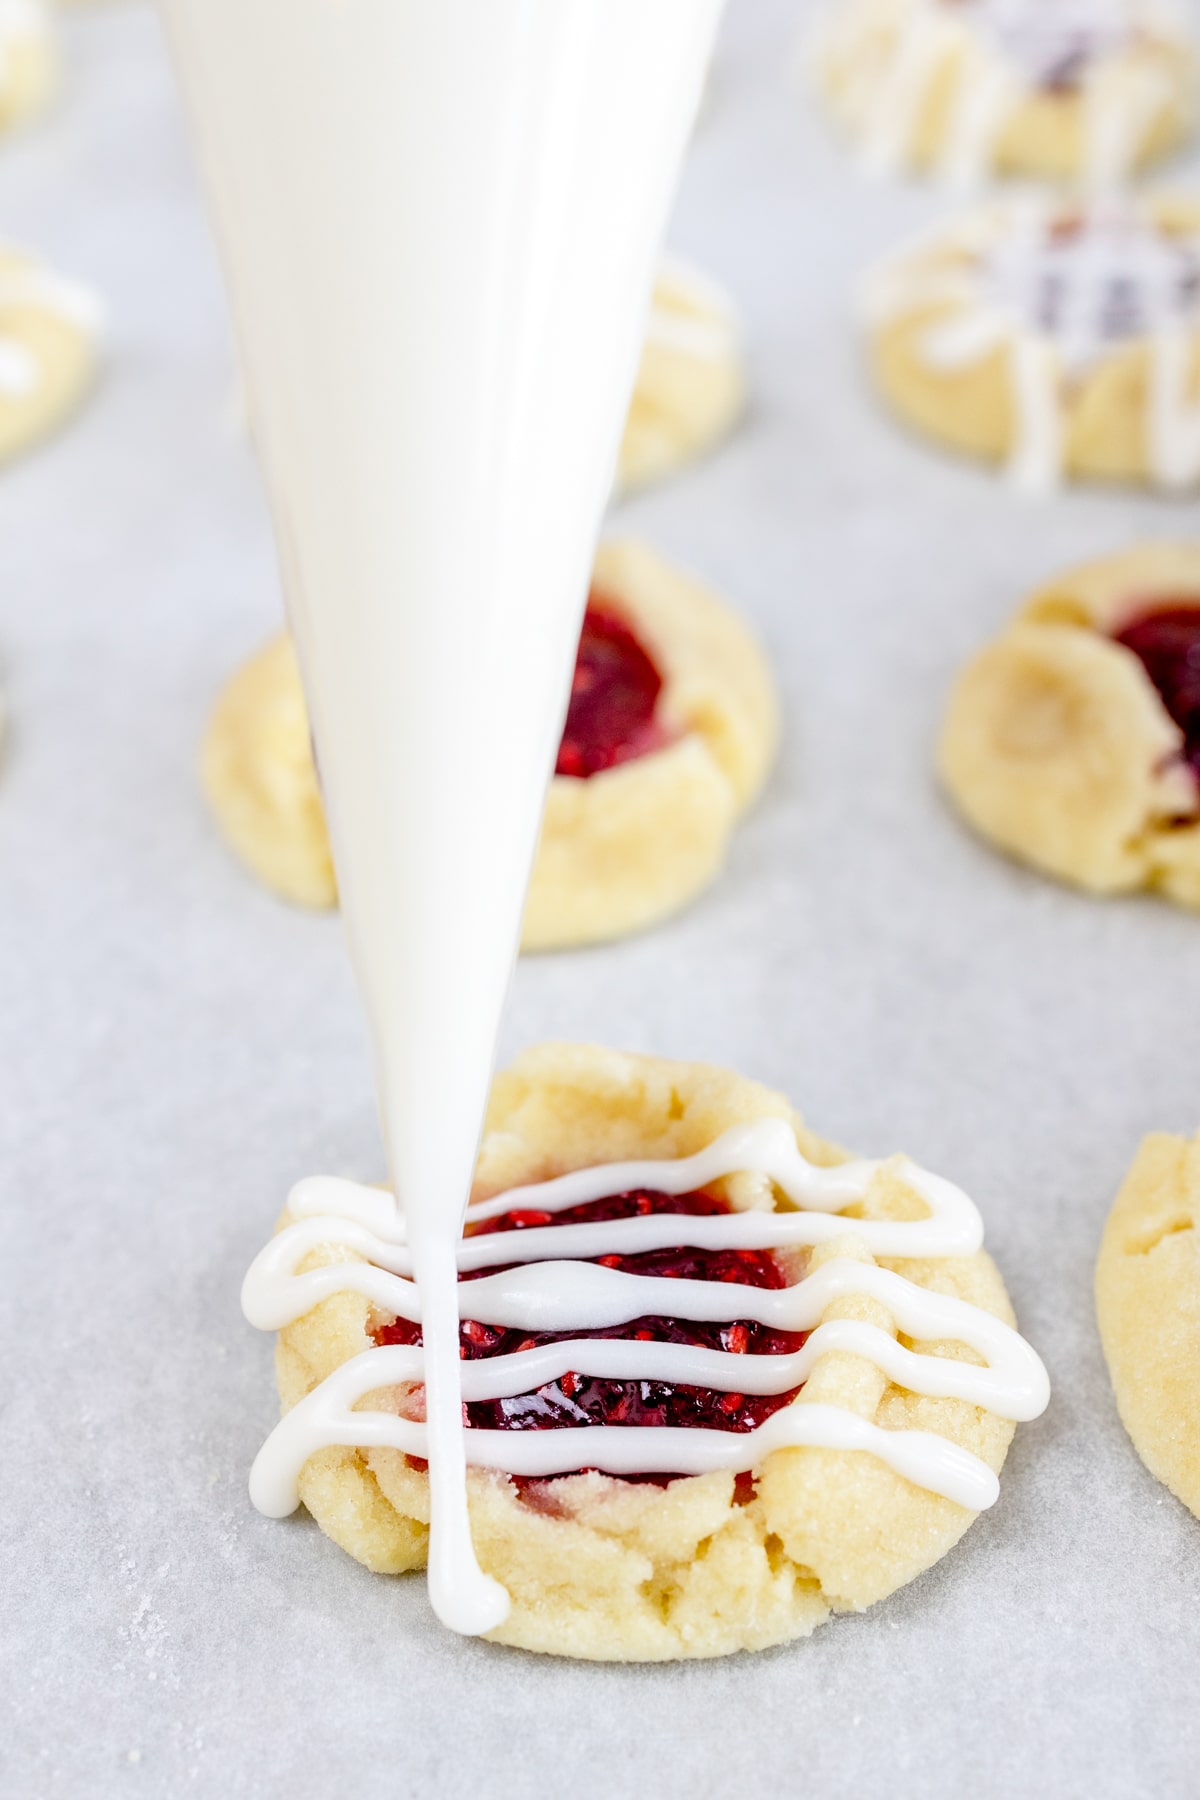
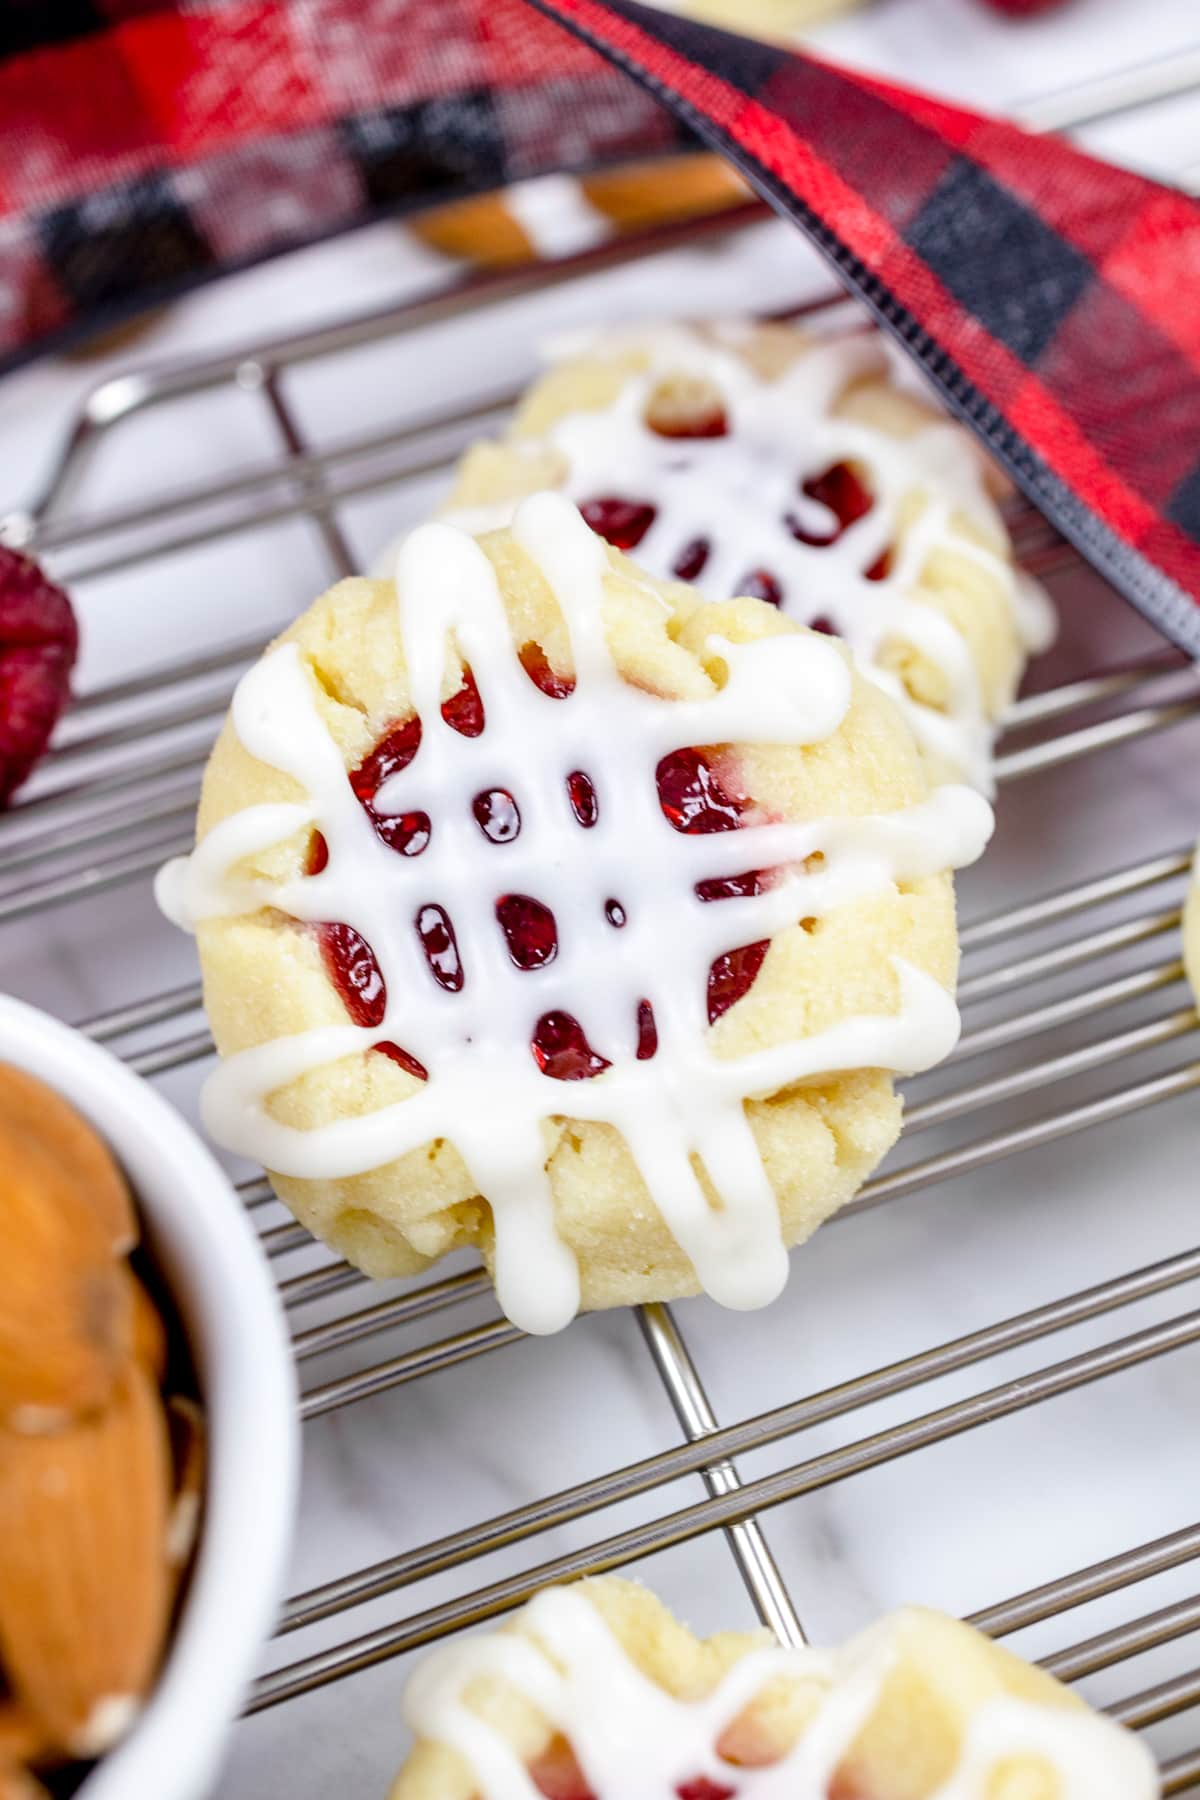
Once the cookies have cooled to room temperature, drizzle the Almond Glaze in a zig-zag pattern. Rotate the cookie tray 90 degrees and apply a second zig-zag shape to form the classic criss-cross pattern on the top.
Storage & Freezing
Store: Store cookies in an air-tight container or Ziploc bag. Refrigerate the cookies with a sheet of parchment paper between each layer to prevent them from sticking together.
The cookies will last up to 5 days. But I prefer to enjoy these cookies within 2-3 days.
Freeze: Cookies can also be frozen for up to 3 months in a freezer-safe container or Ziploc bag. Place parchment paper between each cookie to prevent sticking when frozen.
Substitutions & Variations
- Jam. You can use whatever flavor of jam you like. Strawberry jam or ginger jam will work well. You can even use Lemon Curd like in my Lemon Curd Cookies!
- Garnish. Add a little bit of lemon zest to the top of each cookie for a citrusy twist to these cookies.
- Icing Drizzle. Add lemon juice to the drizzle instead of almond, for a bit of lemon flavor. You could also use Vanilla Extract instead of almond too.
- Chocolate. Instead of an icing drizzle, a melted white chocolate drizzle would be a perfect addition to these cookies. Dark chocolate or milk chocolate will work fine too.
- Dust. Instead of a drizzle on top, you can lightly dust the cookies with powdered sugar - this can be cute for your cookie plate at Christmas to make it look like snow!
- Butter. Use Salted Butter. If you use Unsalted Butter, you will need to add an extra ¼ of Salt per cup of butter needed.
Pro Tips
What makes a good cookie? Does it have a soft center and crispy edges, and is it chewy? Each of these makes a great quality cookie. To make perfect cookies every time here are some pro tips.
To find out more, check out my Pro Tips Guide for making the best cookies every time!
Weighing Ingredients.
Baking is a science. Adding too much or too little of any of the ingredients will alter the recipe. Weighing and measuring dry ingredients properly makes a world of difference. Investing in a kitchen scale is ideal.
When a kitchen scale is not available, make sure to stir and lift ingredients before scooping them into a measuring cup.
Always stir flour with a whisk adding air into the flour then carefully spooning flour into a measuring cup. Level the top off with a knife. Do not shake or pack the ingredients down for best measurement.
| Volume | Ounces | Grams | |
| All Purpose Flour | 1 Cup | 4½ Ounces | 120 Grams |
| Bread Flour | 1 Cup | 4½ Ounces | 120 Grams |
| Granulated Sugar | 1 Cup | 7 Ounces | 200 Grams |
| Brown Sugar | 1 Cup | 7½ Ounces | 213 Grams |
| Confectionary Sugar | 1 Cup | 4 Ounces | 113 Grams |
Cookie Scoop.
Using a cookie scoop keeps each ball of cookie dough the same size, which is essential for baking. I have used a medium cookie scoop in these photos.
Baking Sheets.
You can use an ungreased cookie sheet if you prefer. I like to use Parchment Paper to line baking sheets or a Silicone Mat for easy cleanup.
Baking Time.
Every oven heats a little differently, so I recommend doing a test batch of 1-3 cookies to test the baking time for a perfectly baked cookie before baking the remaining dough.
Cookies.
Cookies are perfectly baked when the edges are set and the centers are no longer glossy.
Cooling Rack.
Allow cookies to cool on the baking sheet for a minute or two before moving them to a cooling rack to cool completely.
- Kitchen Scale. I use this for accuracy in measuring and it's a lifesaver when it comes to consistent baking
- Wire Rack for cooling cookies. I like to have at least 2 cooling racks.
- Mixing Bowls. A Large Mixing Bowl for mixing ingredients and small and medium mixing bowls for other ingredients
- Cookie Sheet. Most recipes will take 2 batches to bake. It's great to have multiple baking sheets available
- Parchment Paper or Silicone Baking Mat. Line the Cookie Sheet with parchment paper for easy cleanup and to prevent sticking.
- Cookie Scoop. A small #60 Cookie Scoop or a Medium Cookie Scoop #50 are great choices for uniform drops of cookie dough.
- Storage Container. An Airtight Container to store cookies or a Ziploc Bag works great too.
- Additional supplies. Measuring Cups and Measuring Spoons along with a silicone spatula are all helpful.
Have you tried this Raspberry Thumbprint Cookie recipe?
Let me know what you thought of this recipe! Tag @bestcookierecipes on social media so I can see how great your cookies turned out! I would also love to read your comments below. Let me know what you think of these cookies. It really does help!
More Easy Cookie Recipes
- Peanut Butter and Jelly Cookies
- Boston Cream Pie Cookies
- Red Velvet Chocolate Chip Cookies
- Lemon Curd Thumbprint Cookies
- Peanut Butter Blossoms
Raspberry Thumbprint Cookies
Ingredients
- ½ cup Unsalted Butter Softened
- ¾ cup Granulated Sugar Divided
- 1 cup All-Purpose Flour plus 2 tablespoons
- ½ teaspoon Almond Extract
- 1 Egg Yolk Large
- ¼ teaspoon Salt
- ½ cup Raspberry Jam
Almond Drizzle
- 1 cup Powdered Sugar
- 1 teaspoon Almond Extract
- 1 tablespoon Butter
- 1-3 tablespoons Milk
Instructions
Cookie Dough
- In a mixing bowl or using a stand mixer cream the Butter and ½ cup Sugar. Creaming Butter and Sugar should take 3-4 minutes. Make sure to scrape the sides of the bowl down multiple times.
- Add Egg Yolk and Almond Extract and cream together for an additional 1-2 minutes.
- Gradually add Flour and a pinch of Salt. The mixture will be thick.
- Cover the dough with plastic wrap and chill in the refrigerator for 30 minutes.
Baking
- Preheat oven to 350 degrees. Line the baking sheet with parchment paper or use a silicone mat
- Using a small cookie scoop #60, 1 inch in diameter. Scoop cookie dough balls and roll them into reserved ¼ cup Granulated Sugar.
- Place cookie dough 2 inches apart on the baking sheet.
- Using the back of a measuring teaspoon, press gently into each cookie leaving a well-impression.
- Spoon ½ teaspoon Jam into the well of the cookie.
- Bake for 7-9 minutes. Edges will be set but will NOT be golden in color.
Almond Glaze
- In a small bowl combine powdered sugar and softened butter. With a fork or pastry cutter mix ingredients together
- Add almond extract and combine.
- Gradually add milk a little at a time until desired consistency is reached for a thin drizzle.
- Drizzle Almond Glaze over cooled cookies.
Notes
- Store: Store cookies in an airtight container. Refrigerate the cookies with a sheet of parchment paper between each layer to prevent them from sticking together. The cookies will last up to 5 days. But I prefer to enjoy these cookies within 2-3 days.
- Freeze: Cookies can also be frozen for up to 3 months in a freezer-safe container or Ziploc bag. Place parchment paper between each cookie to prevent sticking when frozen.


Submit a Comment