Get ready to elevate your holiday baking game with our White Chocolate Peppermint Cookies! These cookies bring together the classic combo of sweet white chocolate and refreshing peppermint, making them the ultimate festive treat.

Packed with crunchy Candy Cane pieces, they not only add a jolly flair but also guarantee a burst of holiday cheer in every bite. Simple to whip up and impossible to resist, this recipe is a surefire way to spread joy and satisfy those sweet cravings during the season.
Don't miss out – make these cookies and treat yourself to a taste of holiday happiness!
White Chocolate Peppermint Cookies pair the cool, minty freshness of candy cane pieces with the sweet, creamy richness of White Chocolate Chips.
Their enticing chewiness comes from the combination of Brown Sugar and White Chocolate Instant Pudding in the dough.
The cookies also get a slight crunch from the Candy Cane pieces, giving these cookies the most satisfying texture!
For more Christmas cookie recipes that use Peppermint Candy Pieces, check out my Christmas Ornament Cookies, Chocolate Peppermint Cookies, Chocolate Peppermint Bark Cookies, and Peppermint Pie Cookies!
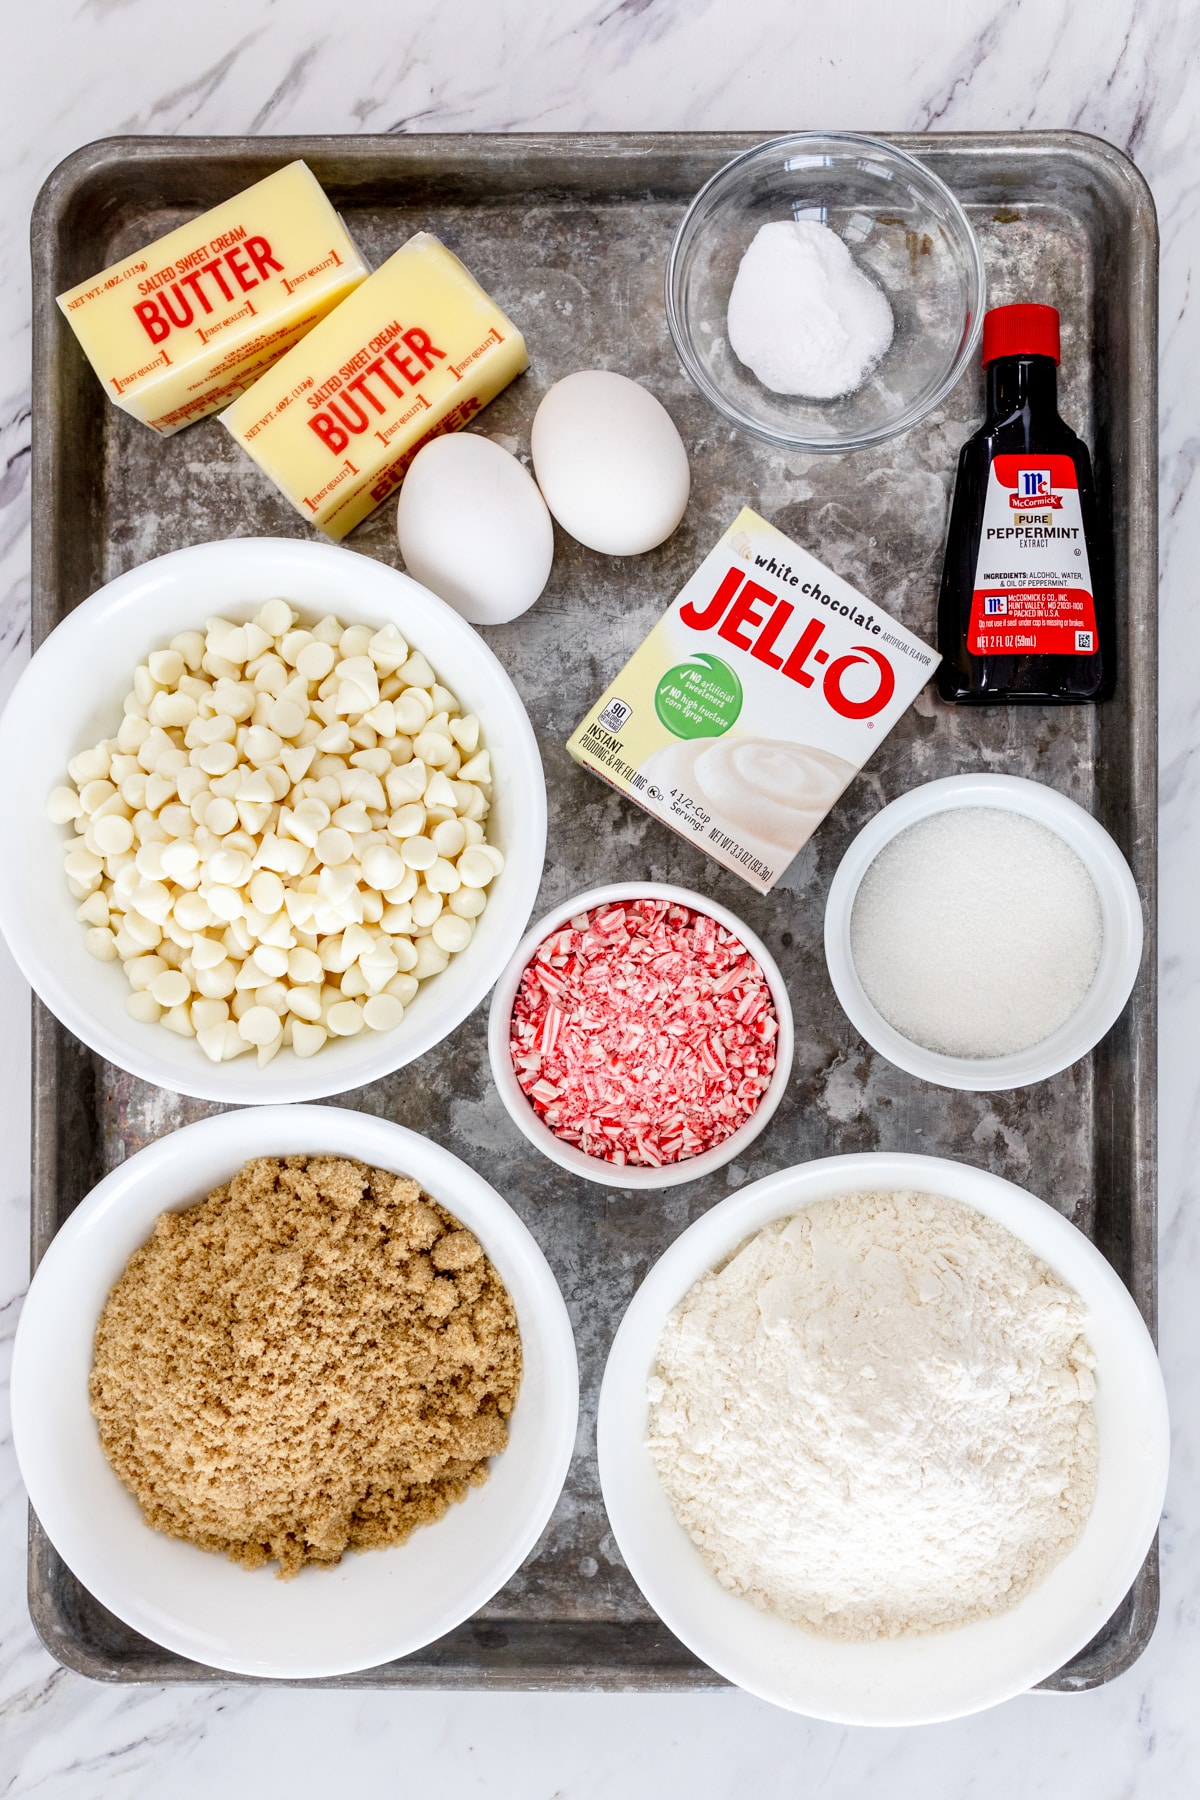
Ingredients for White Chocolate Candy Cane Cookies
Wet Ingredients. Butter, Vanilla Extract, Egg
Dry Ingredients. All-Purpose Flour, Granulated Sugar, Brown Sugar, Baking Soda, Salt, White Chocolate Instant Pudding
Extras. White Chocolate Chips, Crushed Candy Canes
How to Make White Chocolate Peppermint Christmas Cookies
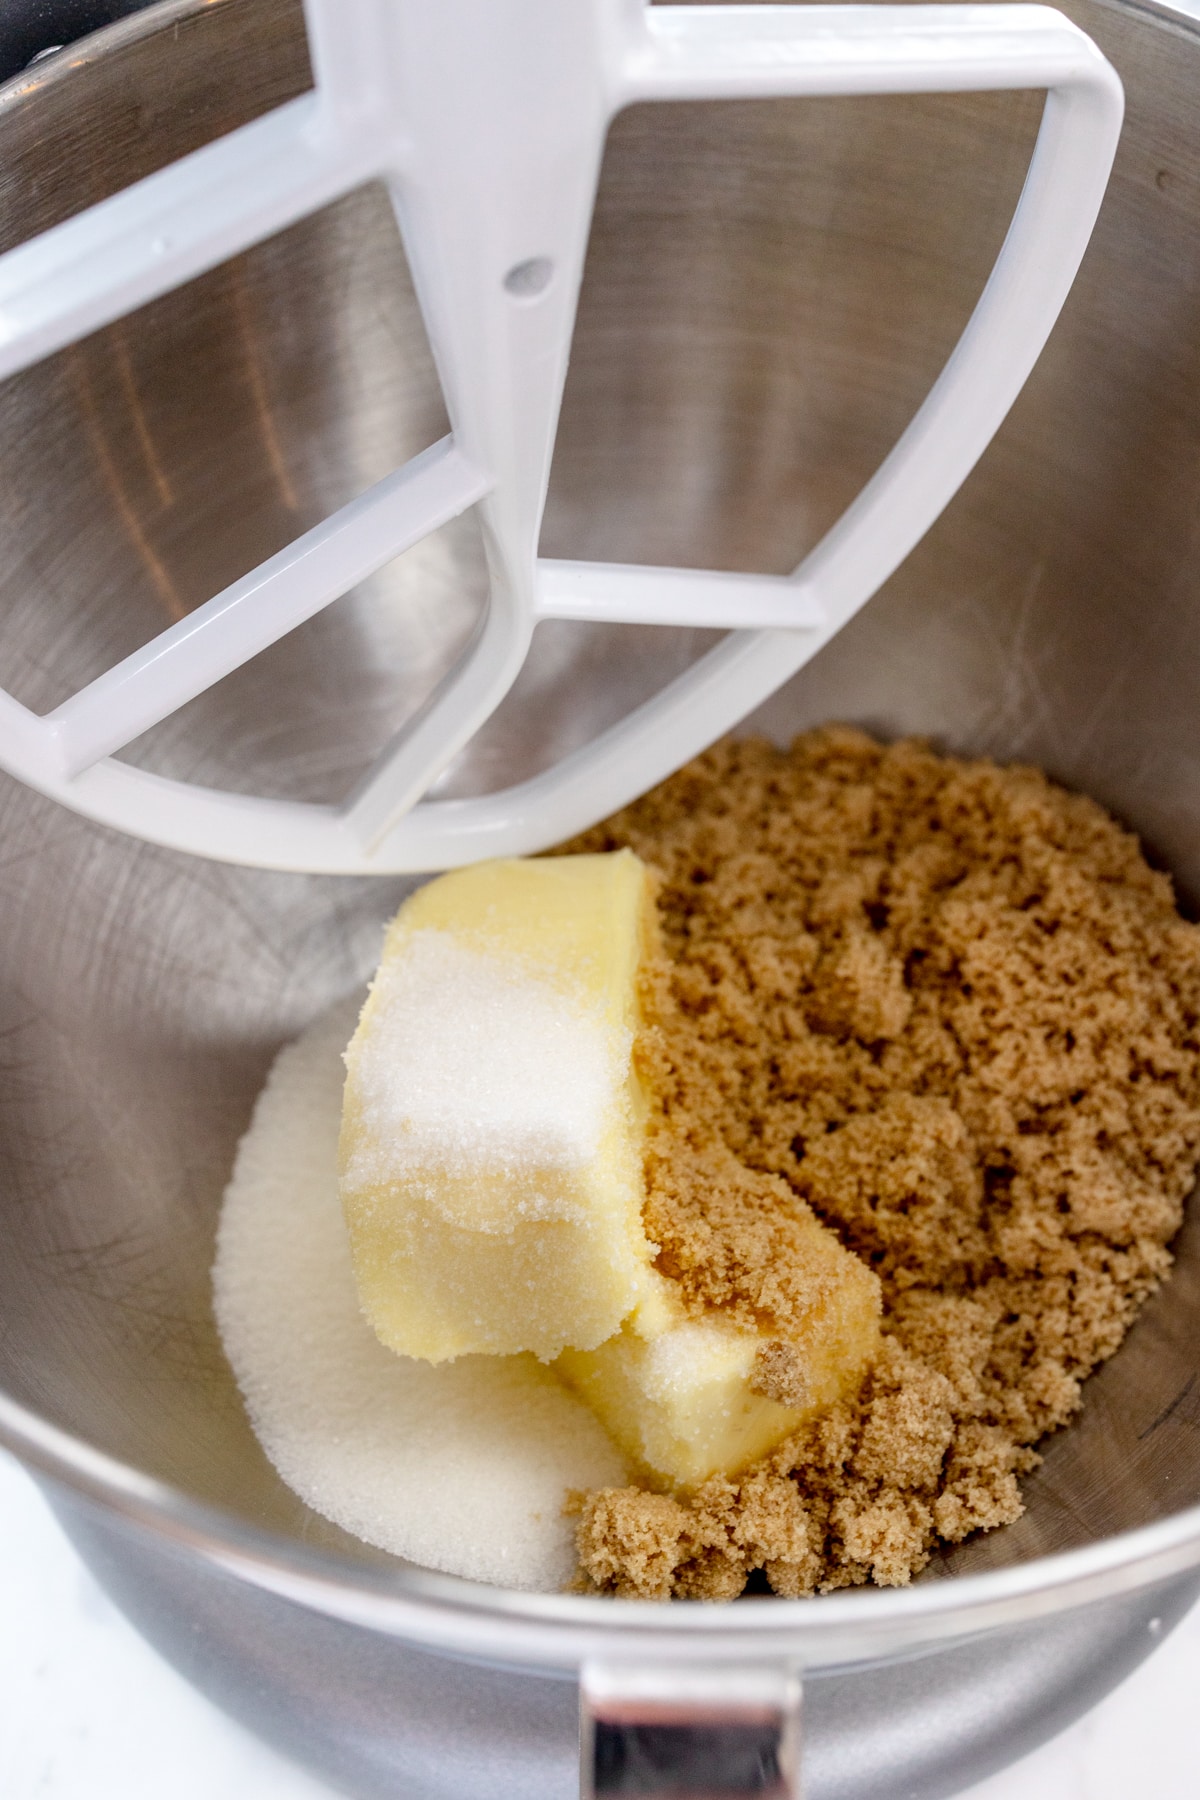
- Place the Butter, Brown Sugar, and Granulated White Sugar into a large mixing bowl if you're using a hand mixer or the bowl of a stand mixer if you have one.
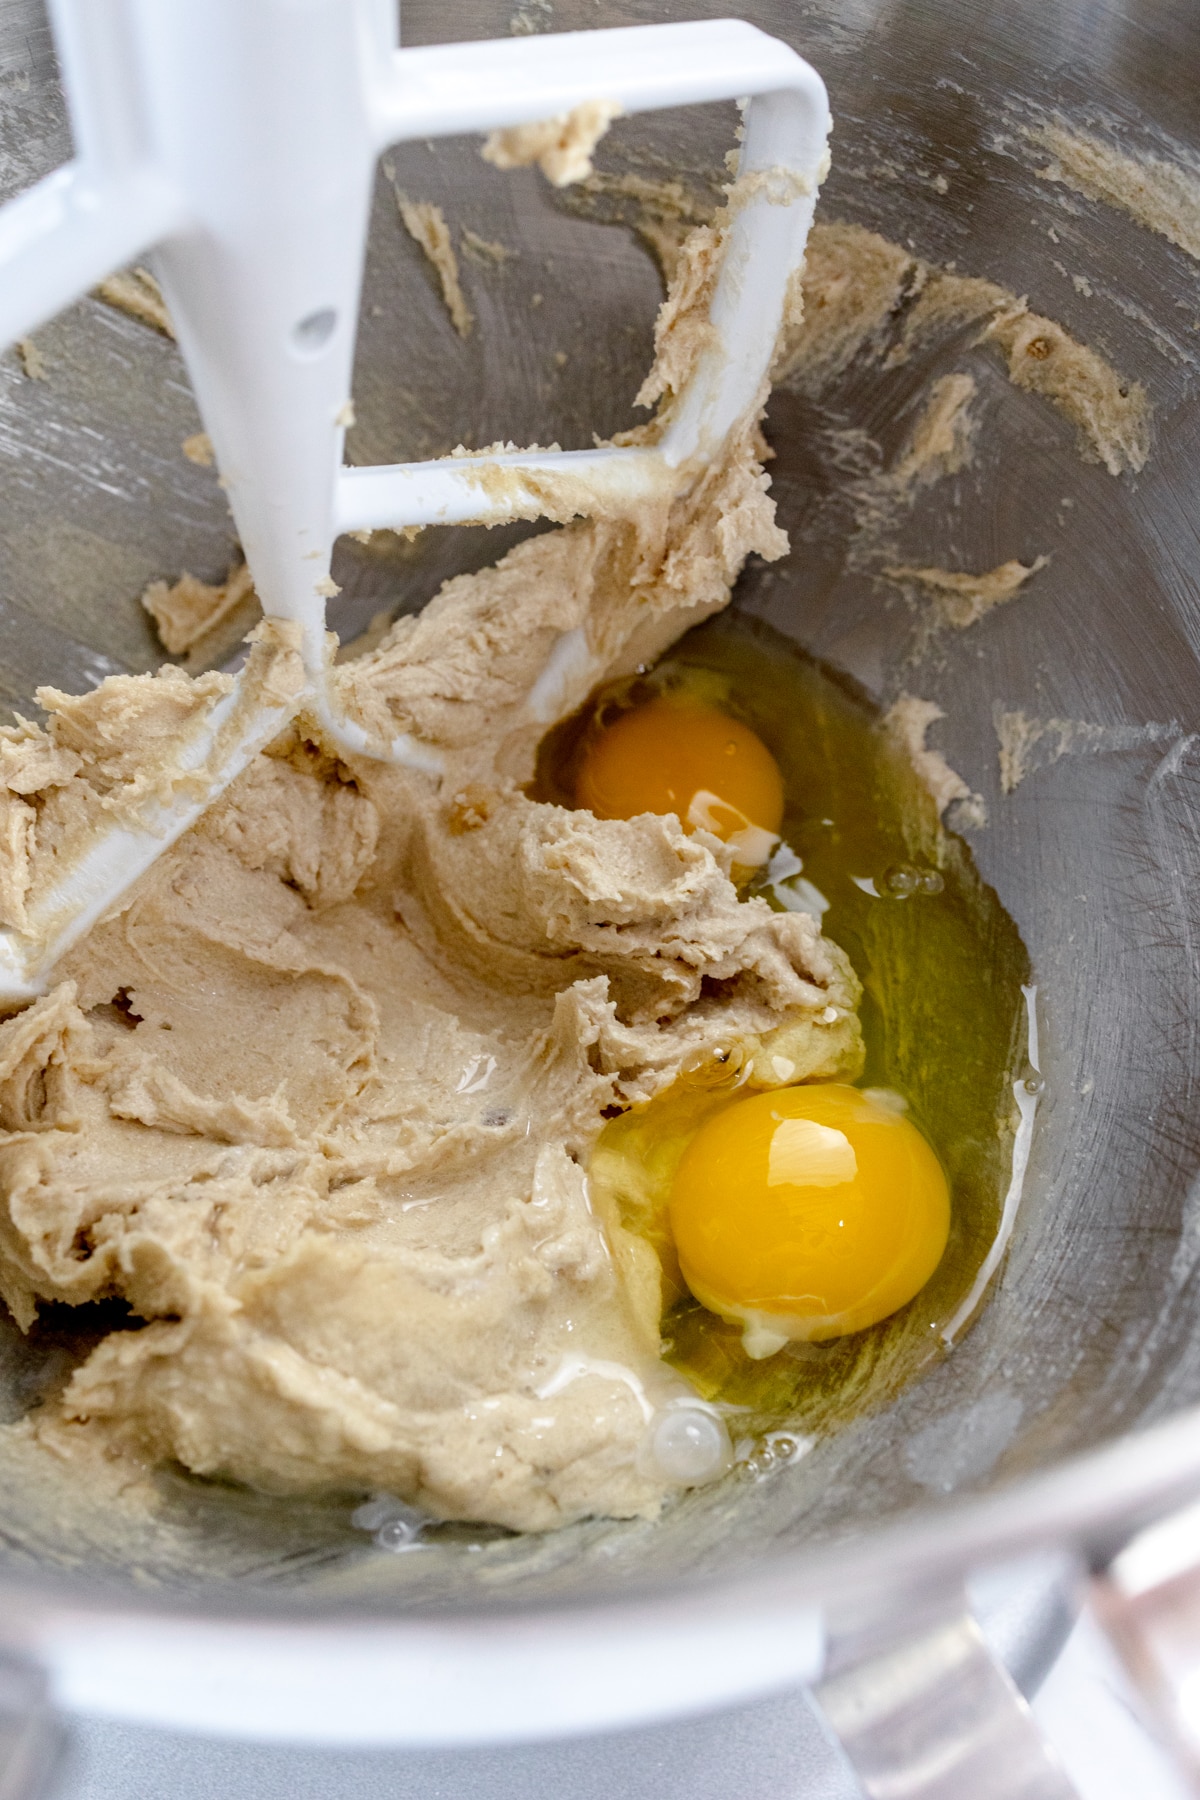
- Cream the ingredients together for 2-3 minutes using an electric mixer or a stand mixer with a paddle attachment, then scrape down the sides of the bowl to include all of the ingredients. Add the Eggs and Vanilla Extract and continue to cream together until the mixture is fully combined.
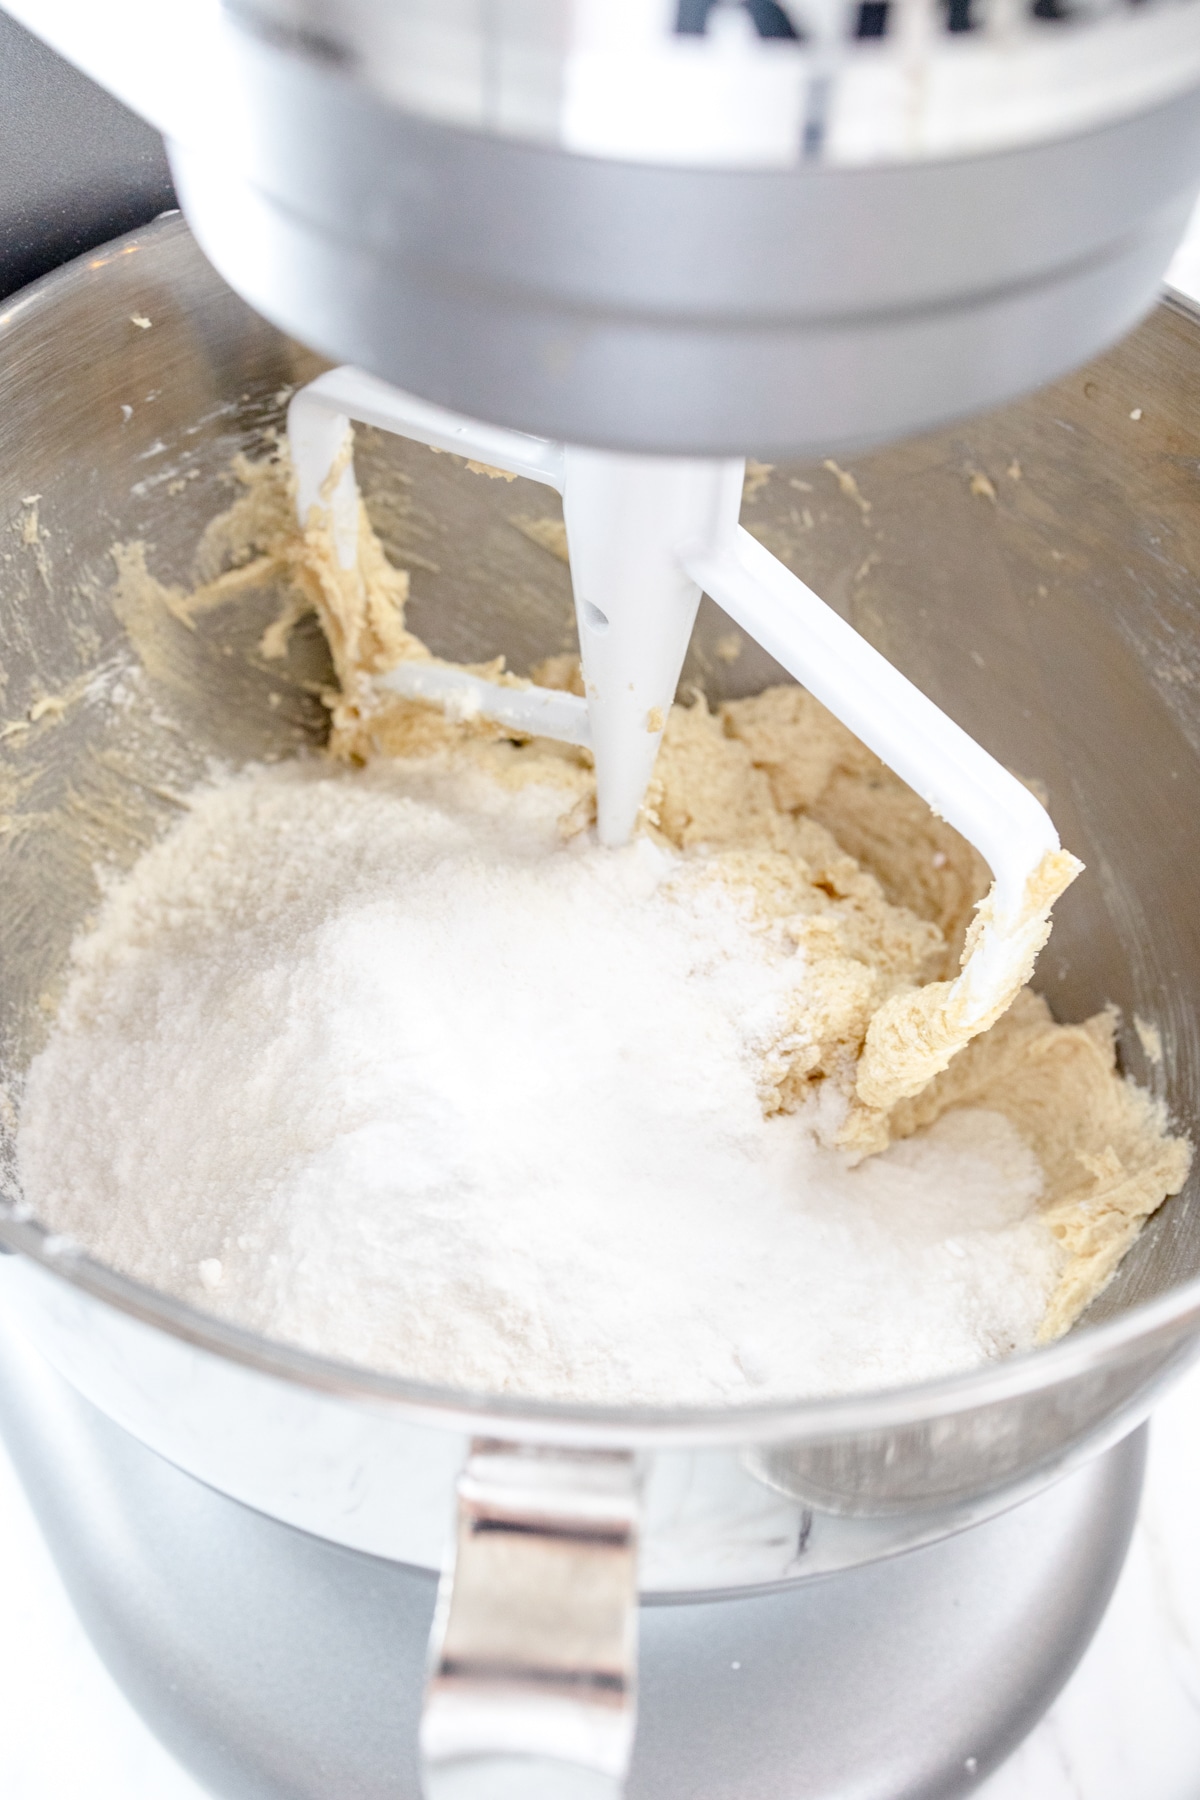
- Add the All-Purpose Flour, Baking Soda, Salt, and Instant Pudding Mix to a separate large bowl, and mix. Gradually add the flour mixture to the wet ingredients a little at a time, then mix well to combine the ingredients completely before adding more.
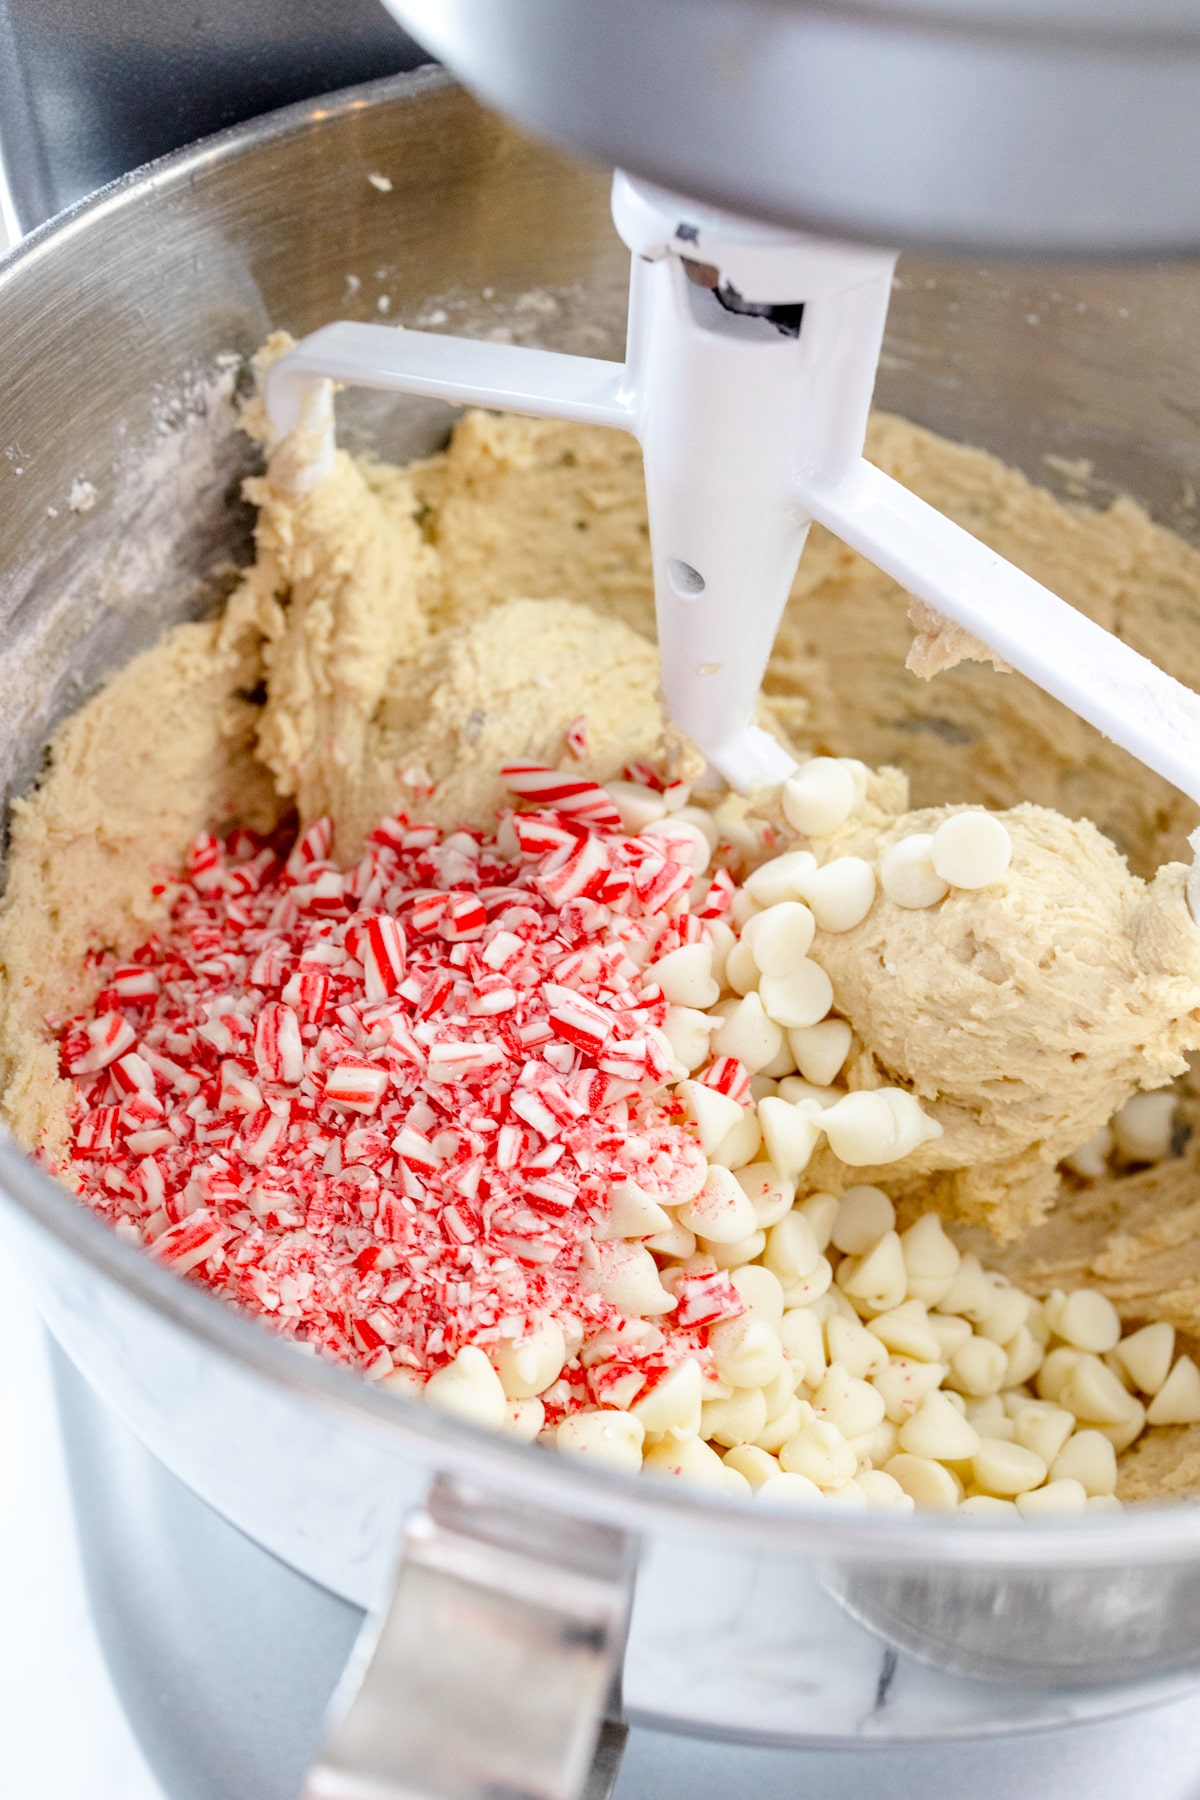
- Prepare the crushed Candy Cane Pieces by placing them in a plastic bag and hitting the bag with a mallet or a rolling pin until they're smashed into small pieces, with some larger bits. Hand stir the White Chocolate Chips and crushed Candy Cane Bits into the cookie dough mixture until fully combined.
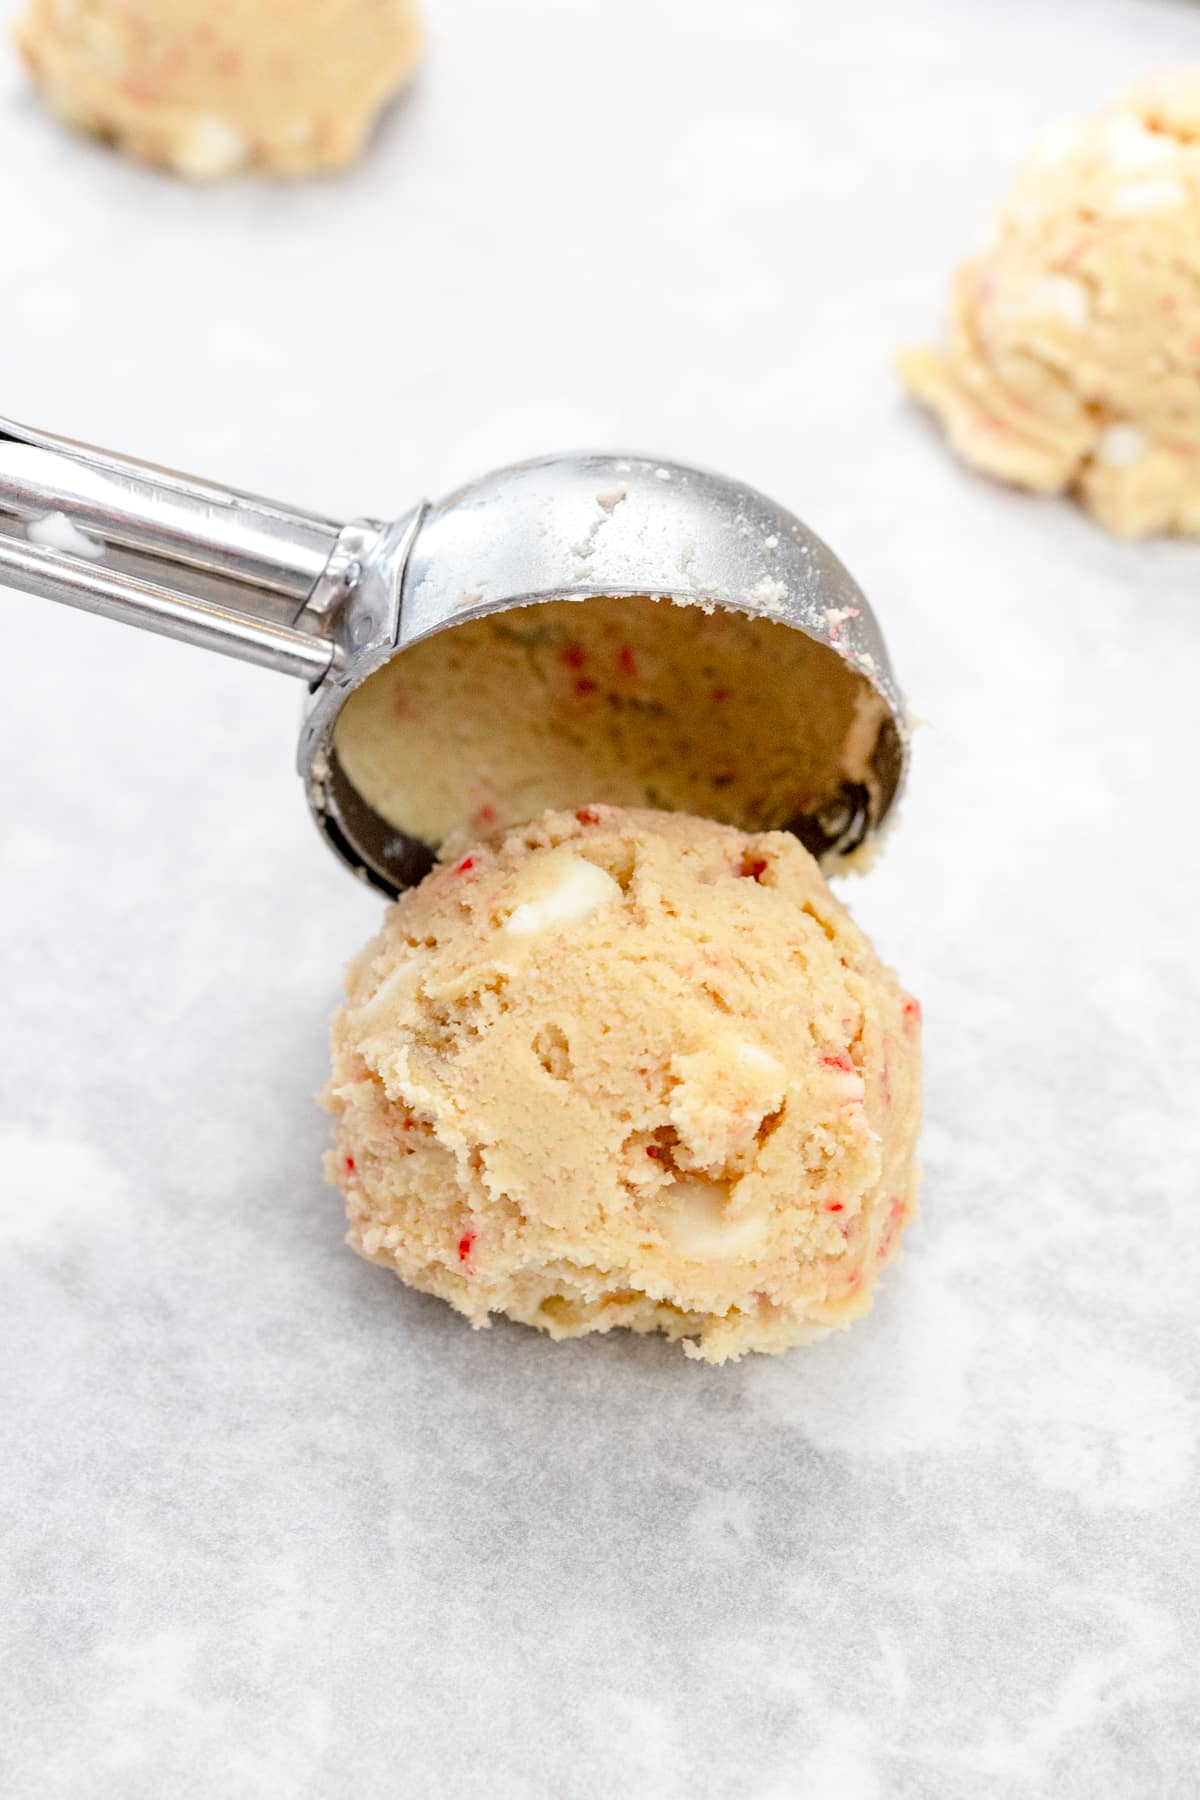
- Place the dough in the refrigerator and allow it to chill for 25–30 minutes. Preheat the oven to 350 degrees F. Remove the dough from the refrigerator then scoop about 3 tablespoons of the cookie dough onto a well-greased cookie sheet or a baking tray lined with parchment paper, using a size #24 medium cookie scoop.
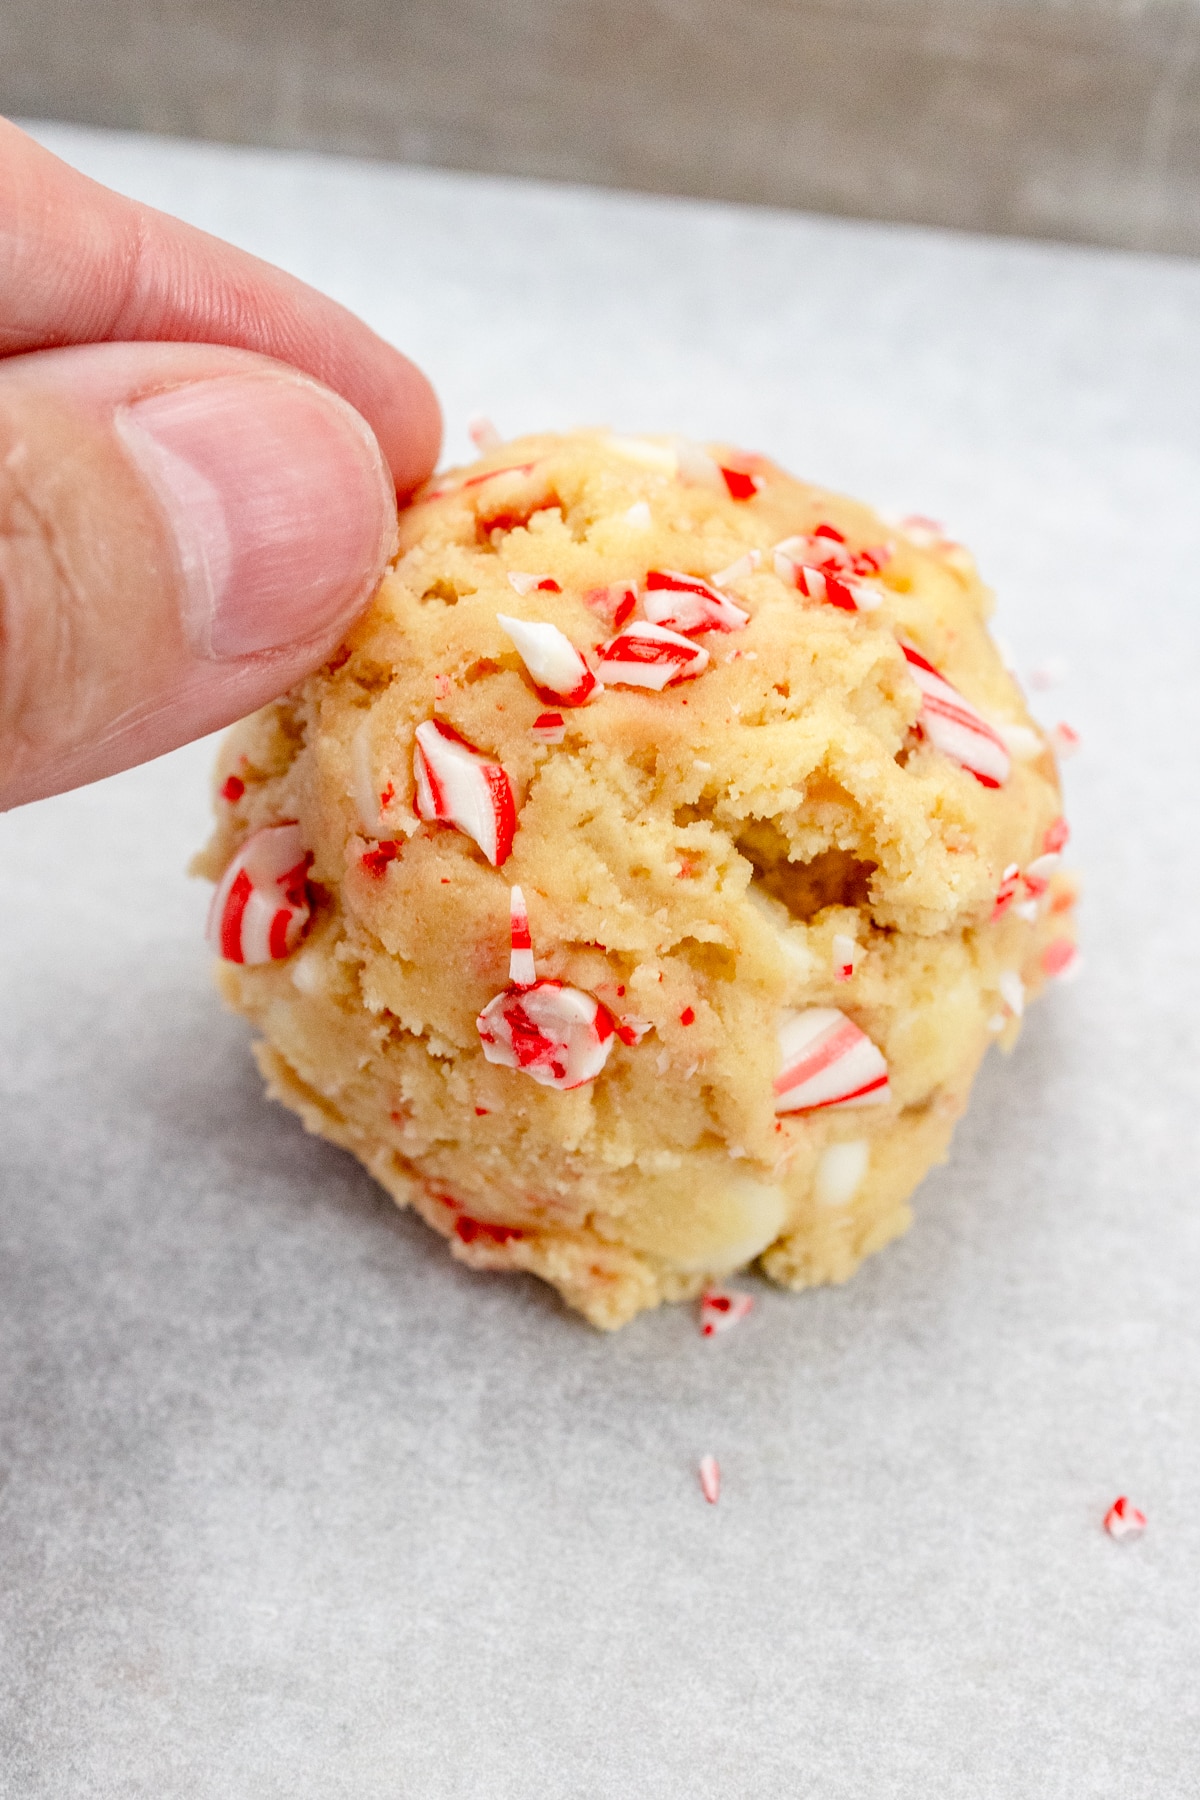
- Add a few pieces of the already-crushed Candy Canes to the tops of the cookies before baking them. Bake the cookies for 9-11 minutes.
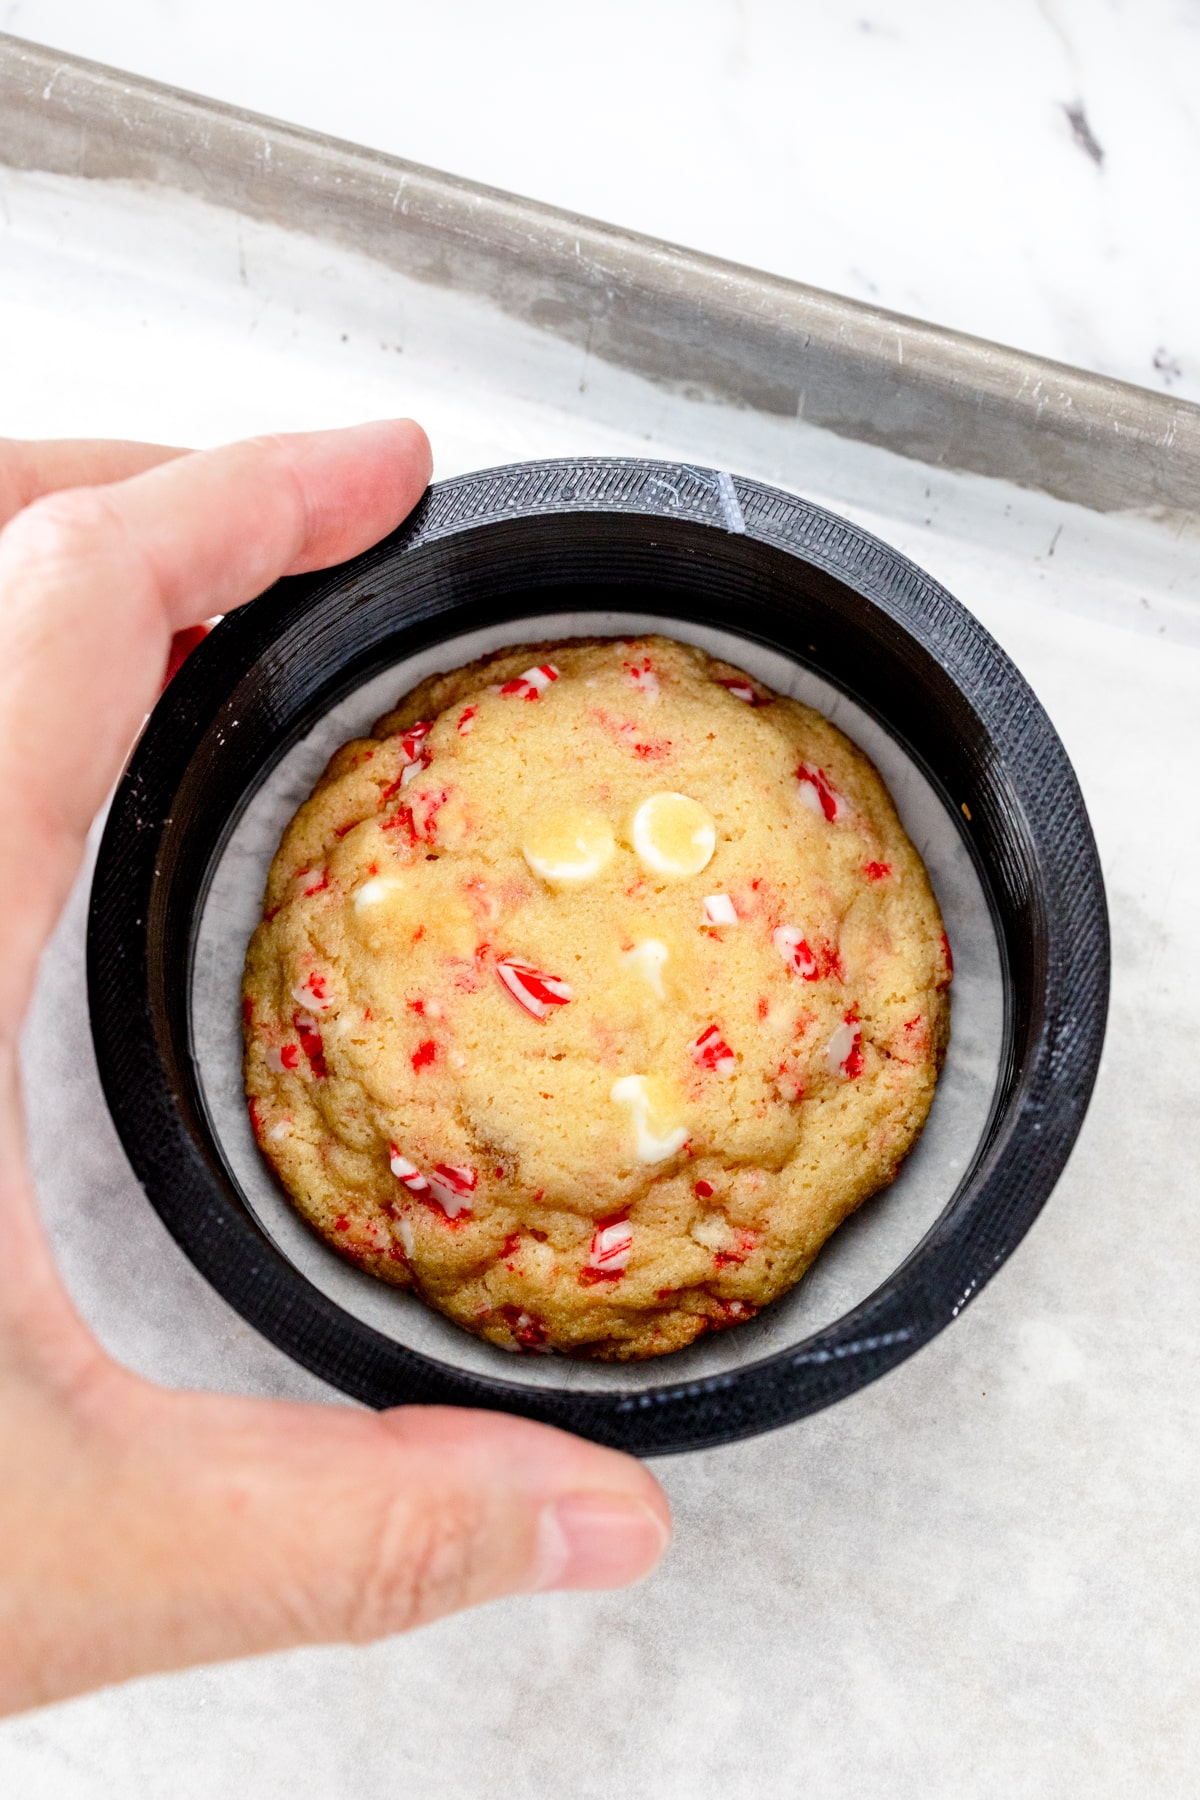
- Once the edges of the cookie turn a light golden brown color and the center is set, remove them from the oven and immediately swirl a large cookie cutter around each one to form the cookies into perfect circles.
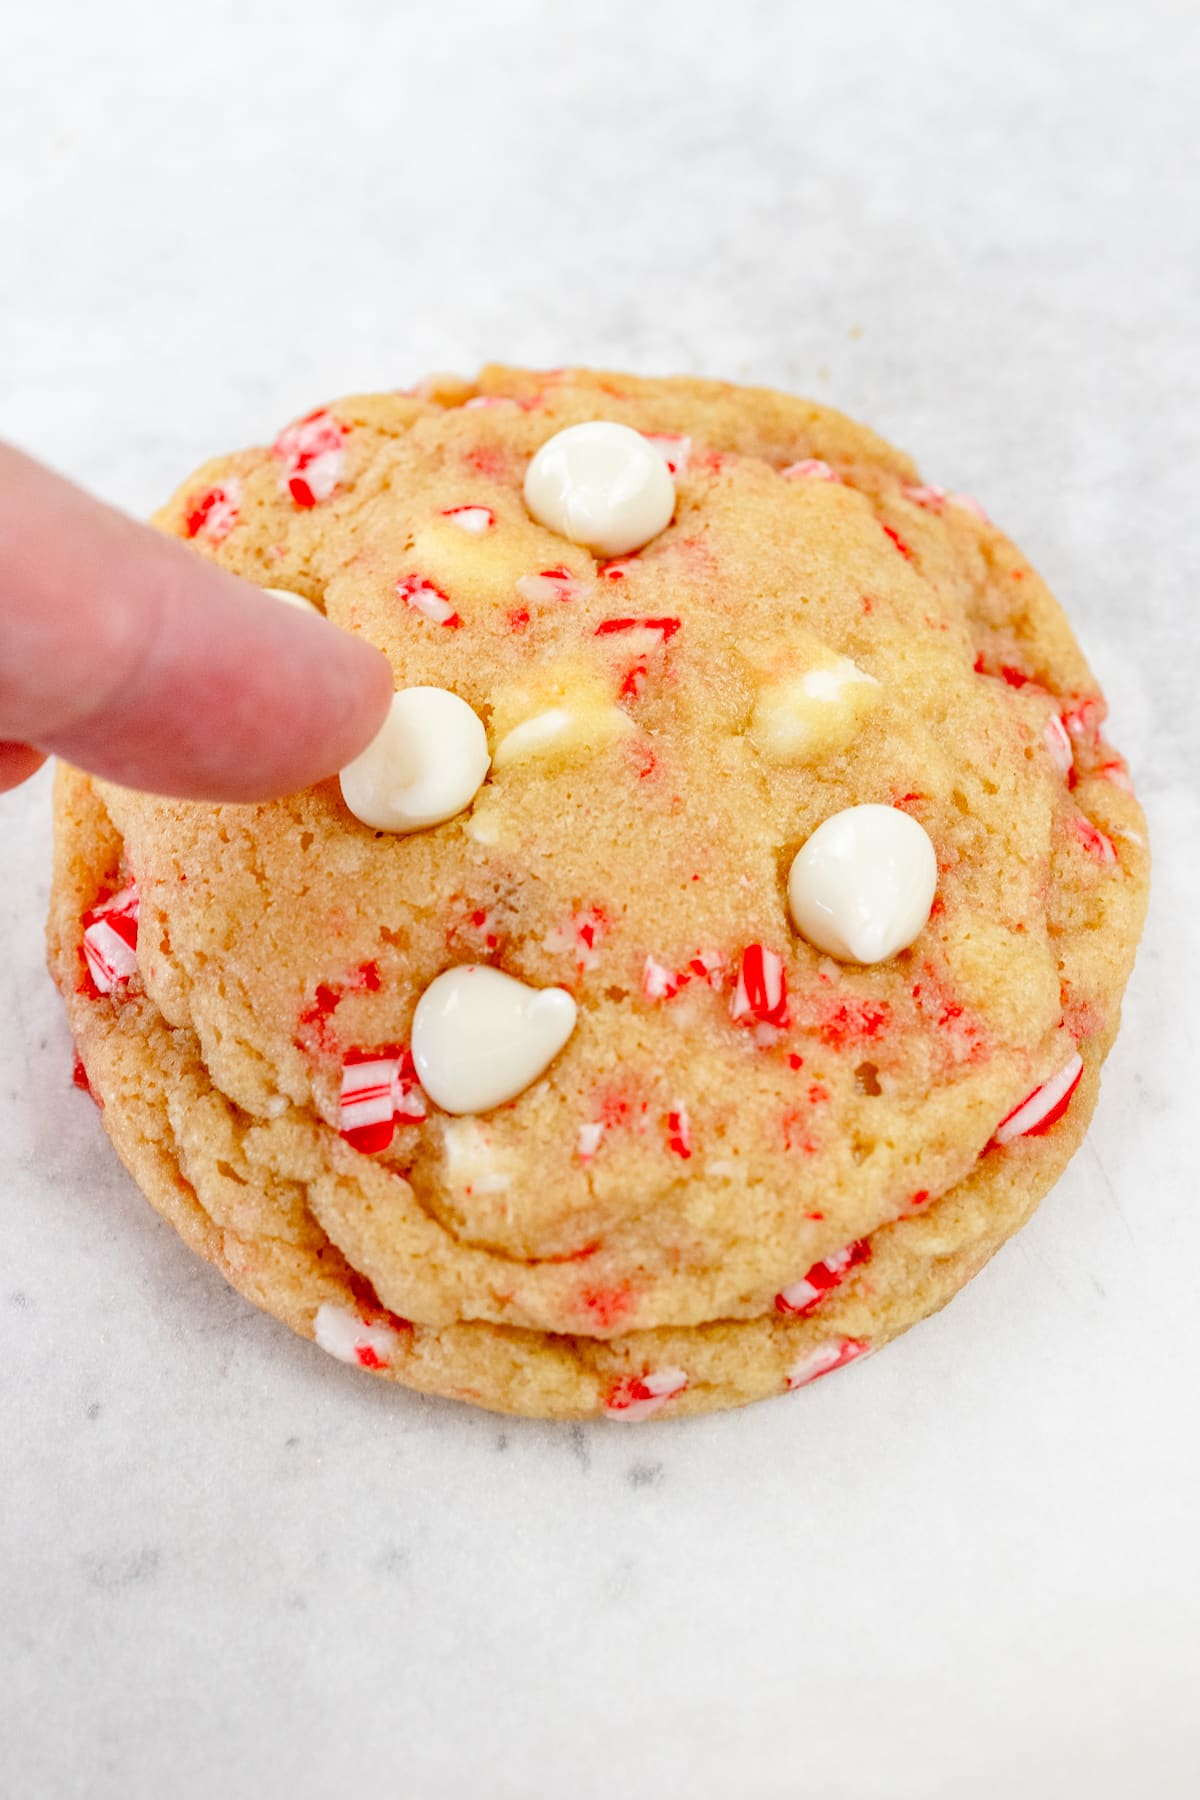
- Press a few more White Chocolate Chips into the top of each cookie before they cool. This is optional but makes the cookies look amazing, and the extra chips are always appreciated. Allow the cookies to cool on the baking sheet for a couple of minutes before moving them onto a wire rack to cool completely.
FAQs
You can prepare the dough in advance by chilling it in the refrigerator for up to 3 days. Wrap the dough tightly in plastic wrap, put it in a Ziploc bag, and place this in the refrigerator. When ready to bake, there's no need to thaw it; just pick up the recipe at the scooping stage.
Using a cookie scoop helps to keep your cookies all the same size, which not only looks great when they're presented all together on a plate but is also useful during baking as they will all spread by roughly the same amount. However, you could also use a measuring cup or spoon to scoop the dough if you don't have a scoop to hand. For best results, try to keep the scoops of dough as uniform in size as possible.
Chilling the dough is recommended to give your cookies the best flavor and texture. If you don't have the time, though, you can bake them without chilling the dough. If you do this, note that the cookies may spread more, so allow more space between the dough balls to prevent them from joining with each other.

Storage & Freezing
Storage: When the cookies are fully cooled, you can store them in an airtight container or a Ziploc bag for up to 1 week. Cookies are always best enjoyed within 2–3 days. Make sure to remove any excess air from the Ziploc bag when storing the cookies.
Freezing: You can freeze the cookies in a sealed container for up to 3 months. Place a piece of parchment paper between each layer of cookies to prevent them from sticking together.
Substitutions & Variations
- Substituting the Candy Canes. If you don't have candy canes, any crushed Peppermint Candies will do. You could also add a couple of drops of Peppermint Extract for a more intense peppermint flavor, but not too much as it can easily overpower the other flavors.
- Substituting the Pudding. You can use Vanilla Instant Pudding as a substitute for the White Chocolate Instant Pudding, though the flavor will be slightly different. If you want a completely different flavor then use a Chocolate, Strawberry, or Butterscotch Pudding instead!
- Change the Flavor. This recipe uses Vanilla Extract in the cookie dough base, which you can change by using a different extract, like Strawberry, Almond, or Lemon. Ensure that you match and pair the flavoring with your chosen mix-ins for the best results. If you love a chocolate cookie then add some Cocoa Powder to the dry ingredients.
- Changing the Add-ins. You can use whatever kind of add-ins you like in this versatile recipe. I used white chocolate chips here but I often use a mix of half white chocolate and half semi-sweet chips, as the combination is wonderful! Dark chocolate chips would be an excellent choice, as they pair amazingly with peppermint candy. You could use any form of Chips, Chocolate Chunks, Crushed Candies, or even crushed Oreos to make some uniquely delicious cookies.

Pro Tips
What makes a good cookie? Does it have a soft center and crispy edges, and is it chewy? Each of these makes a great-quality cookie. To make perfect cookies every time, here are some pro tips.
Weighing Ingredients.
Baking is a science and adding too much or too little of any of the ingredients will alter the recipe. Weighing and measuring dry ingredients properly makes a world of difference. Investing in a kitchen scale is ideal, but when a kitchen scale is not available, make sure to stir and lift ingredients before scooping them into a measuring cup.
| Volume | Ounces | Grams | |
| All Purpose Flour | 1 Cup | 4½ Ounces | 120 Grams |
| Bread Flour | 1 Cup | 4½ Ounces | 120 Grams |
| Granulated Sugar | 1 Cup | 7 Ounces | 200 Grams |
| Brown Sugar | 1 Cup | 7½ Ounces | 213 Grams |
| Confectionary Sugar | 1 Cup | 4 Ounces | 113 Grams |
Cookie Scoop.
Using a cookie scoop keeps each ball of cookie dough the same size, which is essential for ensuring even baking.
Baking Sheets.
I line my baking sheets with parchment paper. You could also spray the baking sheets with cooking spray or use a Silicone Mat for easy cleanup.
Baking Time.
Every oven heats a little differently. I recommend doing a test batch of 1-3 cookies to test the baking time for a perfectly baked cookie before baking the remaining dough.
Cookies.
Cookies are perfectly baked when the edges are set and the centers are no longer glossy.
Cooling Rack.
Allow the cookies to cool on the baking sheet for a minute or two before moving them to a cooling rack to cool completely.
Room Temperature.
Using butter and eggs that are at room temperature will help give your dough a light and fluffy texture. If your butter is too soft, it can make the mixture go mushy, so make sure it has the right consistency before mixing with it.
Extra Chips.
I always press a few extra chips to the tops of the baked cookies before they cool. It's mostly for visual appeal, and everyone loves a cookie that is loaded with chocolatey goodness!

Equipment.
- Kitchen Scale. I use this for accuracy in measuring, and it's a lifesaver when it comes to consistent baking.
- Wire Rack for cooling cookies. I like to have at least two cooling racks.
- Mixing Bowls. A Large Mixing Bowl for mixing ingredients and small and medium mixing bowls for other ingredients.
- Cookie Sheet. Most recipes will take two batches to bake. It's great to have multiple baking sheets available.
- Parchment Paper or Silicone Baking Mat. Line the Cookie Sheet with parchment paper for easy cleanup and to prevent sticking.
- Cookie Scoop. A small #60 Cookie Scoop or a Medium Cookie Scoop #50 are great choices for uniform drops of cookie dough.
- Storage Container. An Airtight Container to store cookies or a Ziploc Bag works great too.
- Additional supplies. Measuring Cups and Measuring Spoons along with a silicone spatula, are all helpful.
To find out more, check out my Pro Tips Guide for making the best cookies every time!

Have you tried this White Chocolate Peppermint Cookies recipe?
Let me know what you think of this recipe! Tag @bestcookierecipes on social media so I can see how great your cookies turned out! I would also love to read your comments below. Let me know what you think of these cookies. It really does help!
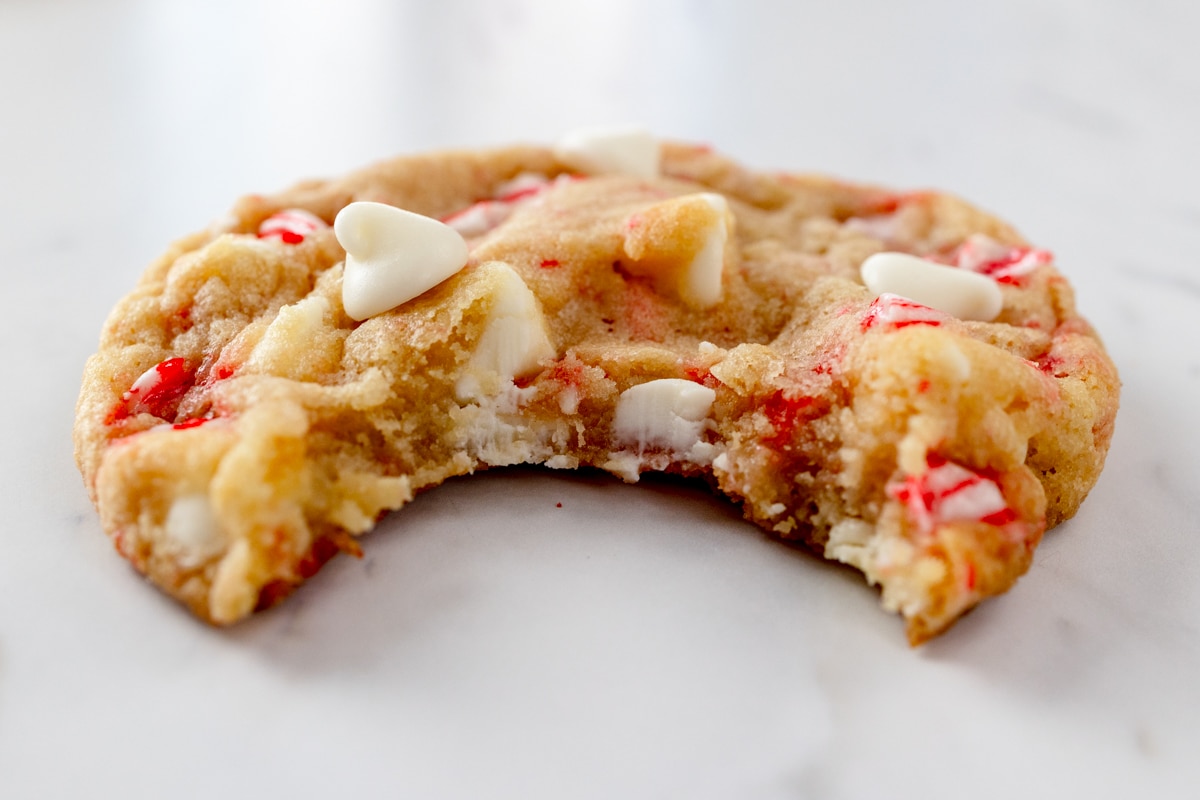
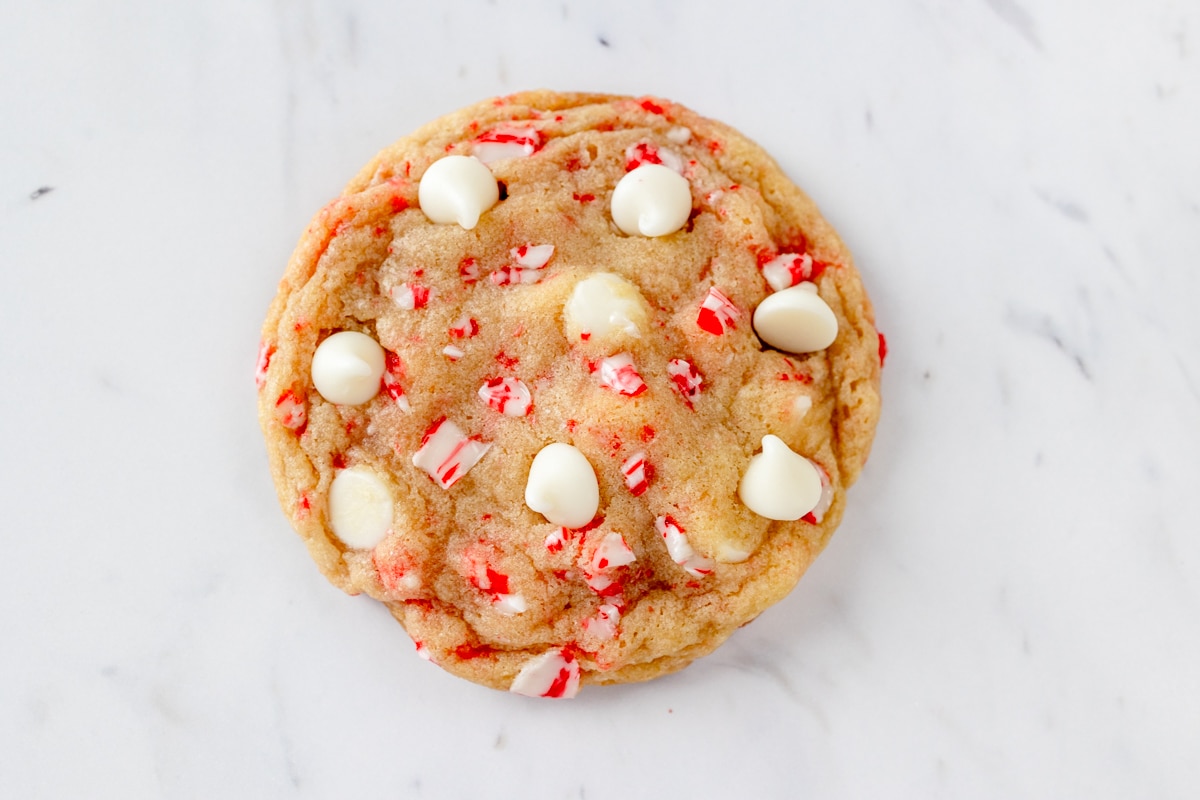
The red and white specks from the Candy Cane bits nestled among the White Chocolate Chips create a stunning cookie that could grace any Christmas dessert table or Instagram feed.

More Christmas Cookie Recipes
- Soft Almond Sugar Cookies
- Red Velvet Sandwich Cake Mix Cookies
- Lemon Curd Thumbprint Cookies
- Chocolate Mint Grasshopper Cookies
- Snickerdoodle Cookie Sandwiches
- Peanut Butter Kisses Cookies
- Copycat Starbucks Toffee Doodle Cookies
- Cake Mix Hot Cocoa Cookies with Marshmallows and Frosting
White Chocolate Peppermint Cookies
Ingredients
- 1 cup Butter Softened
- ¼ cup Granulated Sugar 50g
- ¾ cup Brown Sugar 160g
- 2 Eggs Large
- 2¼ cups All-Purpose Flour 270g
- 1 teaspoon Baking Soda
- ¼ teaspoon Salt
- 3.4 ounces of Instant White Chocolate Pudding 3.4 ounce box Instant Pudding
- 1 teaspoon Vanilla Extract
- 1½ cups White Chocolate Chips
- ½ cups Crushed Candy Canes
Instructions
- Place the Butter, Brown Sugar, and Granulated White Sugar into a large mixing bowl if using a hand mixer, or the large bowl of a stand mixer.
- Cream the ingredients together for 2-3 minutes using an electric mixer or a stand mixer with a paddle attachment, making sure to scrape down the sides of the bowl to include all of the ingredients. Add the Eggs and Vanilla Extract and continue to cream together until the mixture is fully combined.
- Add the All-Purpose Flour, Baking Soda, Salt, and Instant Pudding Mix to a separate large bowl, and mix these together. Gradually add the flour mixture to the wet ingredients a little at a time, mixing well to combine the ingredients completely before adding more.
- Prepare the crushed Candy Cane Pieces by placing them in a plastic bag and hitting the bag with a mallet or a rolling pin until they're smashed into small pieces, with some larger bits. Hand stir the White Chocolate Chips and crushed Candy Cane Bits into the cookie dough mixture until fully combined.
- Place the dough in the refrigerator and allow it to chill for 25-30 minutes. Preheat the oven to 350 degrees F. Remove the dough from the refrigerator and scoop about 3 tablespoons of the cookie dough onto a well-greased cookie sheet or a baking tray lined with parchment paper, using a size #24 medium cookie scoop. Add a few pieces of the already-crushed Candy Canes to the tops of the cookies before baking them. Bake the cookies for 9-11 minutes.
- Once the edges of the cookie turn a light golden brown color and the center is set, remove them from the oven and immediately swirl a large cookie cutter around each one to form the cookies into perfect circles.
- Press a few more White Chocolate Chips into the top of each cookie before they cool. This is optional but makes the cookies look amazing, and the extra chips are always appreciated.
- Allow the cookies to cool on the baking sheet for a couple of minutes before moving them onto a wire rack to cool completely.
Notes
Storage
- Store: When the cookies are fully cooled, you can store them in an airtight container or a Ziploc bag for up to 1 week. Cookies are always best enjoyed within 2–3 days. Make sure to remove any excess air from the Ziploc bag when storing the cookies.
- Freeze: You can freeze the cookies in a sealed container for up to 3 months. Place a piece of parchment paper between each layer of cookies to prevent them from sticking together.


Submit a Comment