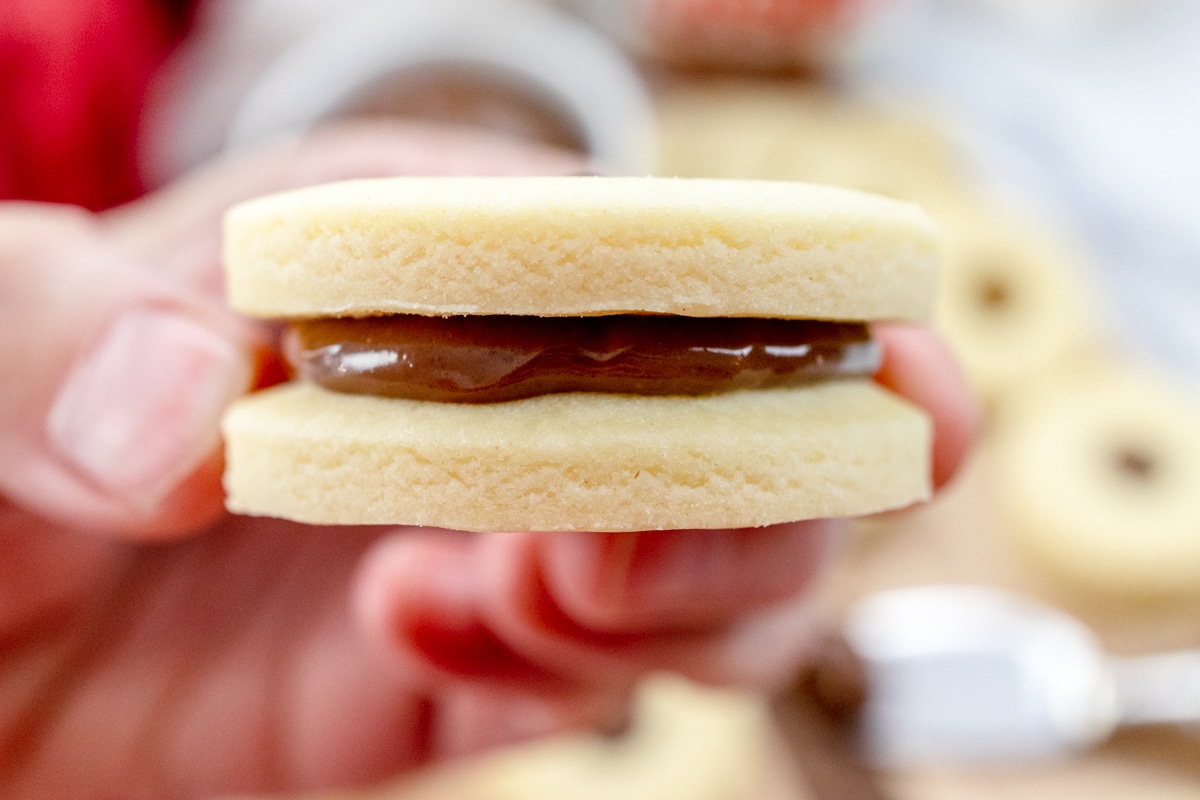
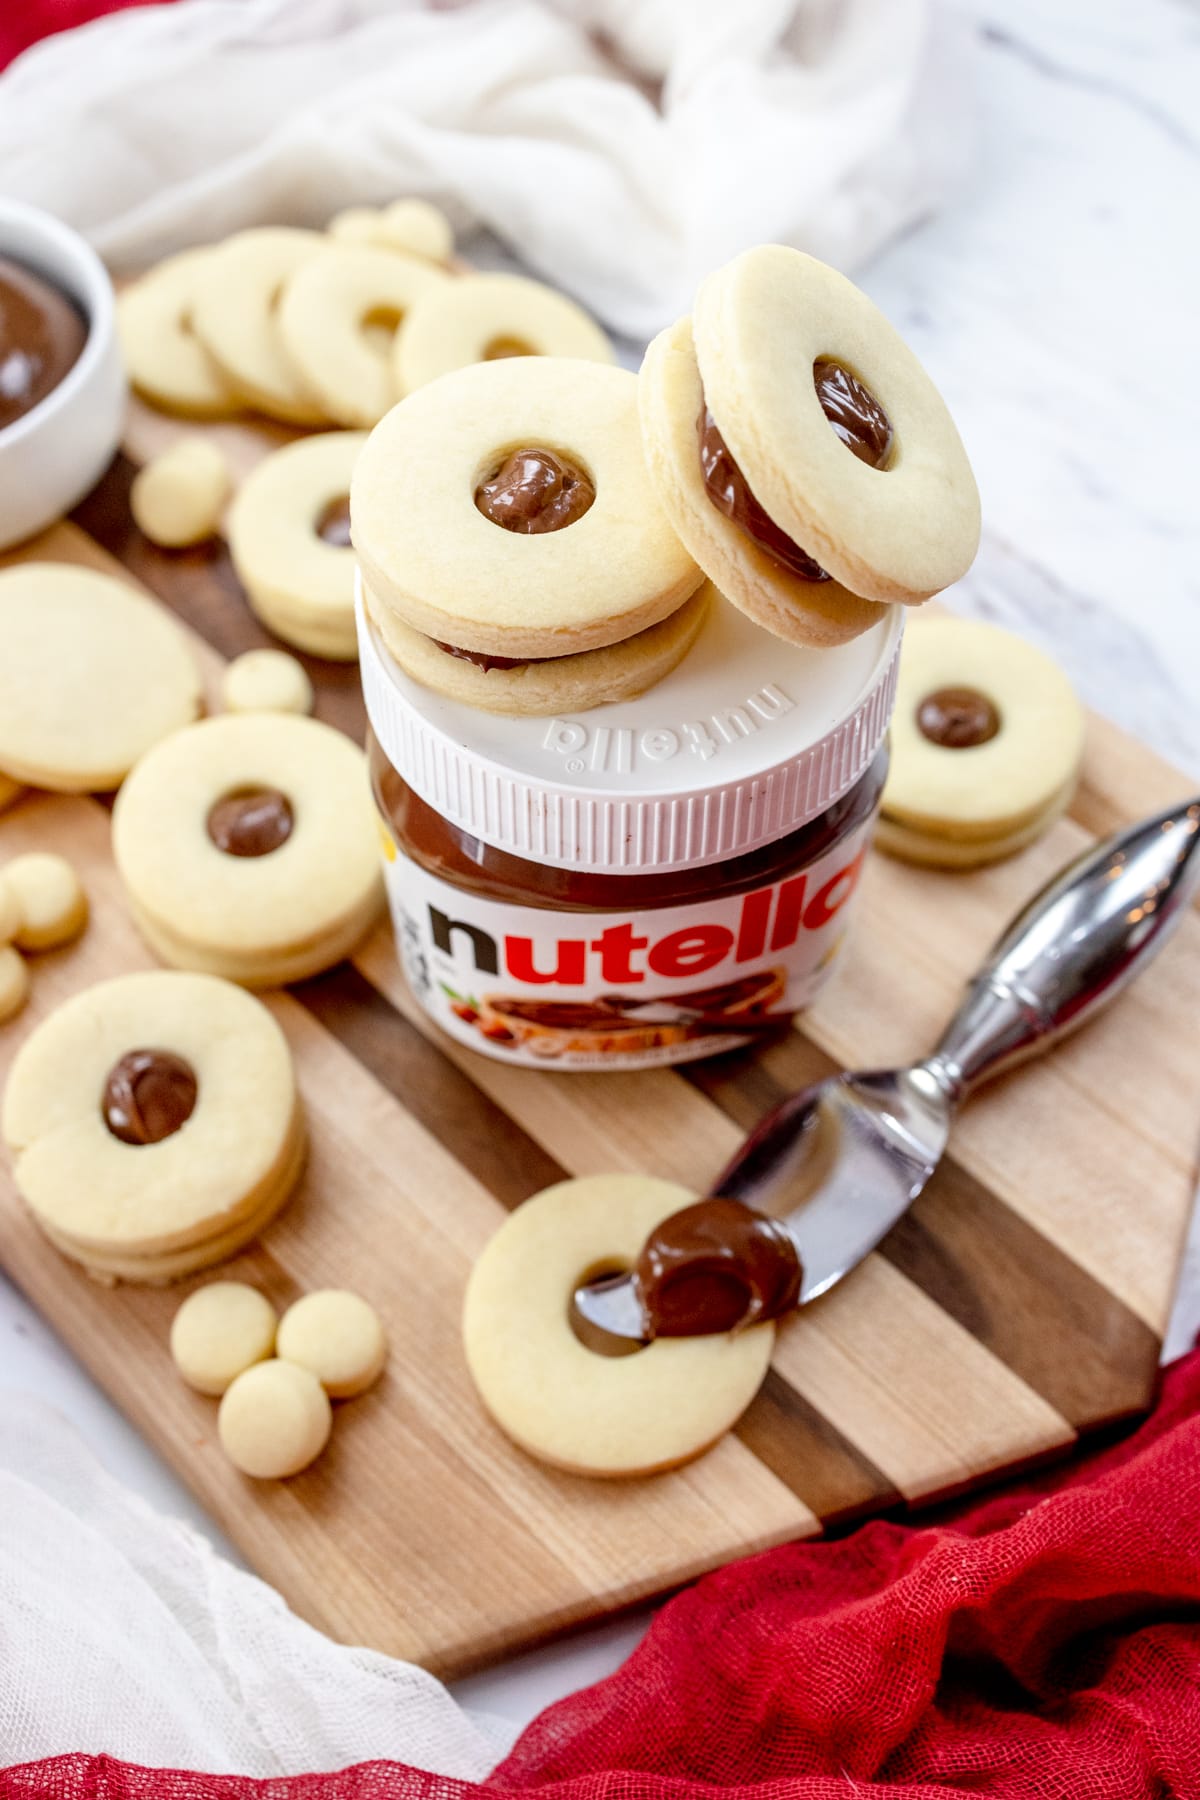
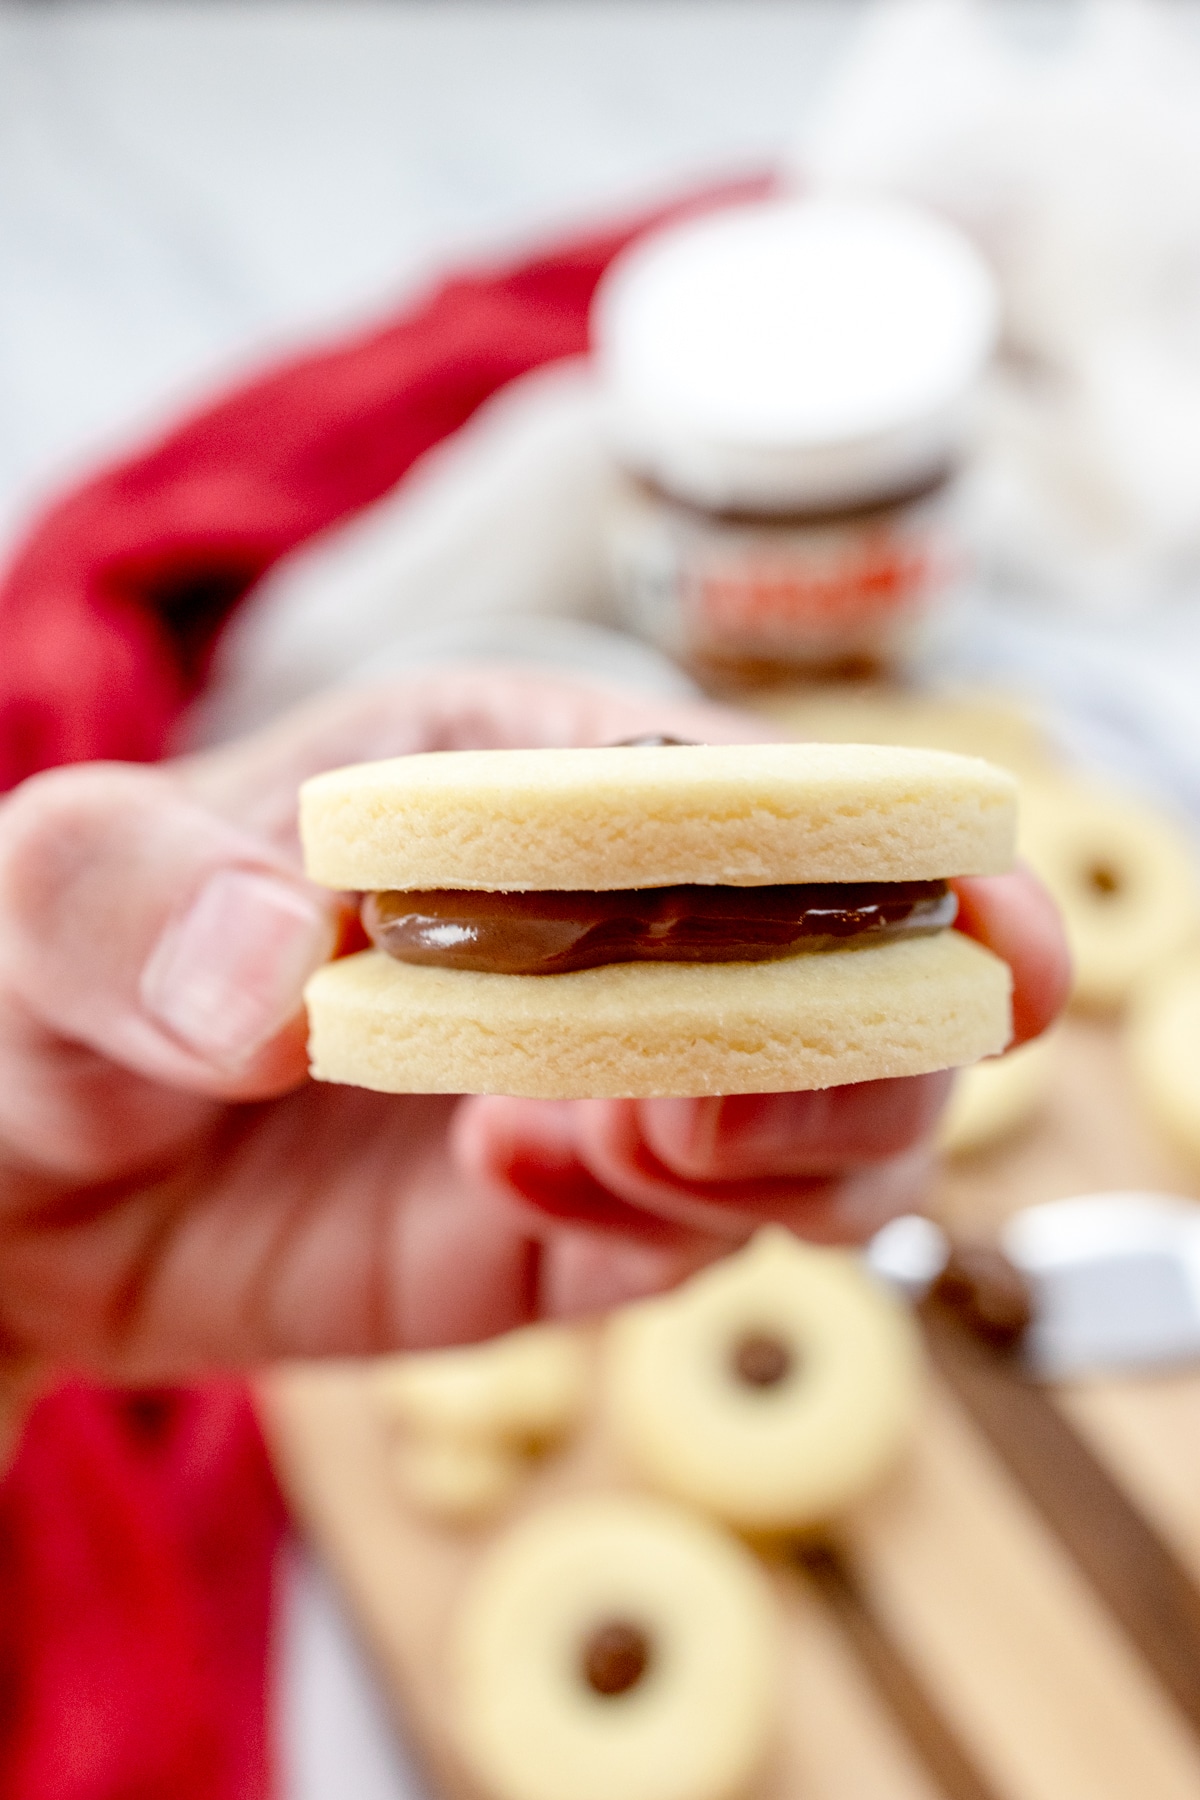
Bite into a Condensed Milk Cookies filled with Nutella! They are delicious, buttery shortbread cookies made into a sandwich cookie everyone loves.
The sweetness of this classic cookie comes from the not-so-secret ingredient of Sweetened Condensed Milk, making it a great recipe for beginner bakers to experiment with!
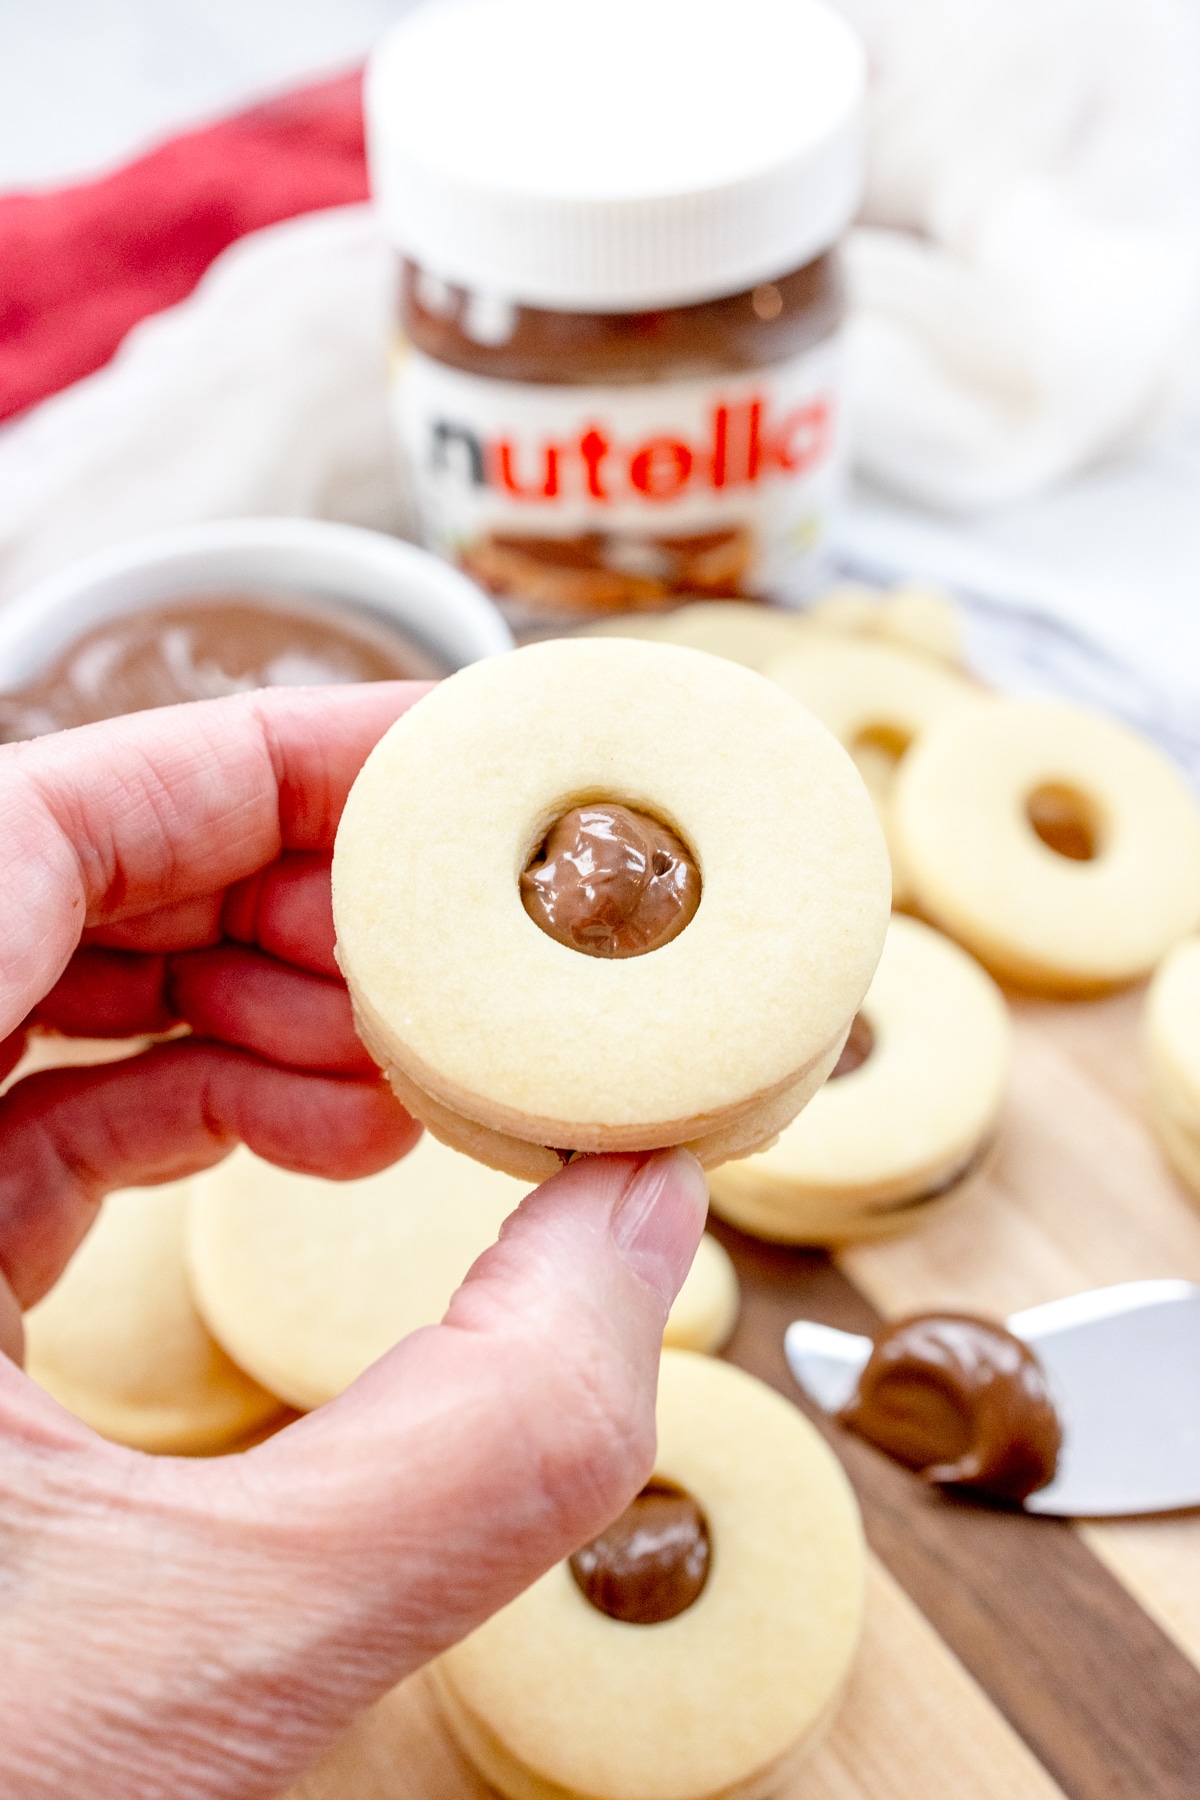
This easy recipe for Condensed Milk Cookies only calls for a handful of basic ingredients.
The sweetness of the Condensed Milk gives these delicious cookies a unique sweet flavor and creamy texture that make them simply irresistible.
Serve these cookies at holiday gatherings, just to keep that sweet tooth at bay in the afternoon, or pack them into your kids' school lunch for a special treat.
If you love sandwich cookies, check out my recipes for Peanut Butter S'mores Sandwich Cookies, Snickerdoodle Cookie Sandwiches, Funfetti Cookie Sandwiches, and Red Velvet Sandwich Cake Mix Cookies.
Ingredients for Sweetened Condensed Milk Cookies
Wet Ingredients. Butter, Sweetened Condensed Milk
Dry Ingredients. All Purpose Flour
Extras. Nutella Hazelnut Chocolate Spread
How to Make Easy Condensed Milk Cookies
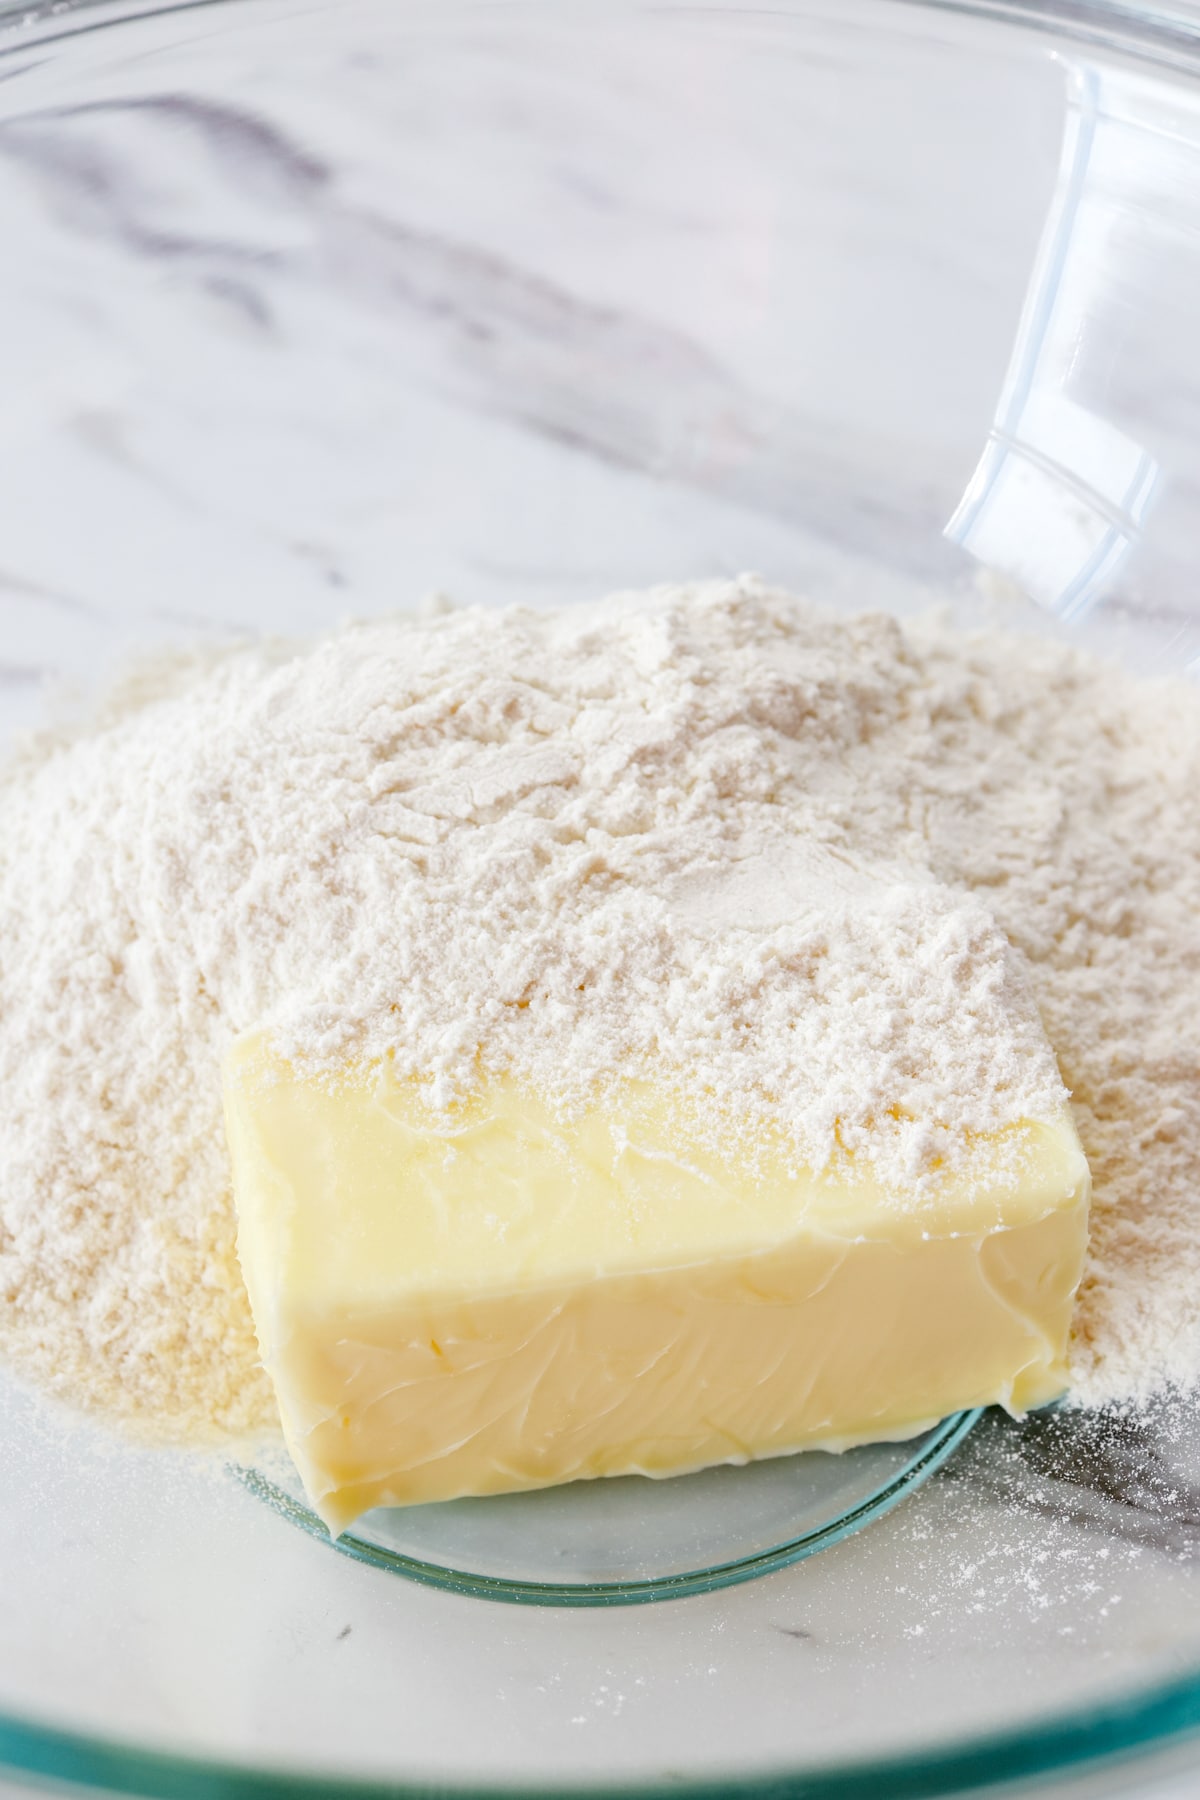
- Preheat the oven to 350 degrees F and line a baking sheet with parchment paper. Soften Butter to room temperature and place it in a large mixing bowl, then add 175 grams of All-Purpose Flour (roughly 1⅓ cups plus 2 tablespoons).
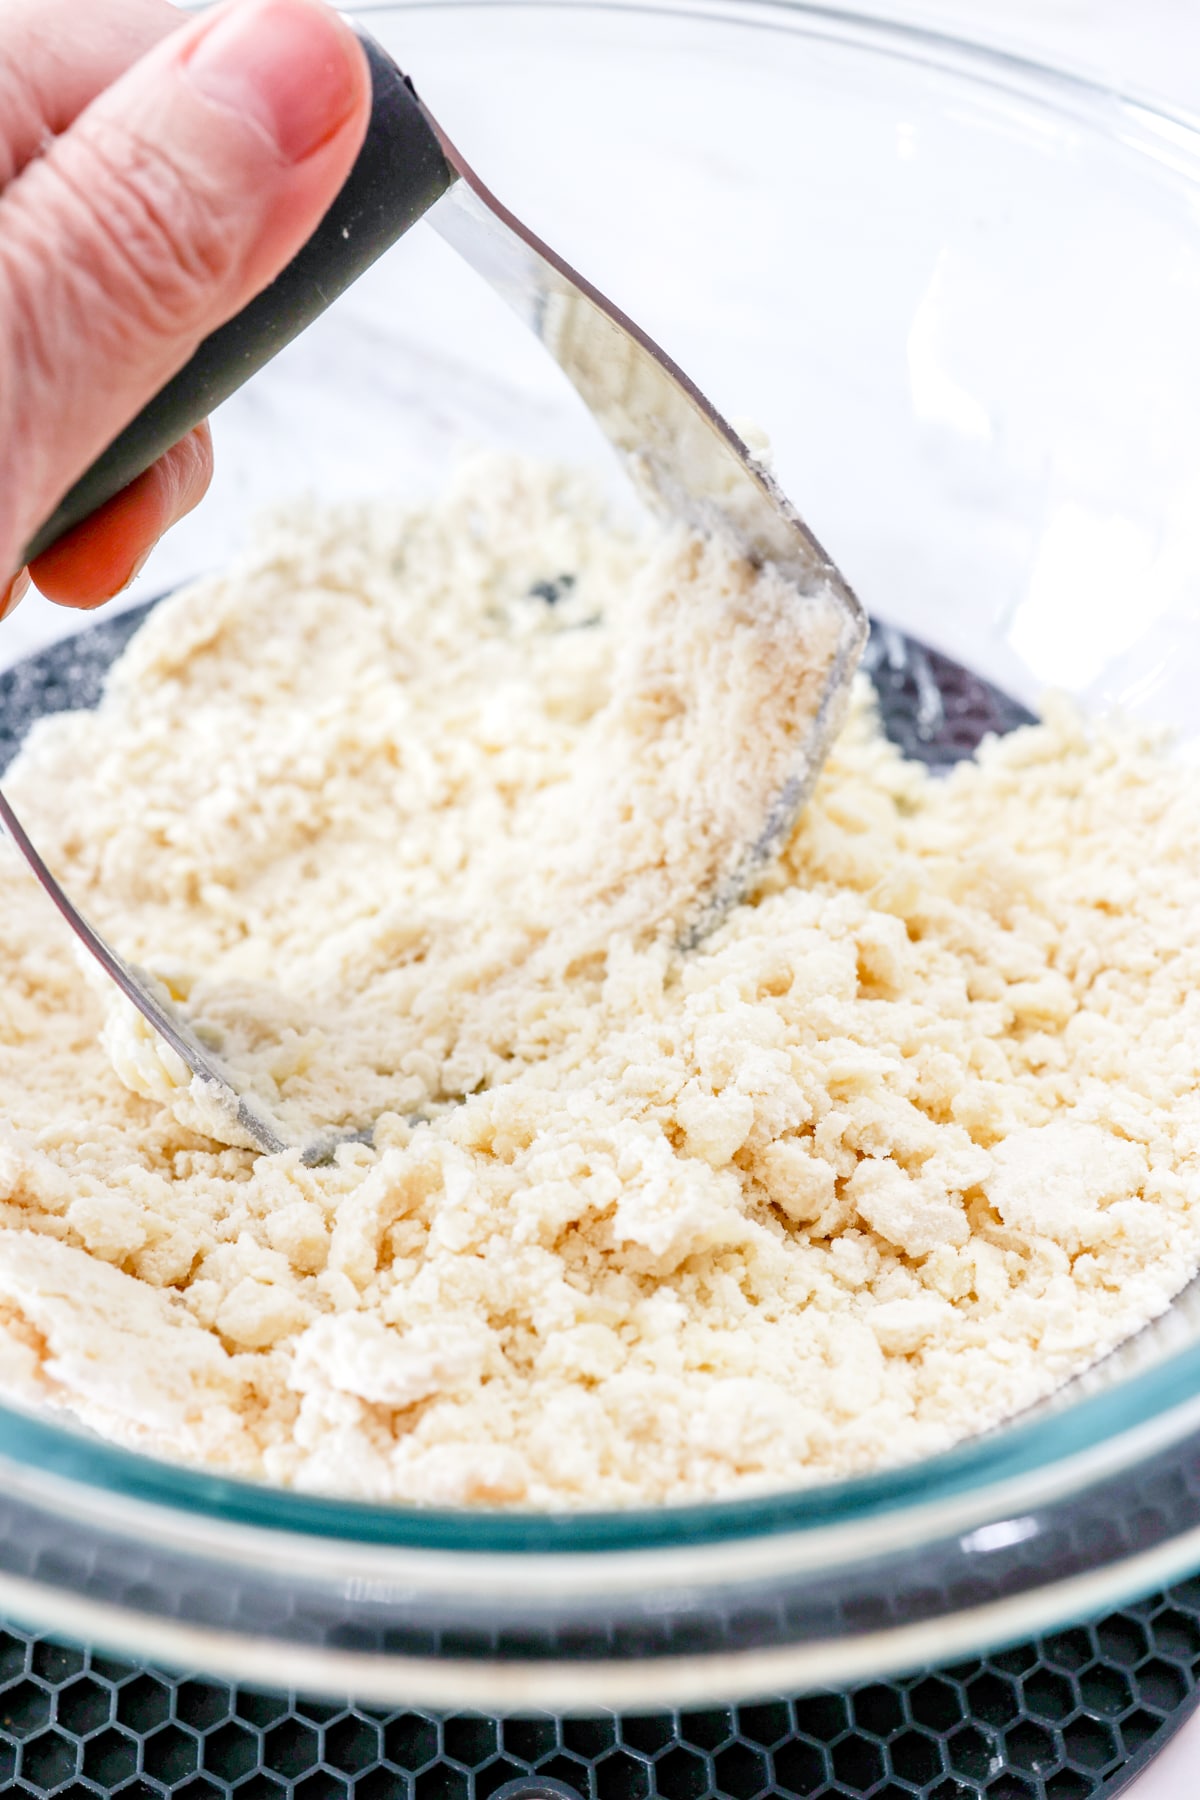
- Mix Butter and Flour together with a pastry blender.
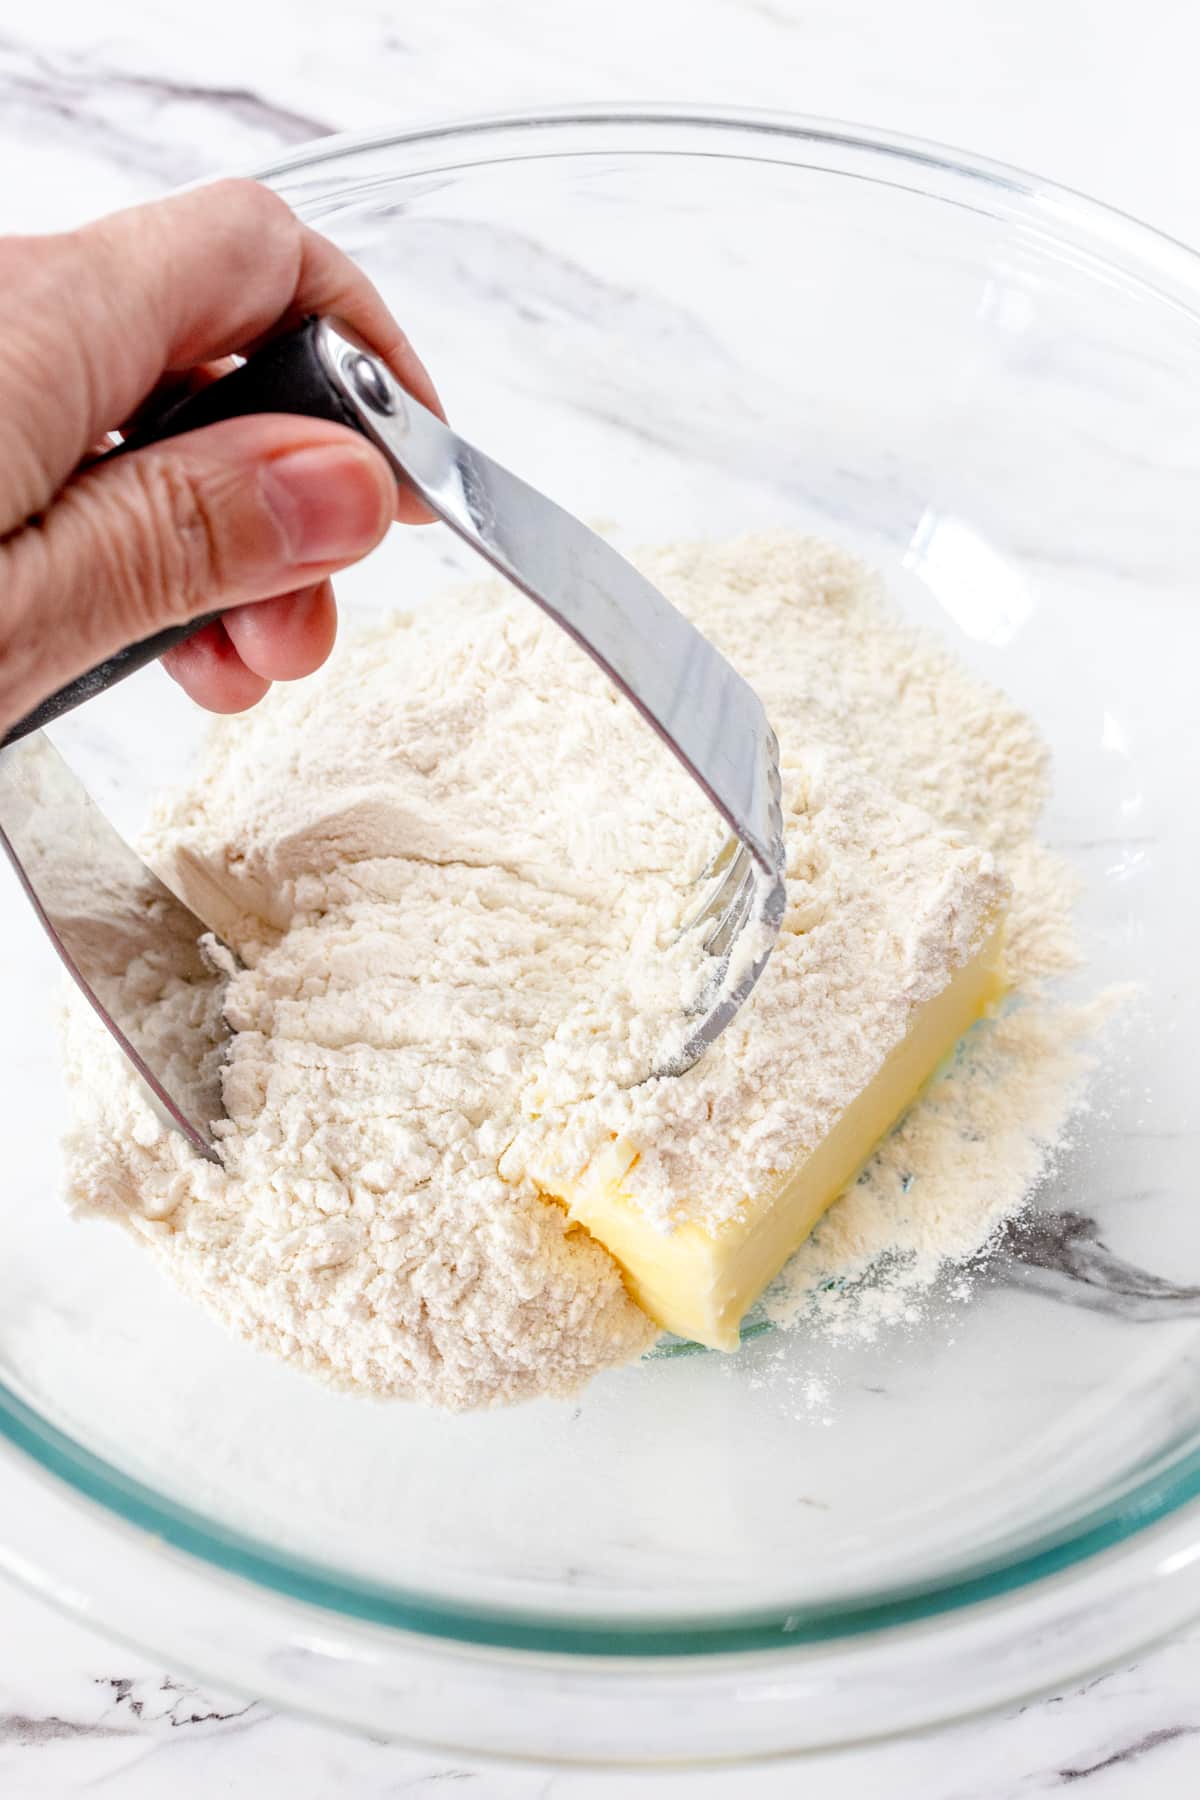
The mixture should form into coarse crumbs.
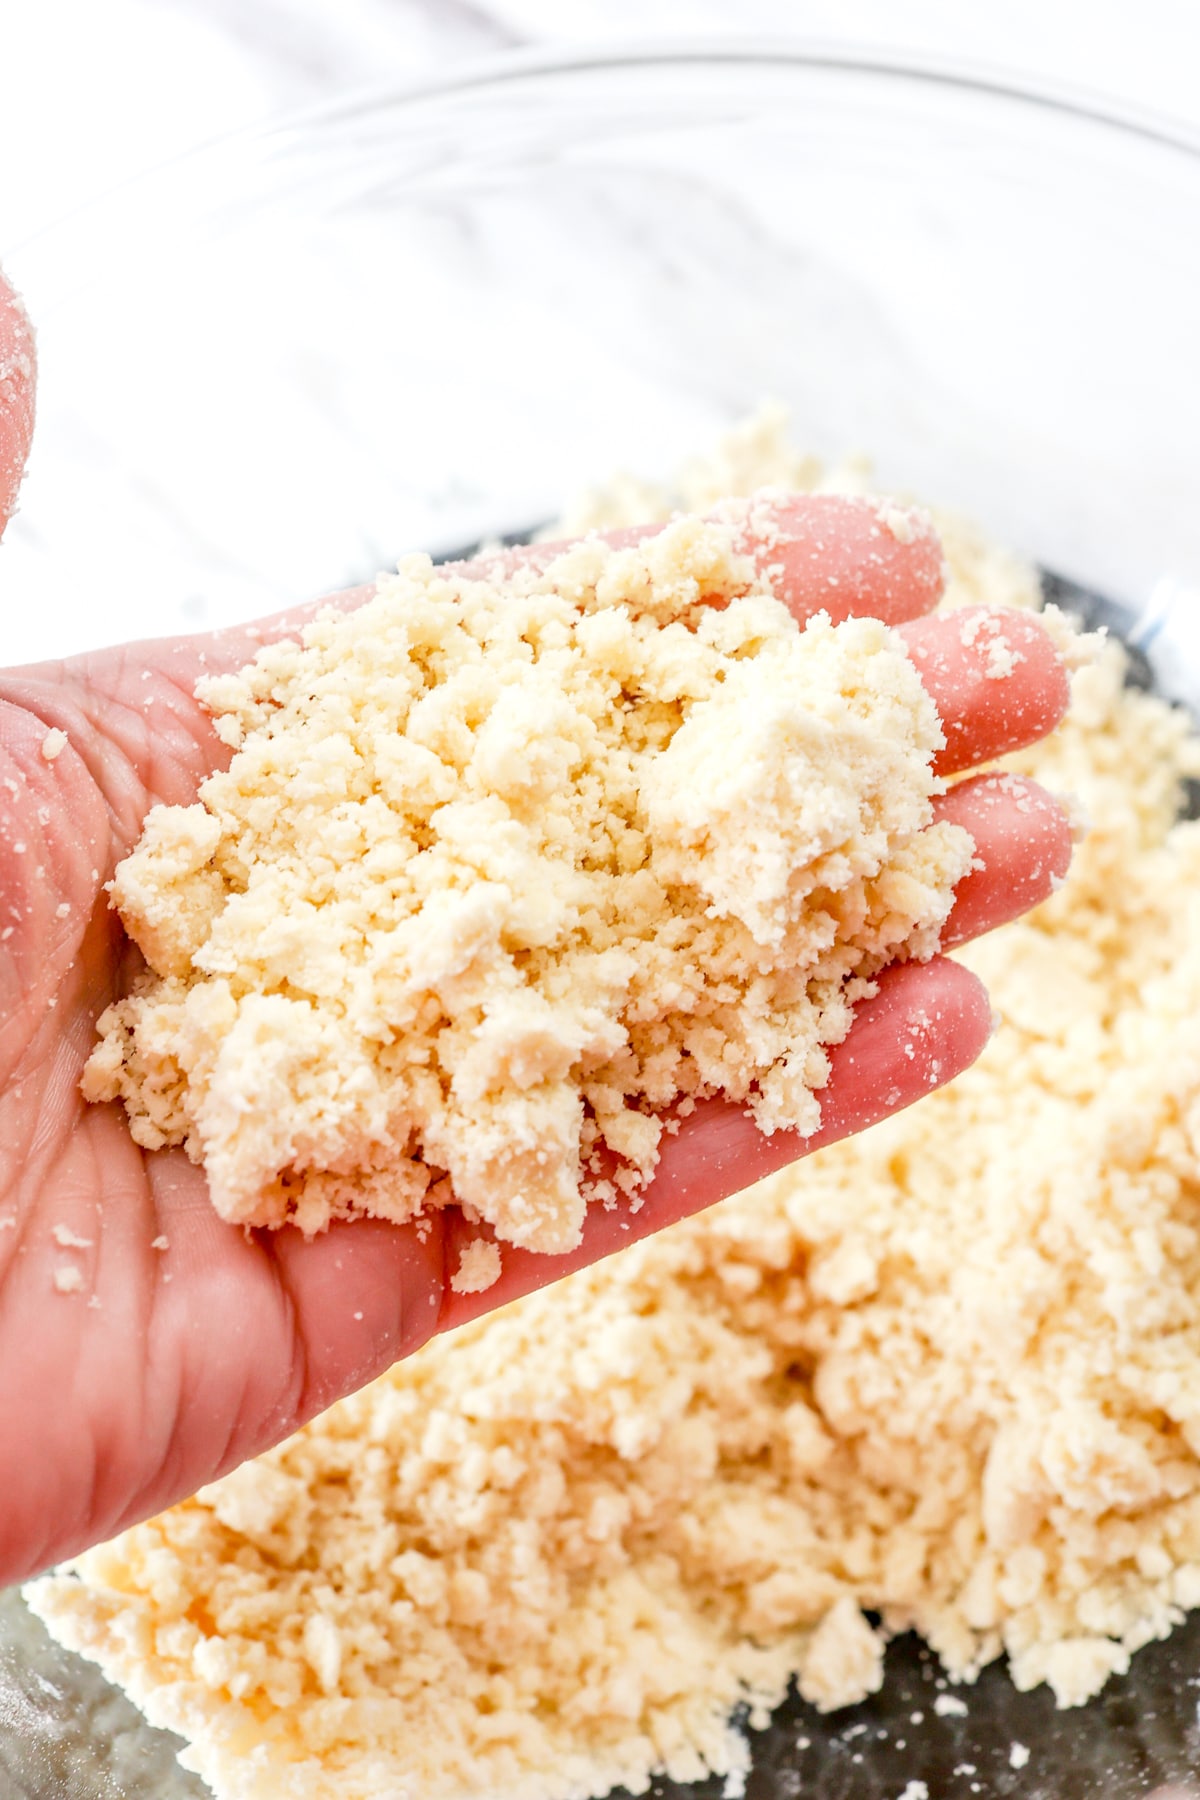
It should hold together when squeezed and easily break apart with a bit of pressure.
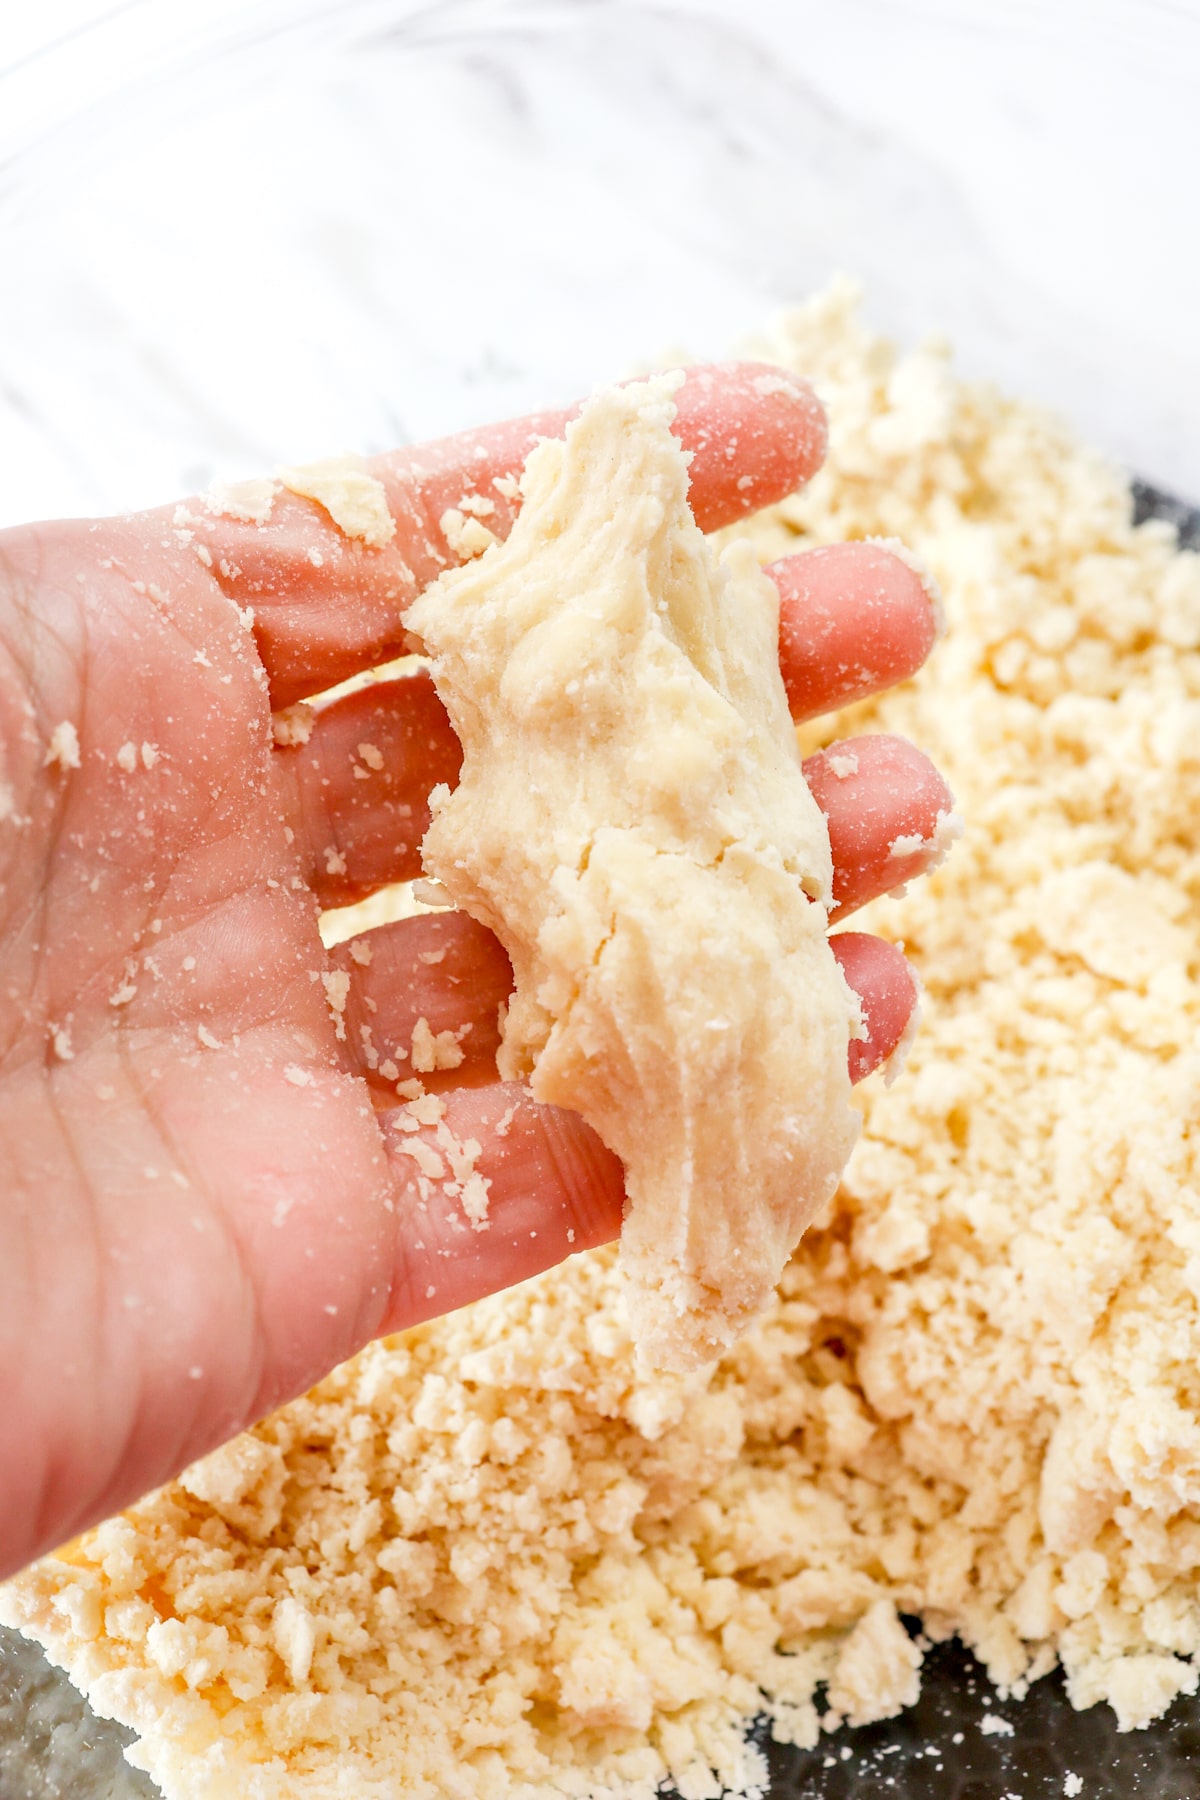
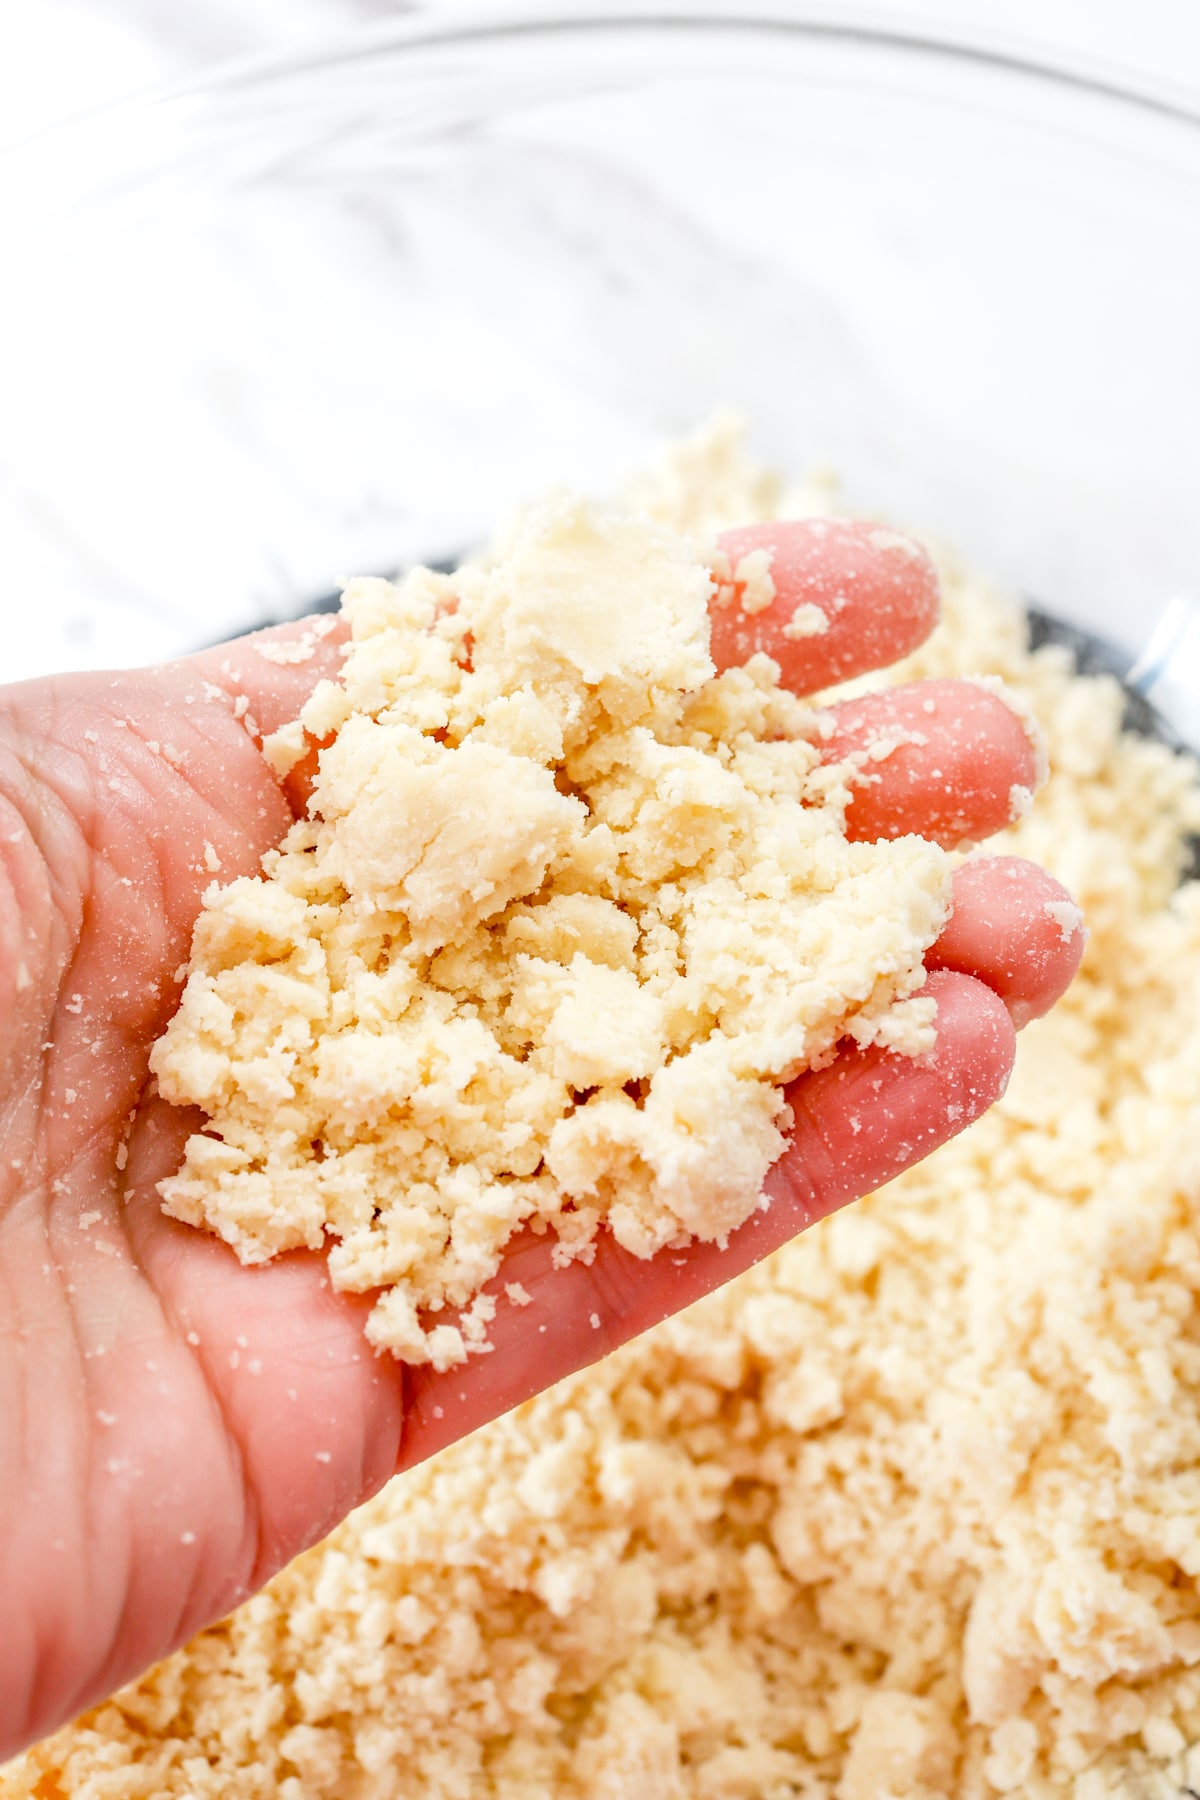
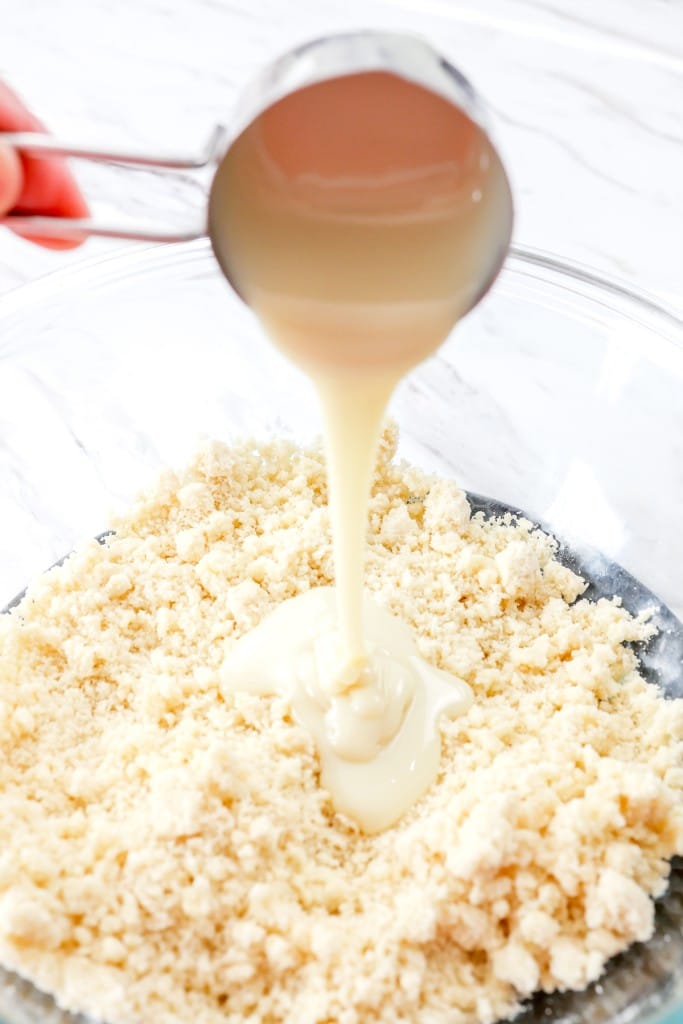
- Add ¼ cup (60ml) of Sweetened Condensed Milk to the butter mixture.
- Use a large spoon to mix it until thoroughly combined.
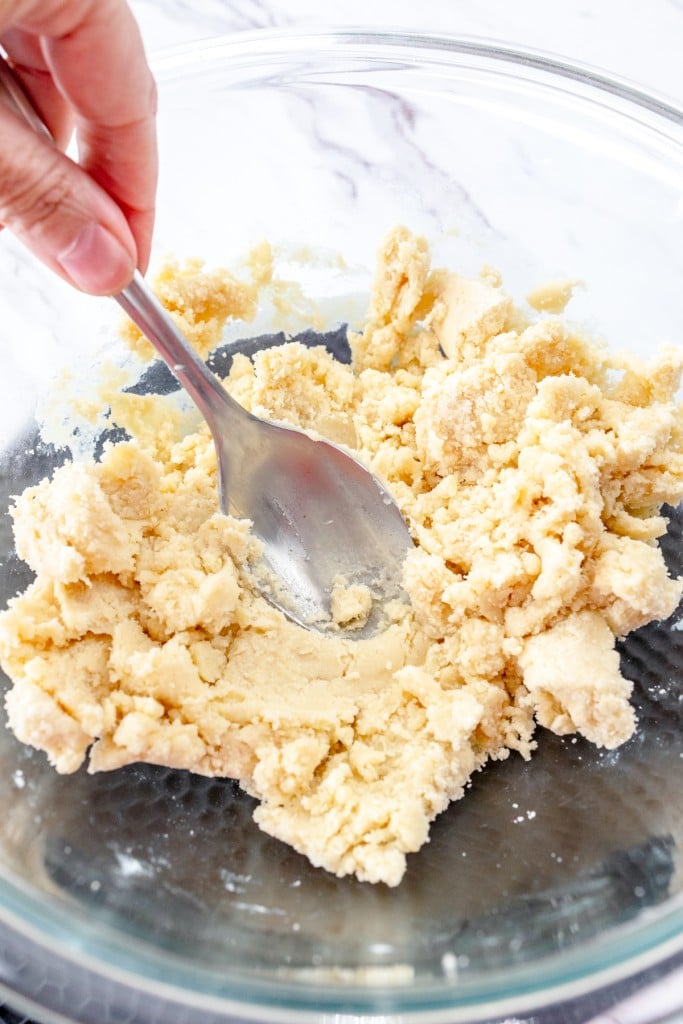
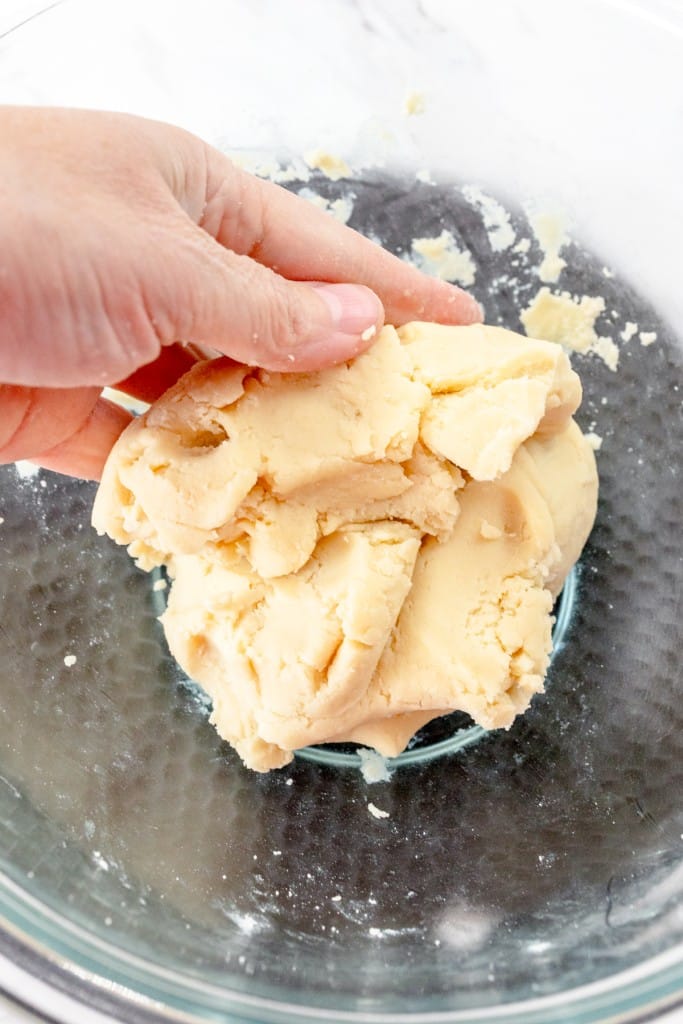
- As the mixture begins to form into a dough, use your hands to knead it into a ball. If the cookie dough is too sticky, then mix in another 1-2 tablespoons of All-Purpose Flour. Alternatively, if the dough is a little dry, then add a drop or two of Sweetened Condensed Milk.
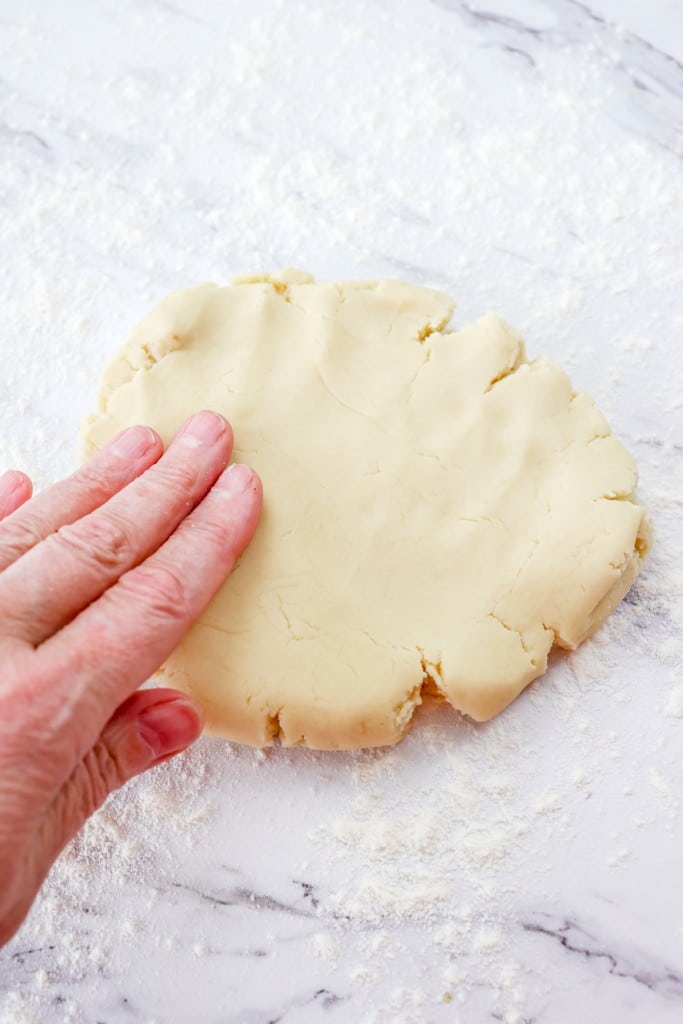
- Sprinkle the counter with a light dusting of Flour, place the cookie dough on the counter, and use your fingers to smooth out the dough until it is fairly flat.
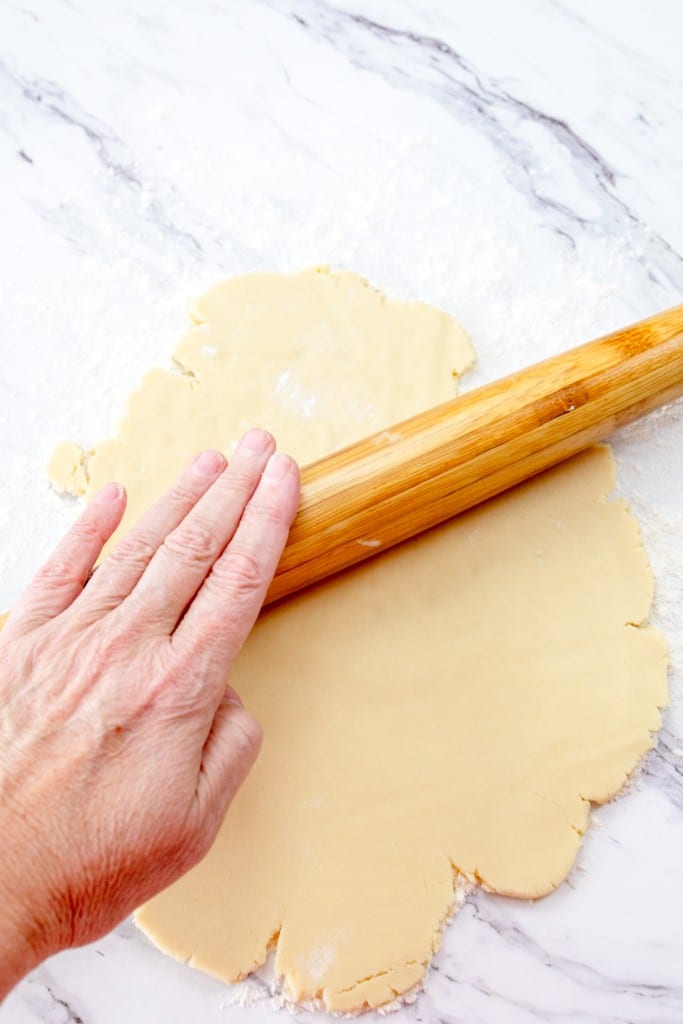
- Then use a rolling pin to roll the dough until it is roughly ¼-inch thick.
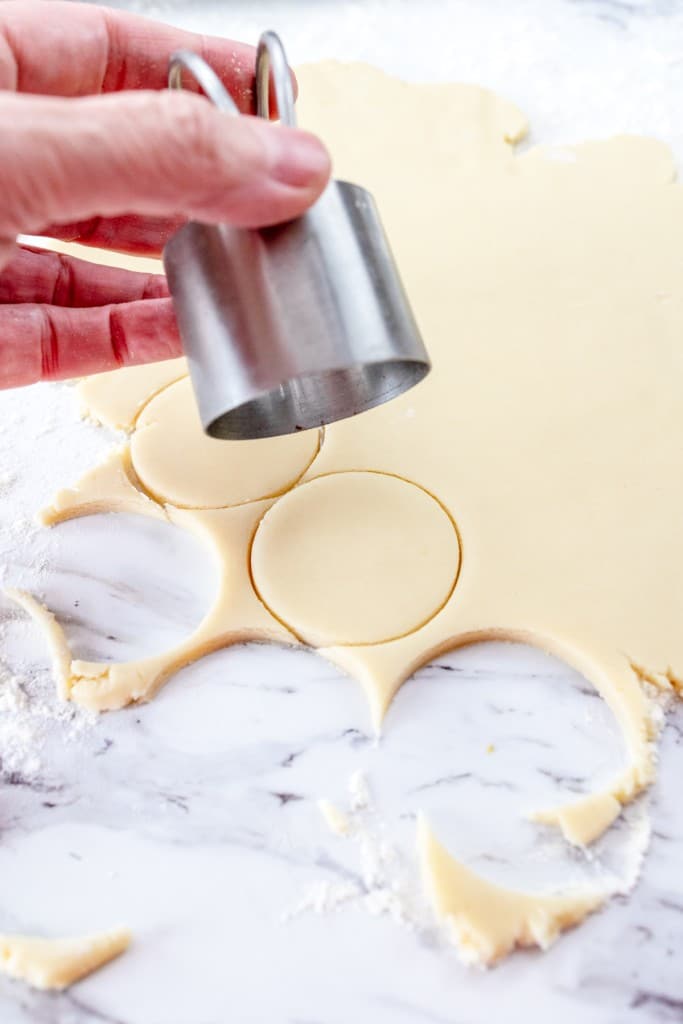
- Cut 2-inch circles out of the dough using a circular cookie cutter. After cutting all the circles that you can from the cookie dough, gather the remaining dough and press it back together, then flatten it out again, and cut out as many more cookies as you can. There should be enough cookie dough to make about 26 cookies.
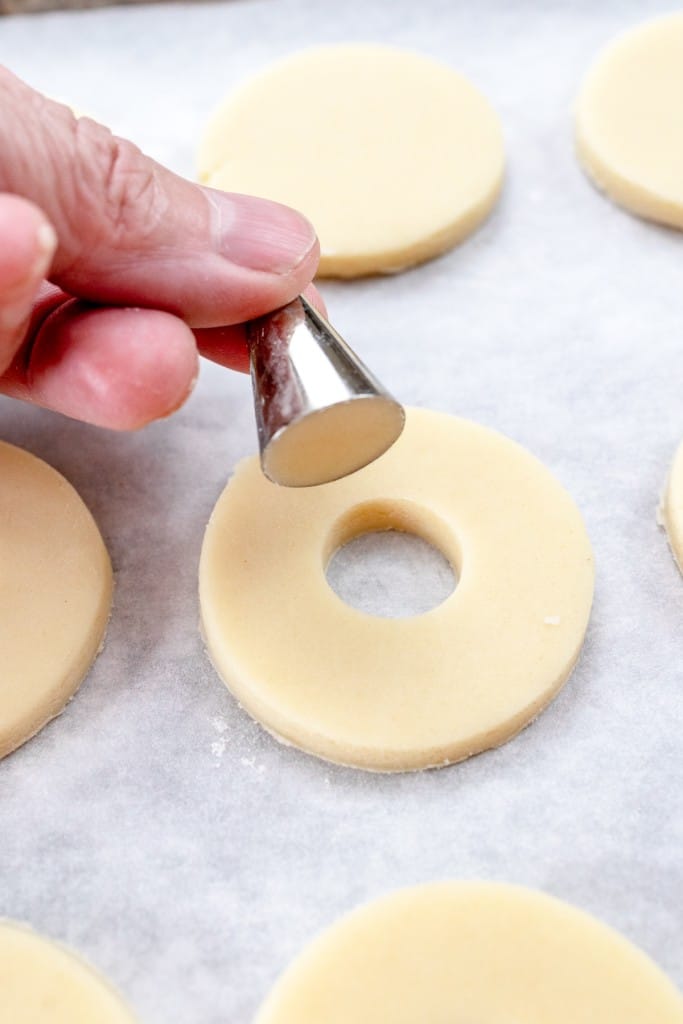
- Cut out a smaller hole in the middle of half of the cookies. I've found that a piping tip works well for cutting out the center circles.
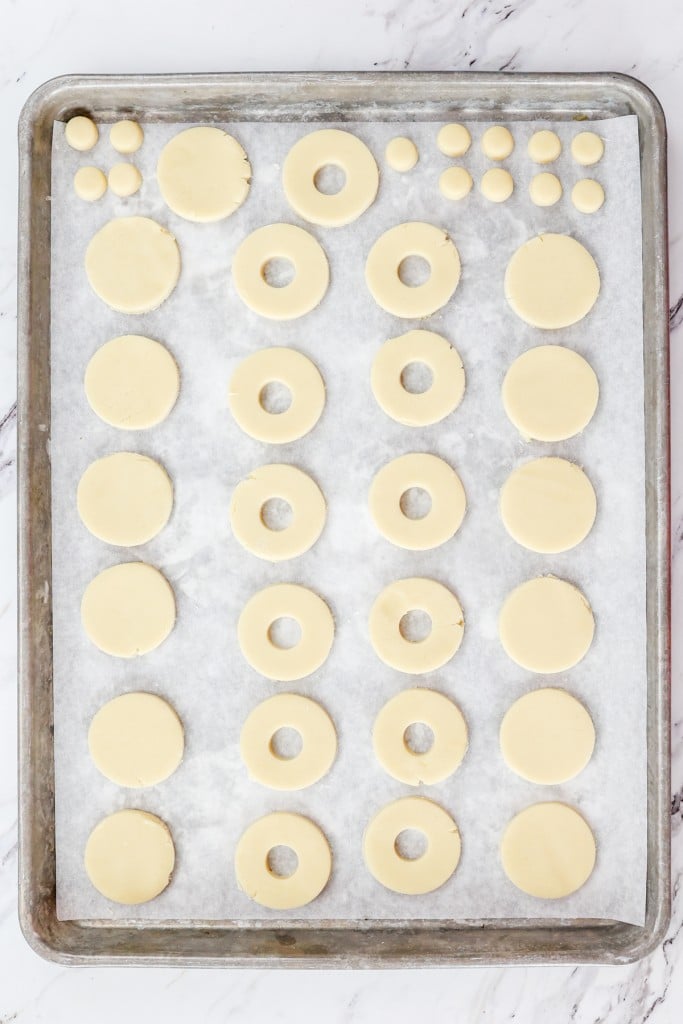
- Place the cookies on the prepared baking sheet. You can place the cookies quite close together as they will not spread very much. Bake the cookies in a preheated oven at 350 degrees F for 7-9 minutes, then remove the cookies from the oven and allow them to fully cool on the baking tray.
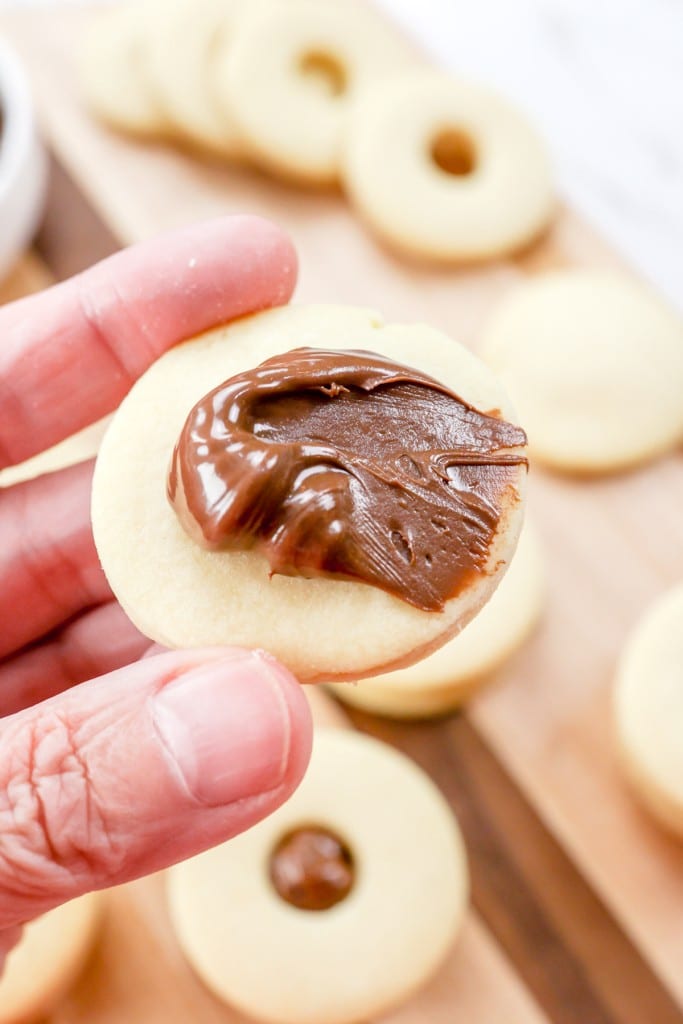
- Take a cooled cookie that does not have a hole in it and place a dollop of Nutella in the center.
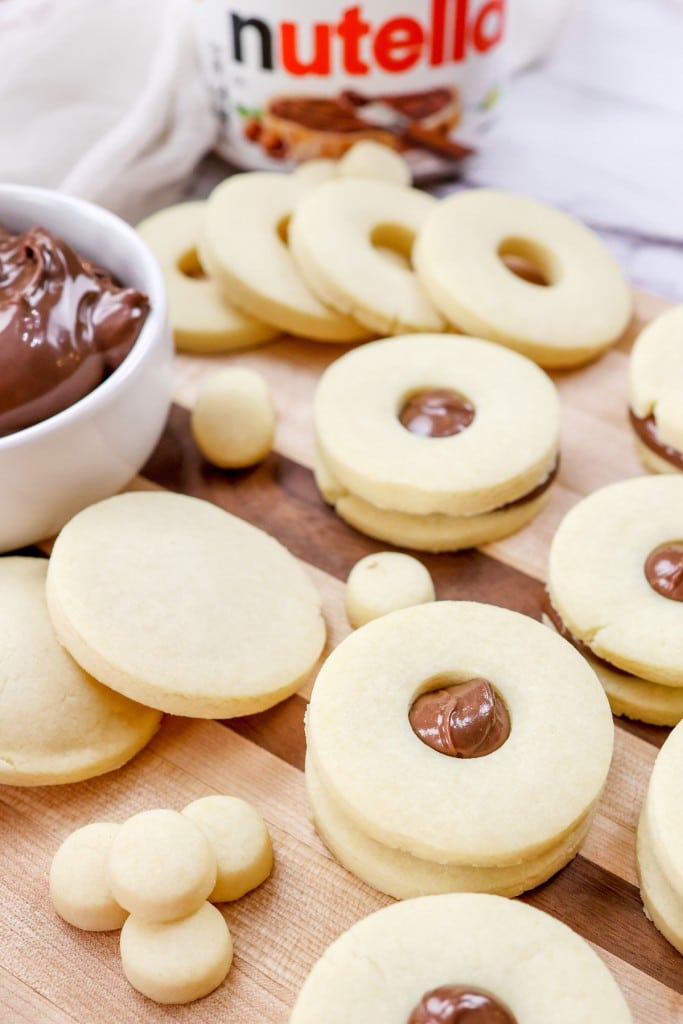
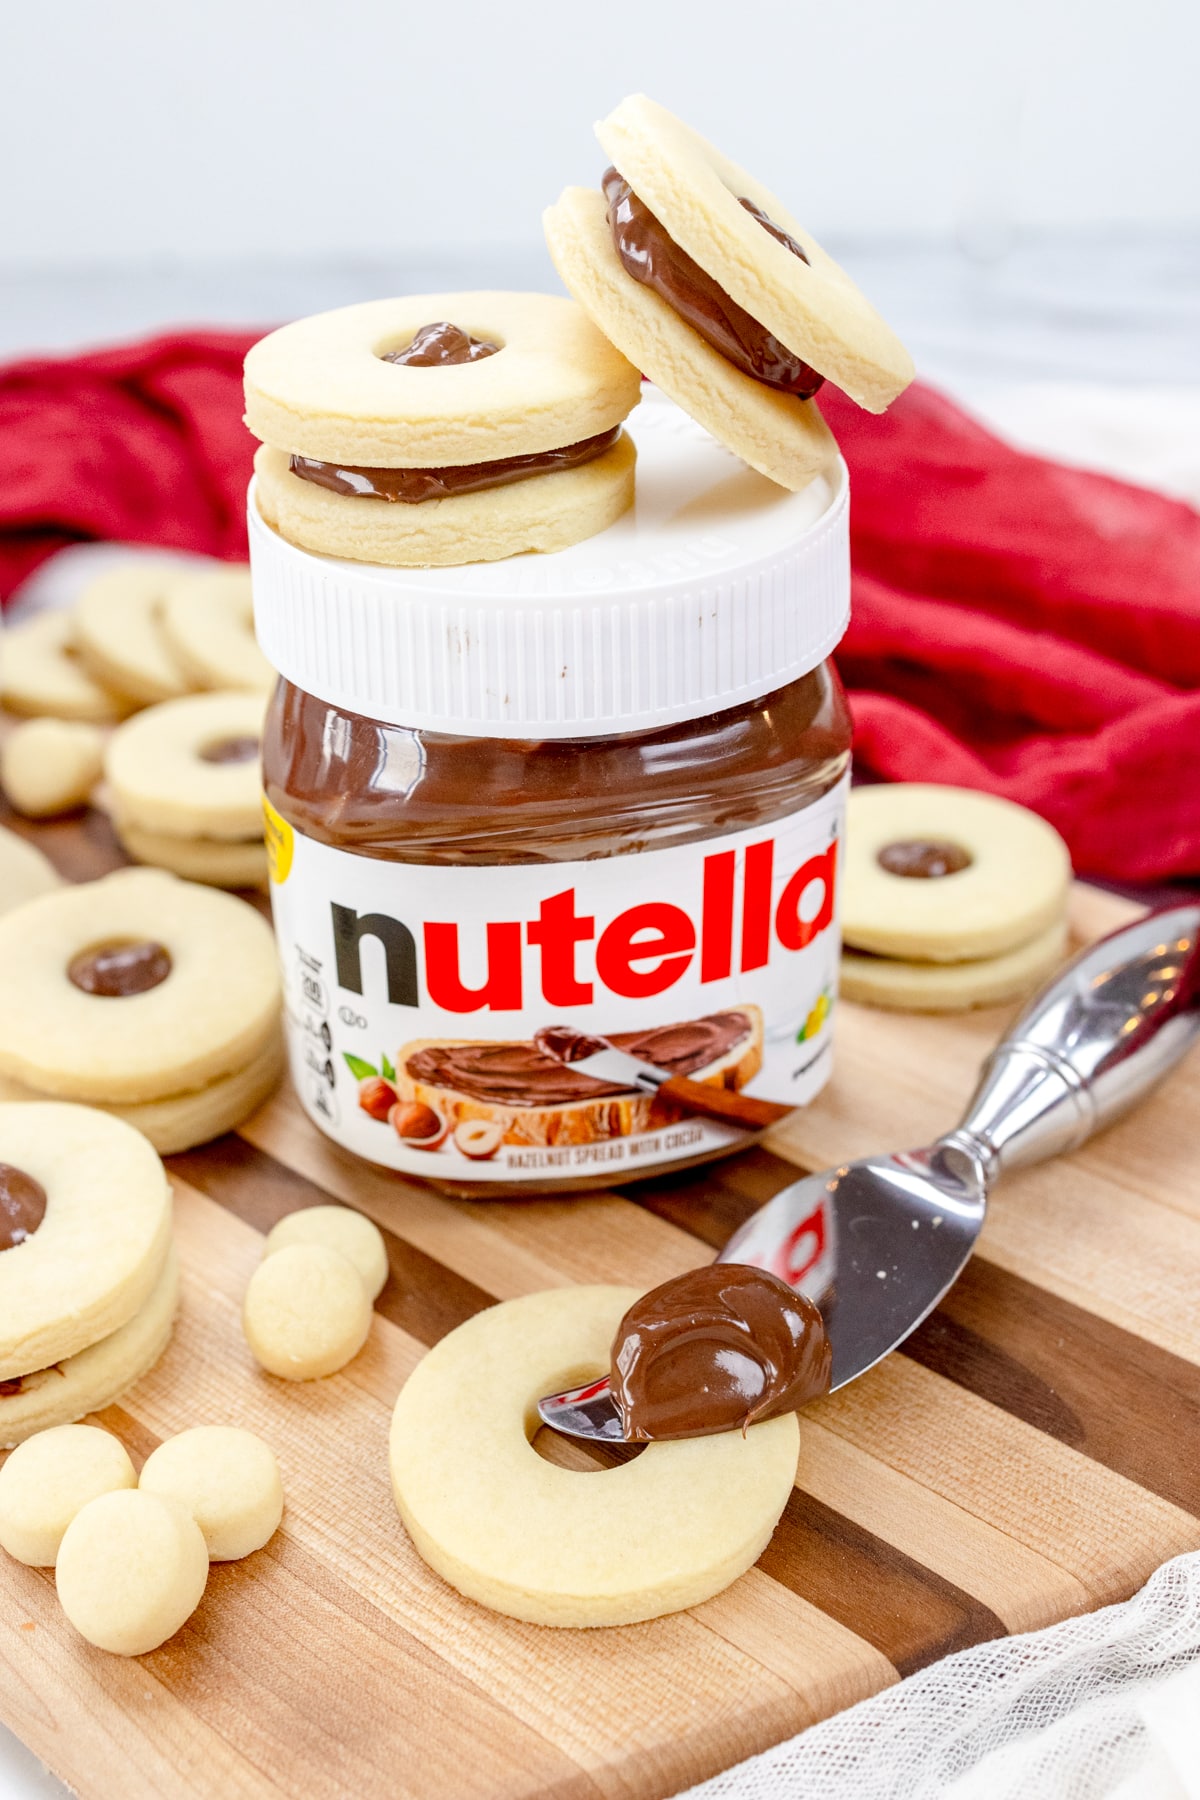
- Then take a cooled cookie that has a hole in it and place this on top to make a sandwich cookie. Serve and enjoy!
FAQs
Unsweetened Condensed Milk will change the taste and texture of the cookies. This recipe is best with Sweetened Condensed Milk for the desired sweetness and consistency.
You can use gluten-free flour instead of all-purpose flour, adjusting the consistency of the dough as needed. If it is too dry, then add a couple more drops of Sweetened Condensed Milk, and if it is too sticky, then add a little more Flour.
While using a cookie cutter provides a uniform shape and size to the cookies, you can shape them by hand or use a glass to cut out the circles from the dough.
Storage & Freezing
Storage: Store leftover Condensed Milk Cookies for up to 7 days in an airtight container or a Ziploc bag, removing as much air as possible. Place parchment paper between the layers to prevent the cookies from sticking together, and bear in mind that they're best enjoyed within 2–3 days.
Freezing: Freeze the cookies before they've been assembled with the Nutella filling. Store the cooled cookies in a sealed, airtight container and freeze them for up to 3 months. Place parchment paper between each layer of cookies to prevent them from sticking. When ready to serve them, remove the cookies from the freezer and thaw them on the counter for roughly 30 minutes before adding the Nutella filling and assembling them into sandwich cookies.
Substitutions & Variations
- Changing the size. I make these cookies using 2-inch-diameter cookie cutters, but you could make them larger if you'd like. For best results, if you are going for a larger cookie then increase the thickness accordingly to keep the cookie from becoming too brittle.
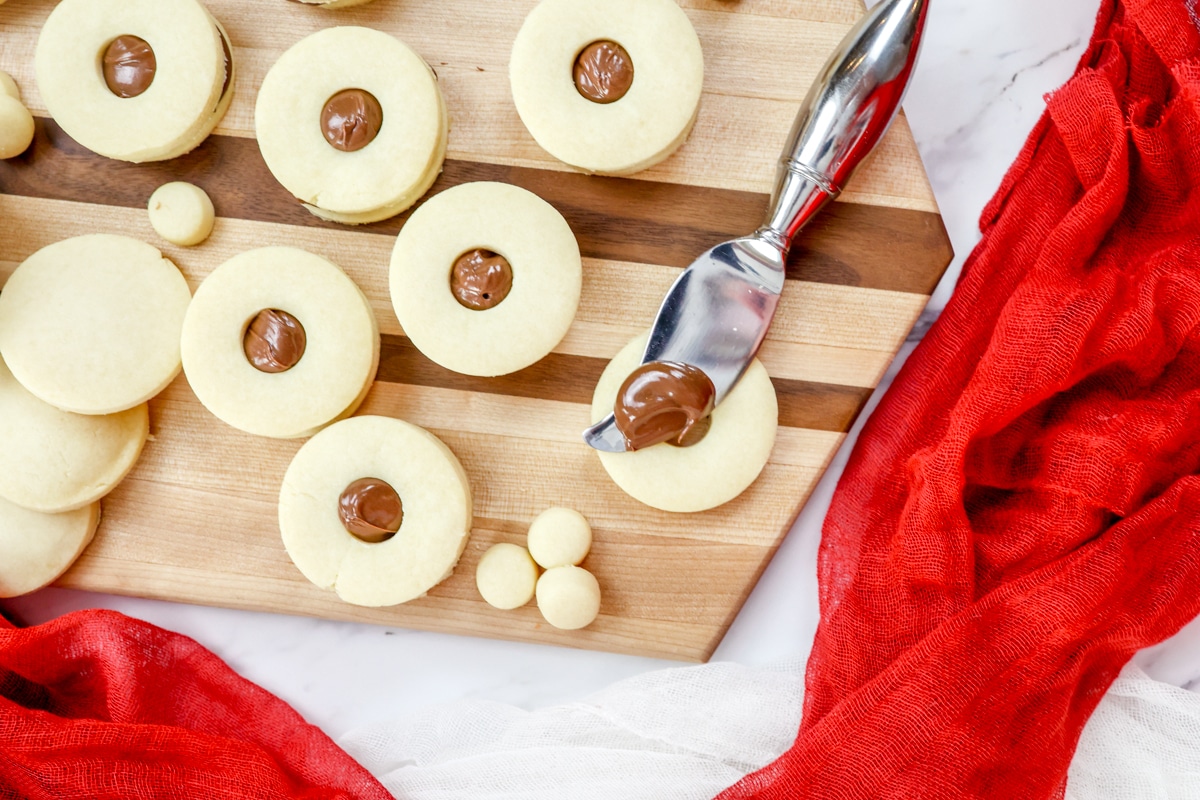
- Try a different filling. These cookies feature a Nutella filling, but you could use any sweet spread that you like for a different flavor. Biscoff spread would substitute amazingly, and jellies and preserves would also be a great replacement filling—try Strawberry Jam, Peach Preserves, and Grape Jelly! If you're a fan of Chocolate & Peanut Butter then try adding a little bit of Creamy Peanut butter at a 2:1 Nutella to Peanut Butter ratio.
- Enhance the Flavor. Elevate the flavor of this simple cookie with very little effort by adding some Cocoa Powder, Vanilla Extract, or a different flavor of extract like Strawberry, Raspberry, Lemon, or Peppermint!
- Make amazing shapes. Don't feel limited to only using circular cookie cutters here! This is a perfect excuse to make a big batch of cookies shaped like dinosaurs, people, love hearts, Santas, Christmas trees, and snowmen to match your special occasion!
Pro Tips
What makes a good cookie? Does it have a soft center and crispy edges, and is it chewy? Each of these makes a great-quality cookie. To make perfect cookies every time, here are some pro tips.
Weighing Ingredients.
Baking is a science and adding too much or too little of any of the ingredients will alter the recipe. Weighing and measuring dry ingredients properly makes a world of difference. Investing in a kitchen scale is ideal. When a kitchen scale is not available, make sure to stir and lift ingredients before scooping them into a measuring cup.
| Volume | Ounces | Grams | |
| All Purpose Flour | 1 Cup | 4½ Ounces | 120 Grams |
| Bread Flour | 1 Cup | 4½ Ounces | 120 Grams |
| Granulated Sugar | 1 Cup | 7 Ounces | 200 Grams |
| Brown Sugar | 1 Cup | 7½ Ounces | 213 Grams |
| Confectionary Sugar | 1 Cup | 4 Ounces | 113 Grams |
Cookie Cutters.
Usually, we'd use a cookie scoop to ensure even baking, but these cut-out cookies have a uniform shape and size due to them being rolled into an even layer and cut out with the same cookie cutter. You can get creative with the shapes; just choose one that will best suit your event or special occasion!
Baking Sheets.
You can use an ungreased cookie sheet if you prefer. I like to use Parchment Paper to line baking sheets or a Silicone Mat for easy cleanup.
Baking Time.
Every oven heats a little differently, so I recommend doing a small batch of 1-3 cookies to test the baking time for a perfectly baked cookie before baking the remaining dough.
Baked Cookies.
Cookies are perfectly baked when the edges are set and the centers are no longer glossy.
Cooling Rack.
Allow cookies to cool on the baking sheet for a minute or two before moving them to a cooling rack to cool completely.
- Kitchen Scale. I use this for accuracy in measuring, and it's a lifesaver when it comes to consistent baking.
- Wire Rack for cooling cookies. I like to have at least two cooling racks.
- Mixing Bowls. A Large Mixing Bowl for mixing ingredients and small and medium mixing bowls for other ingredients.
- Cookie Sheet. Most recipes will take two batches to bake. It's great to have multiple baking sheets available.
- Parchment Paper or Silicone Baking Mat. Line the Cookie Sheet with parchment paper for easy cleanup and to prevent sticking.
- Cookie Scoop. A small #60 Cookie Scoop or a Medium Cookie Scoop #50 are great choices for uniform drops of cookie dough.
- Storage Container. An Airtight Container to store cookies or a Ziploc Bag works great too.
- Additional supplies. Measuring Cups and Measuring Spoons along with a silicone spatula, are all helpful.
To find out more, check out my Pro Tips Guide for making the best cookies every time!
Have you tried this Condensed Milk Cookies recipe?
Let me know what you think of this recipe! Tag @bestcookierecipes on social media so I can see how great your cookies turned out! I would also love to read your comments below. Let me know what you think of these cookies. It really does help!
More Chocolate Cookie Recipes
- Chocolate Cake Cookies (Crumbl Copycat Recipe)
- Chocolate Peanut Butter Muddy Buddy Cookies
- Double Chocolate Frosted Chocolate Chip Cookies
- Better than Sex Cookies (Crumbl Chocolate Heath Copycat)
- Best Chocolate Peanut Butter Cookies Recipe with Reese's
- German Chocolate Cake Cookies
- Texas Sheet Cake Cookies with Fudgy Chocolate Icing
- Black Forest Chocolate Cookies with Cherries
Sweetened Condensed Cookies
Ingredients
- 8 tablespoons softened Butter 110g
- 1⅓ cup + 2 tablespoons All-Purpose Flour 175g Total
- ¼ cup Sweetened Condensed Milk 60ml
- ½ cup Nutella Hazelnut Chocolate Spread
Instructions
- Preheat the oven to 350 degrees F and line a baking sheet with parchment paper. Soften Butter to room temperature and place it in a large mixing bowl. Add 175 grams of All-Purpose Flour (roughly 1⅓ cups plus 2 tablespoons).
- Mix Butter and Flour together with a pastry blender. The mixture should form into coarse crumbs. It should hold together when squeezed, and easily break apart with a bit of pressure.
- Add ¼ cup (60ml) of Sweetened Condensed Milk to the butter mixture.
- Use a large spoon to mix it until thoroughly combined.
- As the mixture begins to form into a dough, use your hands to knead it into a ball. If the cookie dough is too sticky then mix in another 1-2 tablespoons of All-Purpose Flour. Alternatively, if the dough is a little dry then add a drop or two of Sweetened Condensed Milk.
- Sprinkle the counter with a light dusting of Flour, place the cookie dough on the counter, and use your fingers to smooth out the dough until it is fairly flat.
- Then use a rolling pin to roll the dough until it is roughly ¼-inch thick.
- Cut 2-inch circles out of the dough using a circular cookie cutter. After cutting all the circles that you can from the cookie dough, gather the remaining dough and press it back together, then flatten it out again, and cut out as many more cookies as you can. There should be enough cookie dough to make about 26 cookies.
- Cut out a smaller hole in the middle of half of the cookies. A piping tip works really well for cutting out the center circles.
- Place the cookies on the prepared baking sheet. You can place the cookies quite close together as they will not spread very much. Bake the cookies in a preheated oven at 350 degrees F for 7-9 minutes. Remove the cookies from the oven and allow them to fully cool on the baking tray.
- Take a cooled cookie that does not have a hole in it and place a dollop of Nutella in the center.
- Then take a cooled cookie that has a hole in it and place this on top to make a sandwich cookie. Serve and enjoy!
Notes
- Store: Store cooled cookies for up to 7 days in an airtight container or Ziploc bag, removing as much air as possible. Place parchment paper between layers. Cookies are best enjoyed within 2–3 days.
- Freeze: Freeze the cookies before they've been assembled with the Nutella filling. Store the cooled cookies in a sealed container and freeze them for up to 3 months. Place parchment paper between each layer of cookies to prevent them from sticking. When ready to serve them, remove the cookies from the freezer and thaw them on the counter for roughly 30 minutes before adding the Nutella filling and assembling them into sandwich cookies.



Submit a Comment