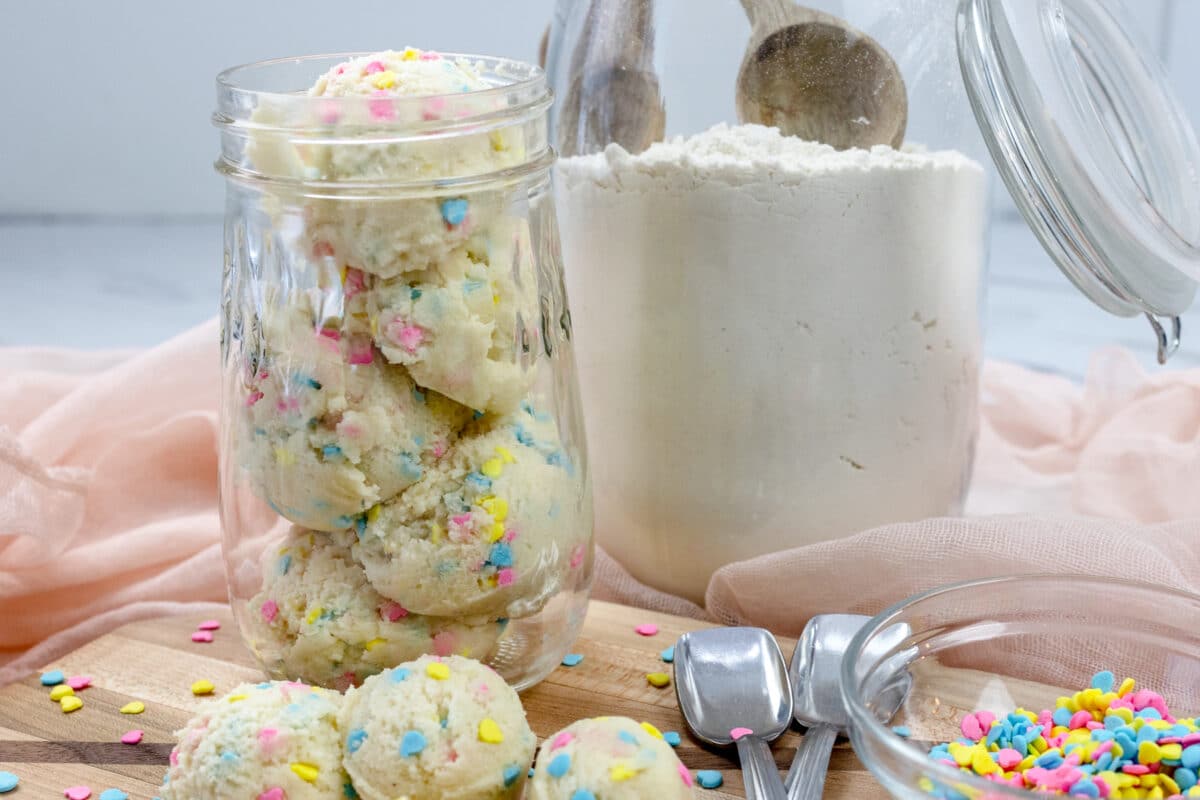
Heat-treating flour is one of those ingenious hacks that amateur bakers and seasoned chefs alike can testify to! In just a few minutes you can treat your flour to use it confidently in all your delicious no-bake recipes!

You may have seen "Heat-Treated Flour" as an ingredient in an edible cookie dough recipe and thought you must have missed a memo somewhere in Baking Know-How 101!
This straightforward baking process ensures that flour can be consumed as an (almost) raw ingredient without any further cooking, as the flour has been preheated to a temperature that destroys the harmful e. coli bacteria.
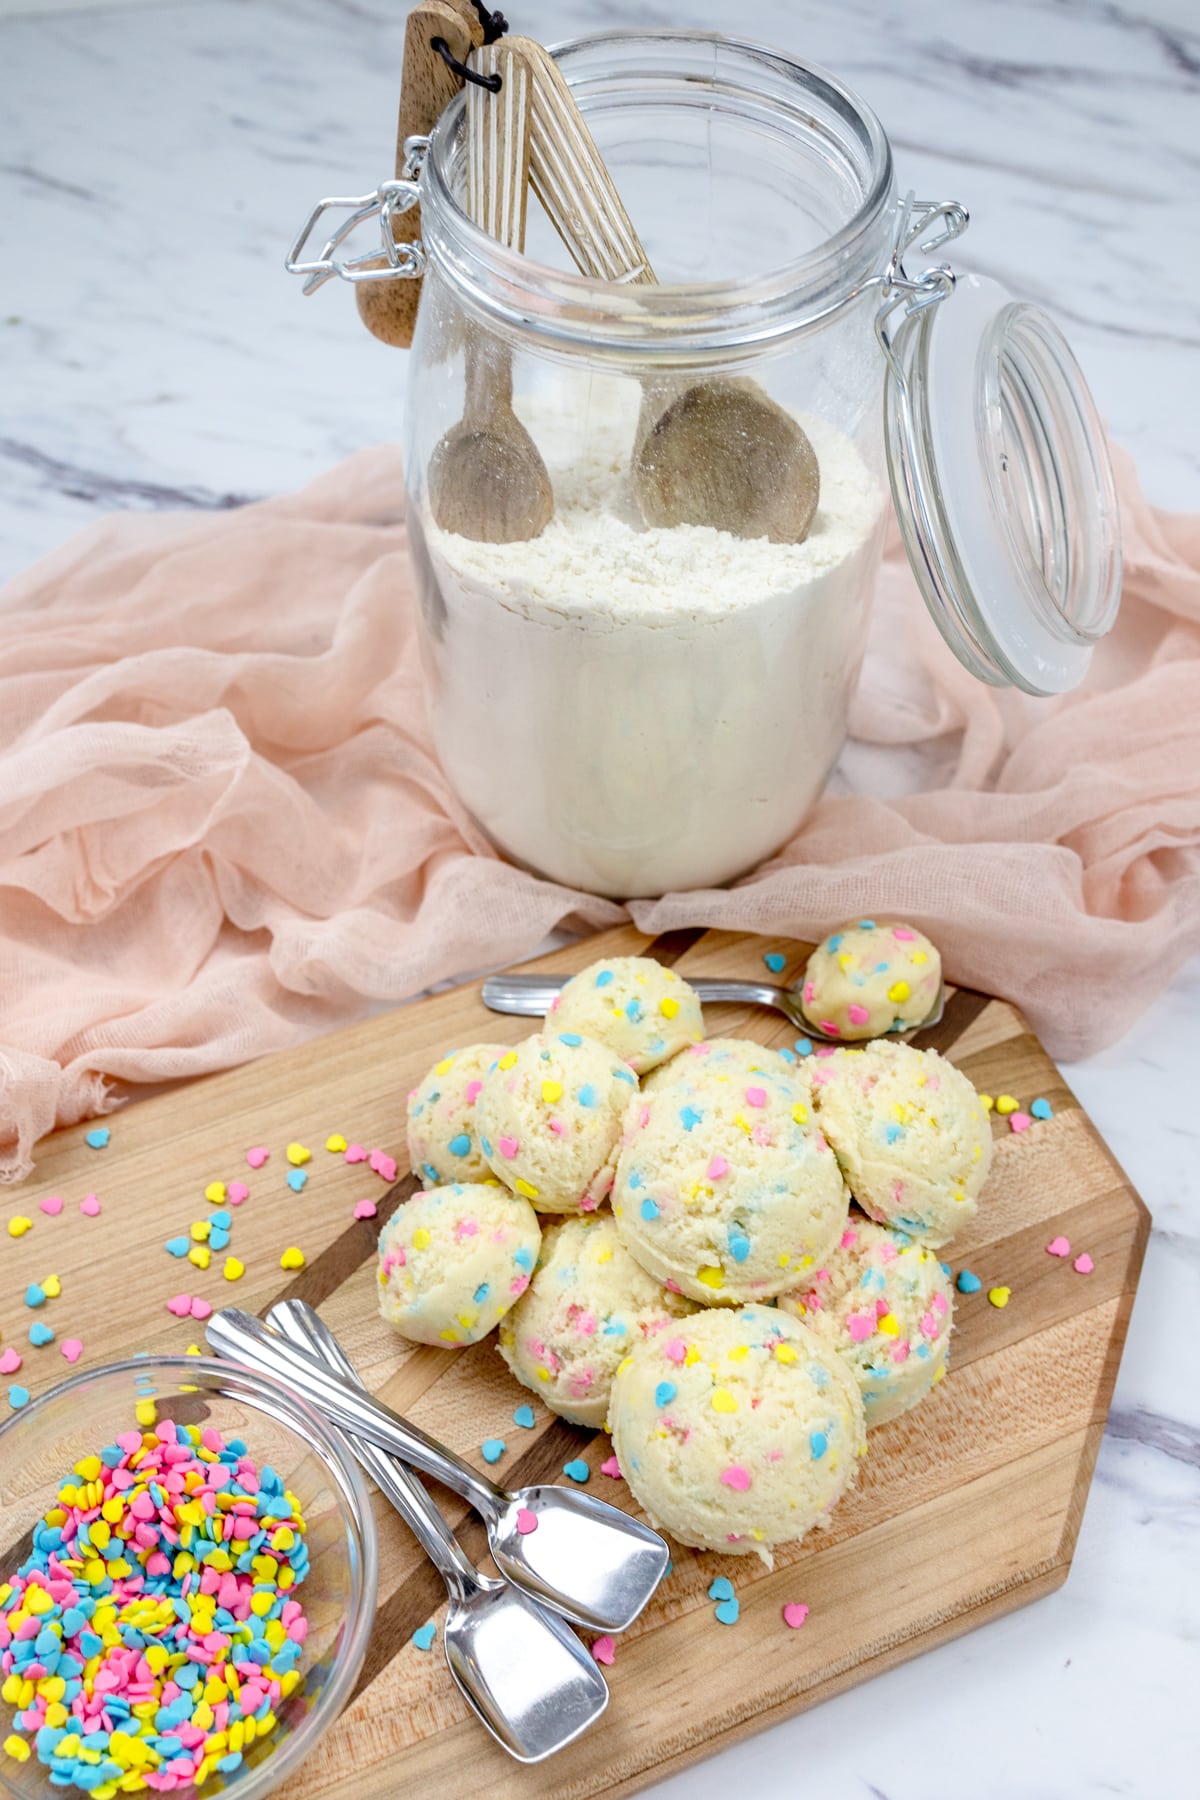
So, whether you're preparing edible raw cookie dough, crafting cookie dough truffles, or even just baking normal cookies, heat-treating the flour will ensure that every bite of cookie dough is free from bad bacteria, giving you peace of mind and the best results for your baking endeavors.
You can use heat-treated flour in some of my favorite no-bake recipes, such as Edible Chocolate Chip Cookie Dough, Cookies and Cream Cookie Dough, and Edible Sugar Cookie Dough!
Ingredients & Equipment Needed to Heat-Treat Flour
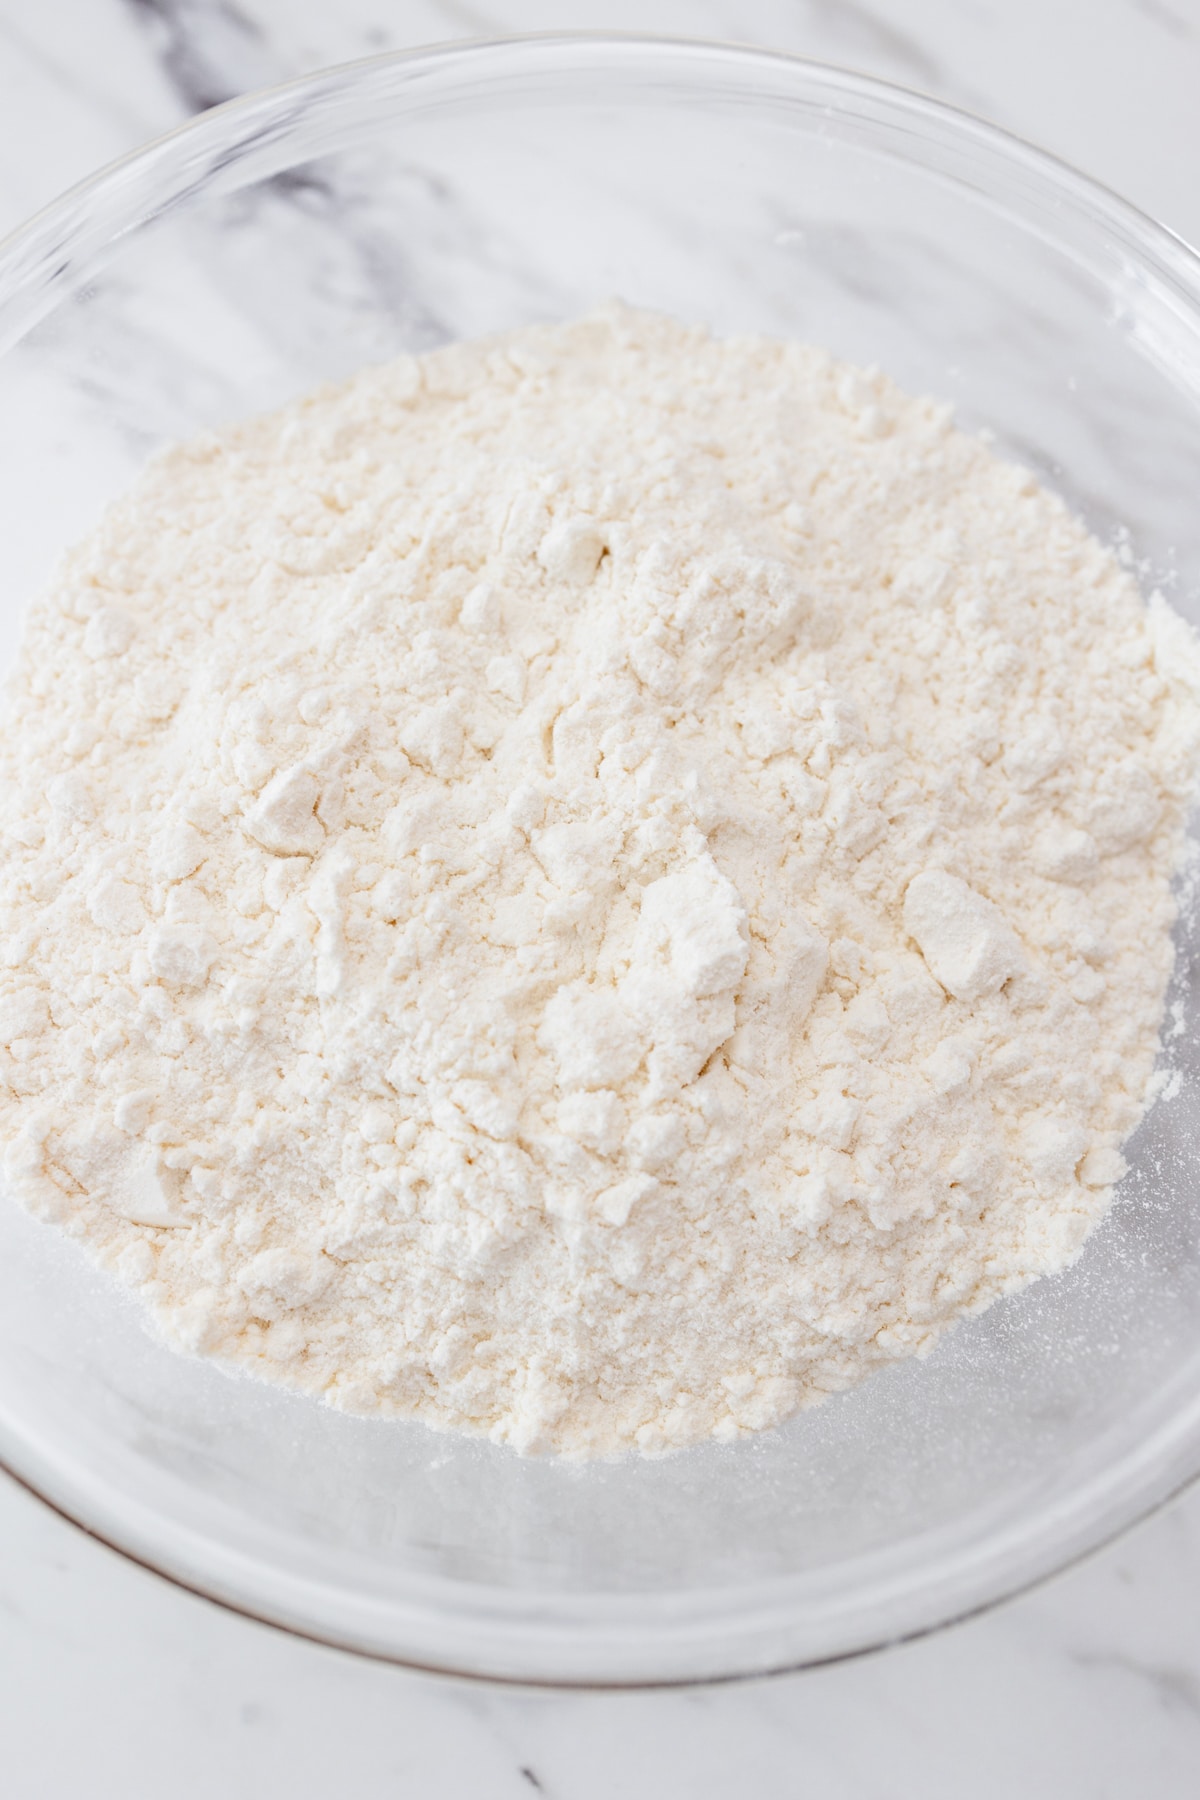
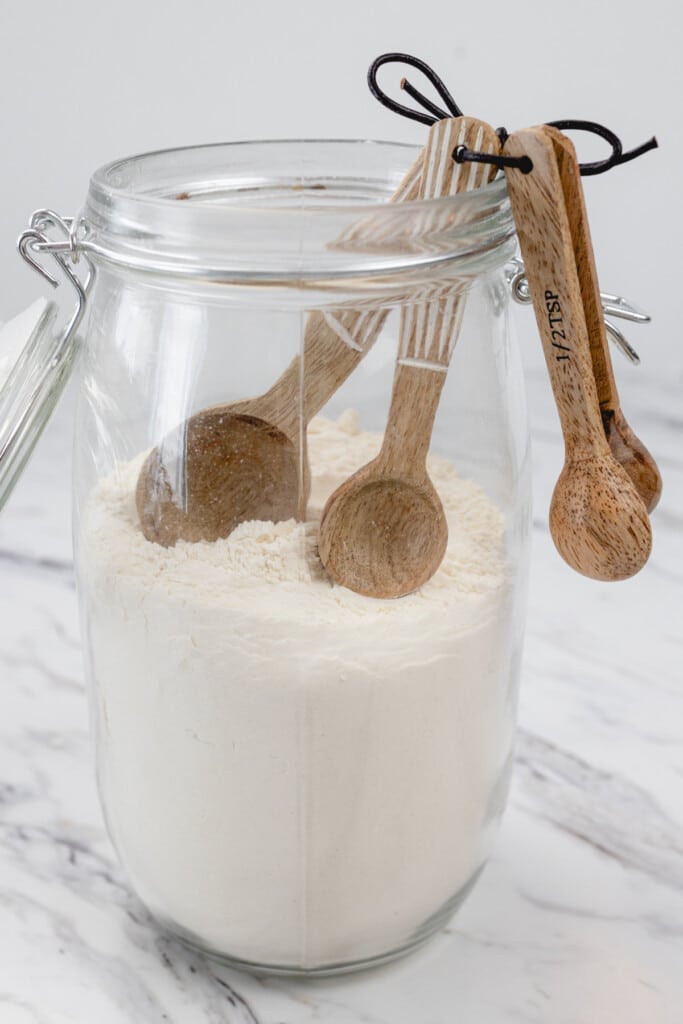
Ingredients. Flour - use any kind of raw flour, such as All-Purpose Flour (Plain Flour), or a Gluten-Free Flour blend.
Equipment. Microwave, Microwave-safe bowl, Baking sheet, Parchment Paper, Fine Mesh Strainer, Air-Tight Container
How to Make Heat-Treated Flour in the Microwave
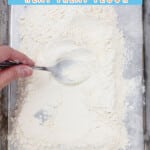
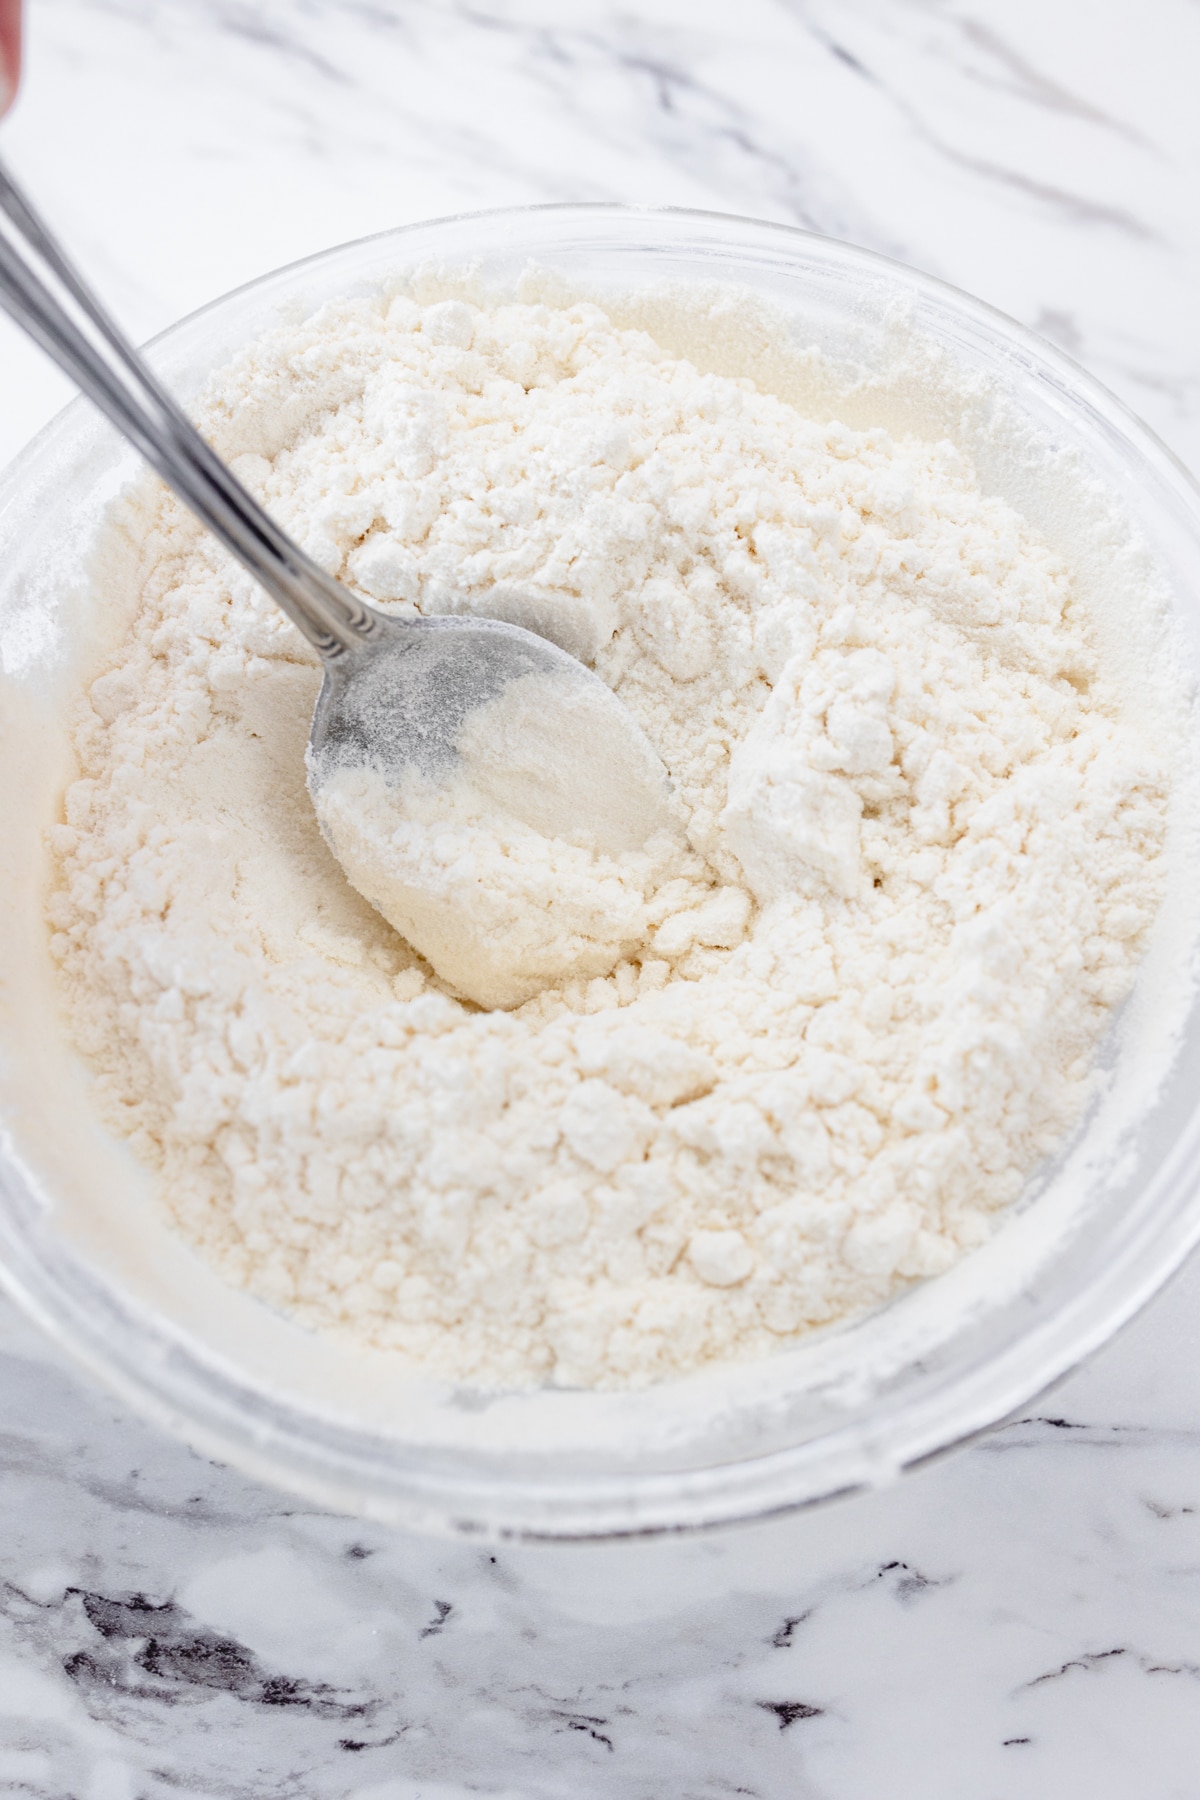
- Measure the flour and place it in a microwave-safe bowl.
- Heat for 30 seconds in the microwave on high power, then stir the flour to even out hot spots within the flour.
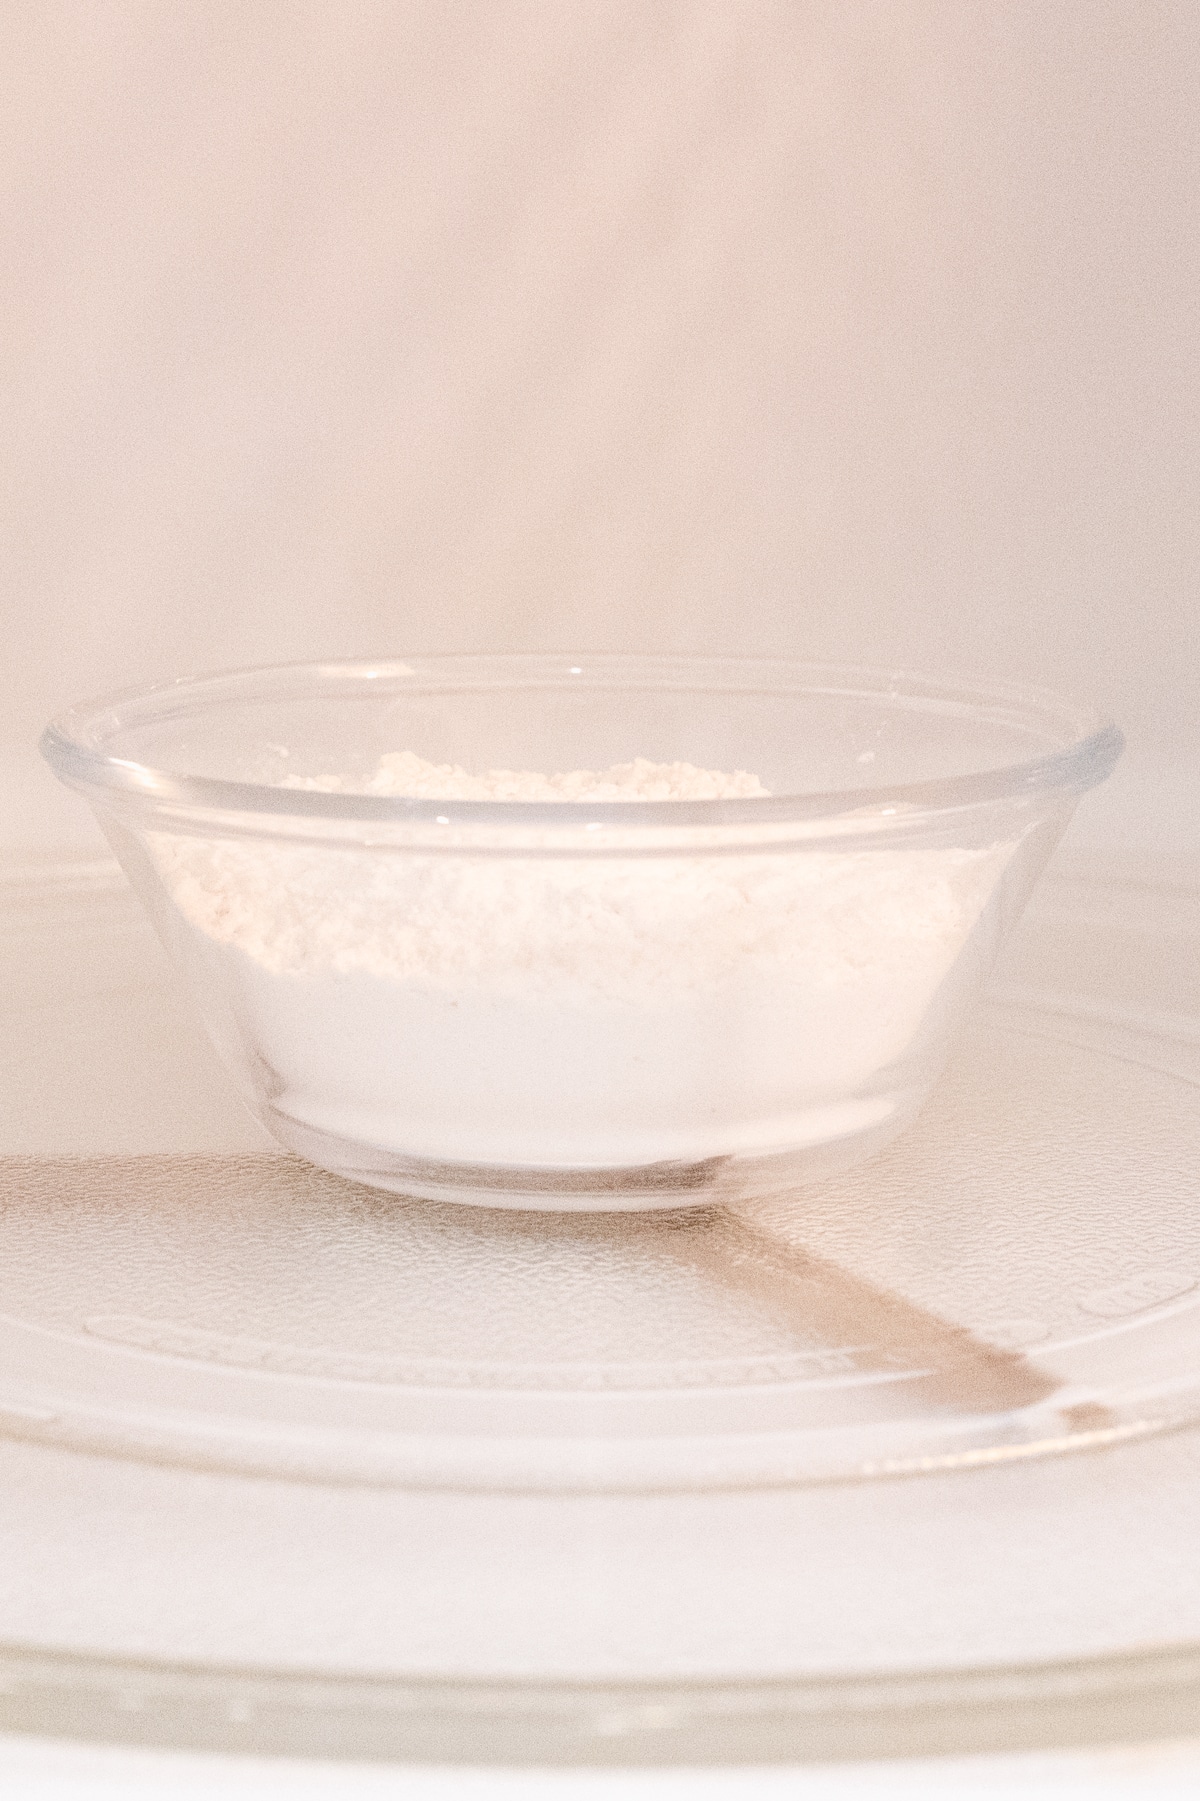
- Heat for an additional 30 seconds on High Power, then stir the flour.
- Using a digital thermometer, measure the internal temperature of the flour. It should be 165 degrees F. If the flour has not reached this temperature then continue to heat in 30-second intervals, stirring and measuring the temperature in between until the desired temperature is reached.

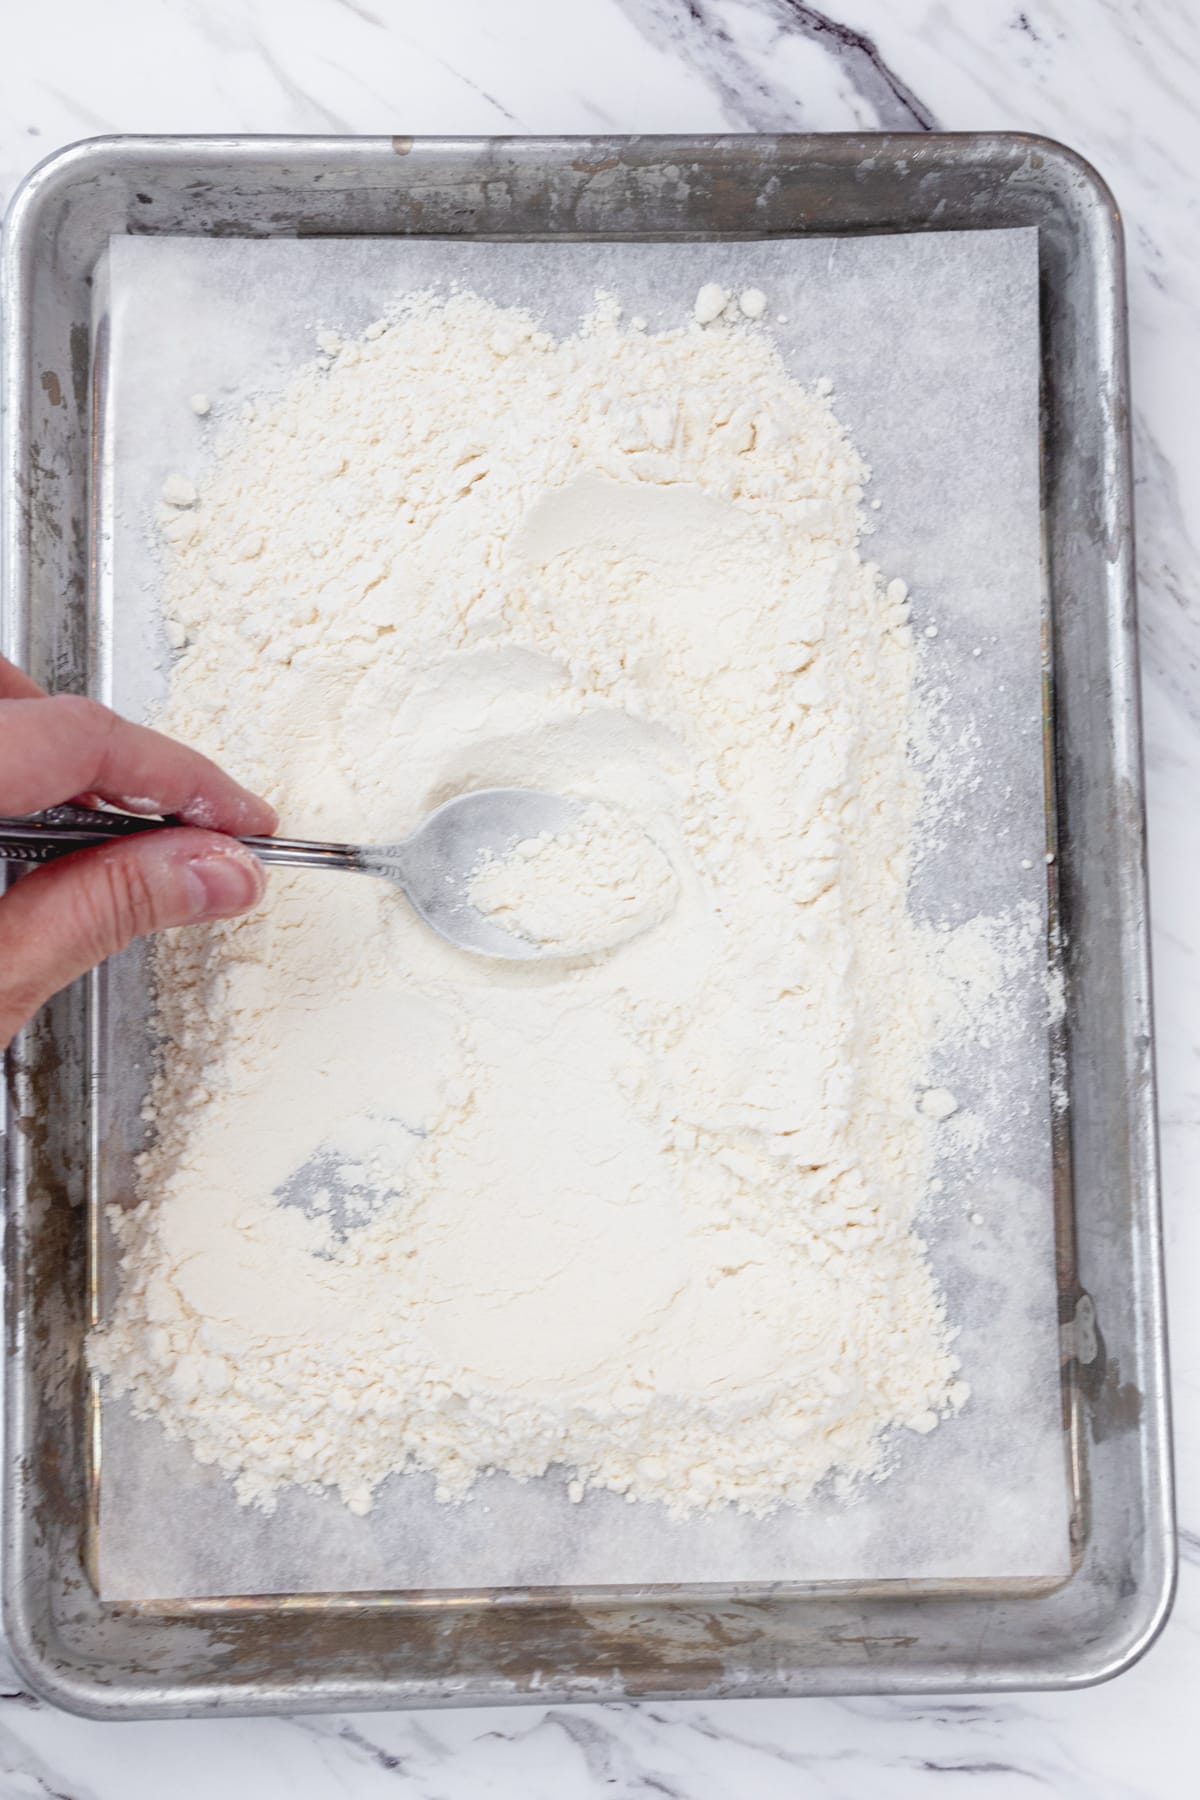
- Pour the bowl of flour out onto a parchment paper-lined baking pan.
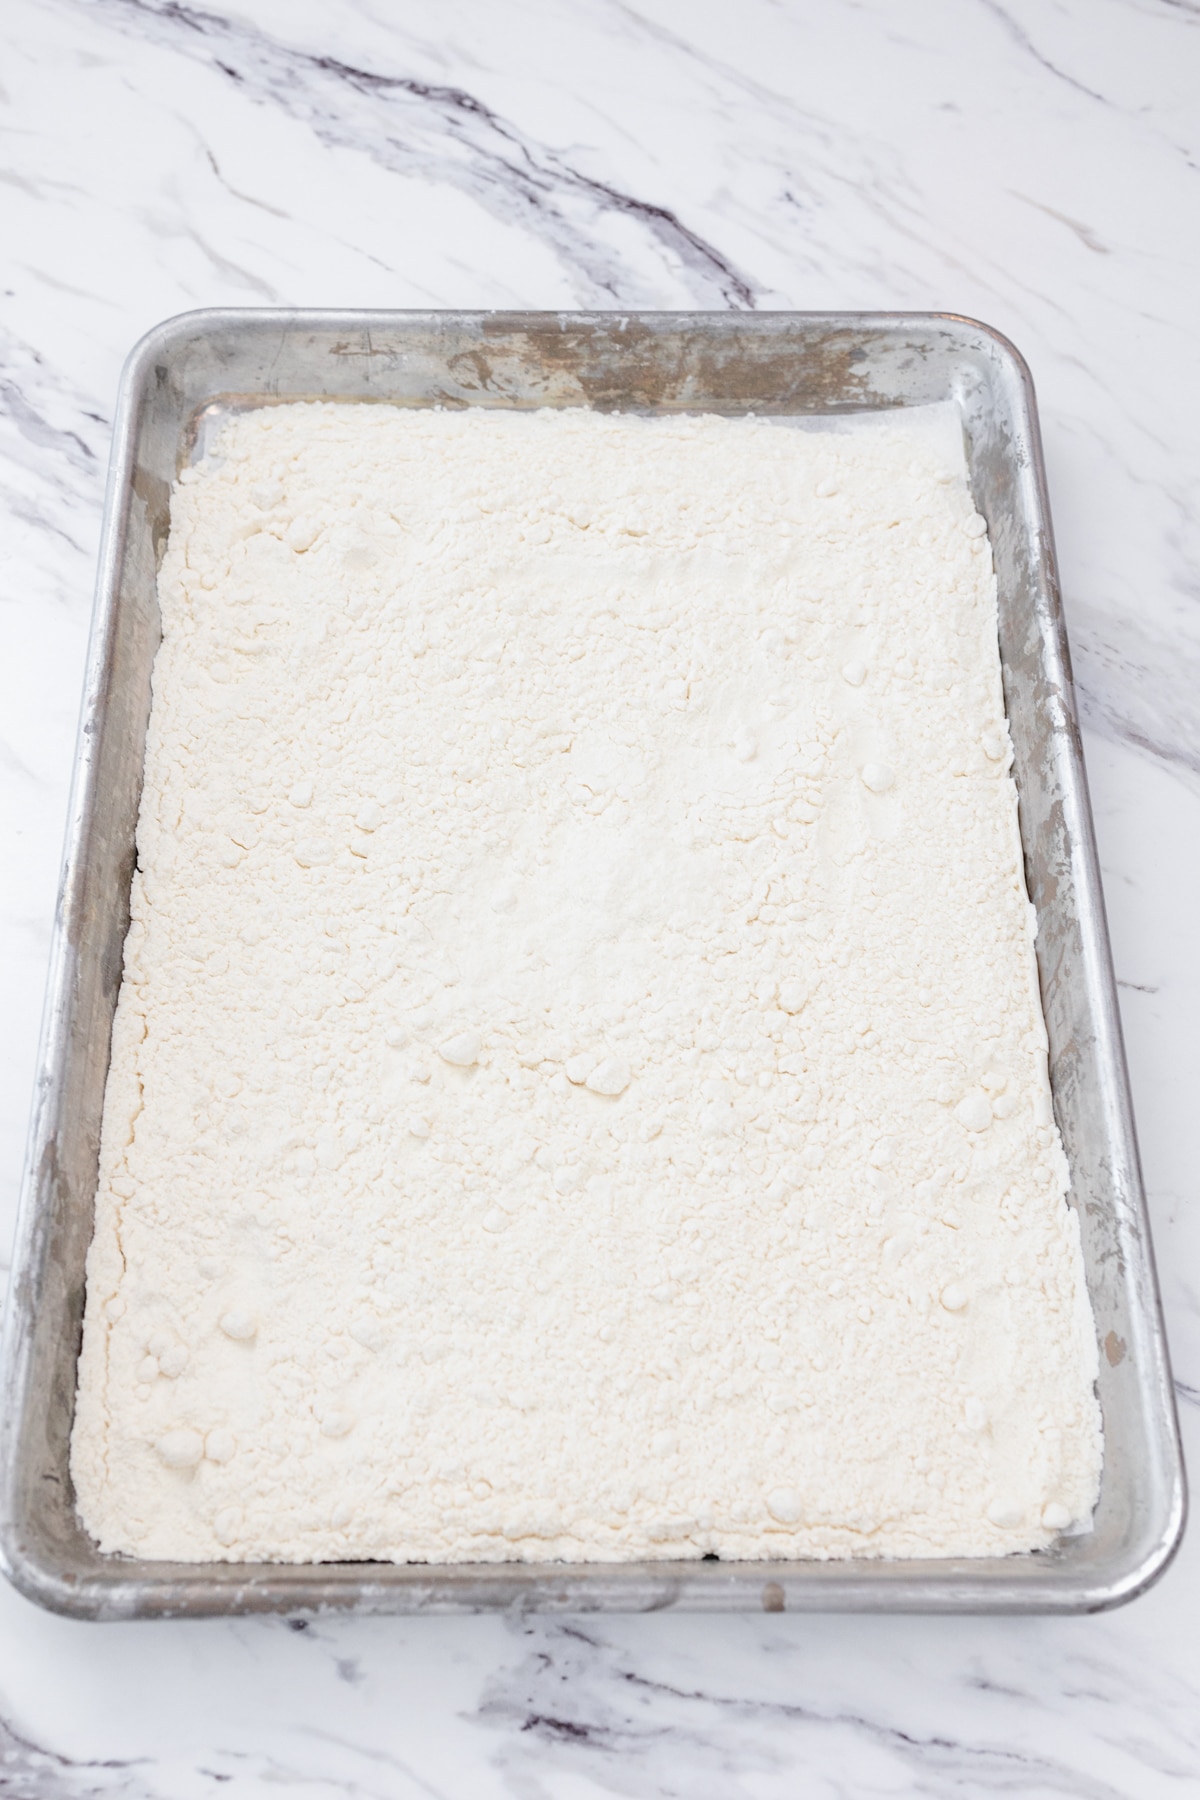
- Spread the flour in a thin layer evenly across the baking tray.

- Allow the flour to cool completely to room temperature.
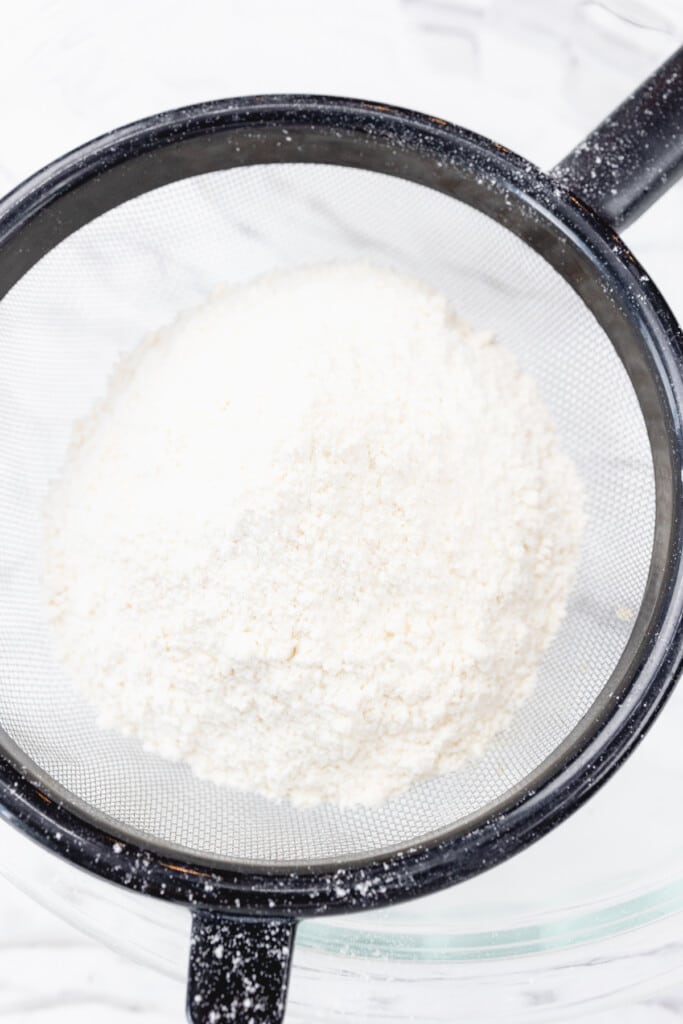
- Once the flour has cooled, carefully pour it into a fine mesh strainer and sift through.

- Make sure to remove or break down any larger pieces of flour.
- Store cooled flour in an air-tight container and use in any no-bake recipe.
How to Heat Treat Flour in Oven
- Measure the flour and place it in a microwave-safe bowl.
- Spread flour on a parchment lined baking sheet evenly to edges for best results.
- Preheat Oven to 350F degrees and place baking sheet of flour in oven for 5-7 minutes.
- Using a digital thermometer test temperature of flour to ensure it's reached 165F degrees. Add additional time if necessary.
- Allow the flour to cool completely to room temperature.
- Once the flour has cooled, carefully pour it into a fine mesh strainer and sift through.
- Store in an airtight container and use in no-bake cookie recipes
FAQs
Yes, the heat-treating process can be applied to gluten-free flours as well.
No, almond flour does not require heat-treating. Oat flour is also free from nuts and doesn't need to be heat-treated but it usually makes the dough a bit stiffer, so use ¾ cup for every 1 cup, adjusting the amount as you need to.
The process is designed to kill off nasty bacteria in the flour without affecting the flavor, so you should find no significant taste difference in recipes using heat-treated flour.
It's important to let the flour cool completely before using it in recipes. Spreading it in a thin layer on the sheet pan will help the flour cool in around 30 minutes. Warm flour can affect the consistency of your dough or batter.
Storage & Freezing
Storage: Store cooled flour in an airtight container or Ziploc bag in a cool and dry place for up to 6-8 months. All-Purpose Flour can often be used past its expiration date, but always check to make sure that the Flour is still good before using it. Flour that has turned may have an unusual smell, color, or perhaps mold.
Substitutions & Variations
- For a gluten-free alternative to All-Purpose Flour, use a gluten-free flour blend that can be heat-treated in the same way as regular flour.
- Since raw eggs pose a risk of salmonella, recipes using heat-treated flour often omit them or use pasteurized egg products for safety. To make any recipe egg-free, consider using applesauce or mashed bananas instead, or try a commercially produced egg replacer you can find at grocery stores.

Pro Tips
Use a Food Thermometer
A digital or instant-read thermometer is the simplest way to ensure your flour reaches the safe temperature of 165°F (74°C), giving you the peace of mind that this is safe flour for consumption without further cooking. This step is crucial and cannot be overlooked, as guessing the temperature could leave harmful bacteria in your flour with an added risk of illness if eaten.
Cooling Flour Properly
After heat-treating, spread the flour in a thin layer on a parchment paper-lined cookie sheet. This very simple step is the easiest way to help the flour cool quickly and evenly, preventing any clumping or cooking from residual heat. If your flour is coming out really clumpy, your microwave might have different spots in it that concentrate heat more than others.
Sift After Cooling
Sifting the cooled flour removes any lumps that may have formed during heat treatment. This step ensures a smooth, consistent texture in your dough or batter, crucial for achieving the best results.
Airtight Containers
Storing your heat-treated flour in an airtight container keeps it fresh and prevents contamination. If you've gone through the effort of heat treating, proper storage prolongs the flour's usability.
Quality Ingredients Matter
For the best-tasting edible cookie dough or any baking recipe, use high-quality ingredients. Top-notch flour can make a noticeable difference in flavor, as well as fresh, premium chocolate chips, and real vanilla extract.
Have you tried this Microwave Method for How To Heat-Treat Flour?
Let me know what you think of this recipe! Tag @bestcookierecipes on social media so I can see how great your cookies turned out! I would also love to read your comments below. Let me know what you think of these cookies. It really does help!
More Easy No-Bake Recipes
- No-Bake Buckeye Bars Recipe with Chocolate & Peanut Butter
- Birds Nest Cookies No Bake Easter Treats
- No Bake Star Crunch Cookies (a Little Debbie Copycat Snack)
- No Bake Halloween Oreo Eyeball Cookies Made Easy
- Best Easy No Bake Avalanche Cookies Recipe
- Best Nutter Butter Reindeer Cookie Recipe Treat
- Chewy No Bake Cornflake Cookies
- Easy No-Bake Love Bug Oreo Cookies - Valentine's Day

How To Heat Treat Flour
Ingredients
- 2 cups All Purpose Flour
Instructions
How to Heat-Treat Flour in the Microwave
- Measure the flour and place it in a microwave-safe bowl.
- Heat for 30 seconds in the microwave on high power, then stir the flour to even out hot spots within the flour.
- Heat for an additional 30 seconds on High Power, then stir the flour.
- Using a digital thermometer, measure the internal temperature of the flour. It should be 165 degrees F. If the flour has not reached this temperature then continue to heat in 30-second intervals, stirring and measuring the temperature in between until the desired temperature is reached.
- Pour the bowl of flour out onto a parchment paper-lined baking pan.
- Spread the flour in a thin layer evenly across the baking tray.
- Allow the flour to cool completely to room temperature.
- Once the flour has cooled, carefully pour it into a fine mesh strainer and sift through.
- Make sure to remove or break down any larger pieces of flour.
- Store cooled flour in an air-tight container and use in any no-bake recipe.
How to Heat Treat Flour in Oven
- Measure the flour and place it in a microwave-safe bowl.
- Pour the bowl of flour out onto a parchment paper-lined baking pan. pread the flour in a thin layer evenly across the baking tray.
- Bake at 350F degrees for 5-7 minutes. Check flour using a digital thermometer to reach 165F degrees.
- Allow the flour to cool completely to room temperature.
- Once the flour has cooled, carefully pour it into a fine mesh strainer and sift through. This helps break up any clumps that form.
- Store cooled flour in an air-tight container and use in any no-bake recipe.
Notes
Storage
- Store: Store cooled flour in an airtight container or Ziploc bag in a cool and dry place for up to 6-8 months (although it may last longer).
Submit a Comment