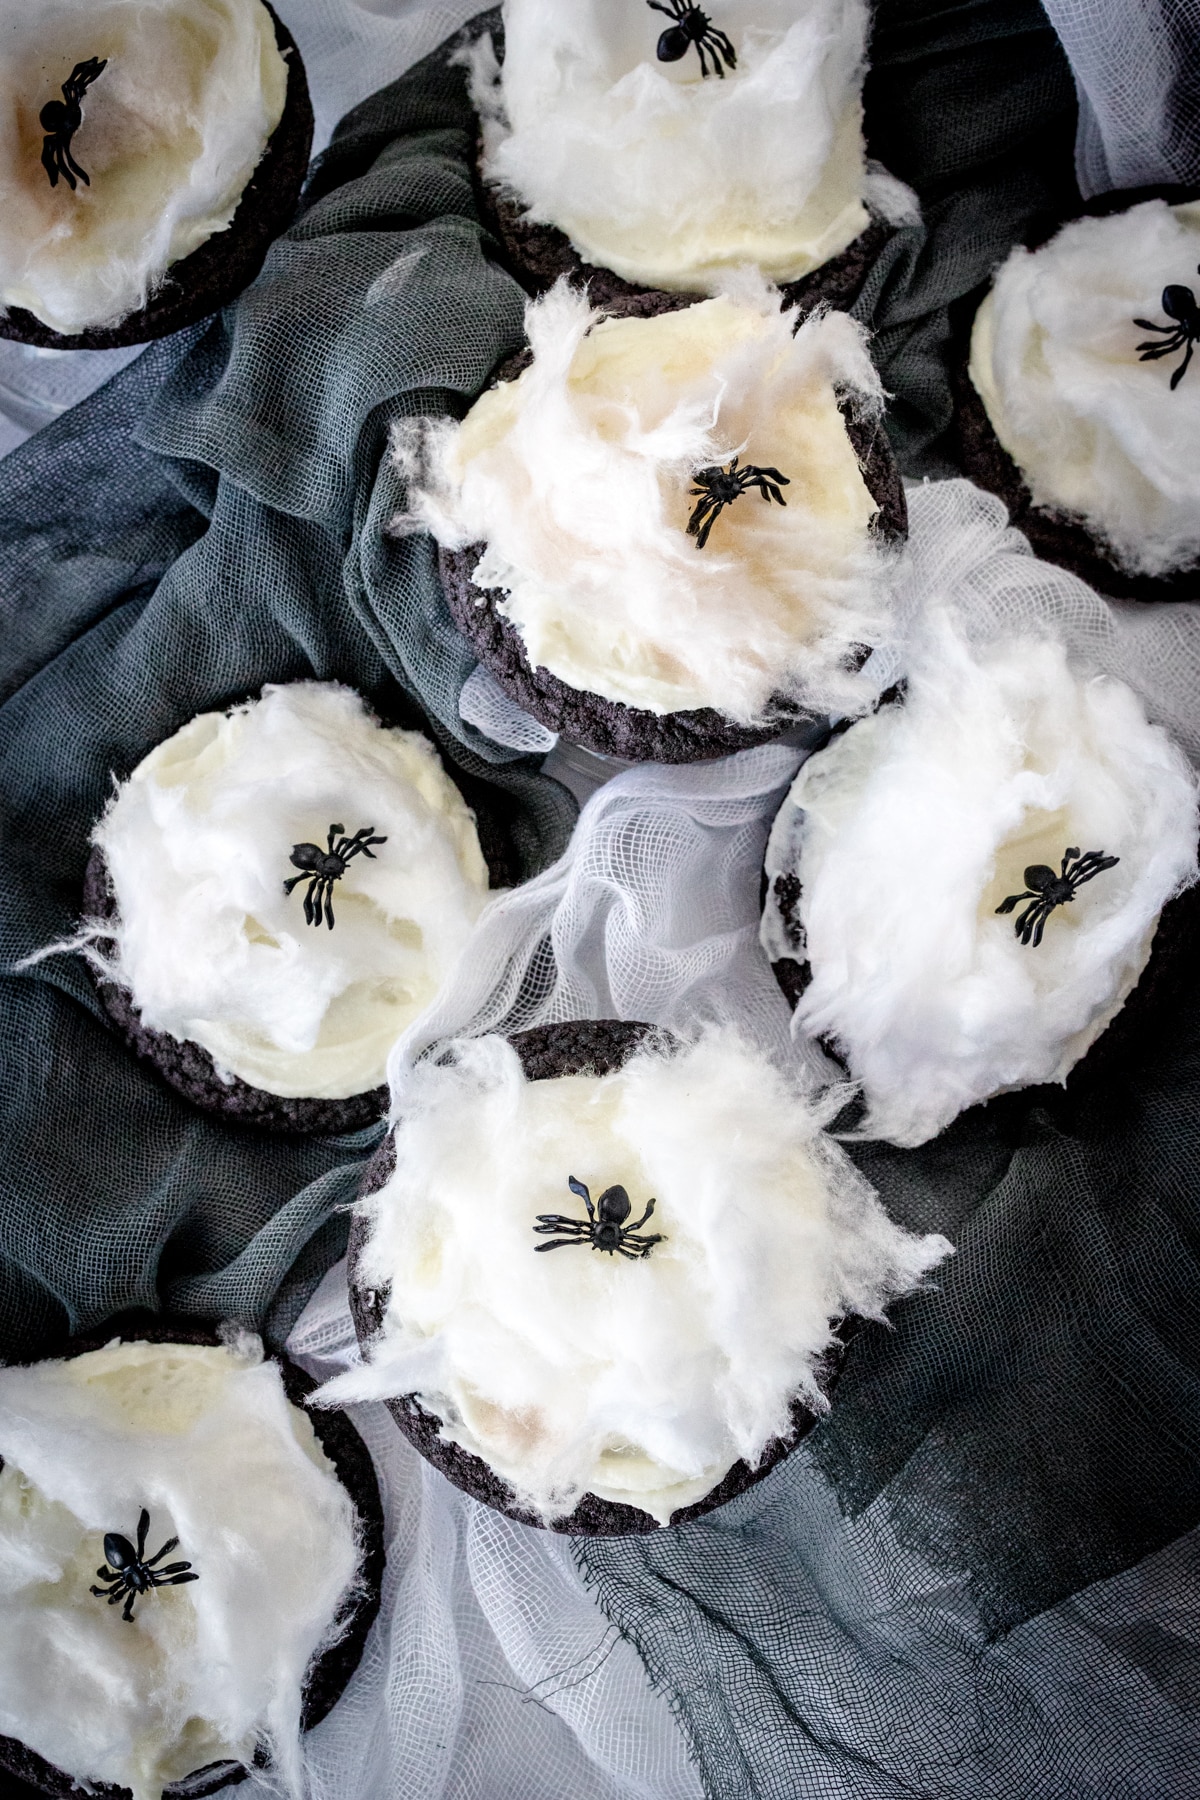
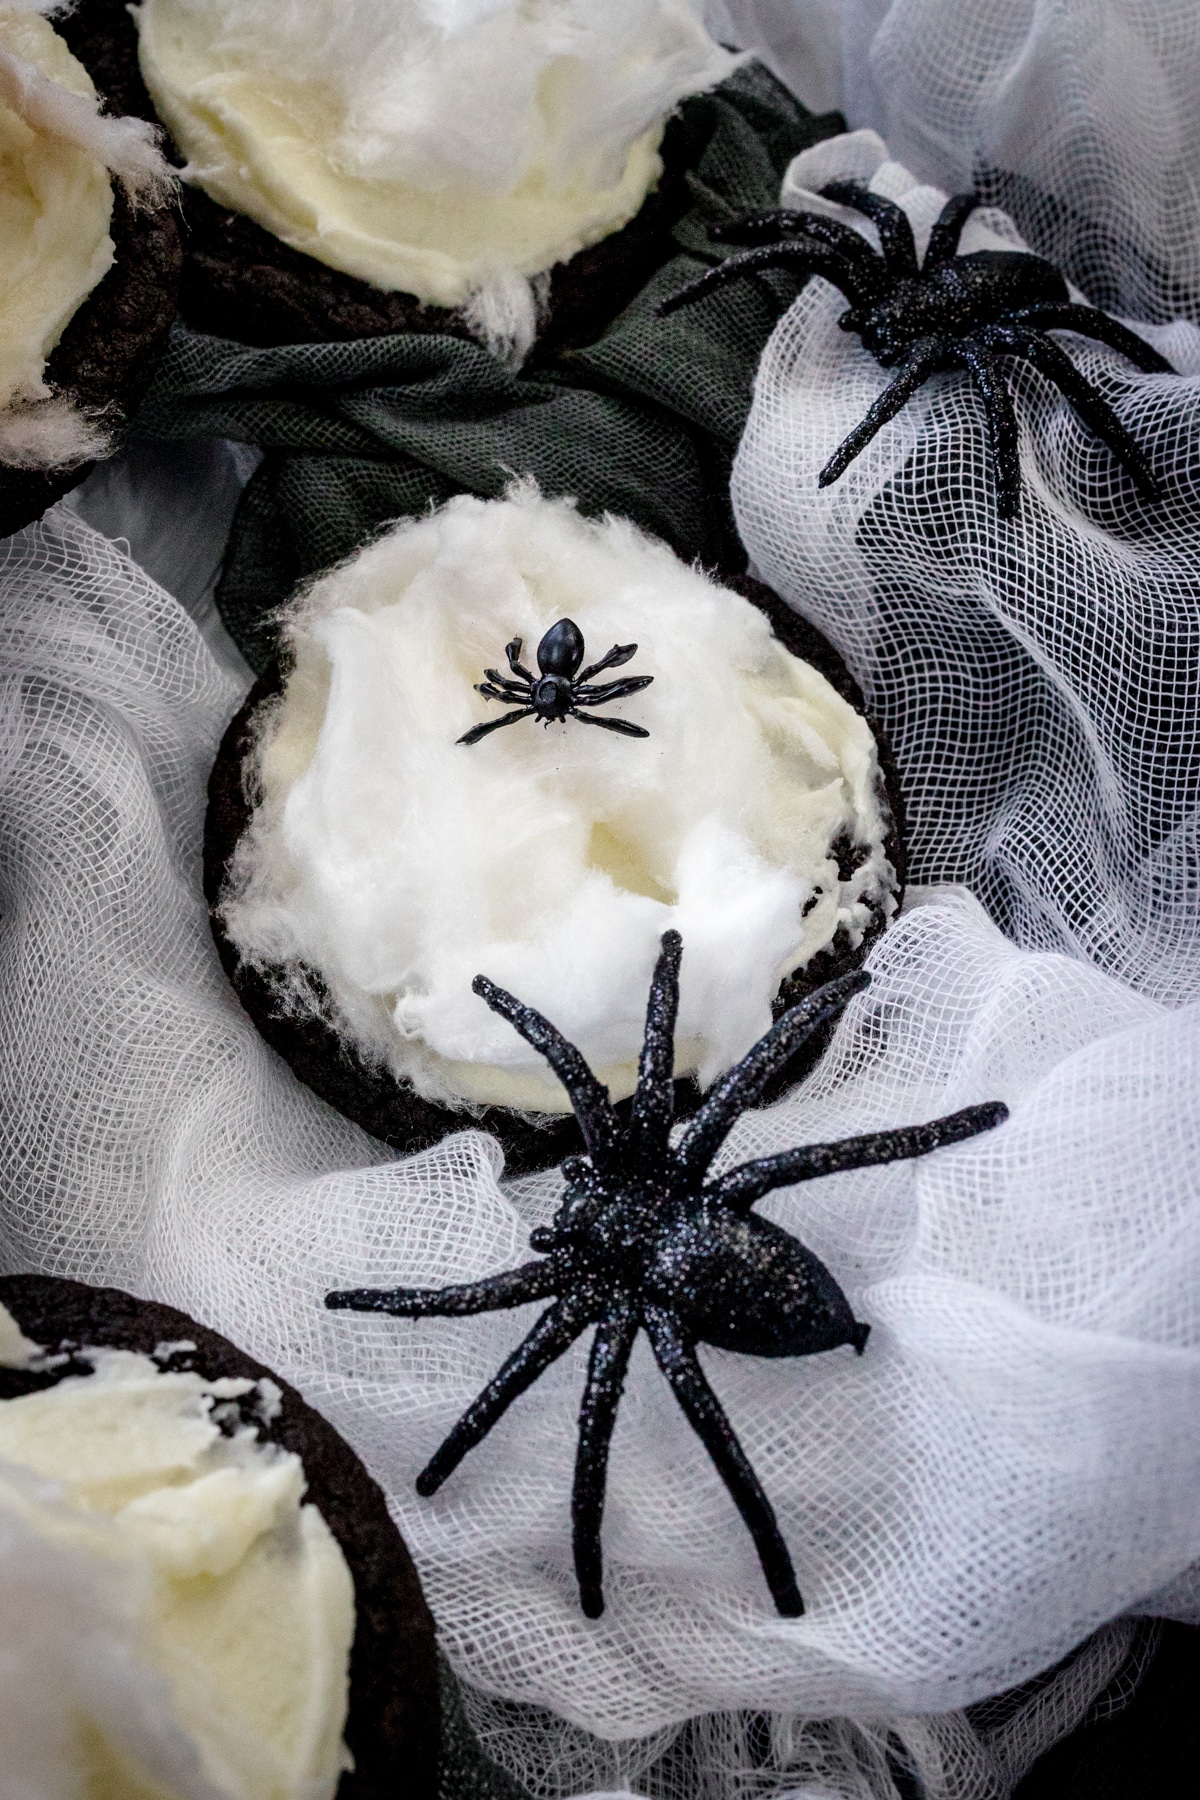
Spooky Spider Web Cookies perfectly capture the Halloween spirit! With a delicious chocolate cookie base, they're topped with vanilla buttercream frosting and white candy floss for a web with a creepy crawly spider on top!
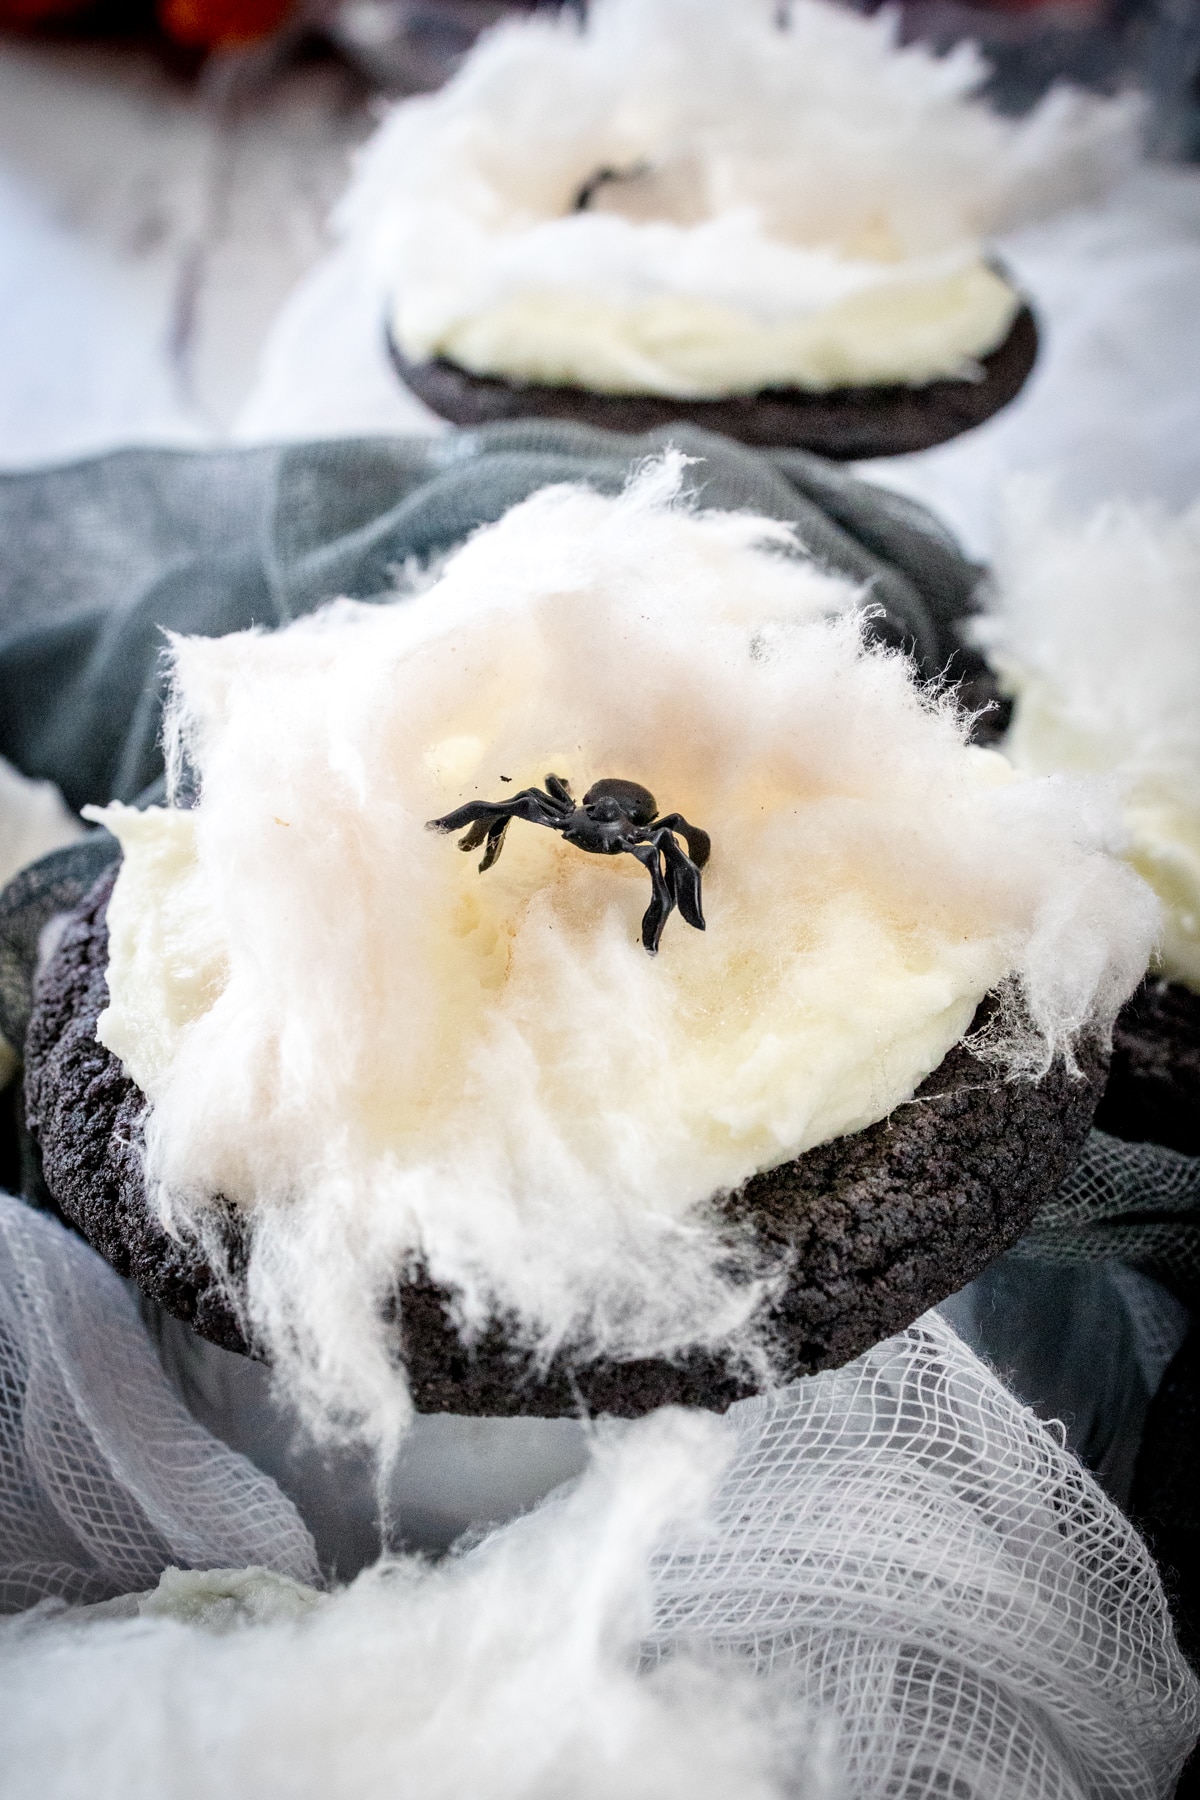
Halloween is all about fun, and what could be more fun than baking cookies with a spooky twist?
These Spider Web Halloween Cookies are one of my favorites to date.
Not only are they chewy, chocolatey, and topped with frosting, but they also have cotton candy on them!
With a simple chocolate cookie recipe and other basic ingredients you can find at most grocery stores, you won't be spending hours in the kitchen.
Kids will LOVE helping you make these cookies, and you can easily change things up to make them your own.
If spiders are too creepy crawly for you, choose Halloween character candies instead, like ghosts, mummies, pumpkins, or witches!
These Halloween treats will be a huge hit at your next Halloween party.
For more fun Halloween Cookie recipes, try my Witches Broom Cookies, Halloween M&M Cookies, No Bake Halloween Oreo Eyeball Cookies, Sally Stitches Cookies, or these Gideon's Bakehouse Copycat Frankenstein Cookies!
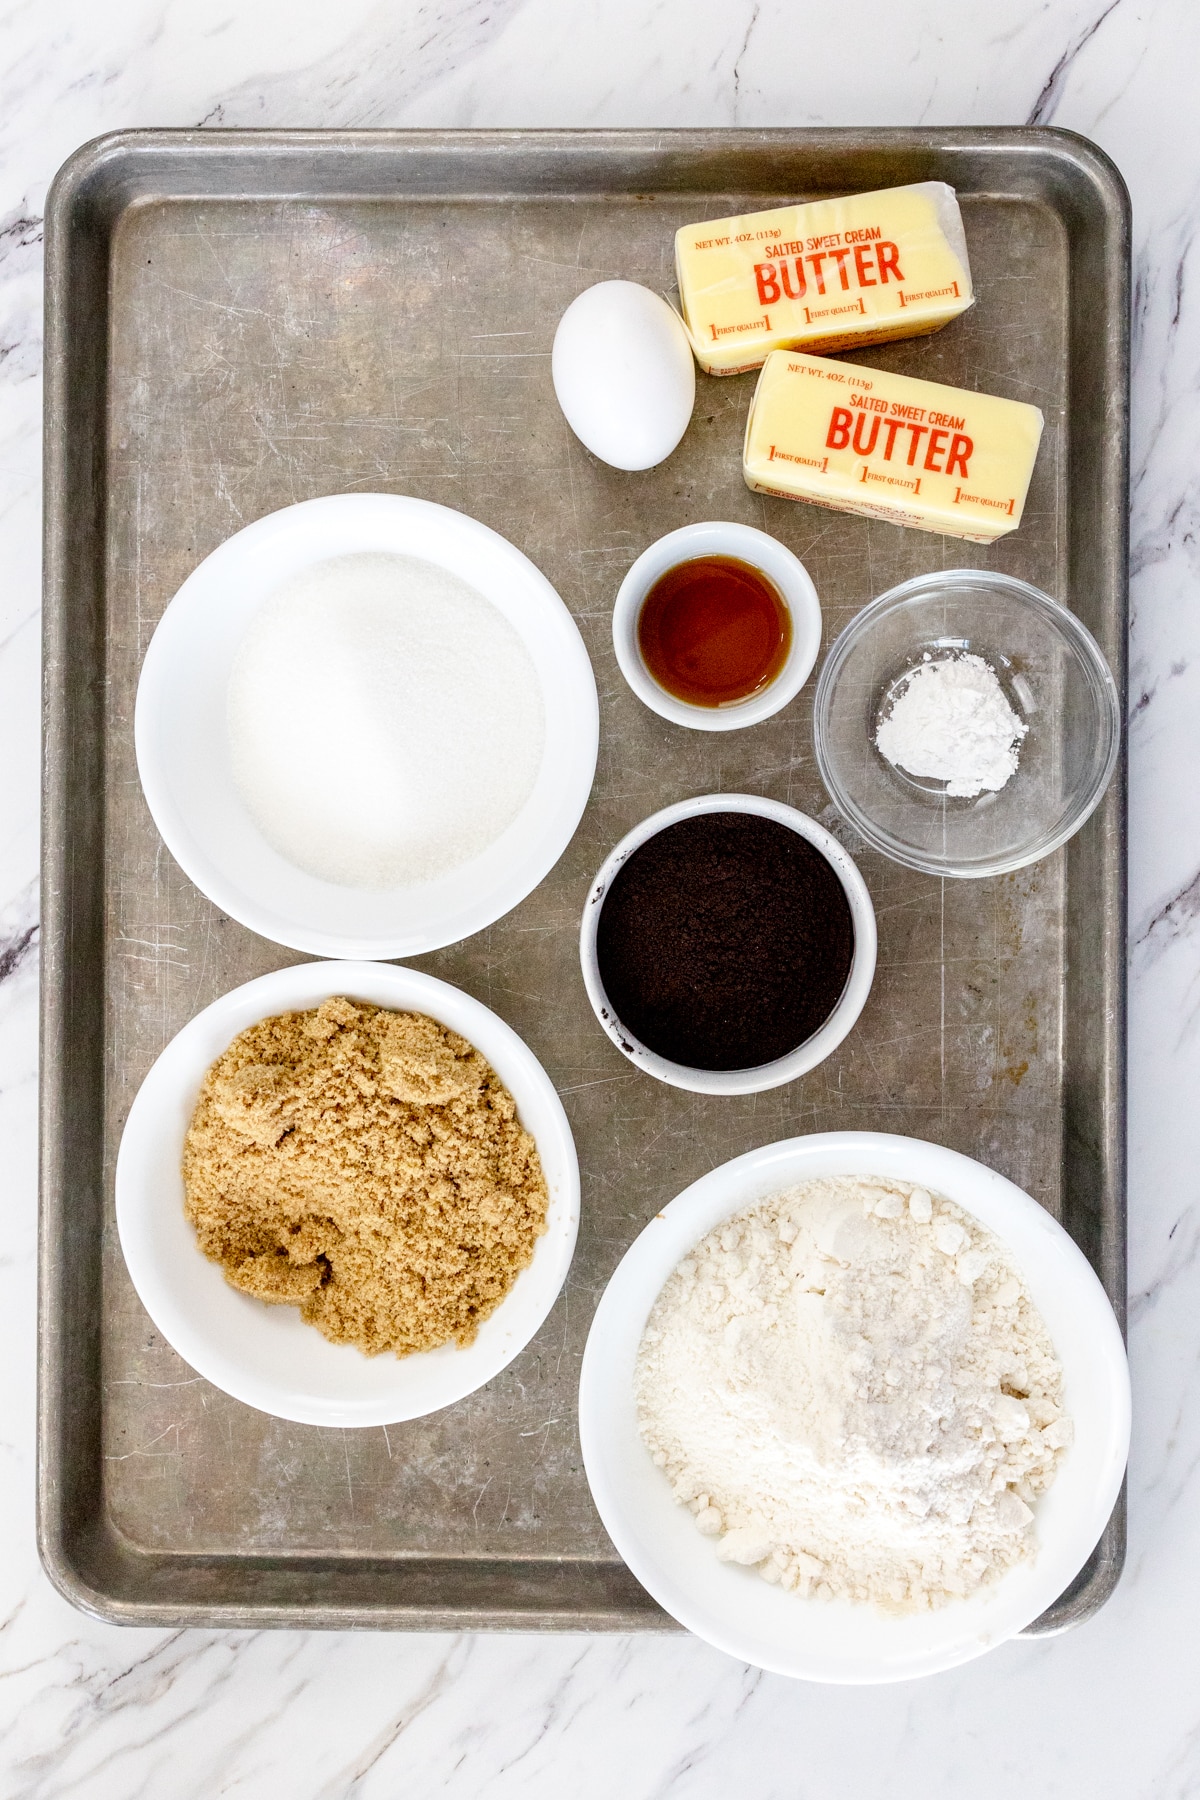
Ingredients for Halloween Spider Web Cookies
- Wet Ingredients. Butter, Clear Vanilla Extract, Egg, Milk
- Dry Ingredients. All Purpose Flour, Granulated Sugar, Brown Sugar, Powdered Sugar, Baking Powder, Black Cocoa Powder
- Decoration. Cotton Candy, Candy Spiders or Plastic Spiders
How to Make Easy Spider Web Cookies
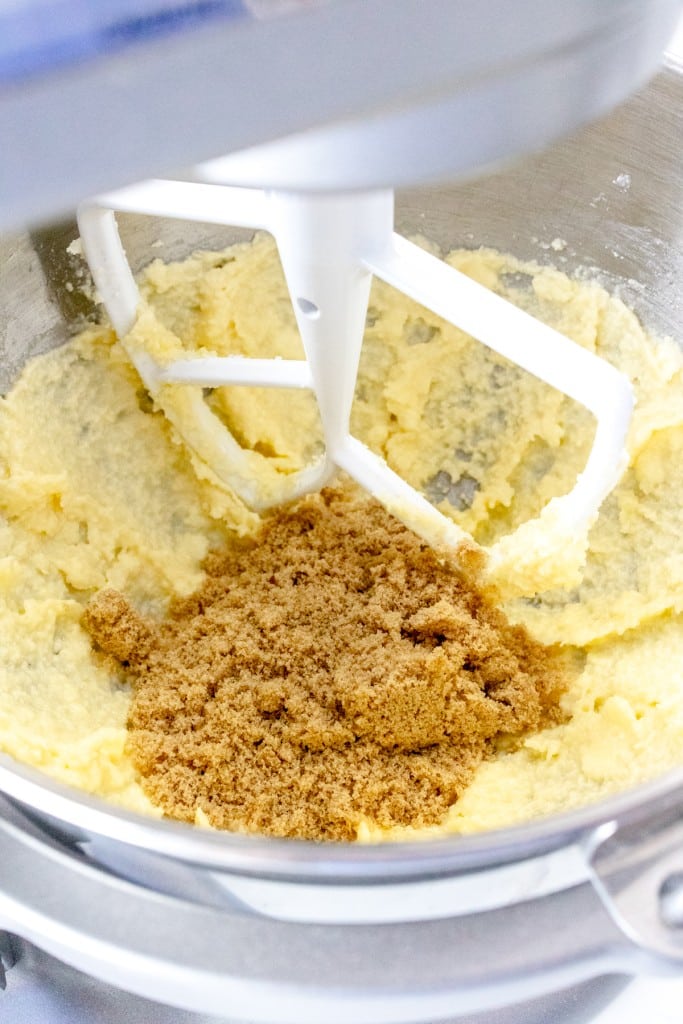
- Preheat the oven to 350 degrees F. Line two cookie sheets with parchment paper or use a silicone baking mat. Cream softened Butter with Granulated Sugar until light and fluffy. This will take about 2–3 minutes with an electric mixer. Continue to cream, adding brown sugar to the butter mixture, and cream for 2–3 more minutes.
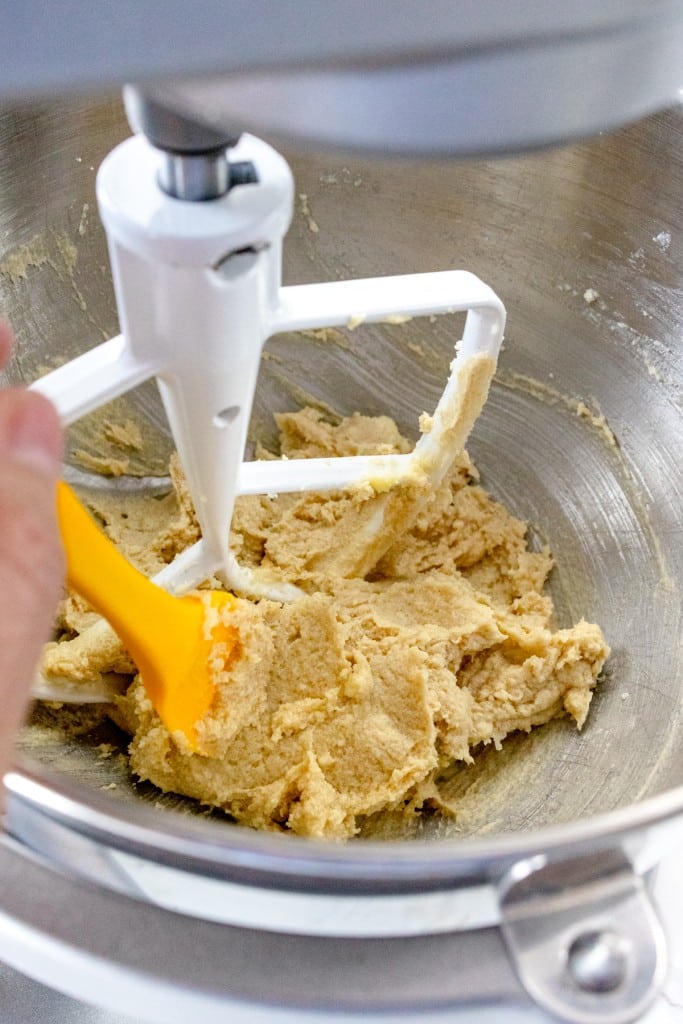
- Add the Egg and Vanilla Extract and combine the ingredients together. The mixture should be light and fluffy. Add All-Purpose Flour, and Baking Powder. Ensure you scrape the sides of the bowl down with a rubber spatula as needed to include all ingredients.
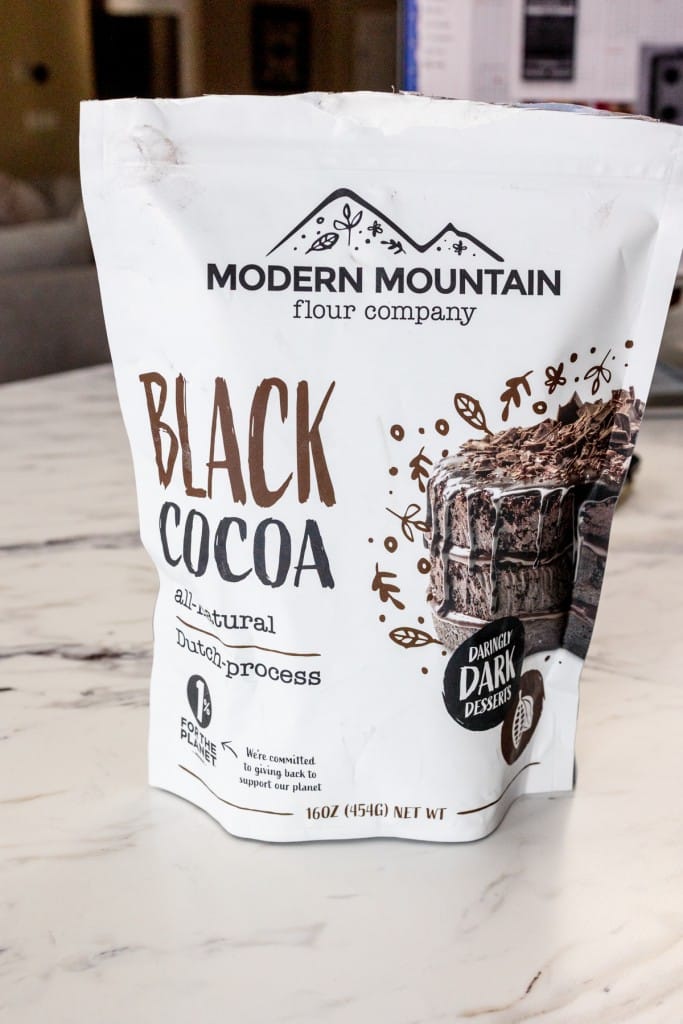
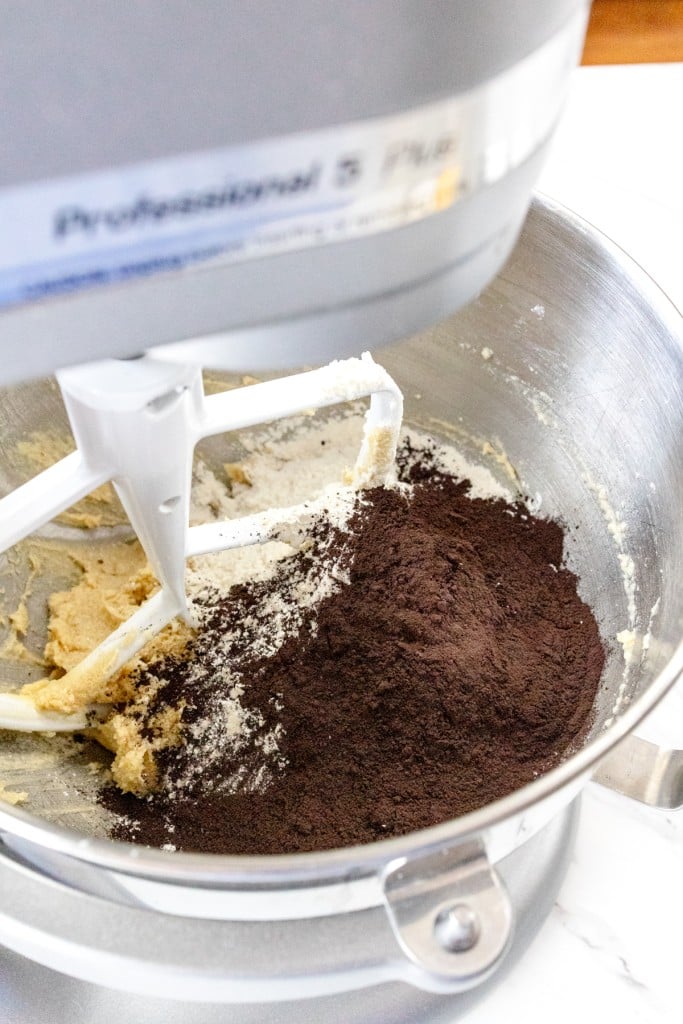
- Add the Black Cocoa Powder and combine. Do not overmix.
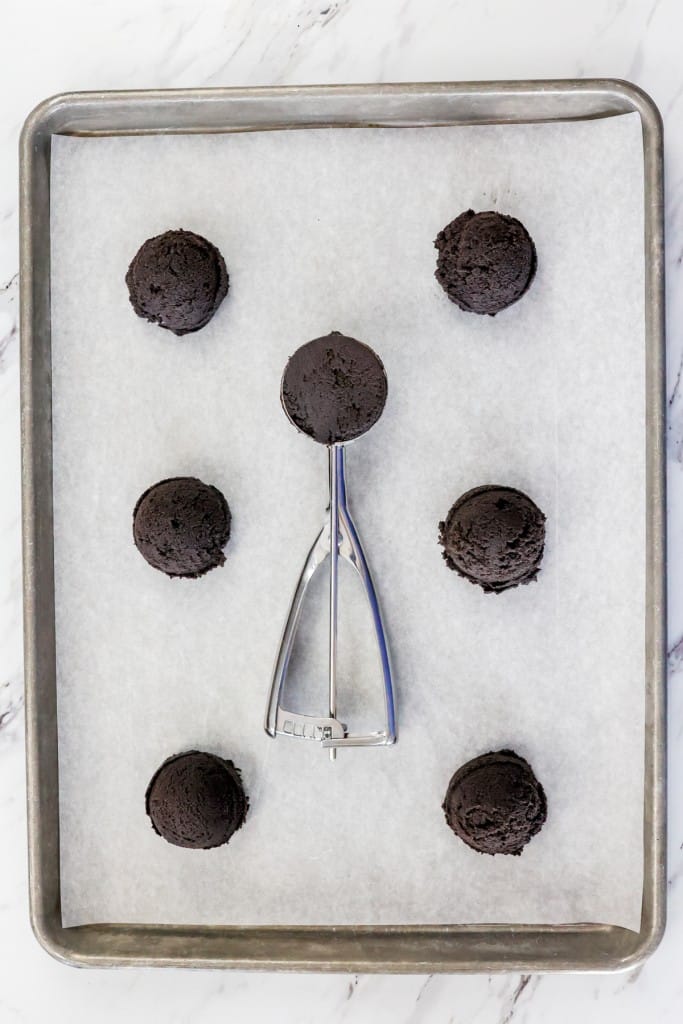
- Using a size #24 cookie scoop, or about 3 tablespoons, scoop cookie dough and place on a cookie sheet, allowing at least 2 inches apart for baking.
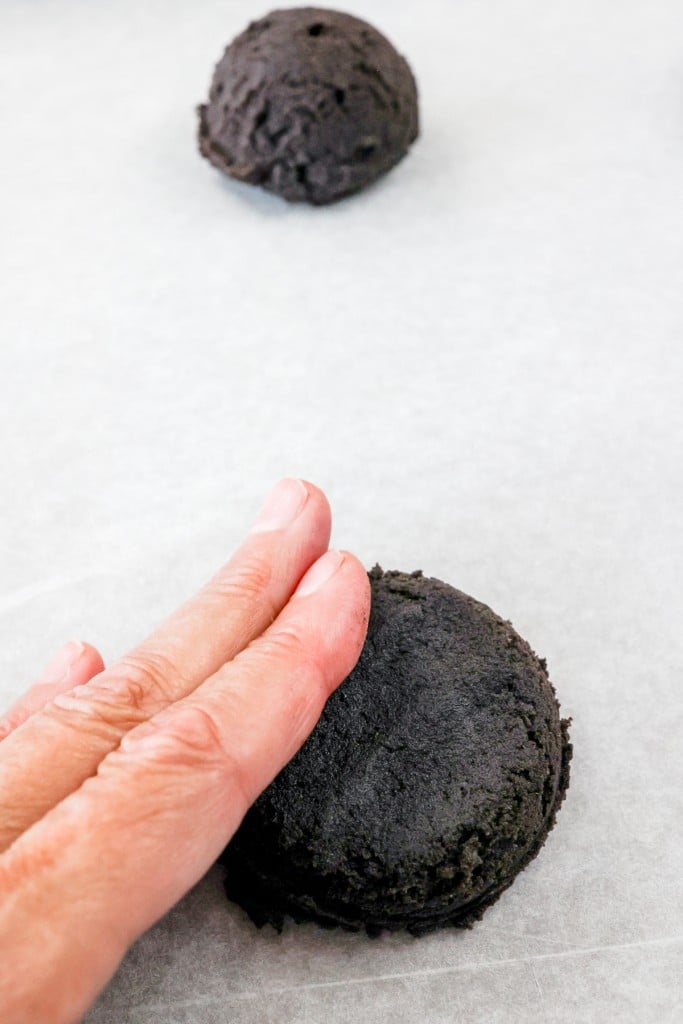
- Lightly press the cookie dough balls down with your fingers. Bake in a preheated 350-degree F oven for 8–10 minutes, or until the edges are set and the center is no longer glossy.
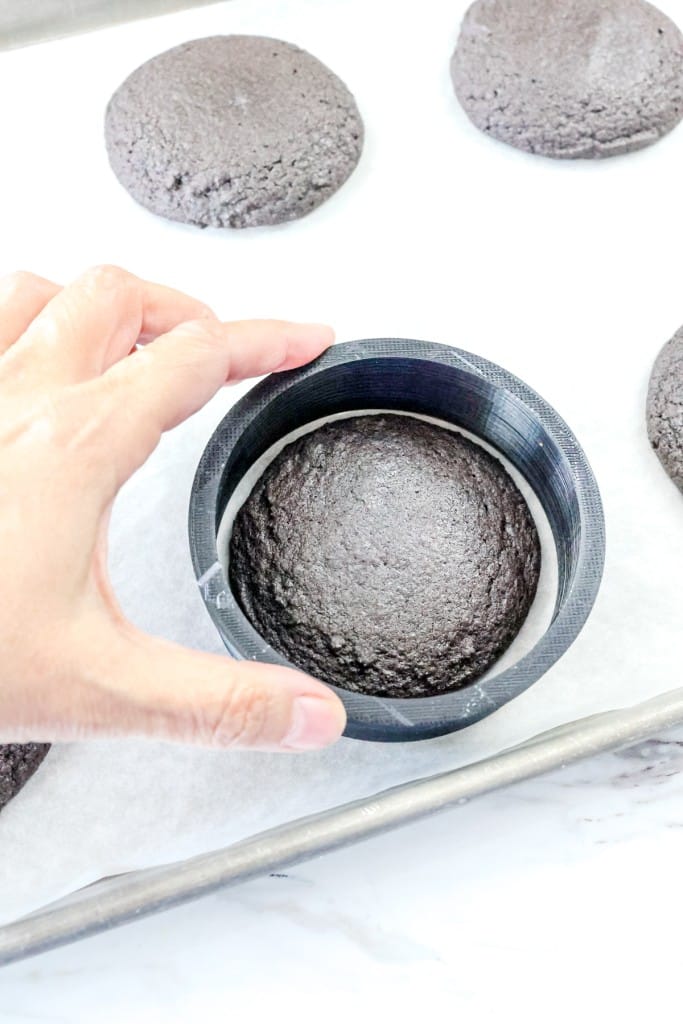
- To create round cookies, use a large circle cookie cutter and place it around one of the cookies while still hot, straight out of the oven. Swirl the cookie cutter around the hot cookie to shape it, forming a perfect circle. Repeat with the remaining cookies while hot. Allow the cookies to cool on the baking sheet for a few minutes before moving to a wire cooling rack.
- In a large mixing bowl, combine softened Butter with Powdered Sugar and Vanilla Extract and mix until combined. The mixture will be thick. Gradually add Milk, 1 tablespoon at a time, until the desired consistency is reached. Frosting should be thick and sticky but not runny.
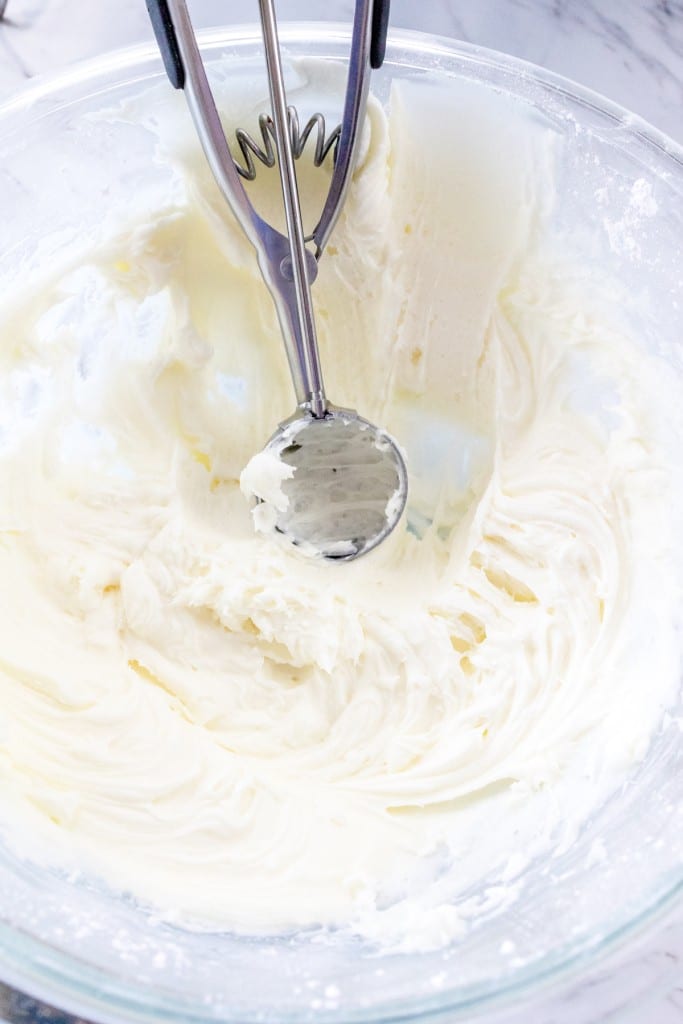
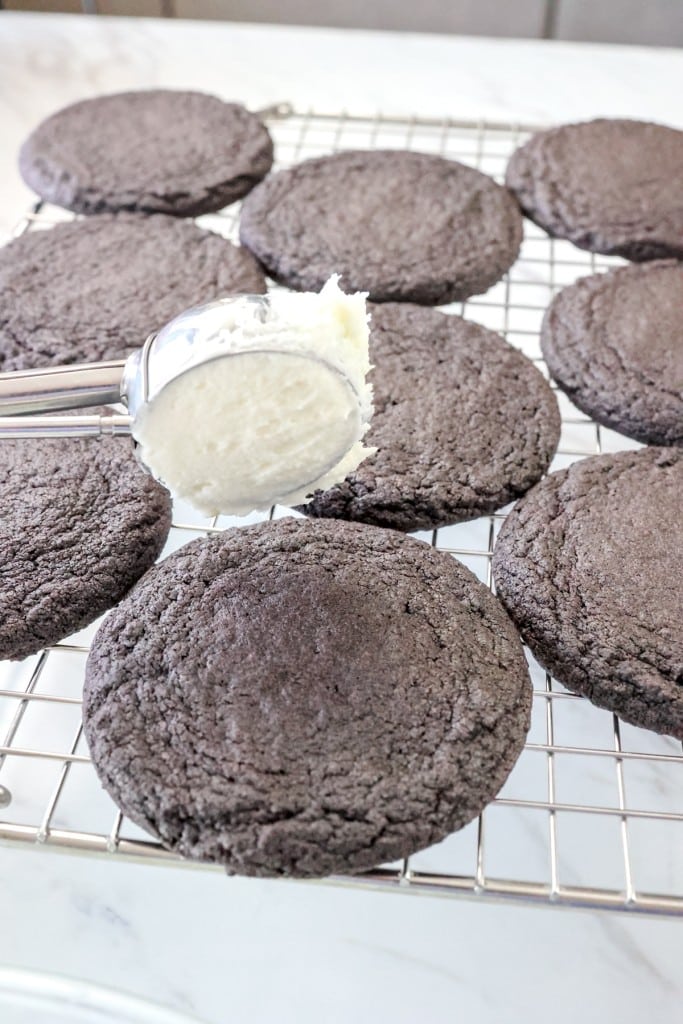
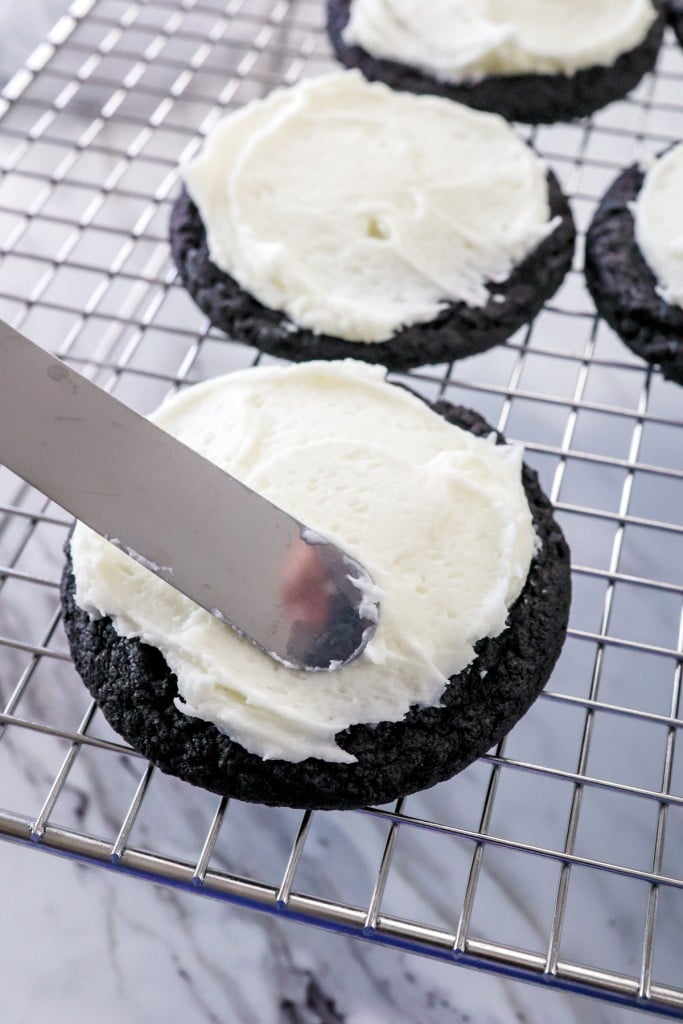
- Scoop a tablespoon or more of frosting using a cookie scoop if you have it.
- Put the frosting on the cooled cookies and spread it evenly.
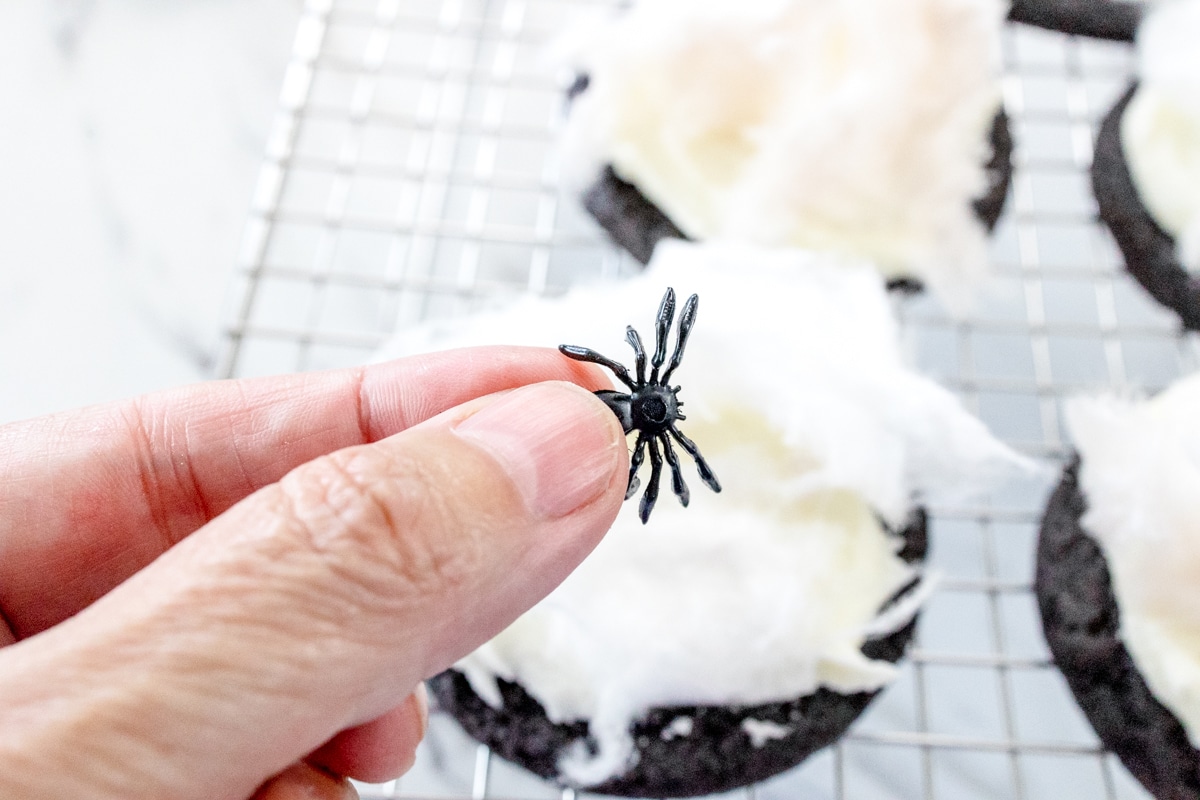
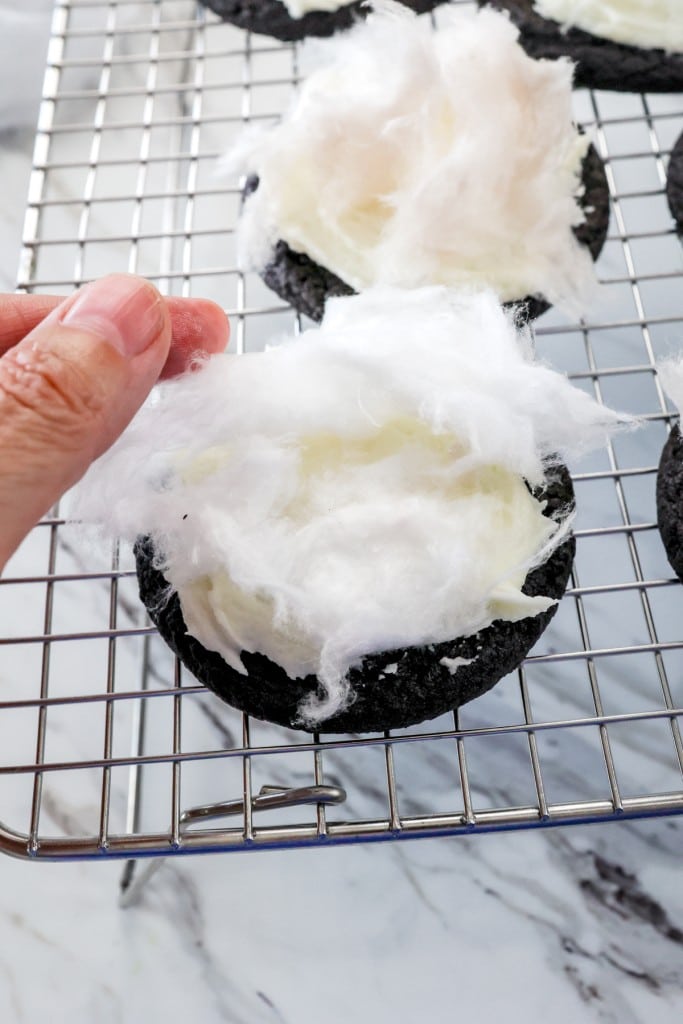
- Top it with a tuft of cotton candy, making a spider web.
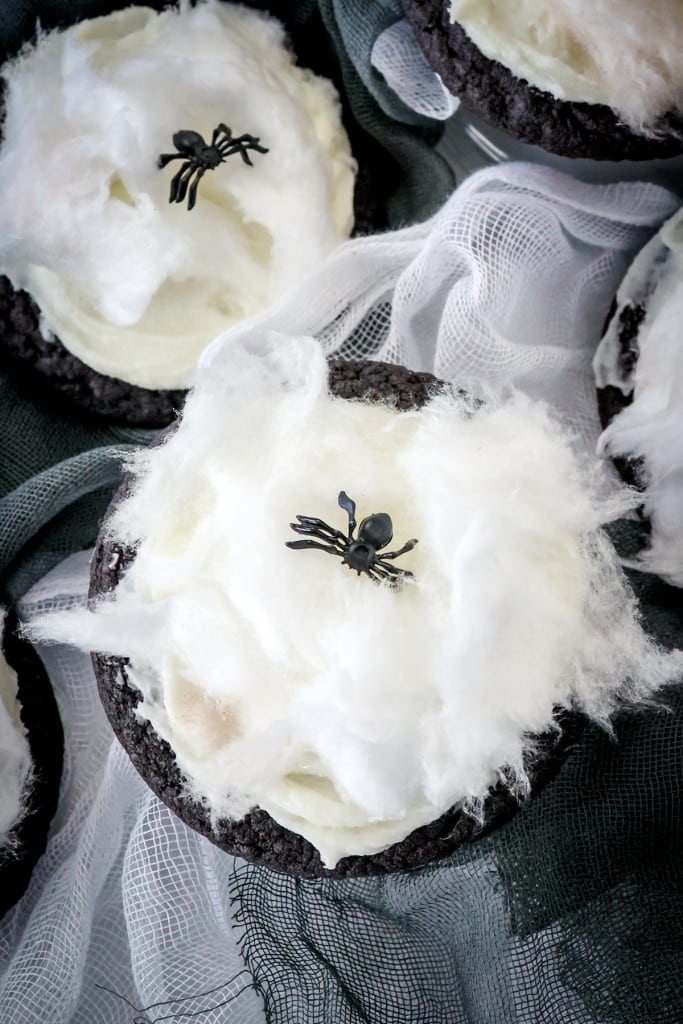
- Add a Halloween candy spider or a plastic spider to the web for visual appeal! NOTE: Do Not Eat plastic spiders.
FAQs
Clear Vanilla Extract is colorless, so I've used it mainly to keep the buttercream frosting as white as possible to match the white candy floss. Regular vanilla extract can be substituted for clear vanilla extract if needed - there will be a slight color change from the traditional extract but it won't affect the taste. You can use beige candy floss if you can find it to better match the frosting.
Use white icing, a melted marshmallow mix, or melted white chocolate chips in a piping bag with a very tiny hole in the corner to create a web pattern on the top of the cookies. Simply start from the center point and draw straight lines outward, then connect them with curved lines to mimic a spider web. You could make a black web with black icing or melted dark chocolate or dark chocolate ganache if you prefer.
Storage & Freezing
Store: Store your cookies once they have cooled to room temperature in an airtight container until you're ready to decorate them. Cotton candy tends to melt on the frosting over time and loses it's visual appeal, so it's best to decorate them fresh before serving them. The cookies will last well at room temperature after decoration for up to 5 days from being freshly baked.
Freeze: These cookies can easily be made ahead of time and frozen if you're looking to prepare for a Halloween party. Once the cookies have been baked and fully cooled, flash-freeze them in a single layer. Then put them in a freezer-safe container or into freezer bags with parchment paper between each one. Defrost them and add the frosting and decorations before serving.
Substitutions & Variations
- Use a different Cocoa Powder. Black Cocoa Powder will give the cookies their dark, rich color and a deep chocolate taste. You can replace this with regular cocoa powder, but it will yield a lighter color and flavor.
- Try a different cookie base. Use a different type of cookie for the base of these spooky cookies. Try a plain Sugar Cookie Recipe for a lighter flavor, or Texas Sheetcake Cookies or Chocolate Rolo Cookies for more chocolate!
- Add different colors. For best results, make the color of you cotton candy the same color as the buttercream frosting.
- Use other toppings. Top your cookies with a dark chocolate ganache and add a white web on top if you prefer a darker background, or use a cream cheese frosting if you prefer the flavor.
Pro Tips
What are the qualities of a good cookie? Should it be soft and chewy with crispy edges? Here are some pro tips for making perfect cookies every time.
Weighing Ingredients.
Baking is a science and adding too much or too little of any of the ingredients will alter the recipe. Weighing and measuring dry ingredients properly makes a world of difference. Investing in a kitchen scale is ideal. When a kitchen scale is not available, make sure to stir and lift ingredients before scooping them into a measuring cup.
| Volume | Ounces | Grams | |
| All Purpose Flour | 1 Cup | 4½ Ounces | 120 Grams |
| Bread Flour | 1 Cup | 4½ Ounces | 120 Grams |
| Granulated Sugar | 1 Cup | 7 Ounces | 200 Grams |
| Brown Sugar | 1 Cup | 7½ Ounces | 213 Grams |
| Confectionary Sugar | 1 Cup | 4 Ounces | 113 Grams |
Don't Overmix.
For a perfect, chewy cookie, make sure not to overmix the dough once you've added the all-purpose flour. Overmixing can develop the gluten too much, leading to cookies that are tough rather than tender. When you mix, go until the ingredients are just combined.
Baking Time.
Every oven heats a little differently. I recommend doing a test batch of 1-3 cookies to test the baking time for a perfectly baked cookie before baking the remaining dough.
Perfectly Round Cookies.
The trick to making perfectly round cookies starts with using a cookie scoop so each cookie has the same amount of cookie dough. This helps with baking. Once out of the oven, place a larger circle cookie cutter around the hot cookie. Gently swirl the cookie cutter around the hot cookie to gently shape the cookie.
Frosting Cookies.
If you're using the buttercream frosting, ensure that the cookies are completely cooled before application. Warm cookies will cause the frosting to melt and spread. For an extra touch of Halloween spirit, consider adding black food coloring to a portion of your buttercream and piping on cute or spooky spider designs.
Cooling Rack.
Allow cookies to cool on the baking sheet for a minute or two before moving them to a cooling rack to cool completely.
- Kitchen Scale. I use this for accuracy in measuring, and it's a lifesaver when it comes to consistent baking.
- Wire Rack for cooling cookies. I like to have at least two cooling racks.
- Mixing Bowls. A Large Mixing Bowl for mixing ingredients and small and medium mixing bowls for other ingredients.
- Cookie Sheet. Most recipes will take two batches to bake. It's great to have multiple baking sheets available.
- Parchment Paper or Silicone Baking Mat. Line the Cookie Sheet with parchment paper for easy cleanup and to prevent sticking.
- Cookie Scoop. A small #60 Cookie Scoop or a Medium Cookie Scoop #50 are great choices for uniform drops of cookie dough.
- Storage Container. An Airtight Container to store cookies or a Ziploc Bag works great too.
- Additional supplies. Measuring Cups and Measuring Spoons along with a silicone spatula, are all helpful.
To find out more, check out my Pro Tips Guide for making the best cookies every time!
Have you tried this cute Spider Webs Cookies recipe?
Let me know what you think of these spooky yet delicious chocolate spider web cookies! Tag @bestcookierecipes on social media so I can see how great your cookies turned out! I would also love to read your comments below. Let me know what you think of these cookies. It really does help!
More Halloween Cookie Recipes
- Easy Witches Hat Cookies
- Ghost Nutter Butter No Bake Cookies
- Frankenstein Face Cookies with Peanut Butter Cups
- Fun Halloween Pumpkin Sugar Cookies
- Candy Corn Cookies with White Chocolate Chips
Spider Web Cookies
Ingredients
Chocolate Cookies
- ⅔ cup Butter softened
- ½ cup Brown Sugar 106g
- ½ cup Granulated Sugar 100g
- 1 Egg Large
- 1 teaspoon Vanilla Extract
- 1½ cups All-Purpose Flour 180g
- ⅓ cup Black Cocoa Powder 35g
- 1 teaspoon Baking Powder
Buttercream Frosting
- ½ cup Butter Softened
- 3 cup Powdered Sugar
- 1 teaspoon Vanilla Extract clear
- 2-4 tablespoons Milk
Garnish
- Candy Spiders or Plastic Spiders
- Cotton Candy White or Beige in color
Instructions
Chocolate Cookies
- Preheat the oven to 350 degrees F. Line two cookie sheets with parchment paper or use a silicone baking mat.
- Cream softened Butter with Granulated Sugar until light and fluffy. This will take about 2–3 minutes with an electric mixer. Ensure you scrape the sides of the bowl down with a rubber spatula as needed to include all ingredients.
- Continue to cream, adding brown sugar to the butter mixture, and cream for 2–3 more minutes.
- Add the Egg and Vanilla Extract and combine the ingredients together. The mixture should be light and fluffy.
- Add All-Purpose Flour, Baking Powder, and Black Cocoa Powder and combine. Do not overmix.
- Using a size #24 cookie scoop, or about 3 tablespoons, scoop cookie dough and place on a cookie sheet, allowing at least 2 inches apart for baking.
- Bake in a preheated 350-degree F oven for 8–10 minutes, or until the edges are set and the center is no longer glossy.
- Remove from oven and allow to cool on baking sheet for a few minutes before moving to a wire cooling rack
- TIP: To create round cookies, use a large circle cookie cutter and place it around one of the cookies while still hot. Swirl the cookie cutter around the hot cookie to shape it, forming a perfect circle. Repeat with the remaining cookies while hot.
Decoration
- In a large mixing bowl, combine softened Butter with Powdered Sugar and Vanilla Extract and mix until combined. The mixture will be thick.
- Gradually add Milk, 1 tablespoon at a time, until the desired consistency is reached. Frosting should be thick and sticky but not runny.
- Scoop a tablespoon or more of frosting on the cooled cookies and spread it evenly.
- Top it with a tuft of cotton candy, making a spider web. Add a Halloween candy spider or a plastic spider to the web for visual appeal! NOTE: Do Not Eat plastic spiders.
Notes
Storage
- Store: Store your cookies once they have cooled to room temperature in an airtight container until you're ready to decorate them. Cotton candy tends to melt on the frosting over time and loses it's visual appeal, so it's best to decorate them fresh before serving them. The cookies will last well at room temperature after decoration for up to 5 days from being freshly baked.
- Freeze: These cookies can easily be made ahead of time and frozen if you're looking to prepare for a Halloween party. Once the cookies have been baked and fully cooled, flash-freeze them in a single layer. Then put them in a freezer-safe container or into freezer bags with parchment paper between each one. Defrost them and add the frosting and decorations before serving.



Submit a Comment