Are you a true lover of chocolate and peanut butter? Try this easy Buckeye Bars recipe for a tasty treat you can enjoy any time of year! This no-bake dessert is super easy to make - it's the perfect way to satisfy your chocolate peanut butter craving!
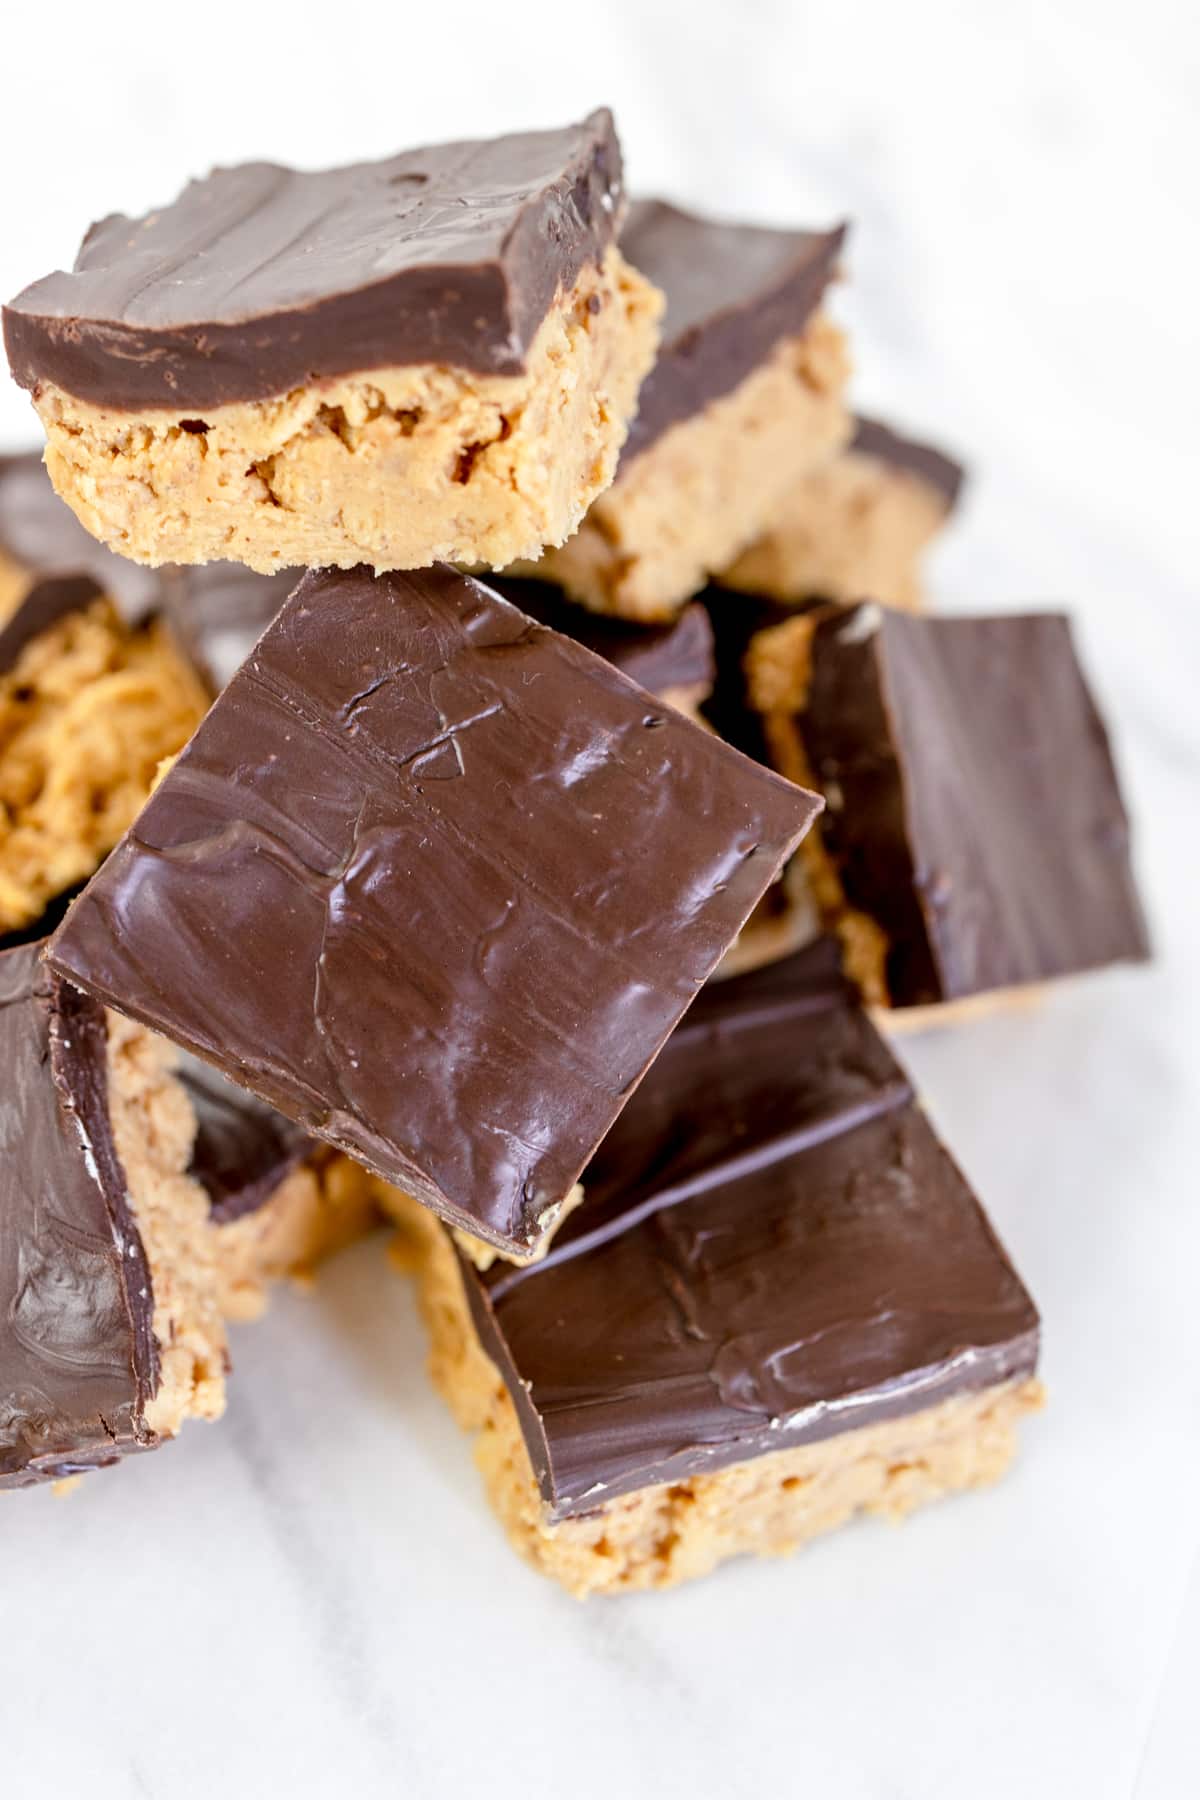
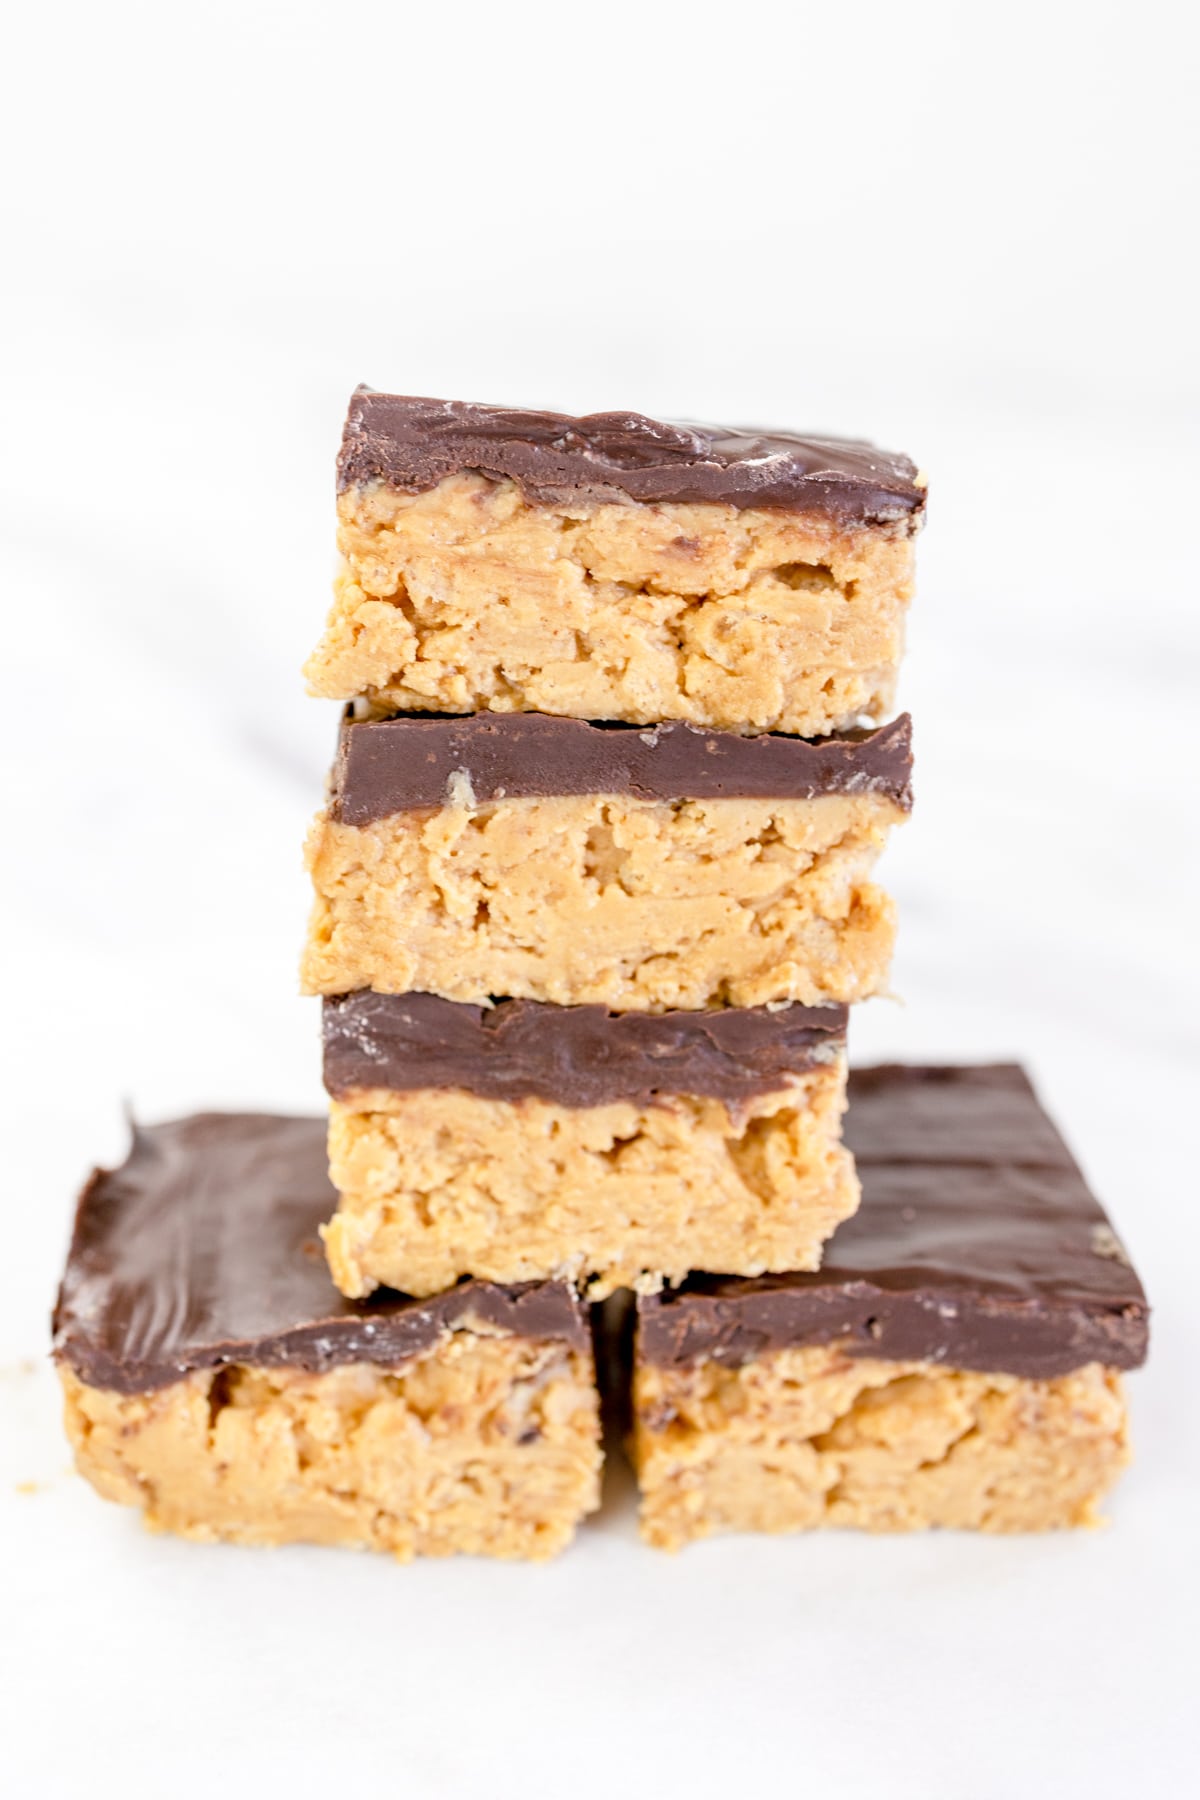
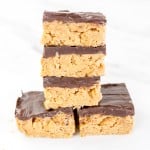
These yummy No Bake Buckeye Bars are basically Buckeye candies in handy bar form.
This super simple no-bake recipe is great for making a chocolate and peanut butter dessert in less than an hour!
It's great for making last-minute for parties, movie night snacking, or to put in lunch boxes!
You can also try my cookie version, Buckeye Cookies, which are made with a chocolate cookie base and homemade Buckeyes right on top!
If you love the classic combination of chocolate and peanut butter, then you'll love these Reese's Pieces Cookies, Classic Peanut Butter Kiss Cookies, and my Peanut Butter S'mores Cookies.
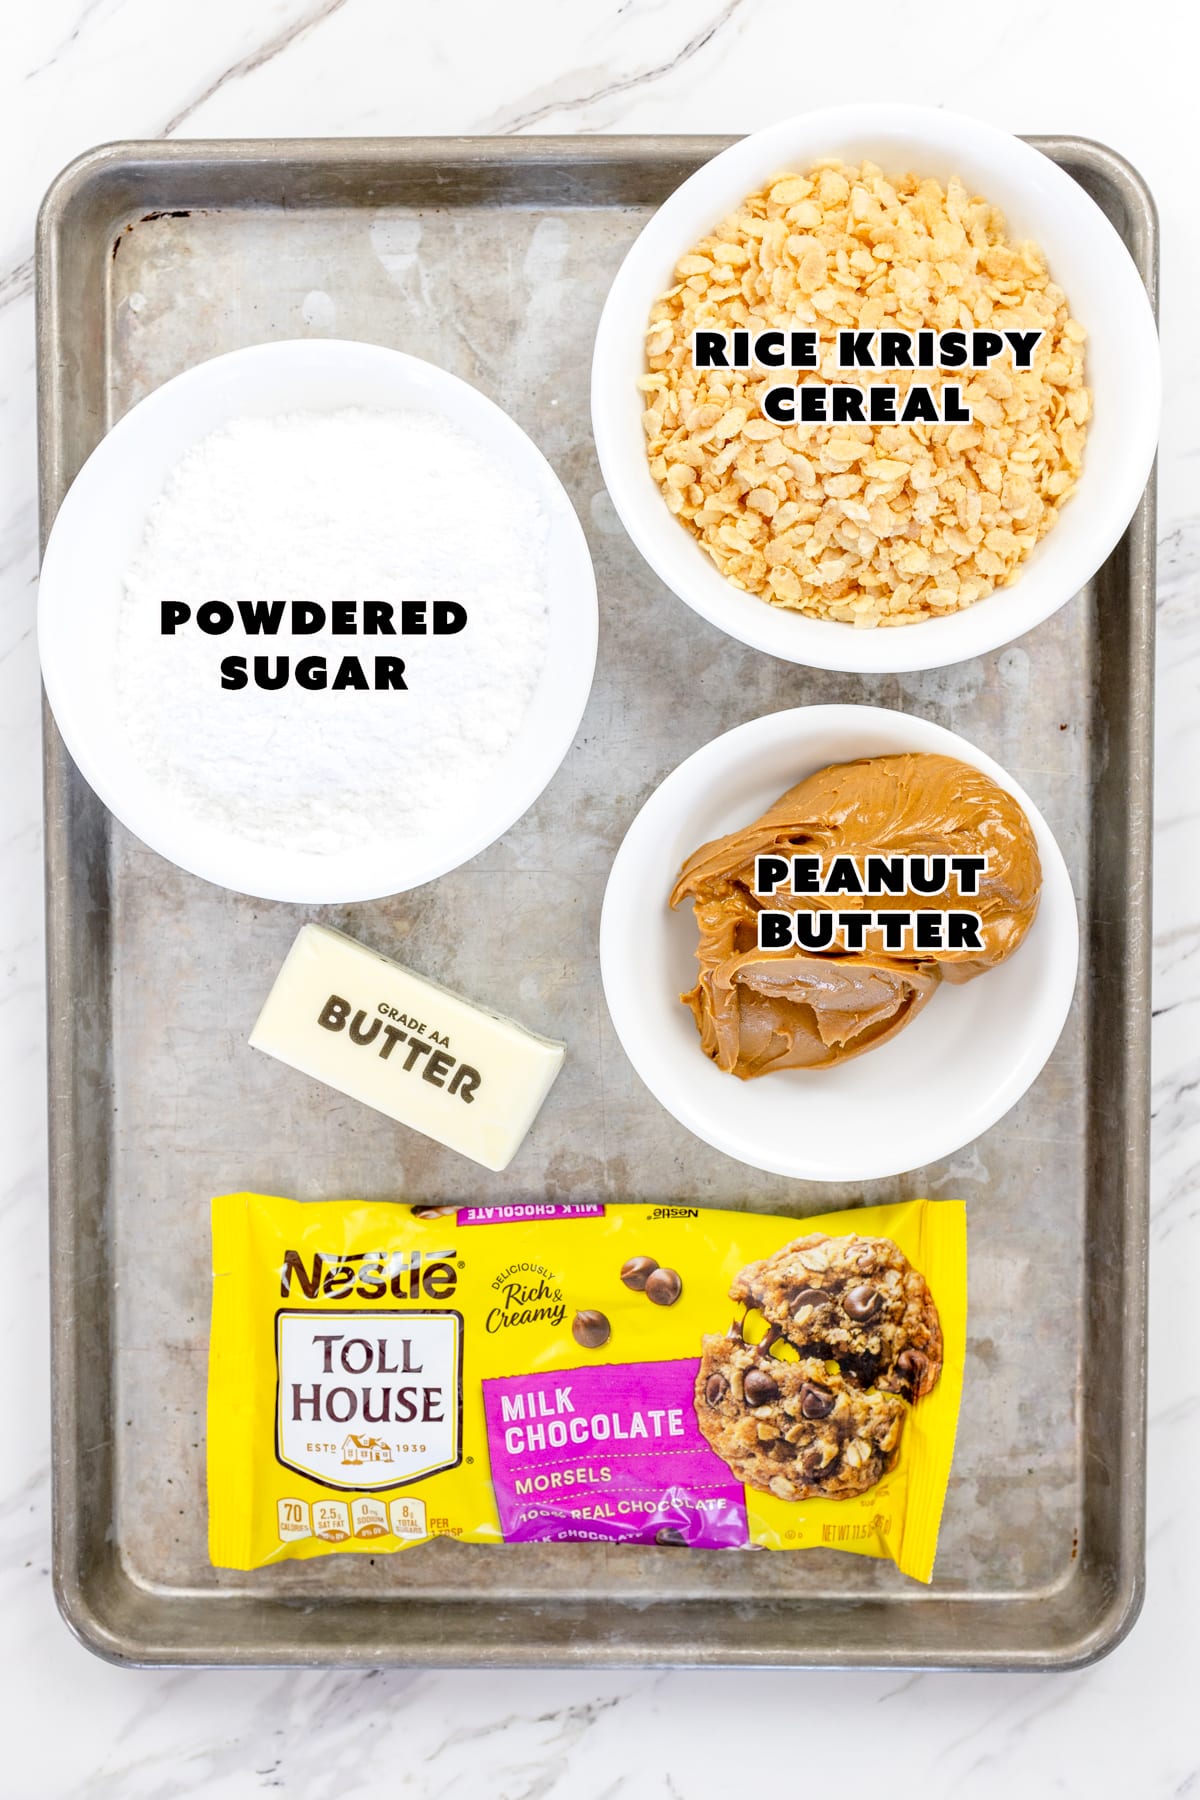
Shopping List
Wet Ingredients. Butter, Vanilla Extract, Creamy Peanut Butter, Vegetable Oil
Dry Ingredients. Powdered Sugar
Chocolate. Milk Chocolate Chips (Optional)
How to Make No-Bake Buckeye Bars
Make Peanut Butter Layer
In a large bowl, combine Peanut Butter with softened Butter using an electric mixer.
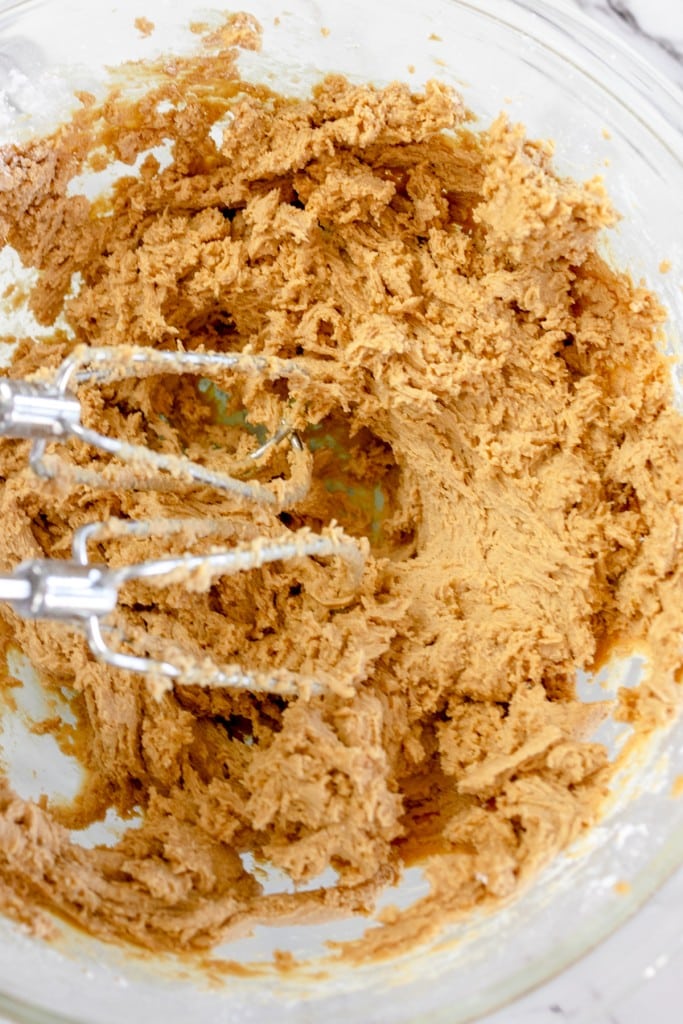
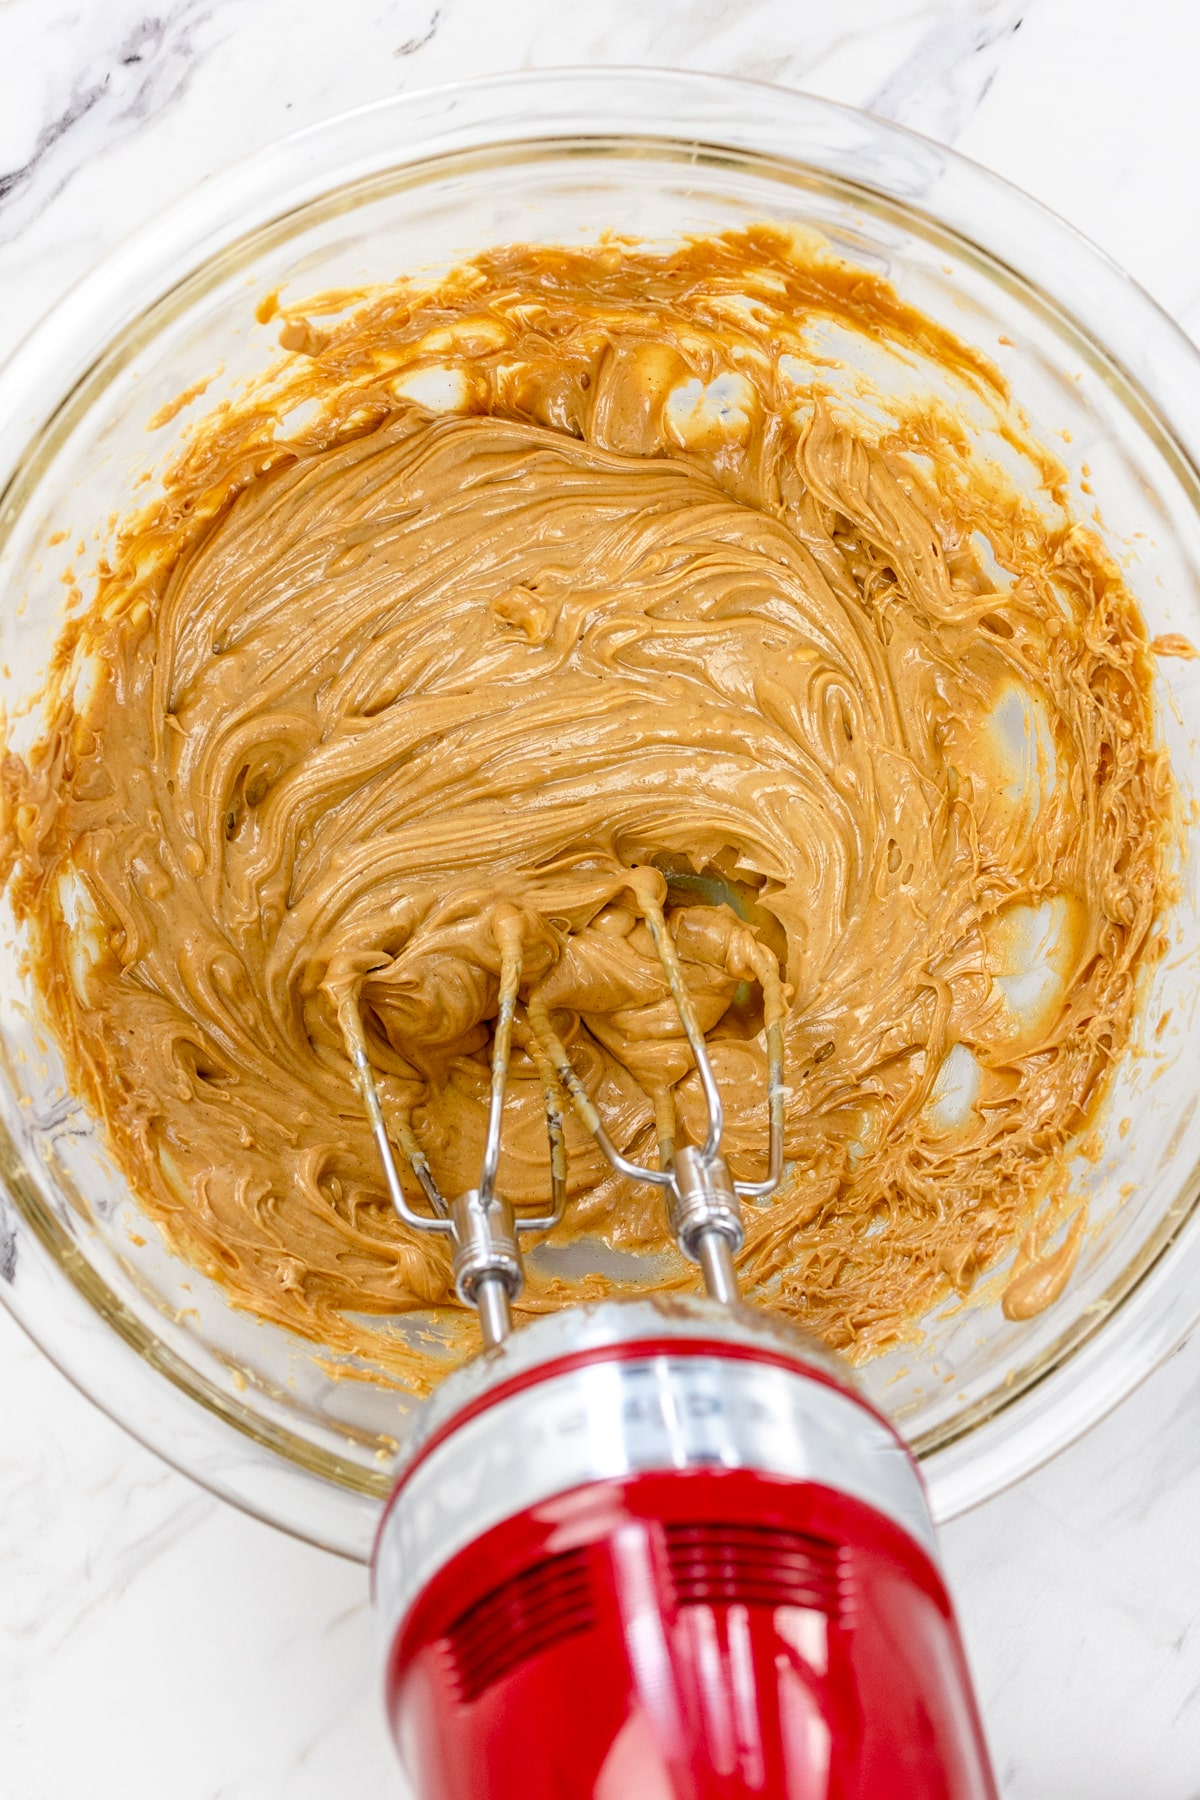
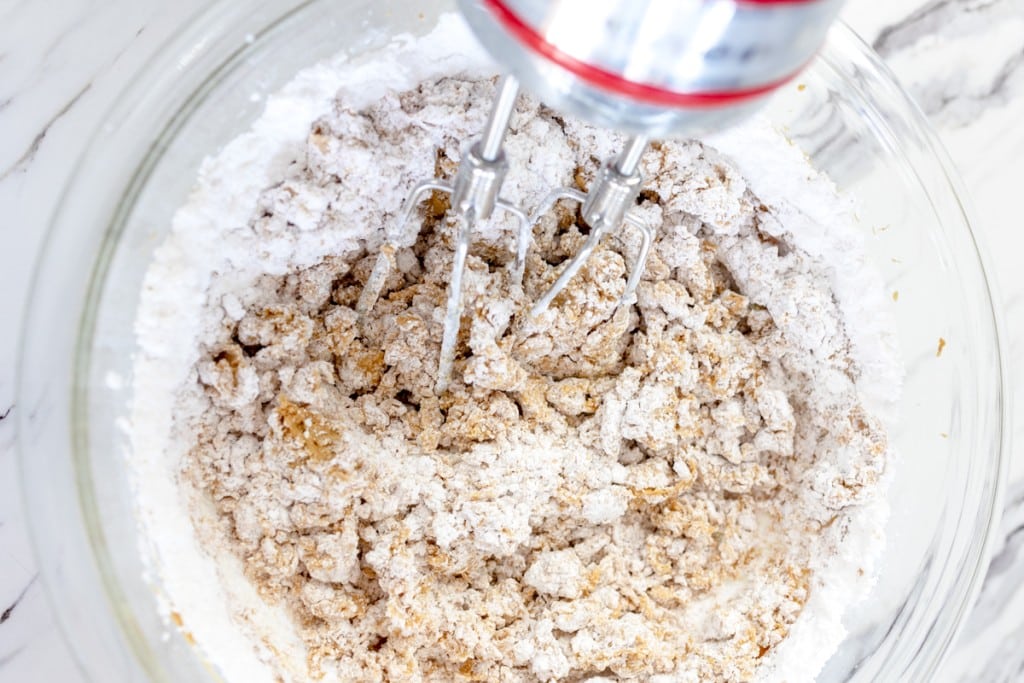
Add vanilla extract and Powdered Sugar and continue to combine the ingredients until smooth.
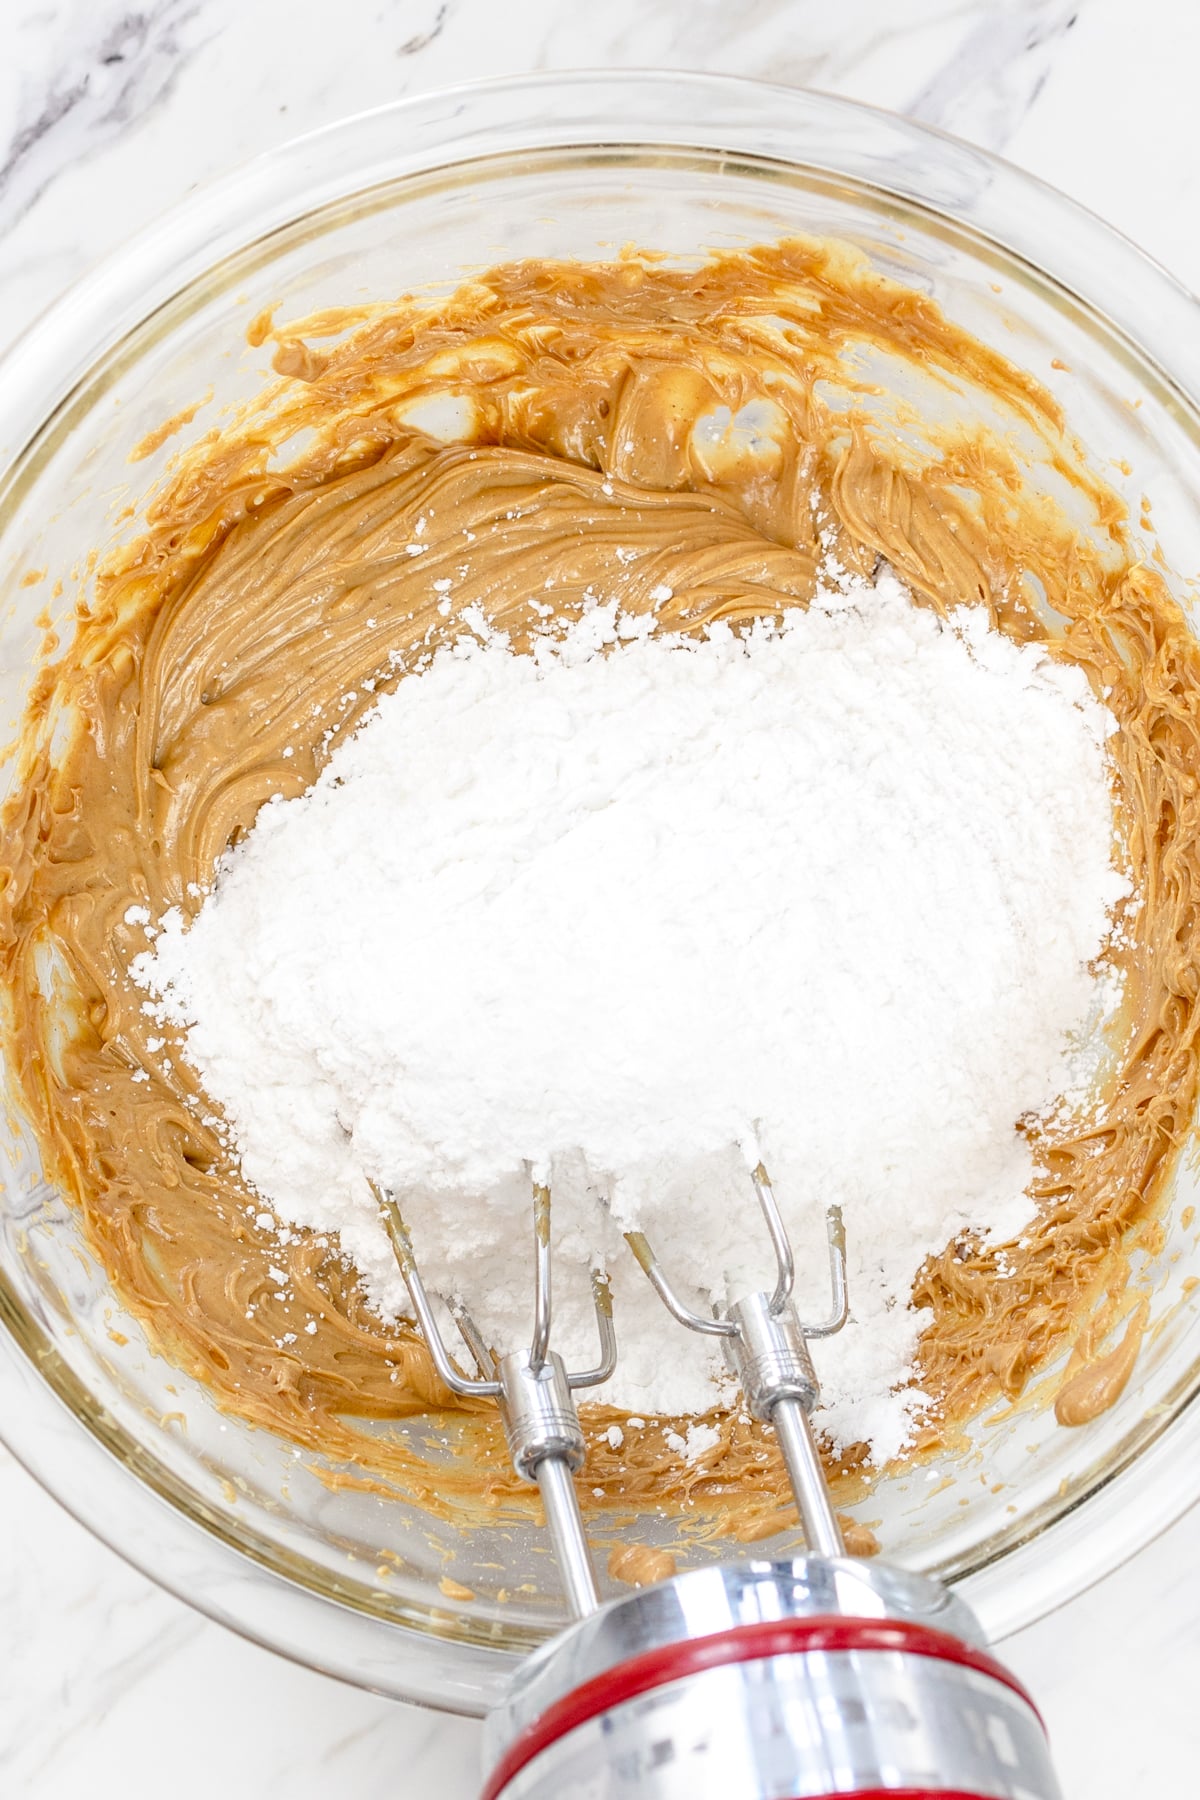
Optional: Mix by hand and add 1 cup of Rice Krispy Cereal to the Peanut Butter mixture. It gives the mixture a fun texture with a bit of crunch, similar to more traditional peanut butter bars. You could also add some crumbled Graham Crackers.
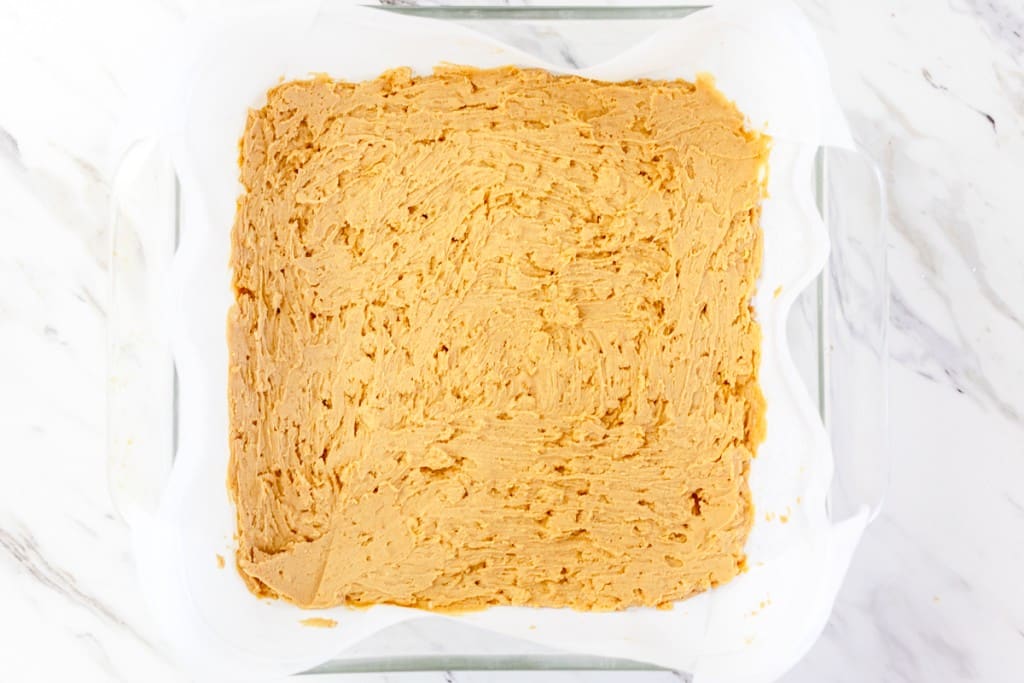
Place the Butter Mixture in the bottom of a 9x9-inch square baking pan lined with parchment paper.
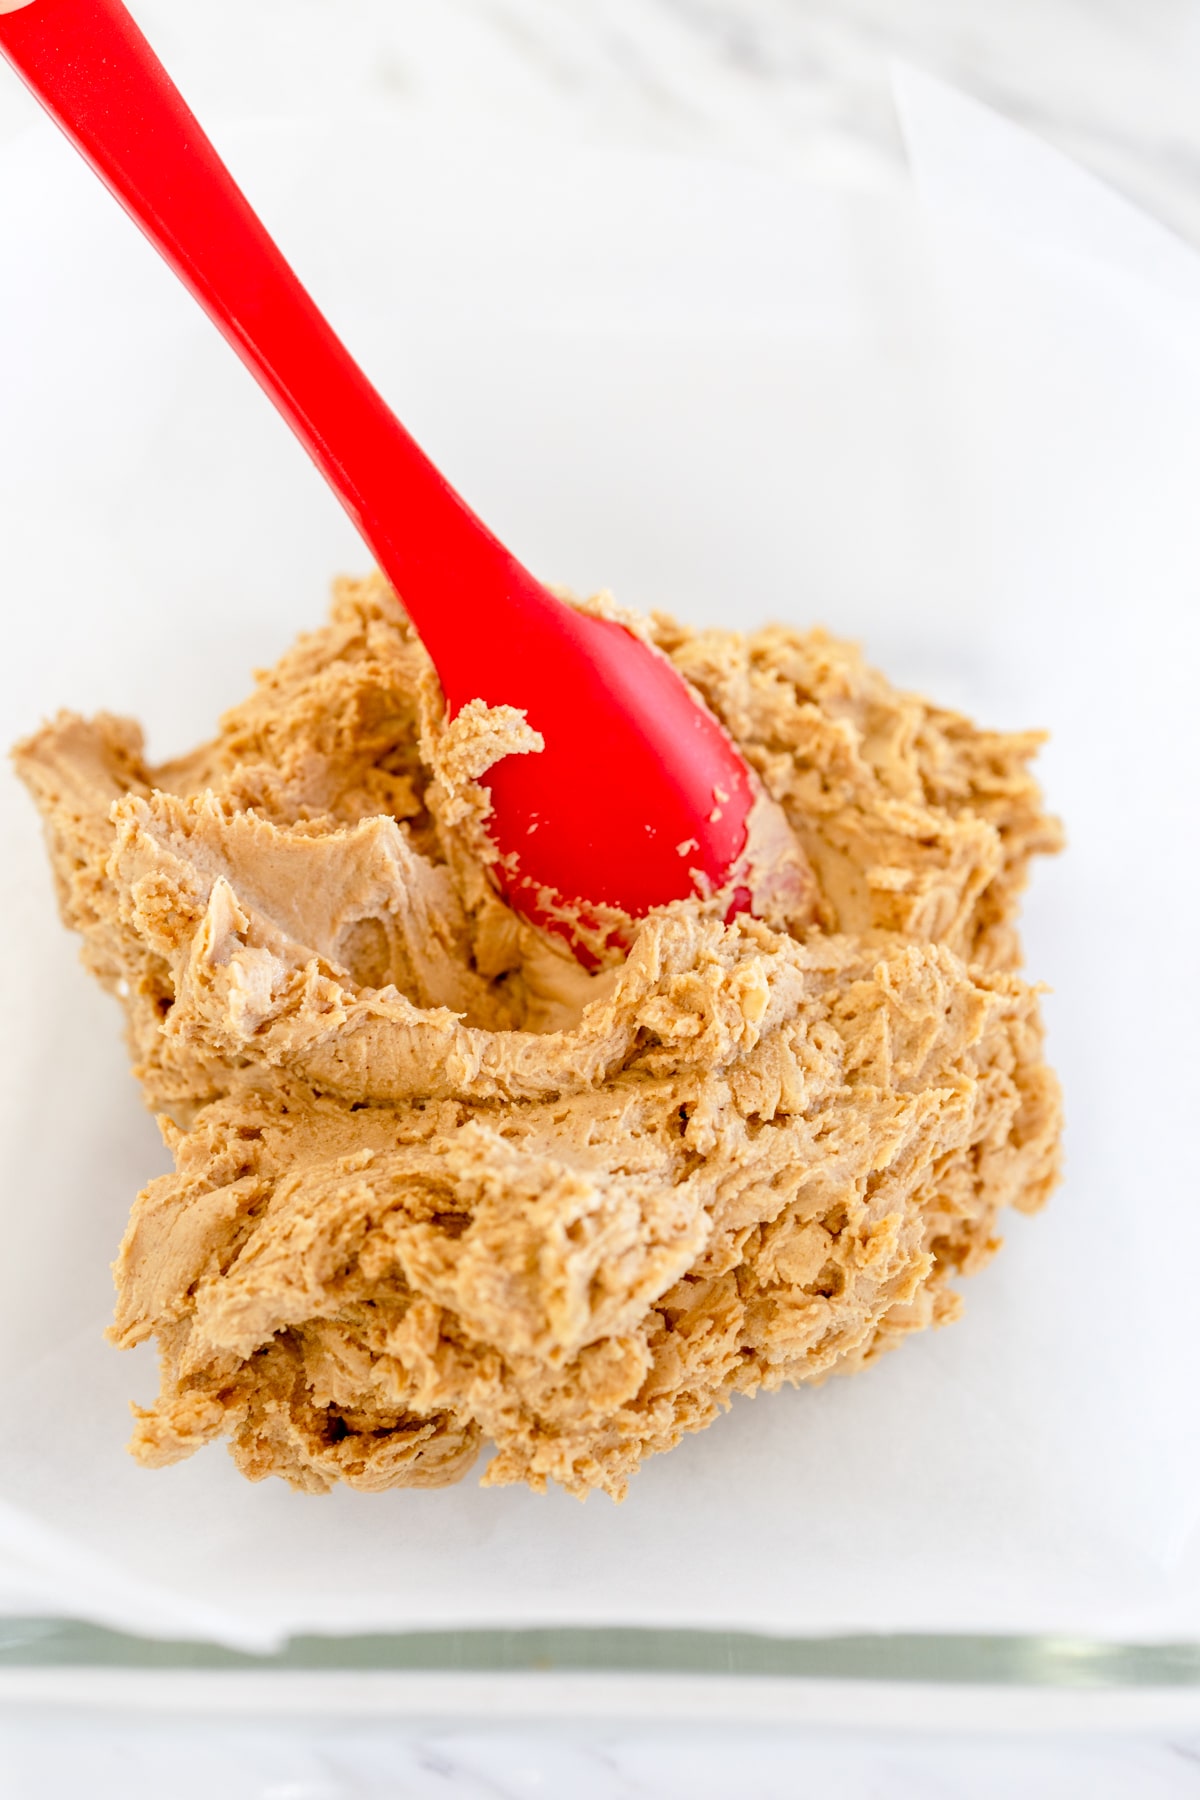
Spread evenly with a spatula or the back of a spoon.
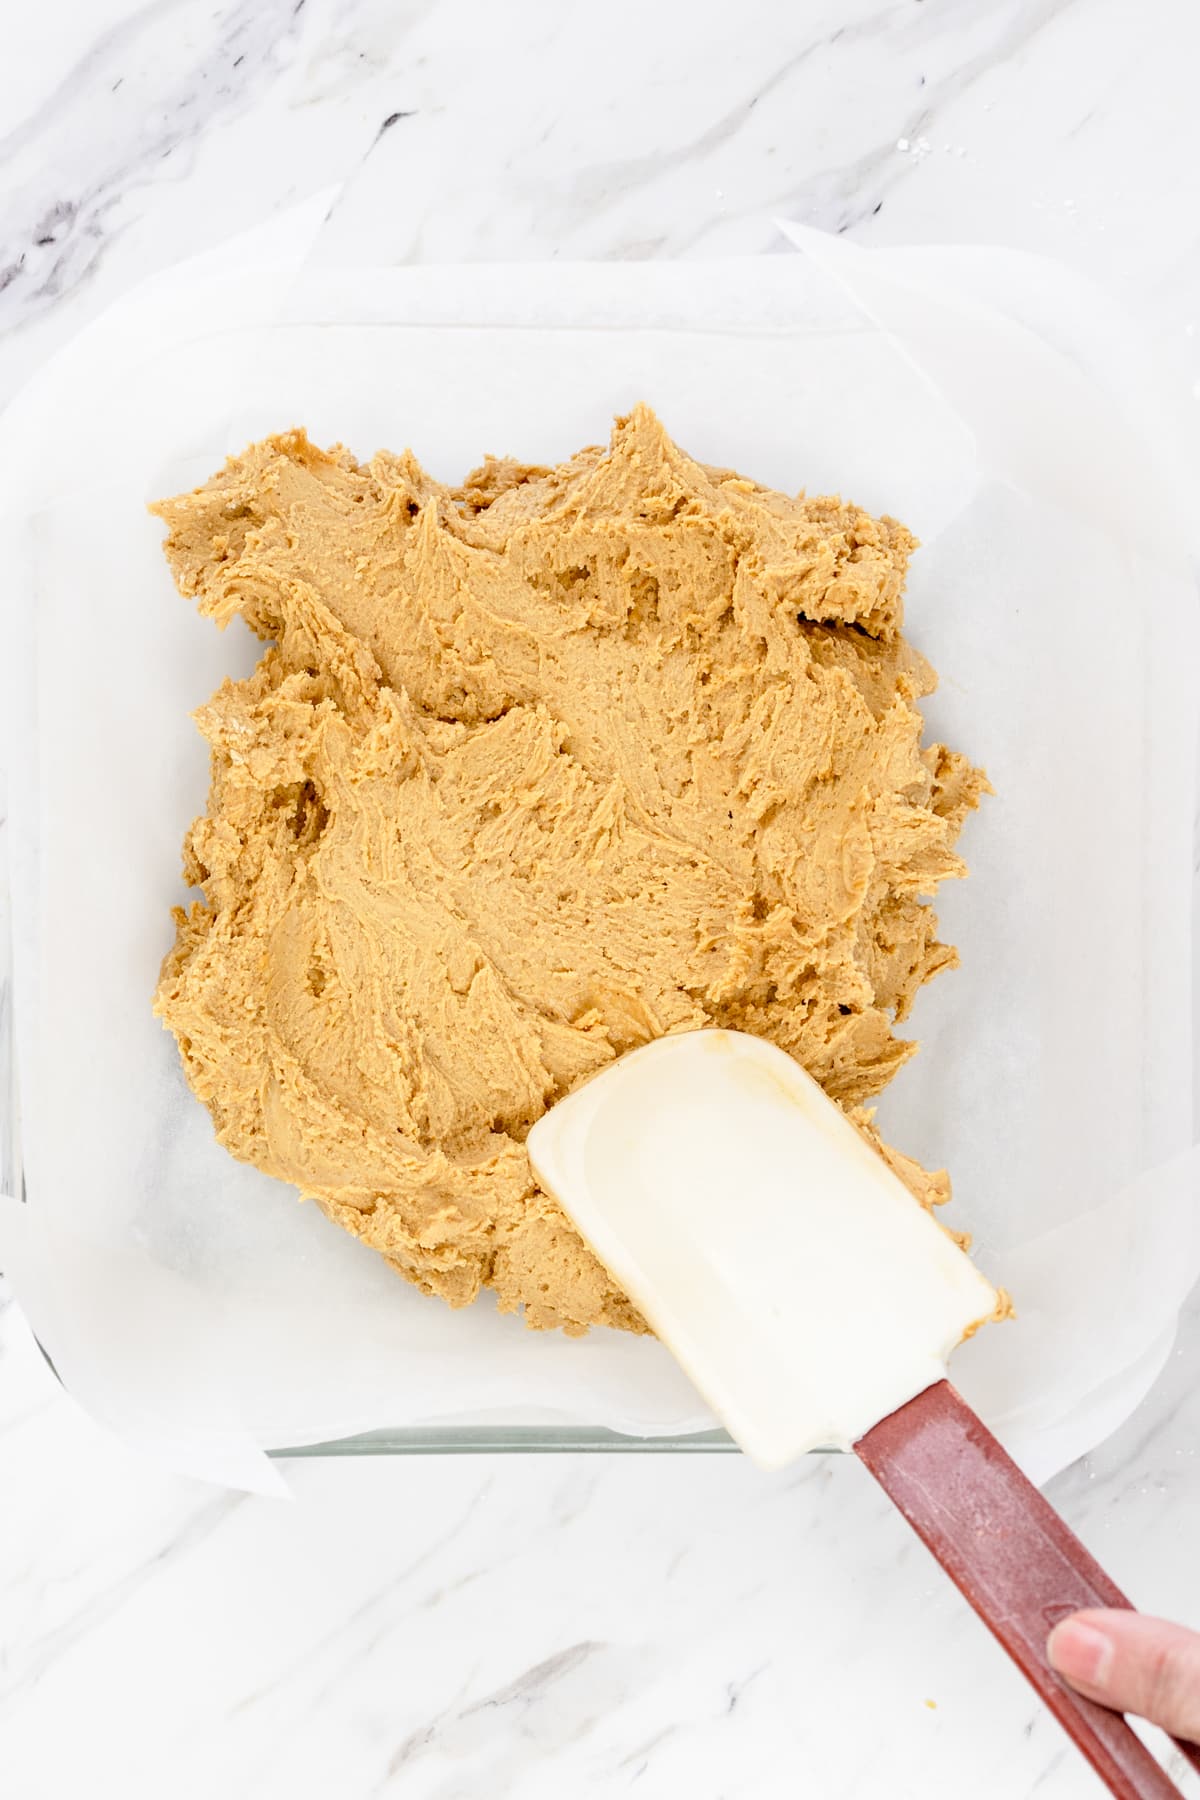
Set the peanut butter base to one side, or chill it in the refrigerator while you make the chocolate top layer.
Add Chocolate Layer
In a separate microwave-safe bowl, combine Chocolate Chips and 1 tablespoon of Vegetable Oil or Butter and heat in the microwave for 30 seconds.
Stir the chocolate mixture and heat for an additional 30 seconds. Stir the mixture, and if additional time is needed, heat for 15 seconds and repeat until the chocolate is fully melted.
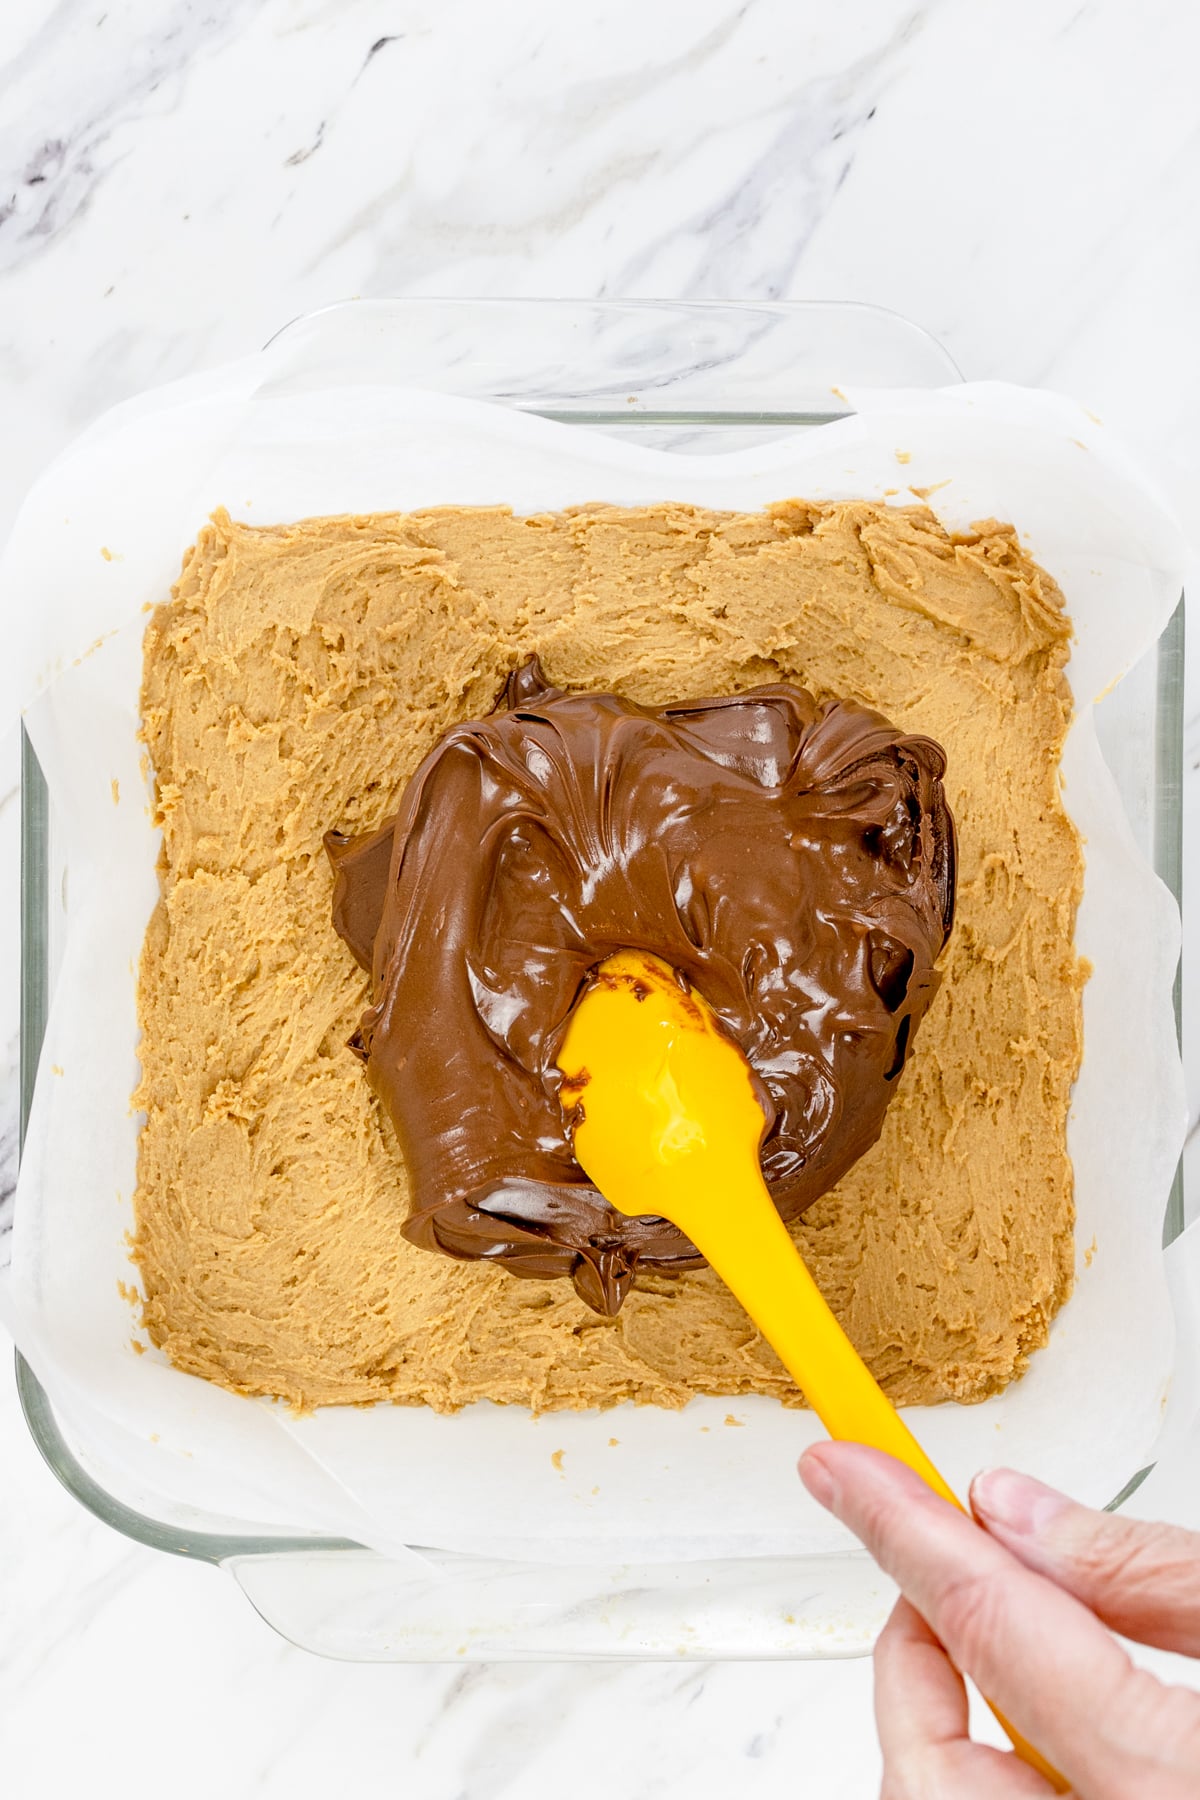
Pour Chocolate over the Peanut Butter mixture and spread it evenly.
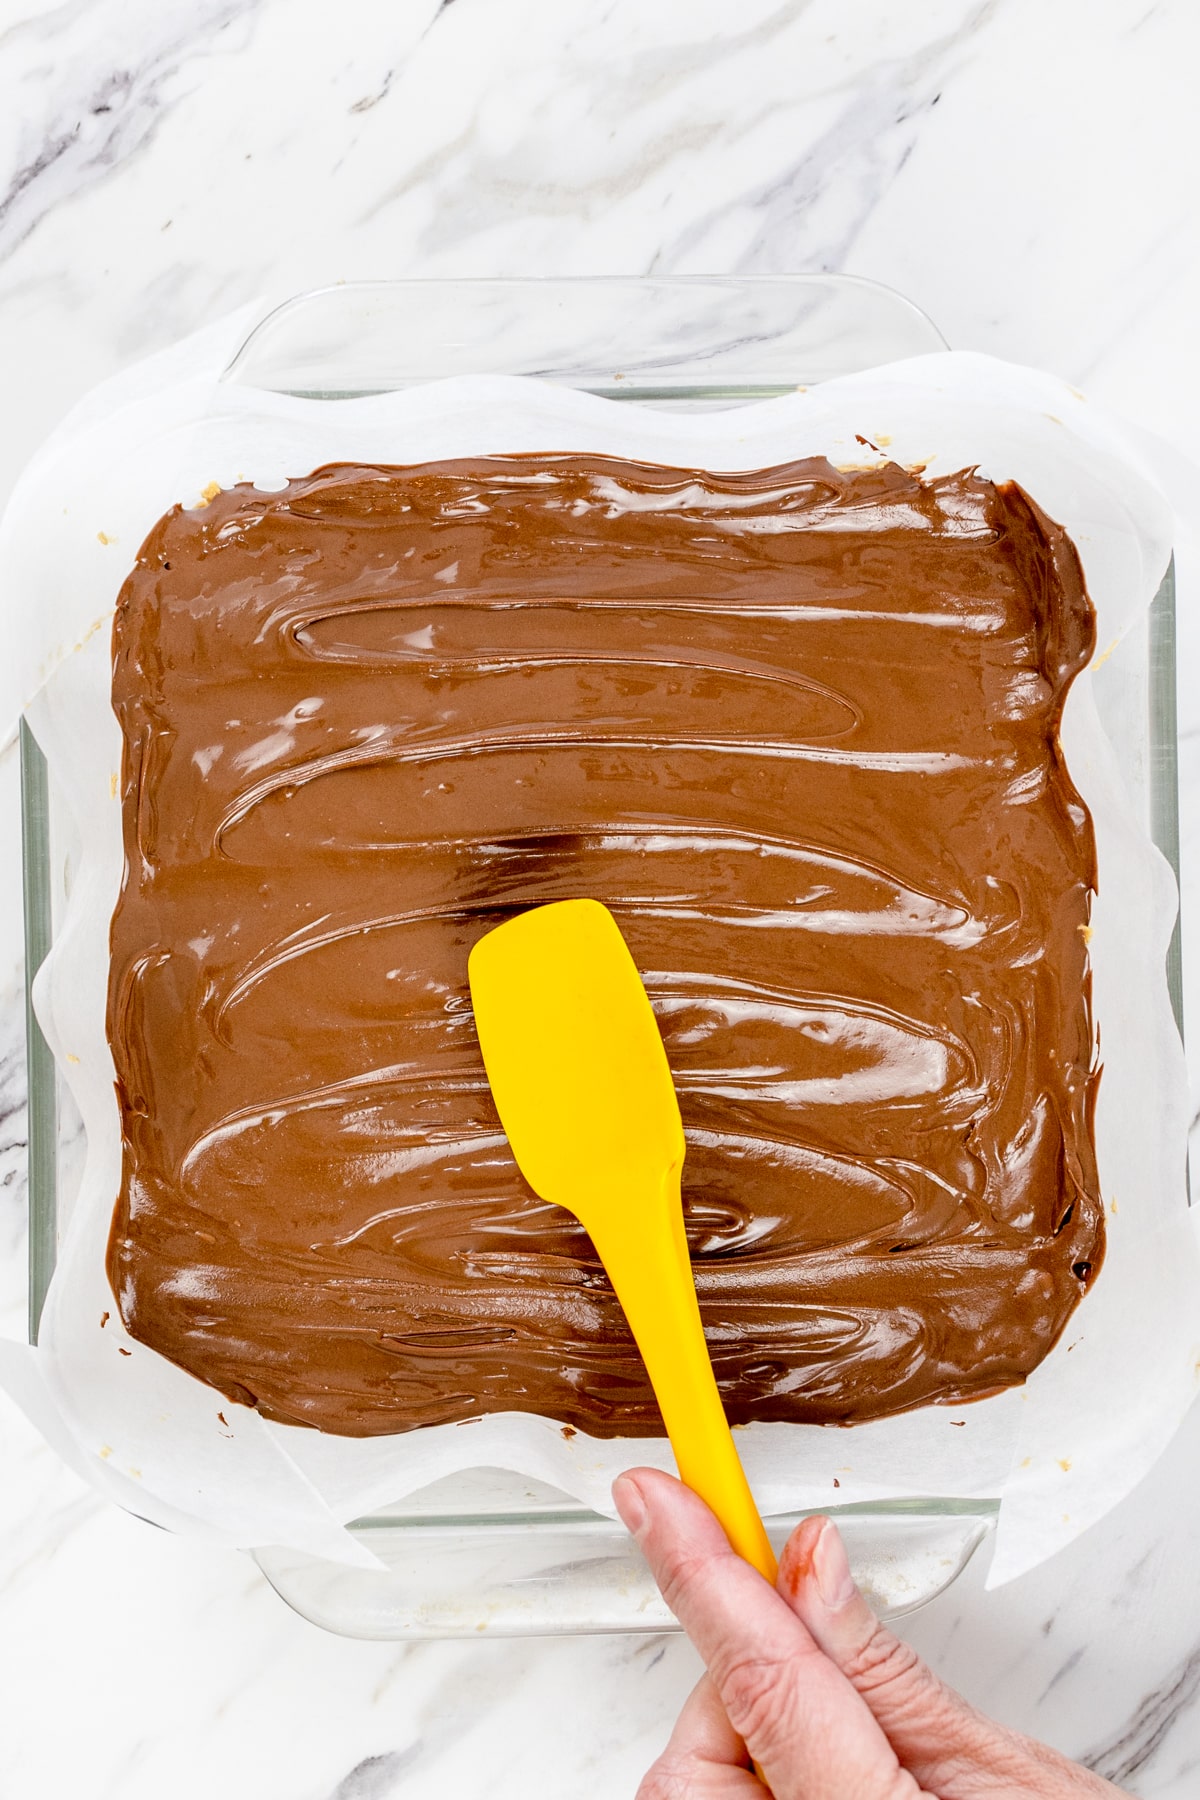
Allow the layer of chocolate to cool and set up. The Buckeye Bars can be placed in the refrigerator to chill quicker.
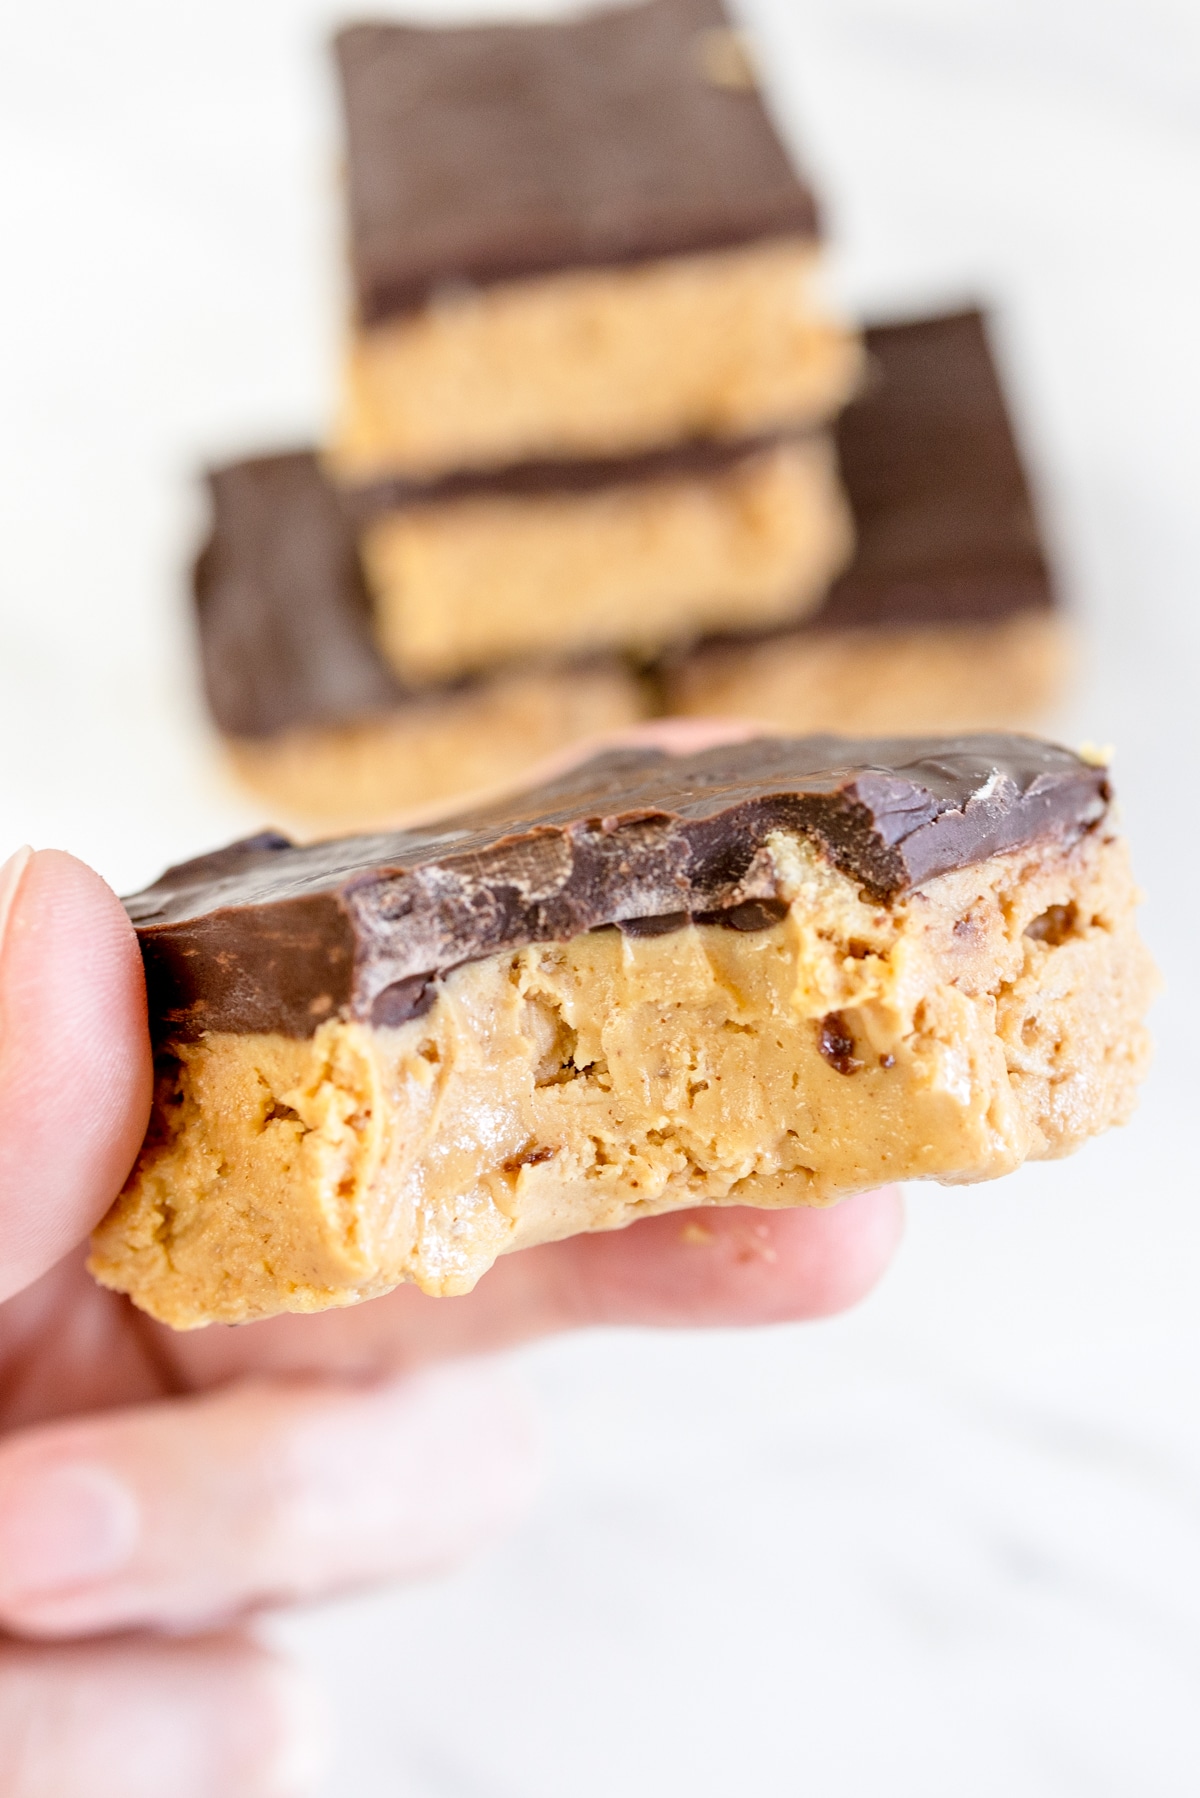
Cut the slab into 16 bars with a sharp knife, 4 rows by 4 rows.
Store the bars in a cool, dry place in a sealed container or Ziploc bag. Place parchment paper between the layers to prevent them from sticking.
These Buckeye Bars will stay fresh for up to a week at room temperature.
FAQs
Buckeyes are made with peanut butter fudge balls that are dipped in chocolate. Buckeyes originated in Ohio, and they are called buckeyes because they closely resemble the look of the dark brown nut (Buckeye nuts) of the Buckeye tree from Ohio.
Store these no-bake bars once they have completely set, in an airtight container for up to a week. They are best if enjoyed within 2-3 days.
These Buckeye Bars can be frozen for up to 3 months. Store them in a freezer-safe container with parchment paper between each one, if they are already sliced to prevent them from sticking. Bring to room temperature before eating.
Substitutions & Variations
- Peanut Butter. Use crunchy peanut butter for an added crunchy texture here, or add some chopped peanuts into the mix to control the crunchiness. Use a creamy type of peanut butter rather than a natural peanut butter as it will melt better.
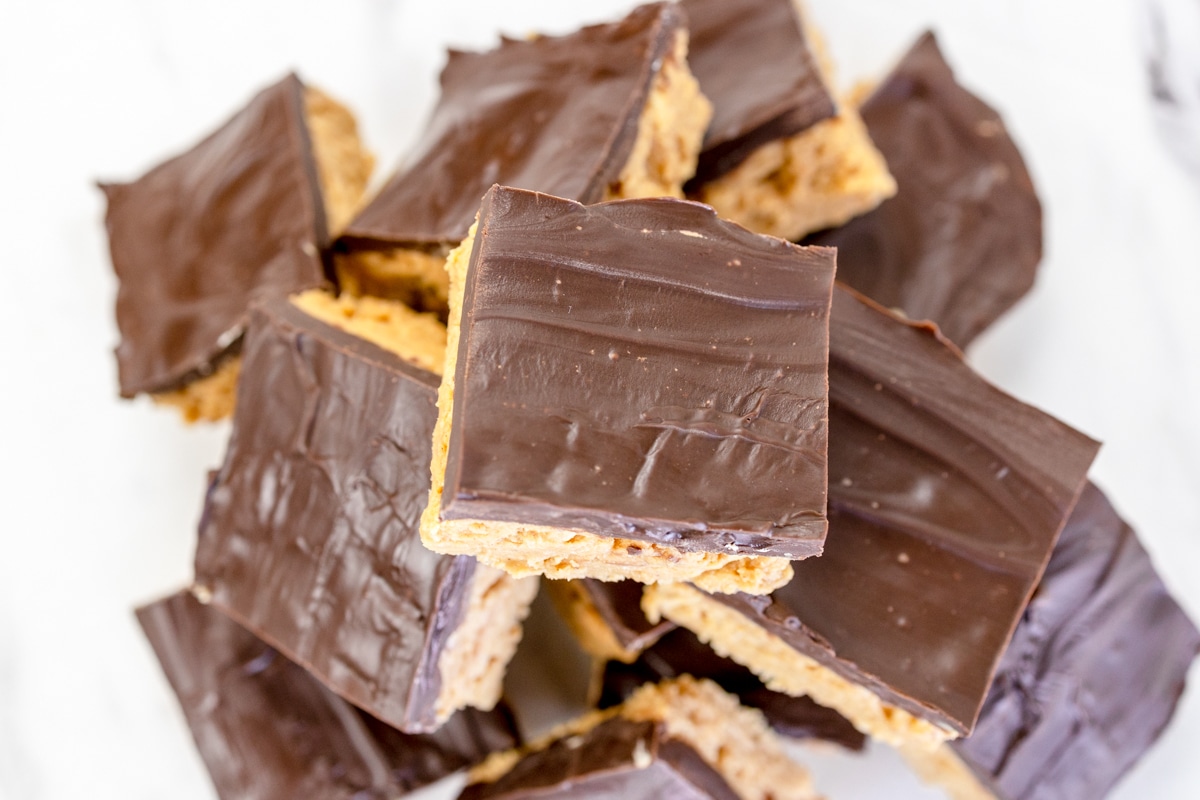
- Chocolate. Use White Chocolate Chips, Semi-Sweet Chocolate Chips, or Melting Wafers instead of milk chocolate chips for a different flavor or color!
- Topping. Add chocolate sprinkles, chocolate curls, or a melted chocolate drizzle on top for an extra-special finish. Alternatively, add some flaky sea salt on top for a bit of a salty
- Filling. Place some pretzels on top of the peanut butter mixture and top with the melted Chocolate. The Pretzels give a fun crunch and add a salty taste. You could also try pressing in mini Reese's Peanut Butter Cups for an extra peanut butter chocolate surprise!
Pro Tips
You're ready to delve into making these tasty treats, but I've included a few pro tips below that will help you perfect this recipe! ]
To find out more, check out my Pro Tips Guide for making the best treats every time!
Weighing Ingredients.
Baking is a science, and adding too much or too little of any of the ingredients will alter the recipe. Weighing and measuring dry ingredients properly makes a world of difference. Investing in a kitchen scale is ideal. When a kitchen scale is not available, make sure to stir and lift ingredients before scooping them into a measuring cup.
| Volume | Ounces | Grams | |
| All Purpose Flour | 1 Cup | 4½ Ounces | 120 Grams |
| Bread Flour | 1 Cup | 4½ Ounces | 120 Grams |
| Granulated Sugar | 1 Cup | 7 Ounces | 200 Grams |
| Brown Sugar | 1 Cup | 7½ Ounces | 213 Grams |
| Confectionary Sugar | 1 Cup | 4 Ounces | 113 Grams |
Chocolate.
I like to use Ghirardelli Semi Sweet Chocolate Chips or Nestles Milk Chocolate Chips. I find they melt smoothly and have great flavor and texture. Try using melted dark chocolate candy bars, or Milk Chocolate Chips or candy bars as a substitution.
Microwaveable Bowl.
You'll need a bowl that is microwave-safe for this recipe. If you use plastic, be sure to check the bottom to see if it's safe for the microwave, or you can use glass, porcelain, or ceramic. Do not use metal. Alternatively, you can use a double boiler to melt the chocolate.
Cooling Rack.
Allow cookies to cool on the baking sheet for a minute or two before moving them to a cooling rack to cool completely.
- Kitchen Scale. I use this for accuracy in measuring, and it's a lifesaver when it comes to getting consistent results.
- Wire Rack for cooling cookies. I like to have at least two cooling racks on hand.
- Mixing Bowls. A Large Mixing Bowl for mixing ingredients and small and medium mixing bowls for other ingredients.
- Cookie Sheet. Most recipes will take 2 batches to bake. It's great to have multiple baking sheets available.
- Parchment Paper or a silicone baking mat Line the Cookie Sheet with parchment paper for easy cleanup and to prevent sticking.
- Cookie Scoop. A small #60 Cookie Scoop or a Medium Cookie Scoop #50 are great choices for uniform drops of cookie dough.
- Storage Container. An airtight container to store cookies or a Ziploc bag works great too.
- Additional supplies. Measuring Cups and Measuring Spoons along with a silicone spatula, are all helpful.
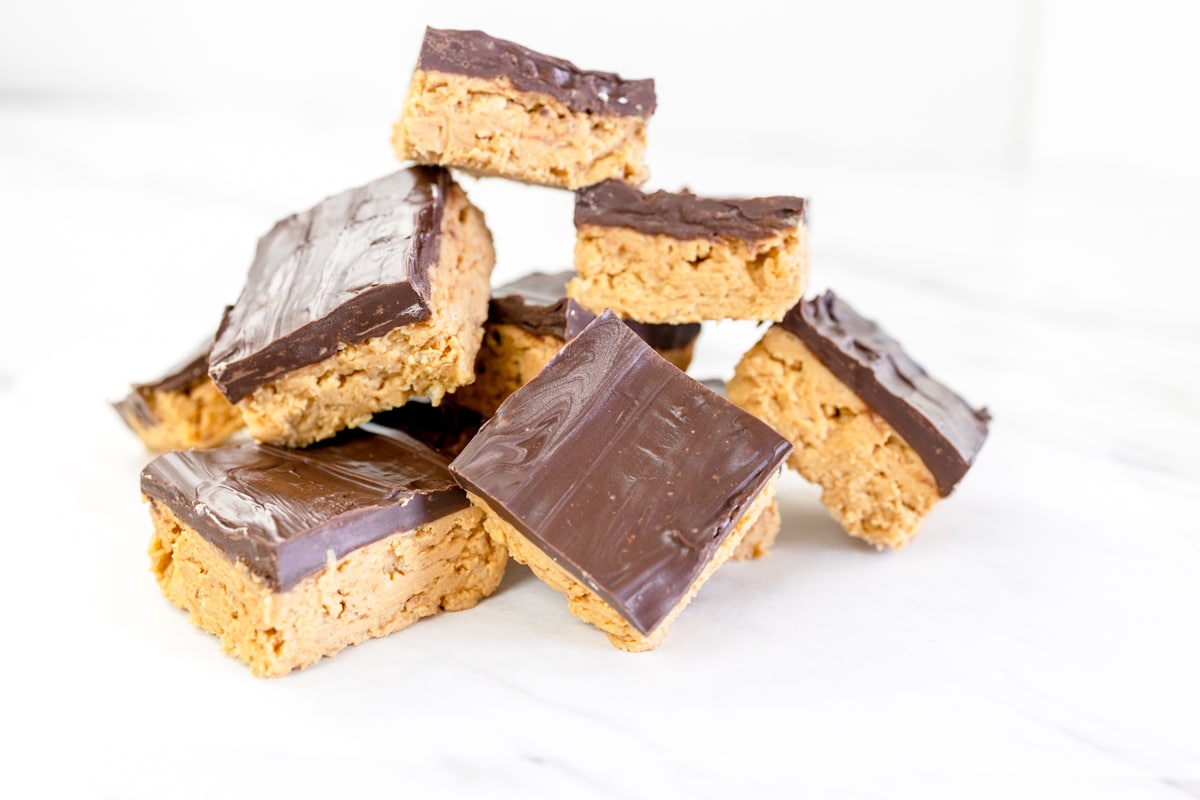
Have you tried this No Bake Buckeye Bars recipe?
Let me know what you think of this recipe! Tag @bestcookierecipes on social media so I can see how great your bars turned out! I would also love to read your comments below. Let me know what you think of this recipe. It really does help!
More Recipes For Peanut Butter Treats
- Peanut Butter & Jelly Cookies
- Crunchy Cornflake Cookies
- Reese's Peanut Butter Cup Frankenstein Cookies
- Air Fryer Peanut Butter Cookies
- Peanut Butter S'mores Sandwich Cookies
Buckeye Bars
Ingredients
- 1 cup Peanut Butter 250g
- ½ cup Butter Softened
- 1½ cups Powdered Sugar 195g
- 1 teaspoon Vanilla Extract
- 11.5 ounces Chocolate Chips
- 1 tablespoon Vegetable Oil or Butter
Instructions
Make Peanut Butter Layer
- In a large bowl, combine Peanut Butter with softened Butter using a hand mixer.
- Add vanilla extract and Powdered Sugar and continue to combine the ingredients until smooth.
- Optional: Mix by hand and add 1 cup of Rice Krispy Cereal to the Peanut Butter mixture. It gives the mixture a fun texture with a bit of crunch, similar to more traditional peanut butter bars. You could also add some crumbled Graham Crackers.
- Place the Butter Mixture in a 9x9-inch square baking pan lined with parchment paper.
- Spread evenly in the bottom of the square pan and set aside.
Add Chocolate Layer
- In a separate bowl, combine Chocolate Chips and 1 tablespoon Vegetable Oil or Butter and heat in the microwave for 30 seconds.
- Stir the chocolate mixture and heat for additional 30 seconds. Stir the mixture, and if additional time is needed, heat for 15 seconds and repeat until the chocolate is fully melted.
- Pour Chocolate over the Peanut Butter mixture and spread it evenly.
- Allow the layer of chocolate to cool and set up. The Buckeye Bars can be placed in the refrigerator to chill quicker.
- Cut into 16 bars, 4 rows by 4 rows.
- Store in a cool, dry place in a sealed container or Ziploc Bag. Place parchment paper between the layers to prevent them from sticking.
- These Buckeye Bars will stay fresh for up to a week.
Notes
- Store: Store these no-bake bars once they have completely set, in an airtight container for up to a week. They are best if enjoyed within 2-3 days.
- Freeze: These Buckeye Bars can be frozen for up to 3 months. Store them in a freezer-safe container with parchment paper between each one, if they are already sliced to prevent them from sticking. Bring to room temperature before eating.

Rebecca Johnston
It's like a giant homemade peanut butter cup but better because you can go back for more! Buckeye Bars are better chilled I think.