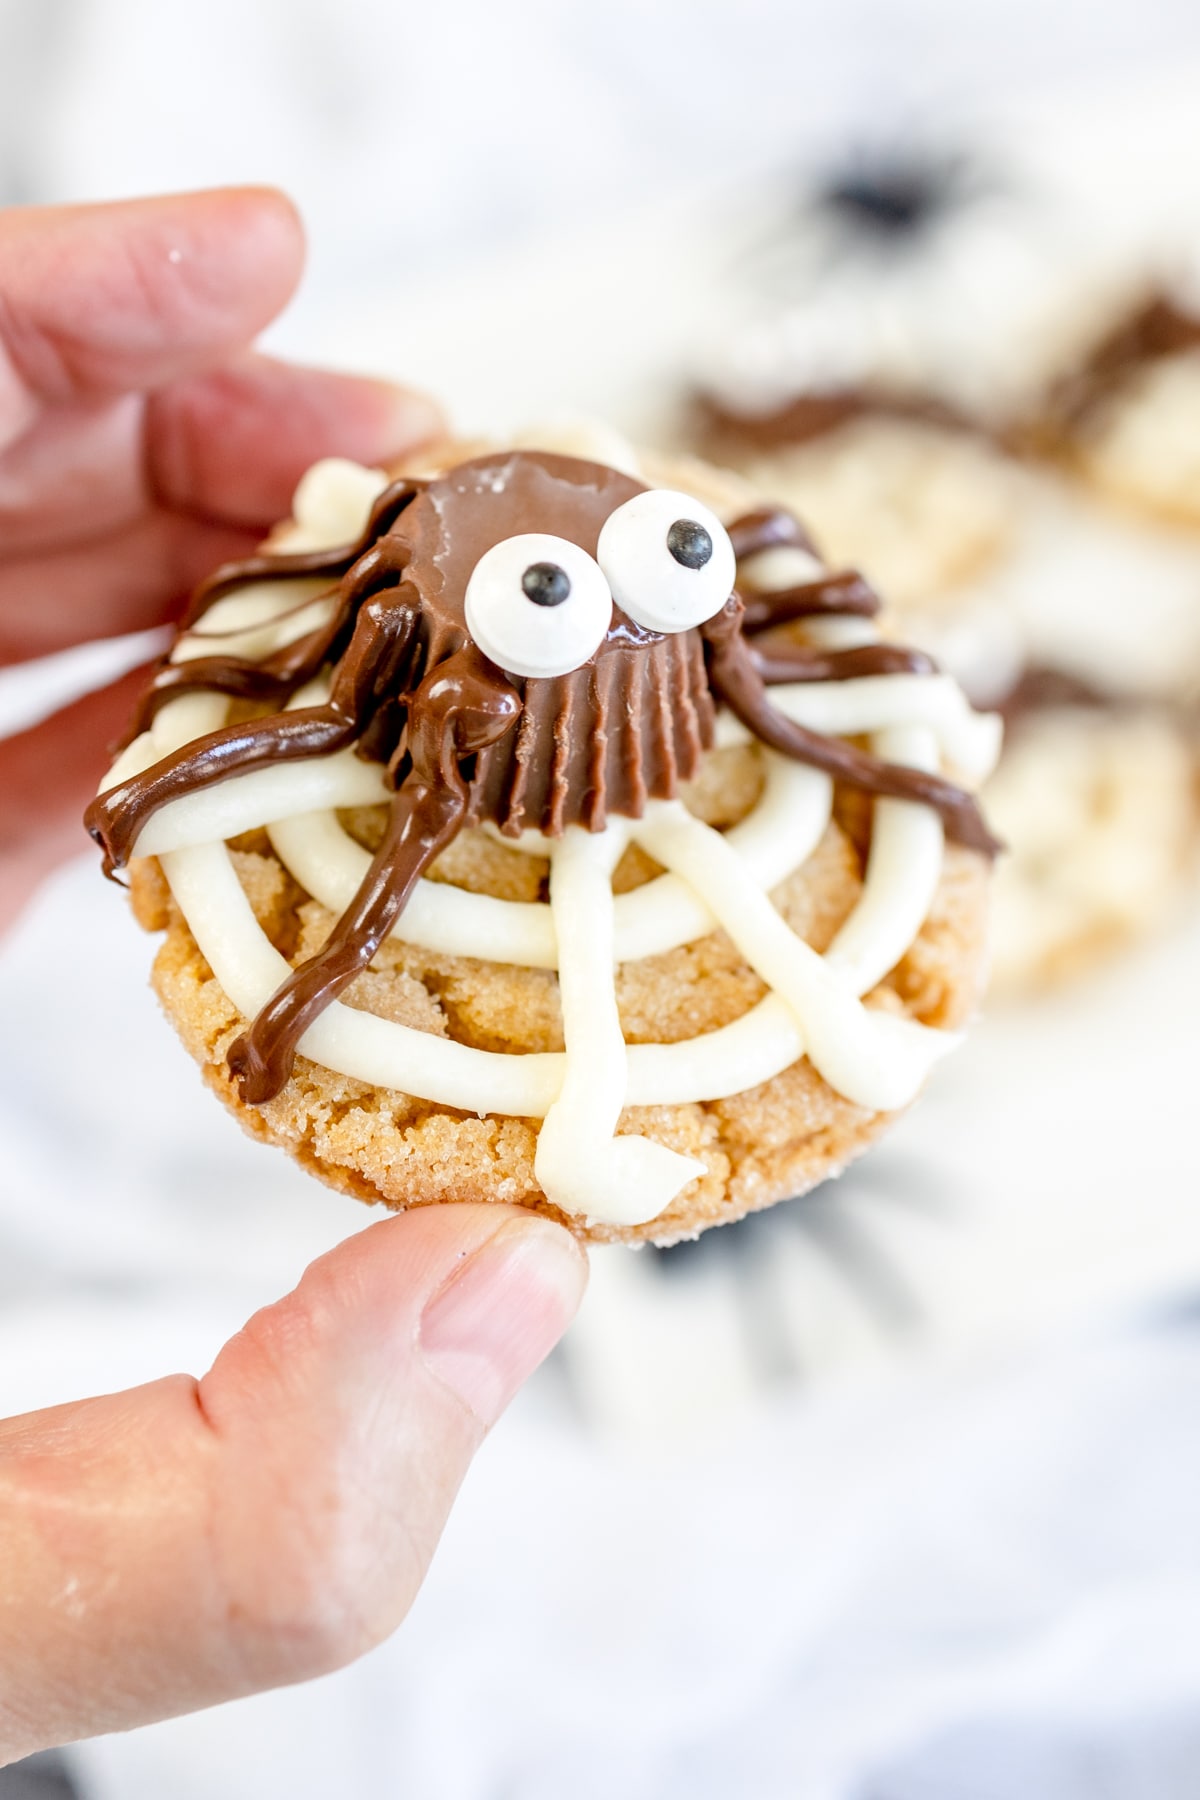
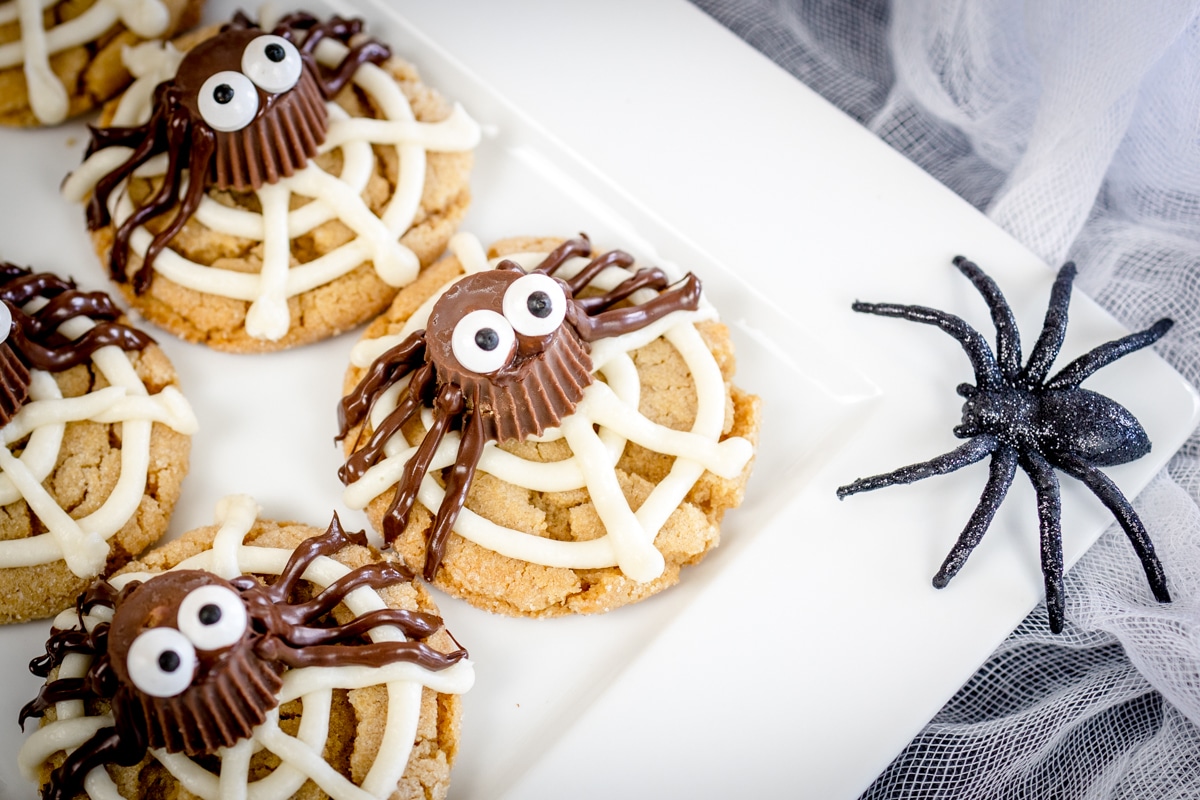
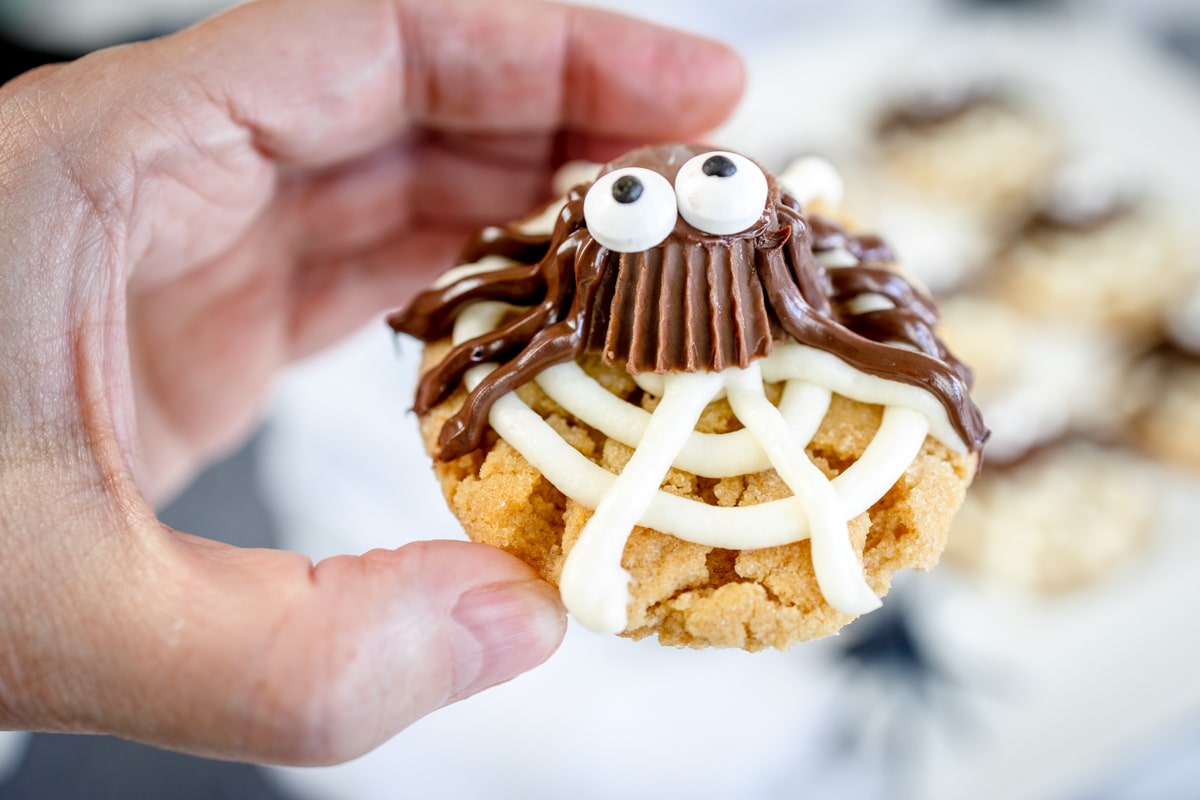
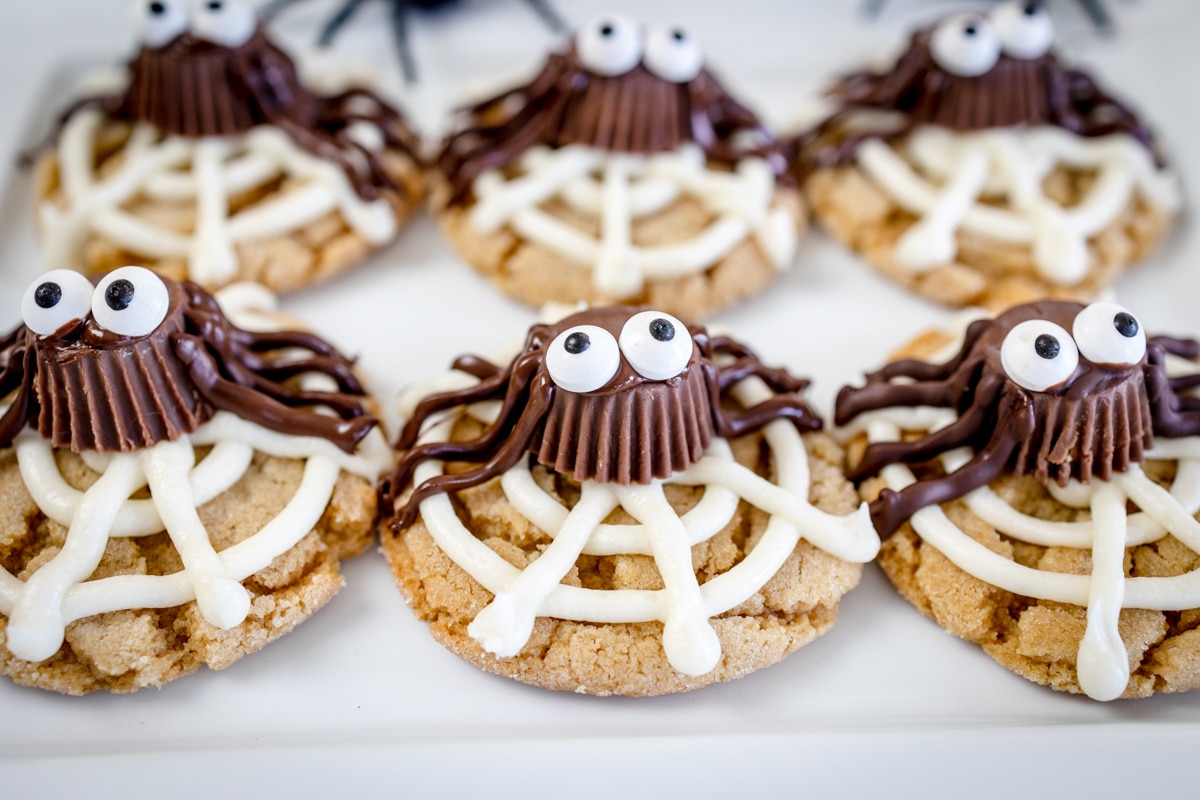
These creepy, crawly, spooky Spider Cookies, are the perfect cookie for this time of year! With a chewy peanut butter cookie base and a ton of chocolate on top, they're sure to be a hit with kids and adults alike.
It's just not a proper holiday without a Peanut Butter Blossoms cookie recipe with a twist.
Just see my Peanut Butter Blossom Christmas Trees or these Candy Cane Blossom Cookies for my festive cookie twists!
This year I've taken this cookie a step further to make a super fun Halloween treat.
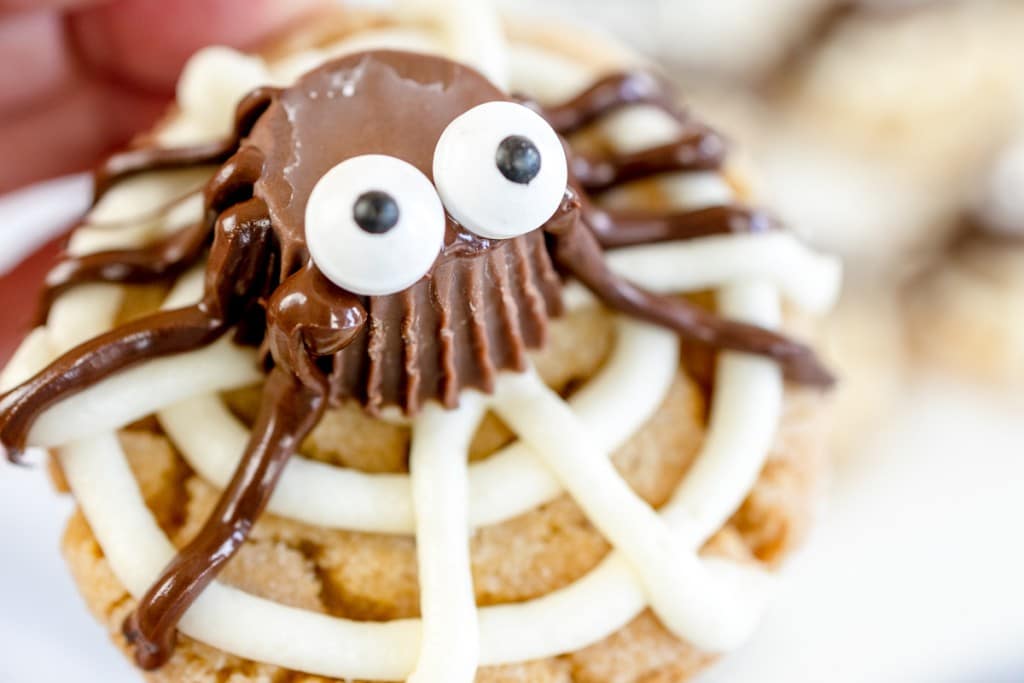
We'll be adding a vanilla frosting spider's web, and turning the Reese's miniatures Peanut Butter Cups into spiders with yummy melted chocolate spider legs and candy eyes.
It's that perfect combination of chocolate and peanut butter that will have everyone back for a second (or third) one!
For more fun Halloween Cookies, check out my No Bake Oreo Witches Hat Cookies, Halloween Pumpkin Sugar Cookies, Frankenstein Cookies with Peanut Butter Cups, Leftover Halloween Chocolate Candy Bar Cookies, and these Halloween Sugar Cookie Bars!
Ingredients for Halloween Spider Cookies
Wet Ingredients. Butter, Vanilla Extract, Egg, Creamy Peanut Butter
Dry Ingredients. All Purpose Flour, Granulated Sugar, Powdered Sugar, Brown Sugar, Baking Soda, Baking Powder, Salt
Extras. Mini Reese's Peanut Butter Cups, Candy Eyeballs, Vanilla Frosting, Milk Chocolate Chips
Spooky Halloween Spider Cookies
How to Make Delicious Peanut Butter Cookies
- Preheat Oven to 350F Degrees. Prepare cookie sheets with parchment paper.
- In a large mixing bowl using a hand mixer or using a stand mixer, combine Butter and Peanut Butter, creaming together until smooth.
- Add ½ cup Granulated Sugar and Brown Sugar to the butter mixture and cream ingredients making sure to scrape the sides of the mixing bowl as needed to include all ingredients.
- Mix in Egg and Vanilla Extract and cream ingredients for 2-3 minutes
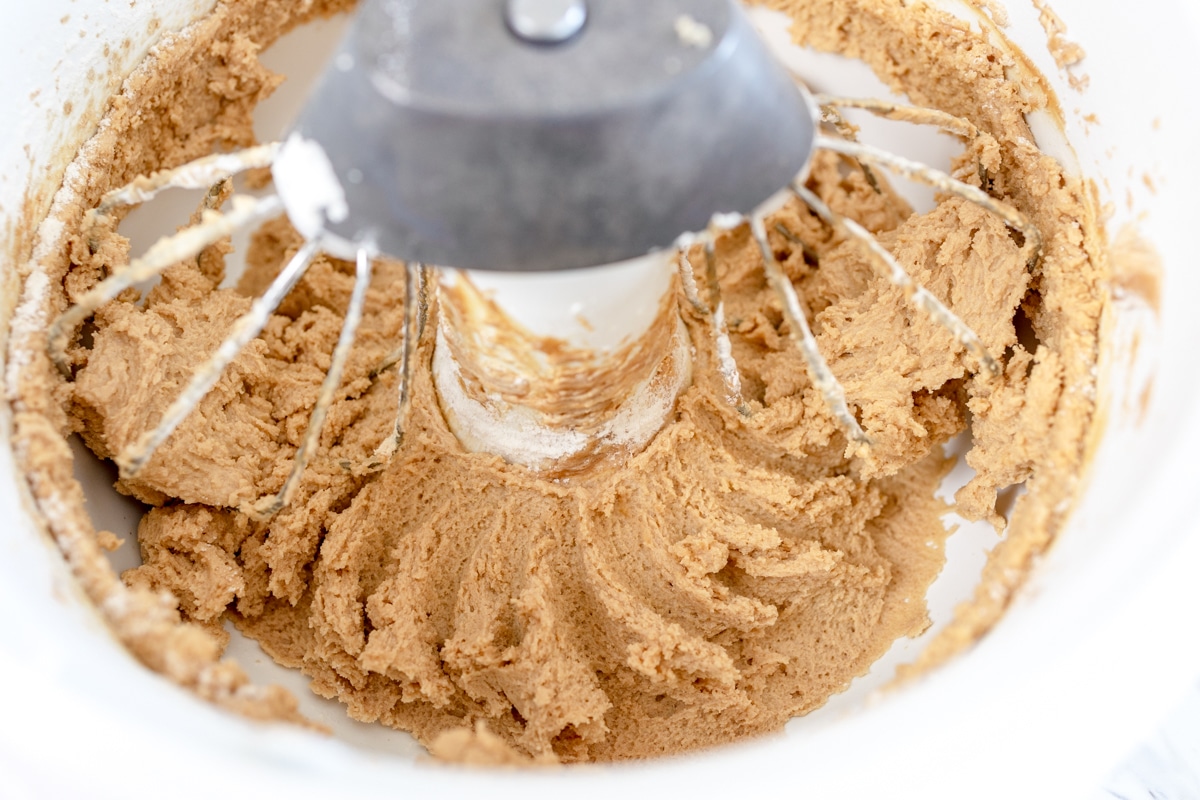
- Gradually add the dry ingredients of All-Purpose Flour, Baking Soda, and Baking Powder together until combined. Do not over-mix.
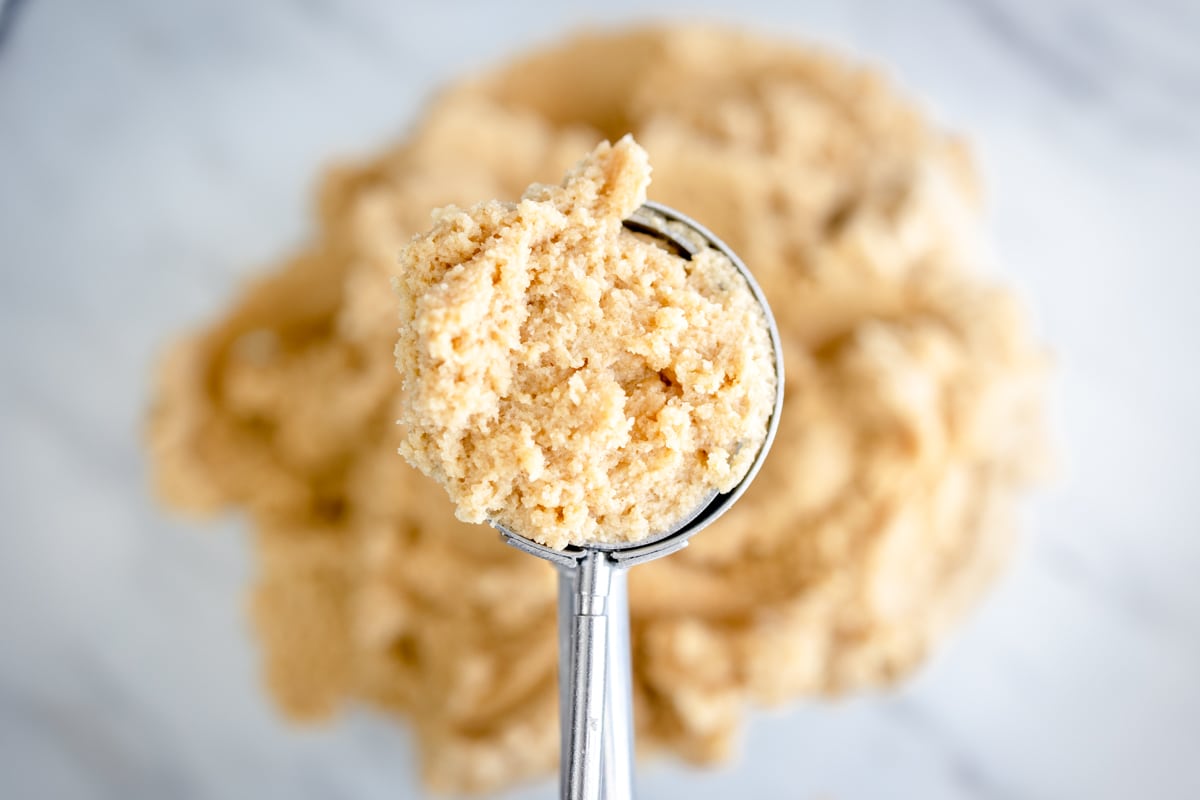
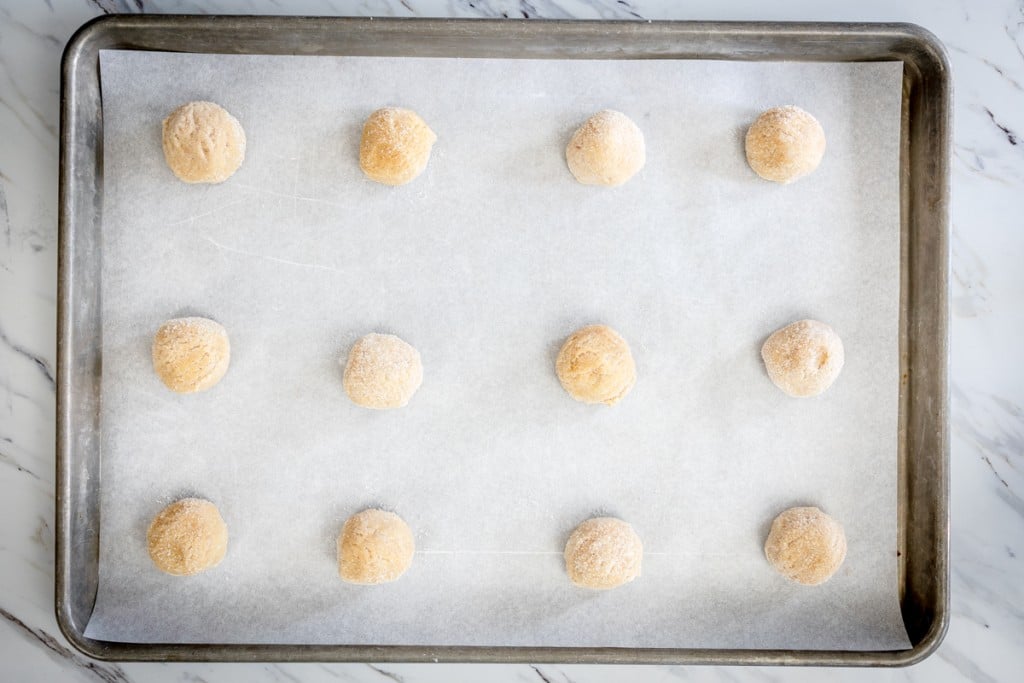
- Scoop cookie dough using a size #50 cookie scoop (1½ tablespoons) and roll in divided ¼ cup Granulated Sugar.
- Place on the baking sheet allowing at least 2 inches apart.
- Bake at 350F Degrees for 8-10 minutes or until edges are set. Do not overbake.
- Remove from oven and allow to cool on baking sheet for a couple of minutes before moving them to wire cooling rack.
- Allow cookies to cool completely before adding spider decor.
How Assemble Spider Cookies
- Unwrap the Mini Reese's Cups and set aside in a small bowl.
- Melt Chocolate chips in a microwave-safe bowl in the microwave and put it in a piping bag for the spider legs. Set it to one side.
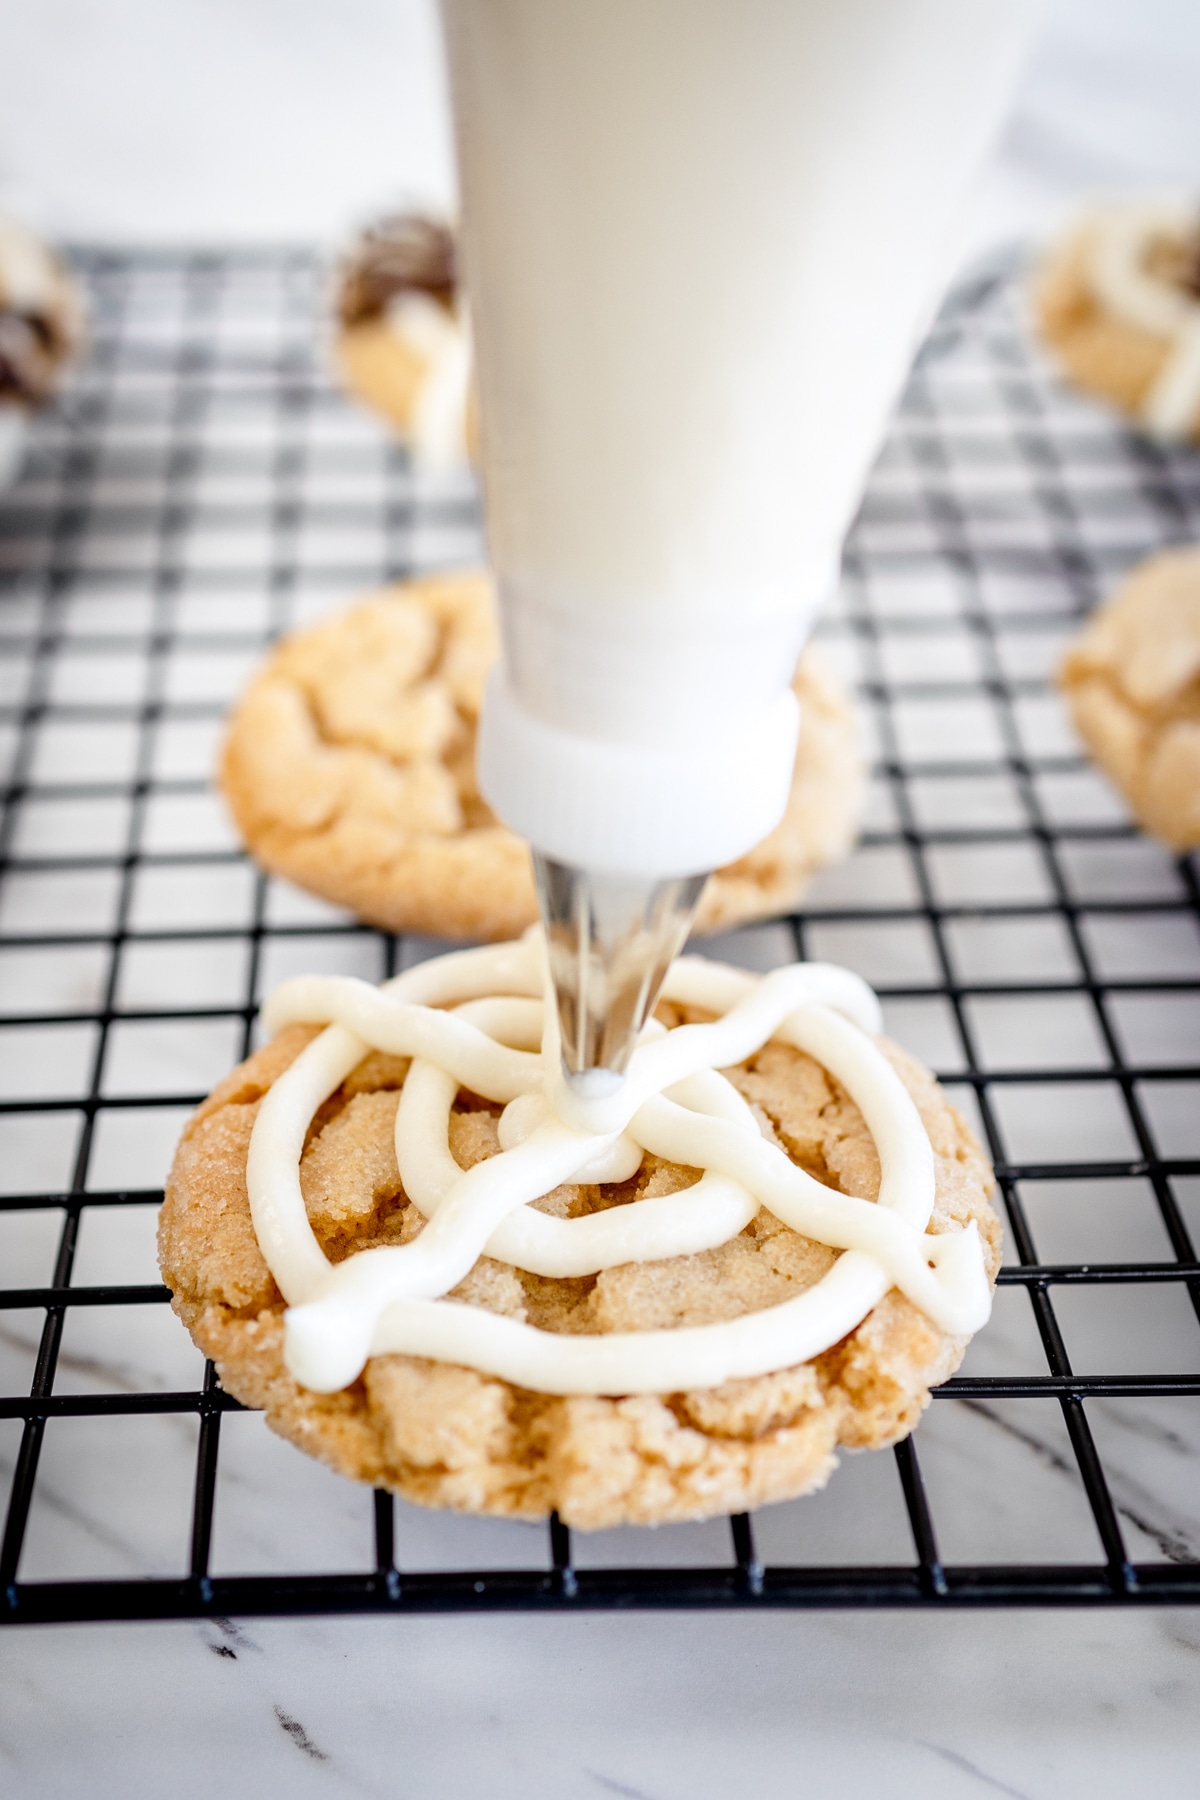
- Place Vanilla Frosting in a separate piping bag for the spider webs. Snip the corner and pipe 2 circles on the cookies. Put a small circle in the middle of each cookie and a larger circle towards the outside of the cookie.
- Then pipe lines of frosting to complete the spider web on each of the peanut butter cookies.
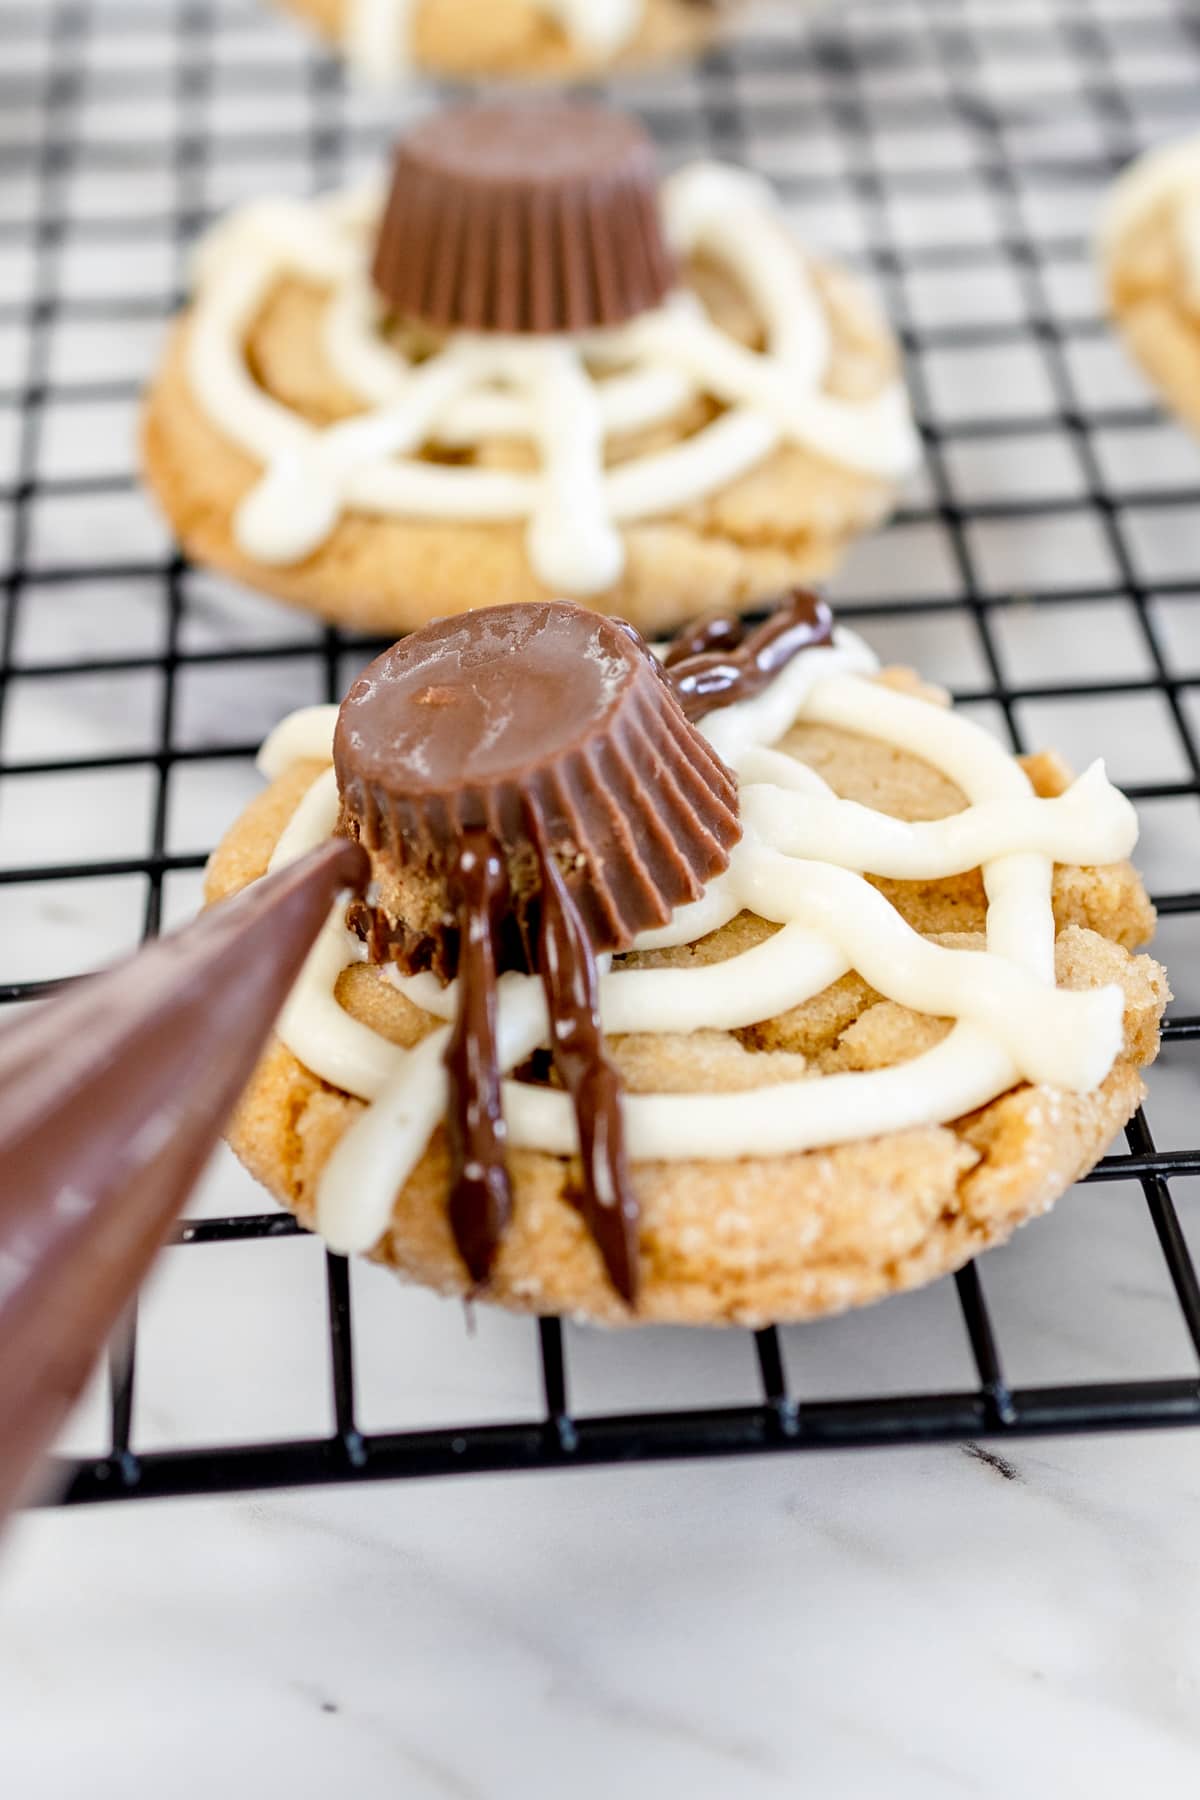
- Place a Mini Peanut Butter Cup in the middle of the spider's web on each cookie.
- Using melted chocolate, pipe 8 legs starting from the base of the peanut butter cup forming a spider.
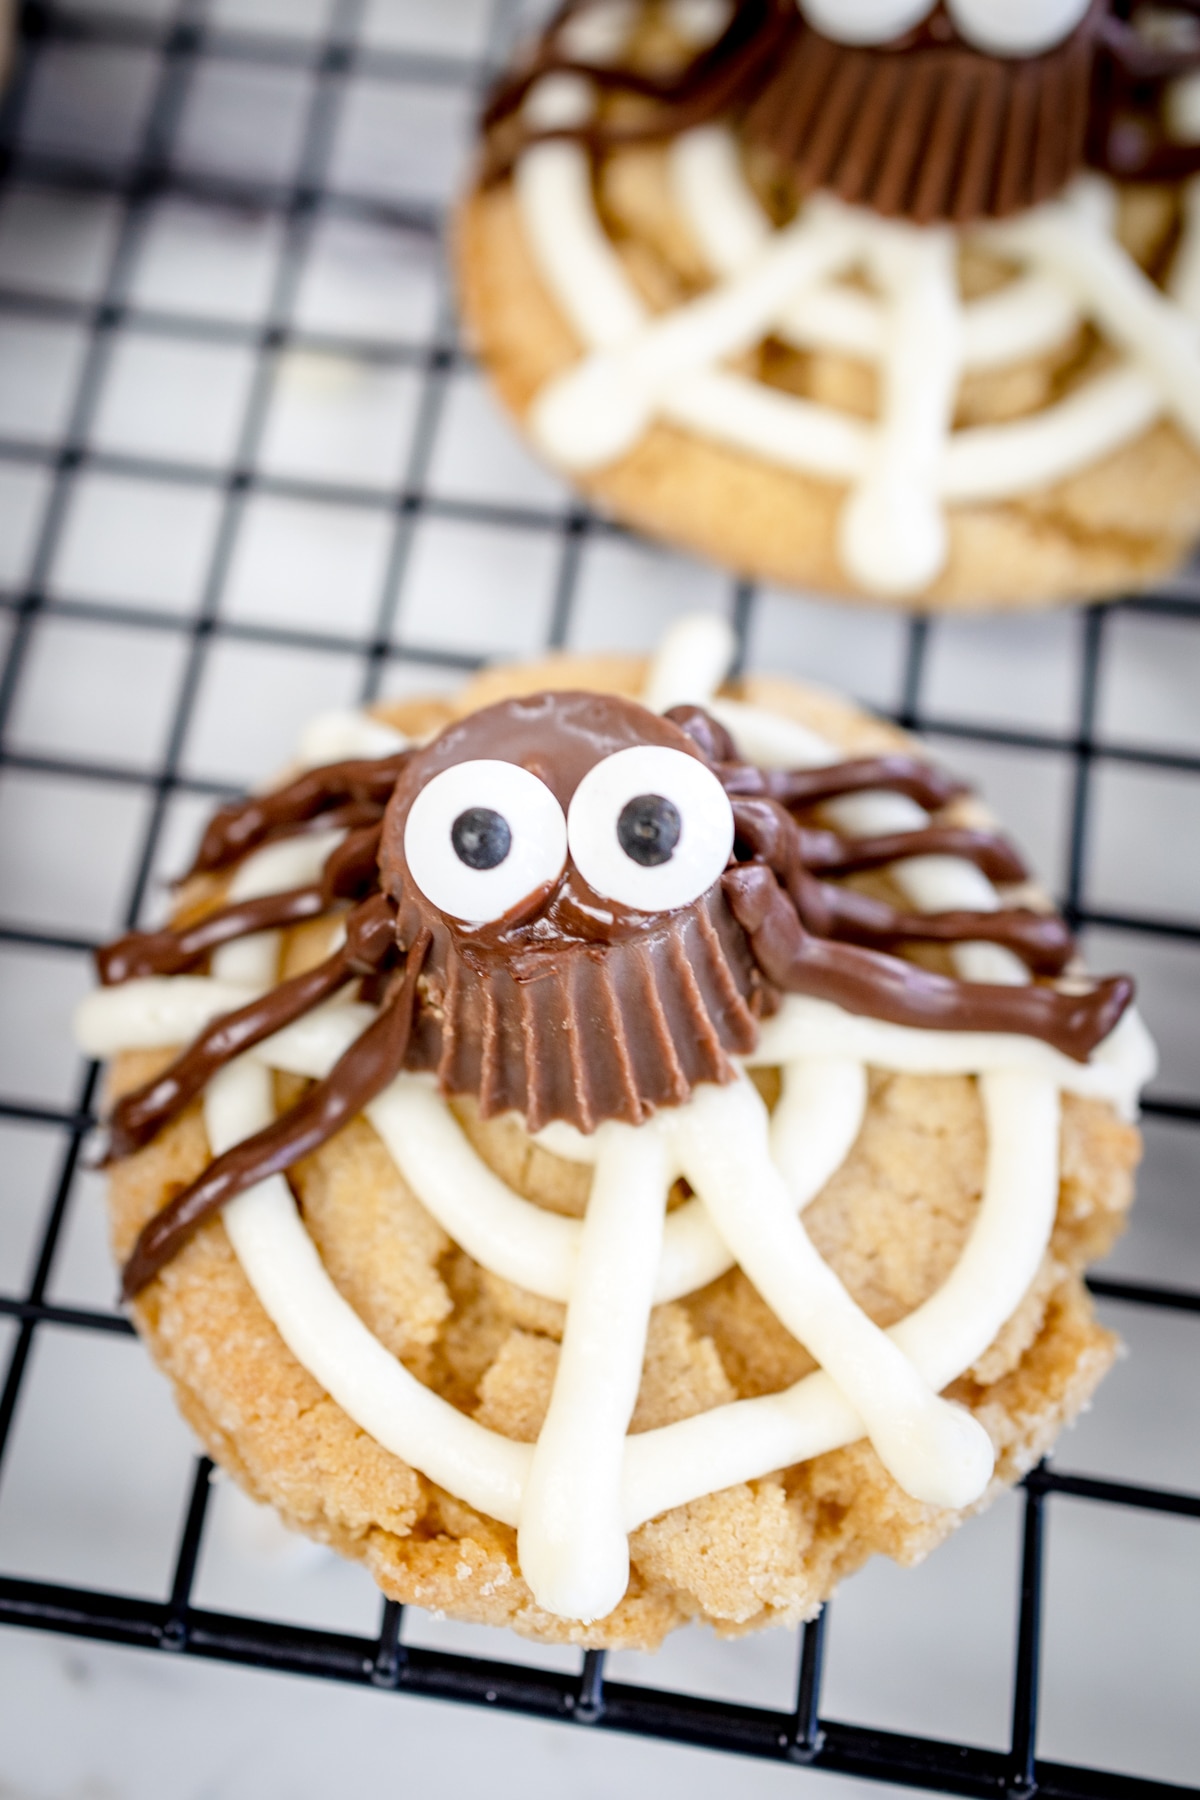
- Add 2 dots of melted chocolate onto the top of each mini peanut butter cup to attach candy eyeballs, then press candy eyes in place.
- You can serve your cookies right away, but make sure to allow the chocolate to set and the frosting to harden before storing them.
FAQs
Yes, you can experiment with sugar cookies or other cookie recipes if you prefer a different base for your spiders!
The chocolate usually takes a couple of minutes to set, but it can vary depending on the room temperature and the type of chocolate used. Pop them in the refrigerator to set if you're making these cookies in a warm kitchen.
Absolutely, you can make the cookies a day ahead of time and store them in an airtight container until you’re ready to serve. Check the storage instructions for more prolonged storage.
If you don’t have candy eyeballs, you can use small white chocolate chips or a small dot of white icing with a dot of dark chocolate or black icing in the center to create spider eyes.
Storage & Freezing
Storage: Store these Halloween treats once they have set in a single layer in an airtight container sealed removing as much air as possible. Cookies will stay fresh up to a week but are best if enjoyed within 3-4 days.
Freezing: You can make these cookies ahead of time and freeze them for up to 3 months. Let them set, then flash-freeze them in a single layer on a bsking sheet. Store them in a sealed container or Ziploc Freezer Bag. Place a layer of parchment paper between layers to prevent sticking while freezing.
Pro Tips
What makes a good cookie? Does it have a soft center and crispy edges, and is it chewy? Each of these makes a great quality cookie. To make perfect cookies every time here are some pro tips.
Weighing Ingredients.
Baking is a science and adding too much or too little of any of the ingredients will alter the recipe. Weighing and measuring dry ingredients properly makes a world of difference. Investing in a kitchen scale is ideal. When a kitchen scale is not available, make sure to stir and lift ingredients before scooping them into a measuring cup.
| Volume | Ounces | Grams | |
| All Purpose Flour | 1 Cup | 4½ Ounces | 120 Grams |
| Bread Flour | 1 Cup | 4½ Ounces | 120 Grams |
| Granulated Sugar | 1 Cup | 7 Ounces | 200 Grams |
| Brown Sugar | 1 Cup | 7½ Ounces | 213 Grams |
| Confectionary Sugar | 1 Cup | 4 Ounces | 113 Grams |
Baking Sheet.
Line the baking sheet with parchment paper or a silicone mat to prevent the cookies from sticking to it, and to give you an easier cleanup too!
Room Temperature Ingredients.
Softened Butter and Room Temperature Egg is best. Allow butter and egg to sit out for 1 hour before mixing ingredients together.
Measurements.
Weigh ingredients using a kitchen scale whenever possible. This is an ideal way to ensure proper measurements and consistent baking. If you’re using measuring cups or spoons, remember to lift and sift
Rolling in Sugar.
I love to roll these cookies in sugar. I find that the cookies flatten less and you get a nice sweet crispy outside of the cookie too.
Decorating with Precision
When creating the spider legs and attaching the eyes, a steady hand is key. Using a proper piping bag or a Ziploc bag with a small corner cut off can help in applying the melted chocolate with precision. Use a toothpick to straighten the legs as needed. Allow the chocolate to set completely before moving the cookies to ensure the decorations stay intact.
Baking Time.
Cookies need only baked until the edges are set and the center is no longer glossy. Over-baking will result in dry hard cookies. Cookies will continue to bake as they cool on the cookie sheet.
- Kitchen Scale. I use this for accuracy in measuring, and it's a lifesaver when it comes to consistent baking.
- Wire Rack for cooling cookies. I like to have at least two cooling racks.
- Mixing Bowls. A Large Mixing Bowl for mixing ingredients and small and medium mixing bowls for other ingredients.
- Cookie Sheet. Most recipes will take two batches to bake. It's great to have multiple baking sheets available.
- Parchment Paper or Silicone Baking Mat. Line the Cookie Sheet with parchment paper for easy cleanup and to prevent sticking.
- Cookie Scoop. A small #60 Cookie Scoop or a Medium Cookie Scoop #50 are great choices for uniform drops of cookie dough.
- Storage Container. An Airtight Container to store cookies or a Ziploc Bag works great too.
- Additional supplies. Measuring Cups and Measuring Spoons along with a silicone spatula, are all helpful.
To find out more, check out my Pro Tips Guide for making the best cookies every time!
Have you tried this easy Halloween Spider Cookies recipe?
Let me know what you think of this recipe! Tag @bestcookierecipes on social media so I can see how great your cookies turned out! I would also love to read your comments below. Let me know what you think of these cookies. It really does help!
More Easy Halloween Recipes
- Pumpkin Chocolate Chip Cookies
- Orange Pumpkin Cookies
- Gideon's Bakehouse Frankenstein Cookies
- Candy Corn Cookies
- No Bake Ghost Nutter Butter Cookies
- Halloween M&M Cookies
Peanut Butter Cup Spider Cookies Recipe
Ingredients
- ½ cup Butter Softened
- ½ cup Peanut Butter
- ¾ cup Granulated Sugar 150g *Divided
- ½ cup Brown Sugar 106g
- 1 Egg Large
- 1 teaspoon Vanilla Extract
- 1¼ cups All Purpose Flour 150g
- ½ teaspoon Baking Powder
- ½ teaspoon Baking Soda
- 36 Mini Reese's Peanut Butter Cups
- Candy Eyeballs
- Vanilla Frosting
- ¾ cup Chocolate Chips Melted
Instructions
How to Make Delicious Peanut Butter Cookies
- Preheat Oven to 350F Degrees. Prepare cookie sheets with parchment paper.
- In a large mixing bowl using a hand mixer or using a stand mixer, combine Butter and Peanut Butter, creaming together until smooth.
- Add ½ cup Granulated Sugar and Brown Sugar to butter mixture and cream ingredients making sure to scrape sides of mixing bowl as needed to include all ingredients.
- Mix in Egg and Vanilla Extract and cream ingredients for 2-3 minutes
- Gradually add the dry ingredients of All-Purpose Flour, Baking Soda and Baking Powder together until combined. Do not over mix.
- Scoop cookie dough using a size #50 cookie scoop (1½ tablespoon) and roll in divided ¼ cup Granulated Sugar. Place on the baking sheet allowing at least 2 inches apart.
- Bake at 350F Degrees for 8-10 minutes or until edges are set. Do not over bake.
- Remove from oven and allow to cool on baking sheet for a couple minutes before moving them to wire cooling rack.
- Allow cookies to cool completely before adding spider decor.
How Assemble Spider Cookies
- Unwrap the Mini Reese's Cups and set aside in a small bowl.
- Melt Chocolate chips in a microwave-safe bowl in the microwave and put it in a piping bag for the spider legs. Set it to one side.
- Place Vanilla Frosting in a seperate piping bag for the spider webs. Snip the corner and pipe 2 circles on the cookies. Put a small circle in the middle of each cookie and a larger circle towards the outside of the cookie.
- Then pipe lines of frosting making a spider web on peanut butter cookie.
- Place a Mini Peanut Butter Cup in the middle of the spiders web on each cookie.
- Using melted chocolate, pipe 8 legs starting from the base of the peanut butter cup forming a spider.
- Add 2 dots of melted chocolate onto the top of each mini peanut butter cup to attach candy eyeballs, then press candy eyes in place.
- You can serve your cookies right away, but make sure to allow the chocolate to set and frosting to harden before storing them.
Notes
- Store: Store these Halloween treats once they have set in a single layer in an airtight container sealed removing as much air as possible. Cookies will stay fresh for up to a week but are best if enjoyed within 3-4 days.
- Freezing: You can make these cookies ahead of time and freeze them for up to 3 months. Let them set, then flash-freeze them in a single layer on a baking sheet. Store them in a sealed container or Ziploc Freezer Bag. Place a layer of parchment paper between layers to prevent sticking while freezing.



Submit a Comment