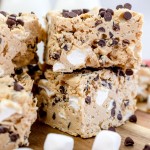
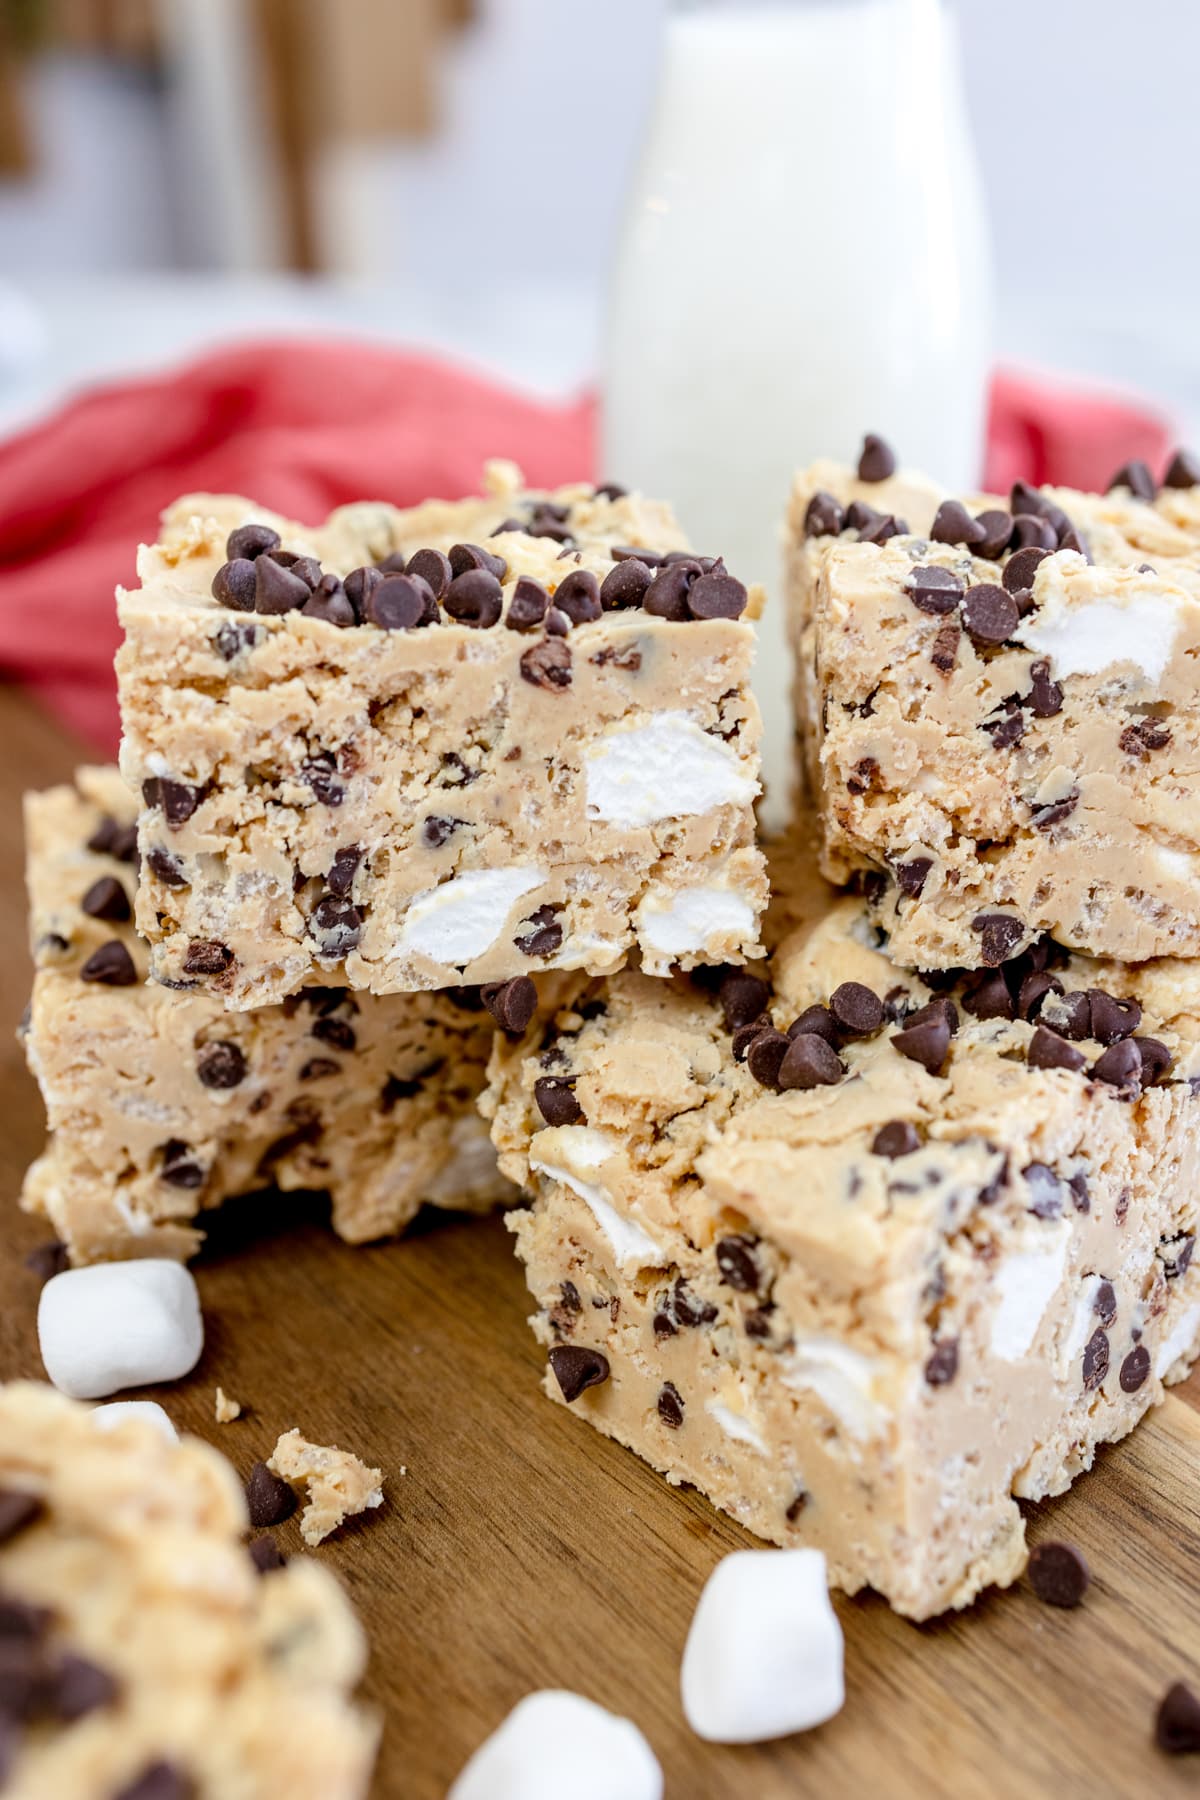
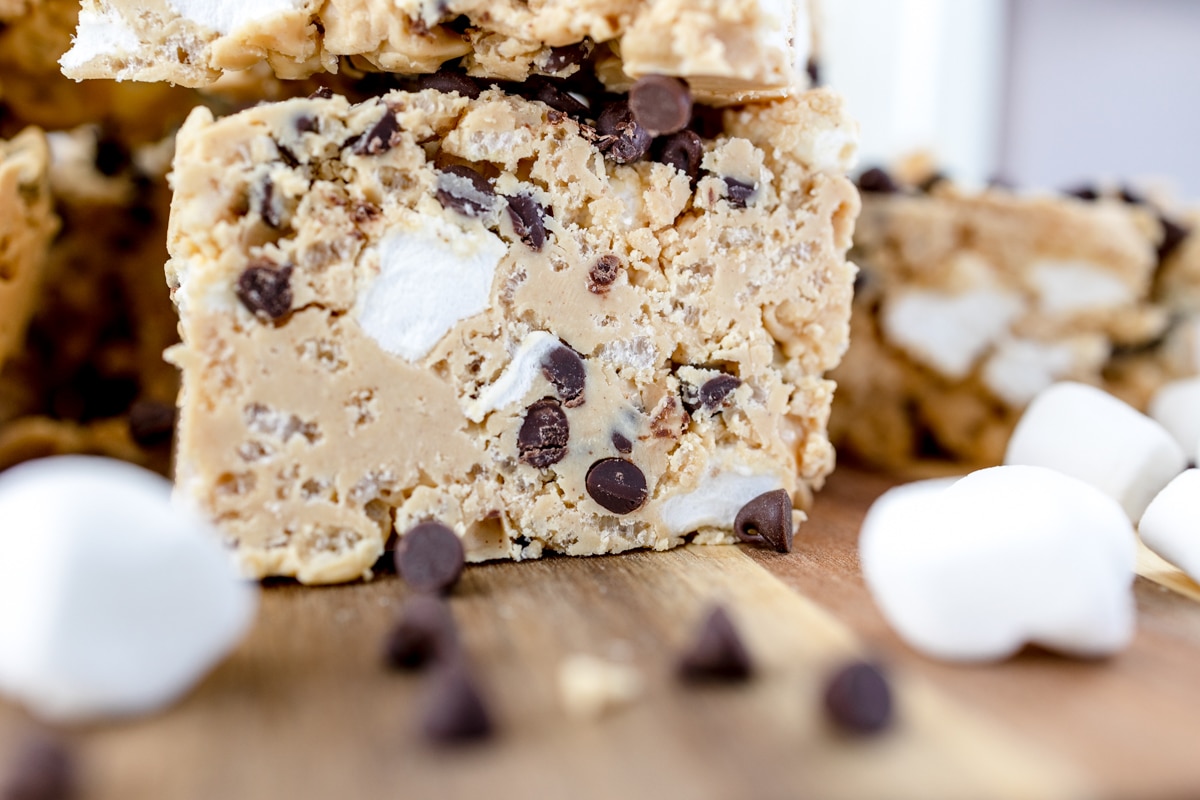
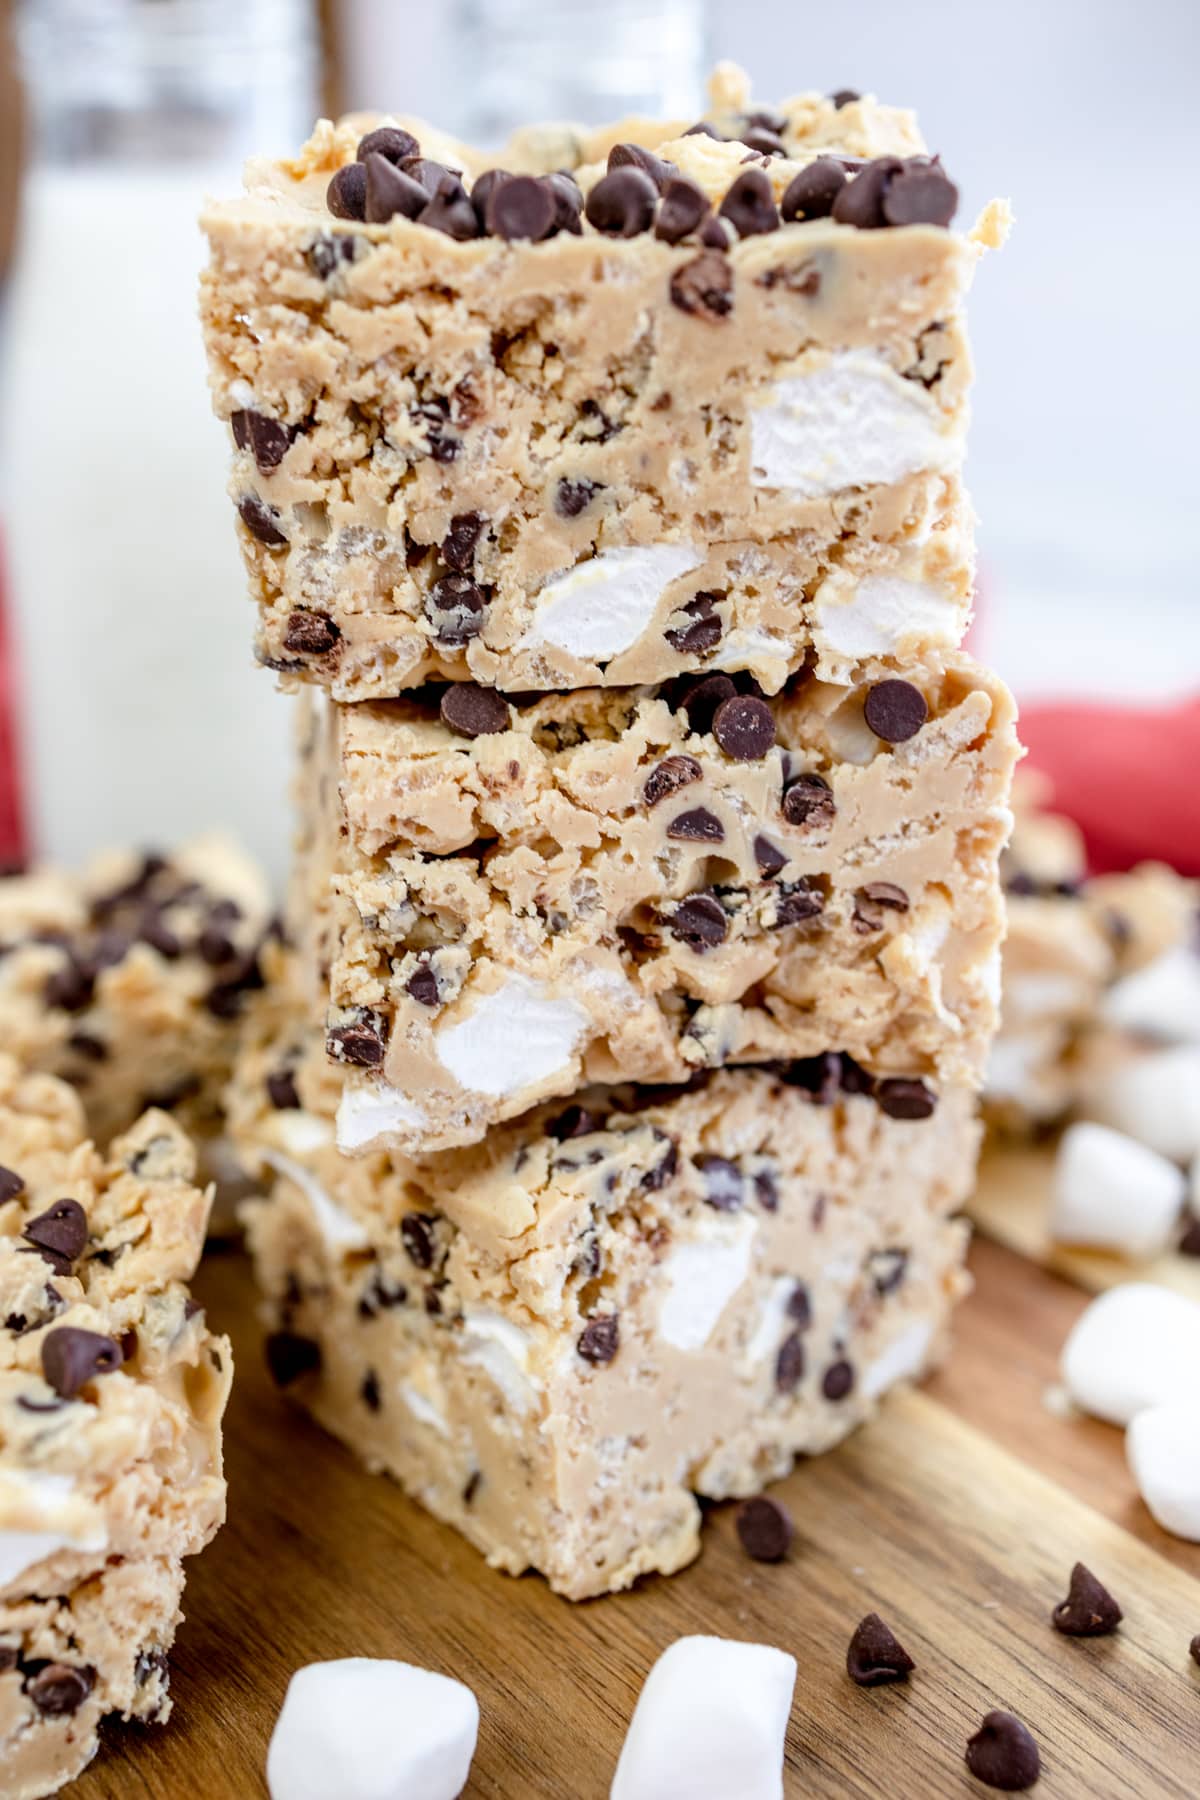
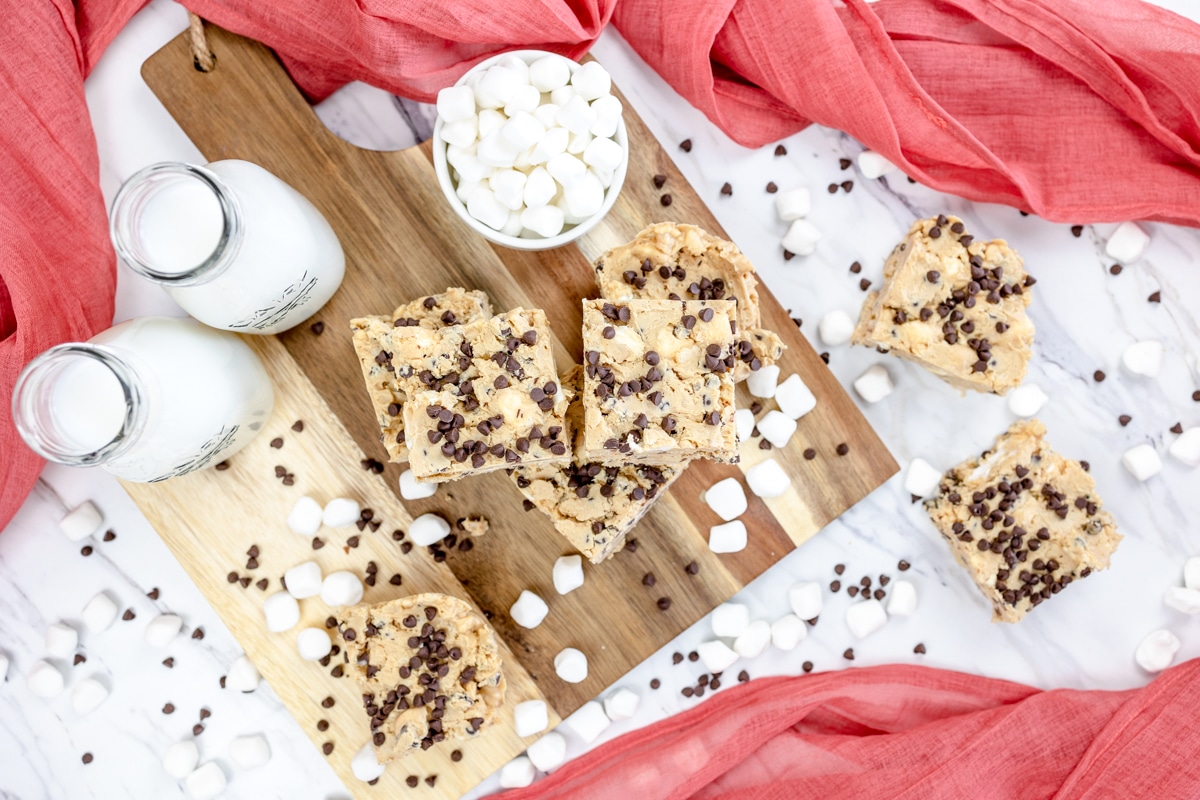
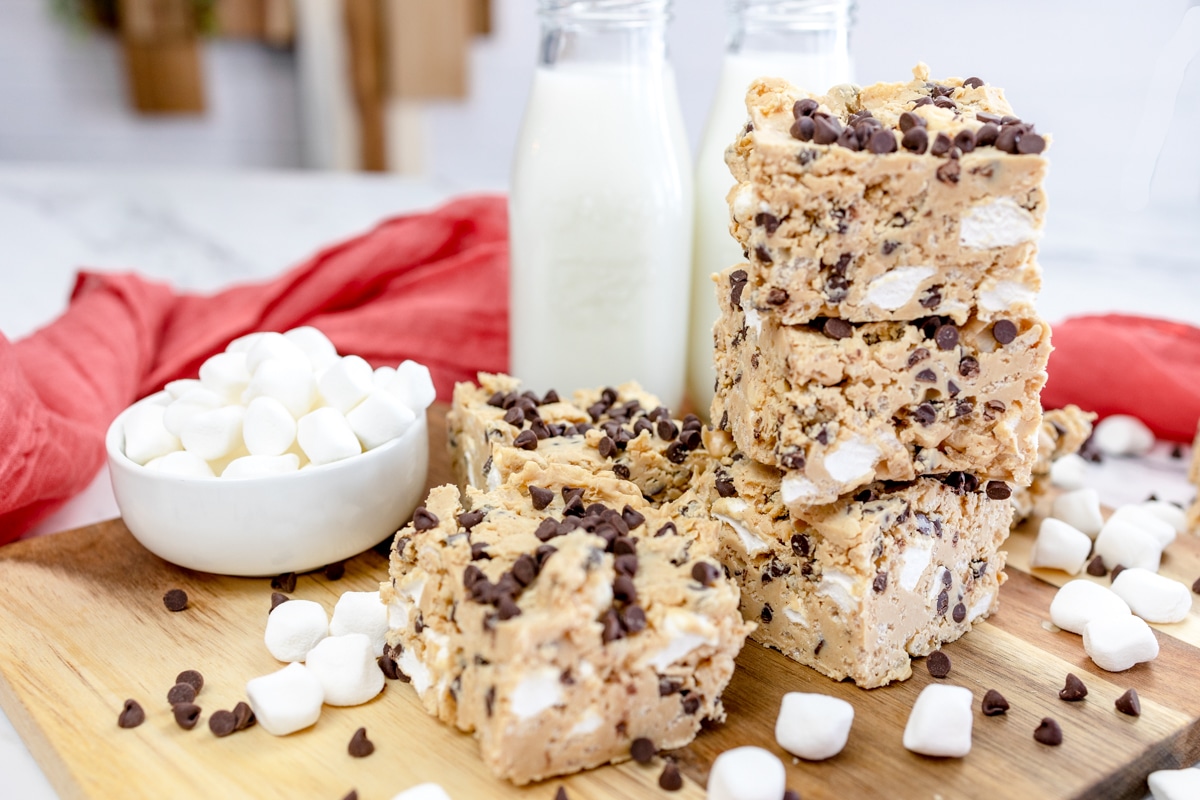
These delicious and super easy no-bake Avalanche Bars are made with Almond Bark, Peanut Butter, Mini Marshmallows, and Rice Krispie cereal topped with Mini Milk Chocolate Chips!
If you love a classic treat like Rocky Road or Rice Krispies Treats but have never heard of Avalanche Bars then today is the best day!
These bars are a mash-up between Rice Krispie treats, peanut butter fudge, with a little bit of Rocky Road magic, and it's genius.
The idea hails from the Rocky Mountain Chocolate Factory, a sweet shop originating in Colorado, but has become popular all over the States in more recent years.
I've already brought you my No Bake Avalanche Cookies, but this bar version is super handy for making small treats to fit in lunchboxes or on your holiday cookie tray.
There's also no messing around making cookie shapes from a gooey, marshmallow mixture here, and maybe that's the best thing!
This simple recipe for No Bake Avalanche Bars is perfect for any occasion, and it's great for making treats ahead of time too as they keep great for up to a week.
If you love marshmallow treats, you might also love my Rocky Road Cookies, these Strawberry Magic Bars, or my Lucky Charms Cookies!
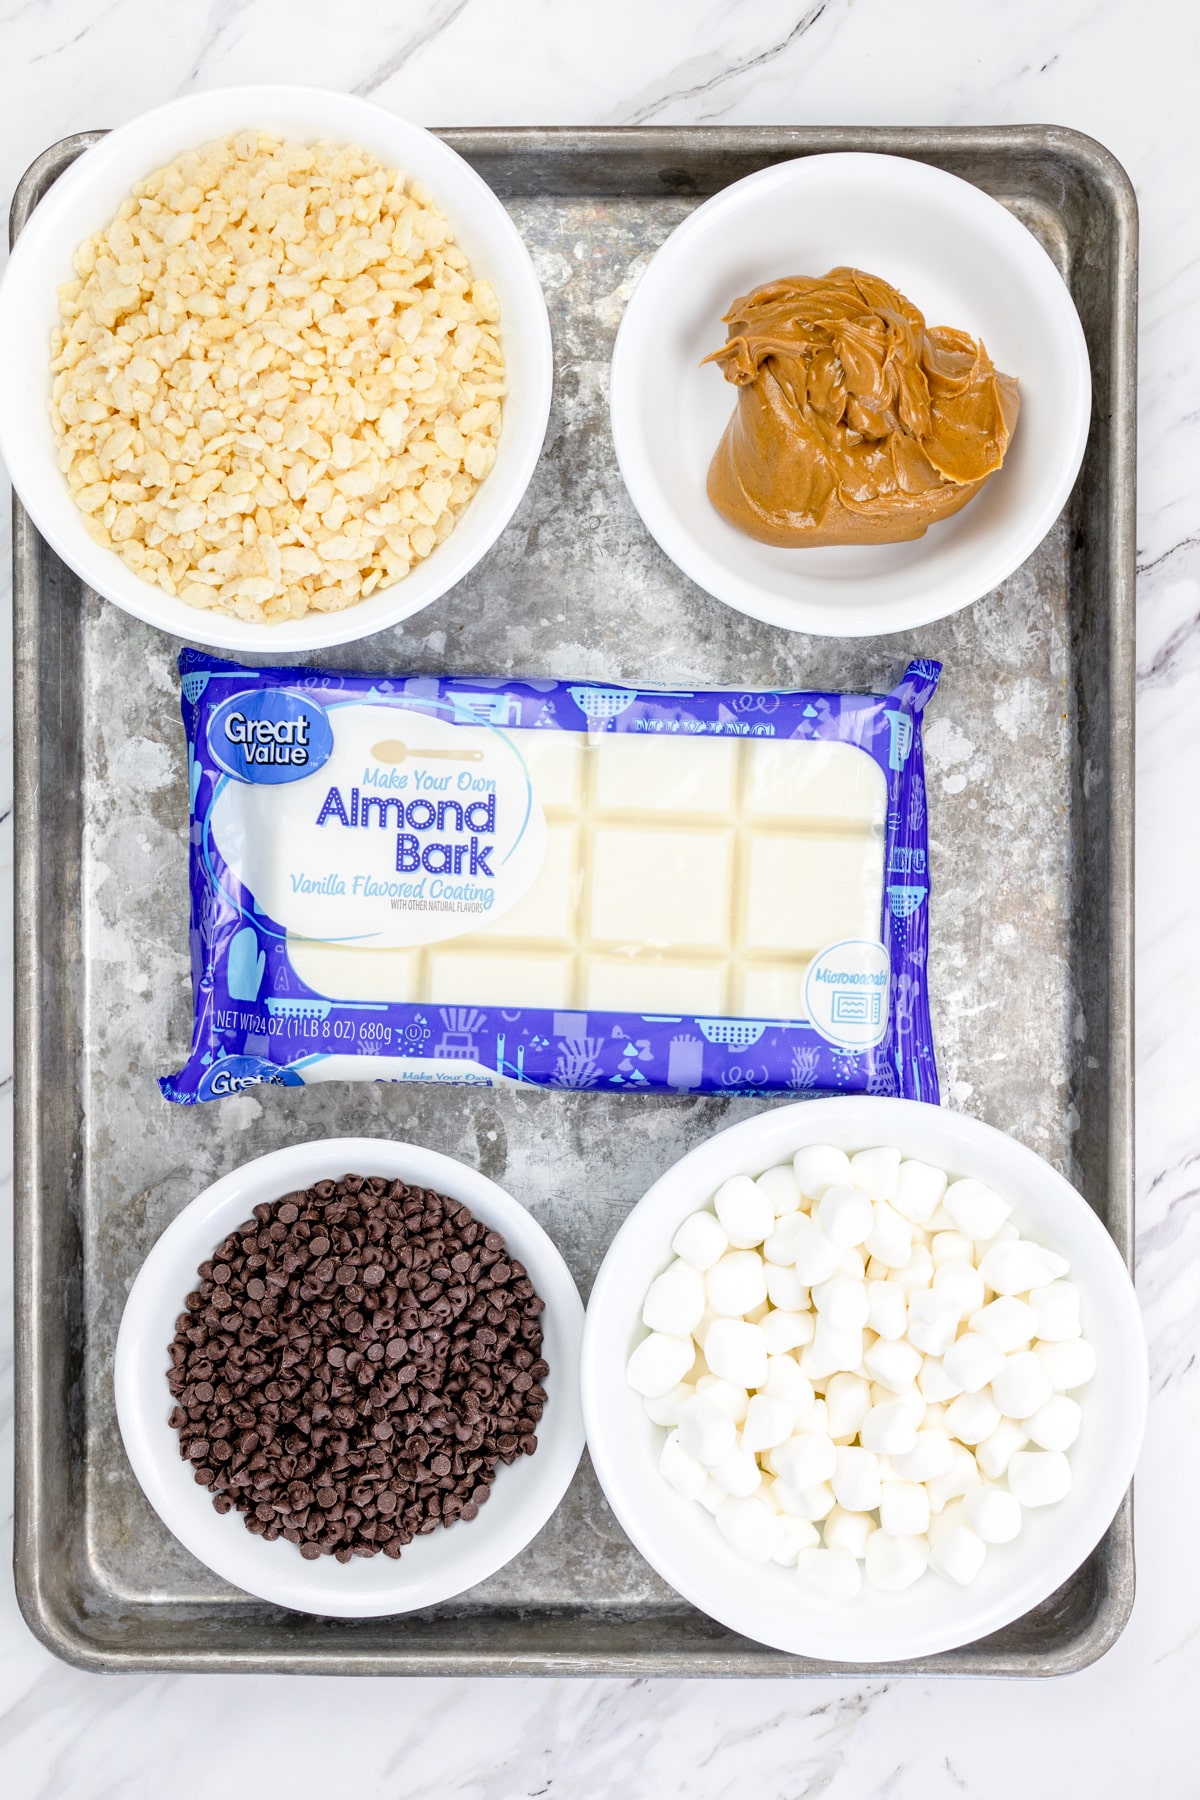
Shopping List
Wet Ingredients. Creamy Peanut Butter
Dry Ingredients. Rice Krispie Cereal
Candy. White Almond Bark, Mini Marshmallows, Mini Milk Chocolate Chips
How to Make Avalanche Bars
Start by placing Chocolate Chips and Marshmallows in Freezer for at least 30 minutes. This is very important so they don't melt when mixing ingredients together.
Line a 9x9 inch square baking pan with parchment paper or spray it with non-stick cooking spray.
Chop the Almond Bark into small pieces and place it all in a large microwave-safe bowl.
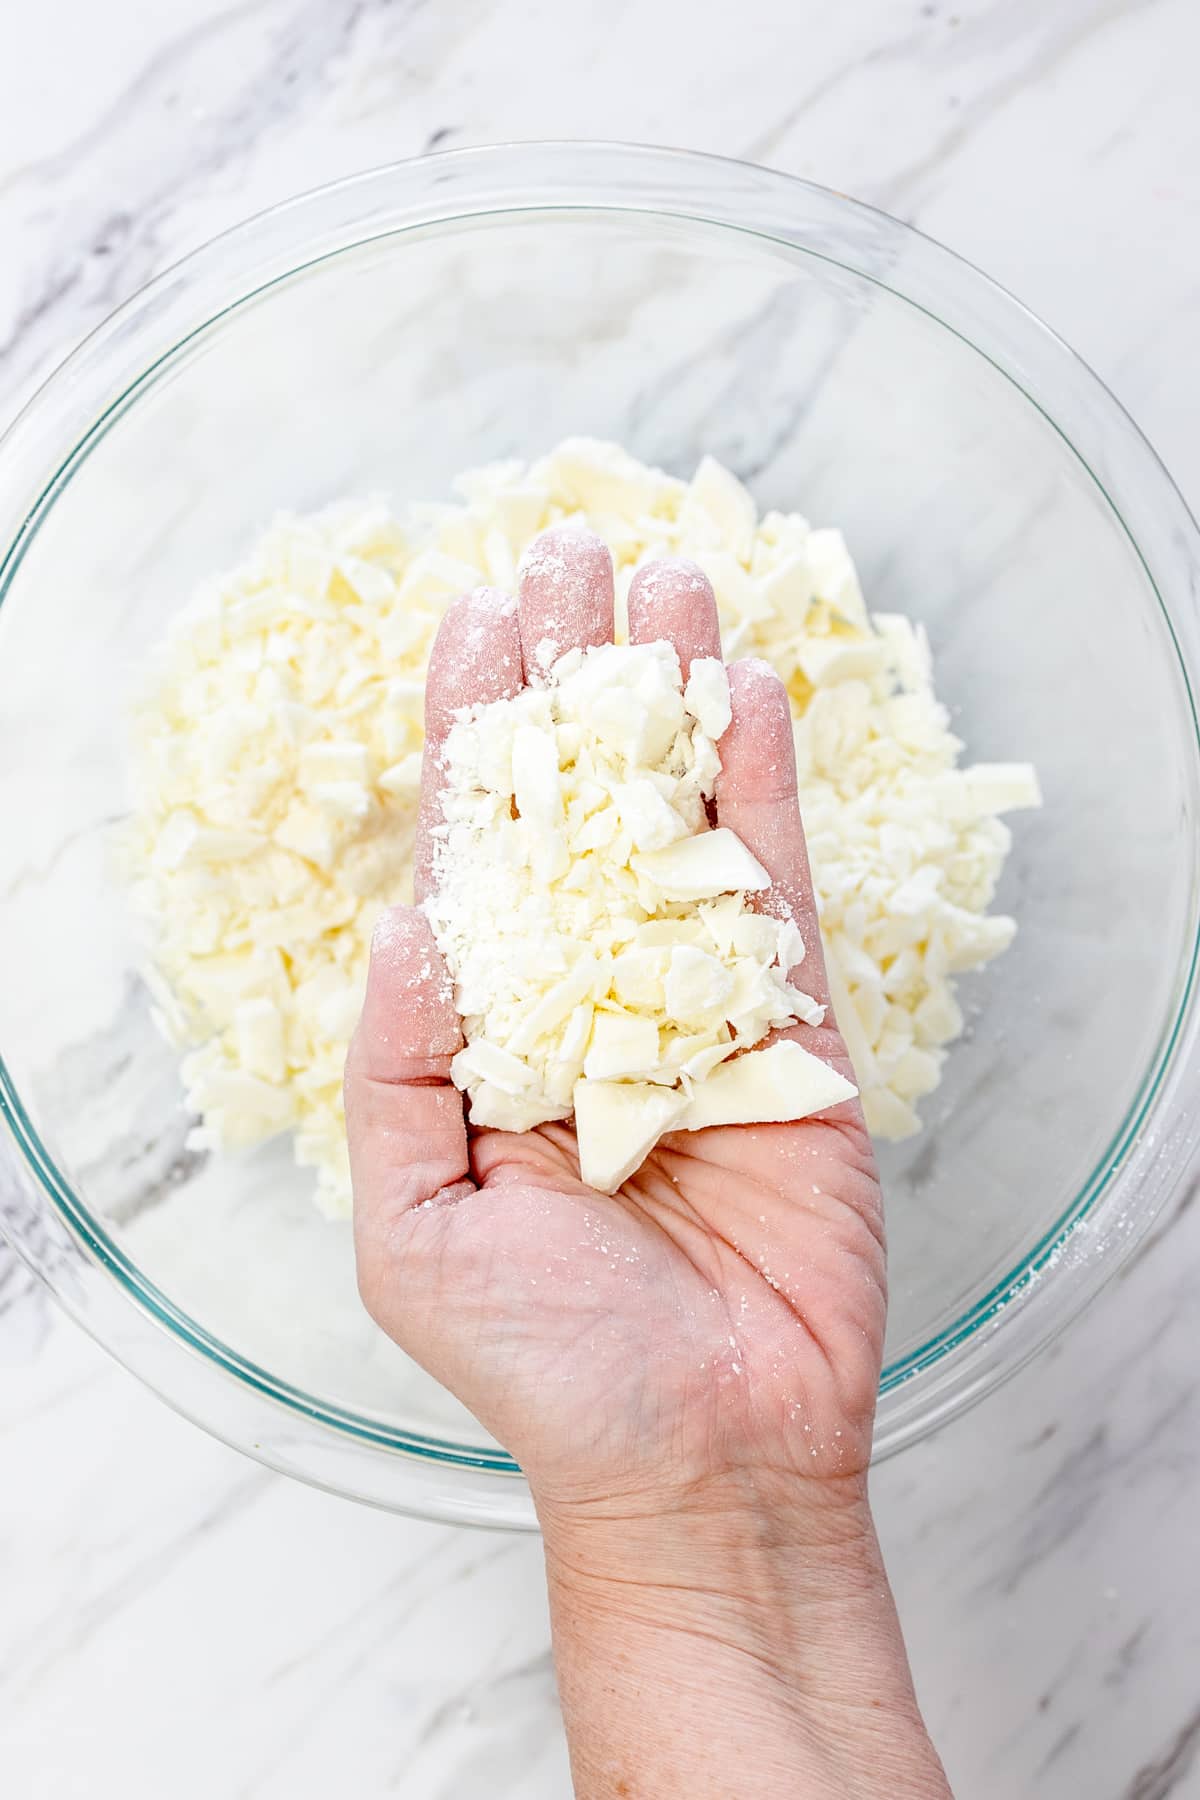
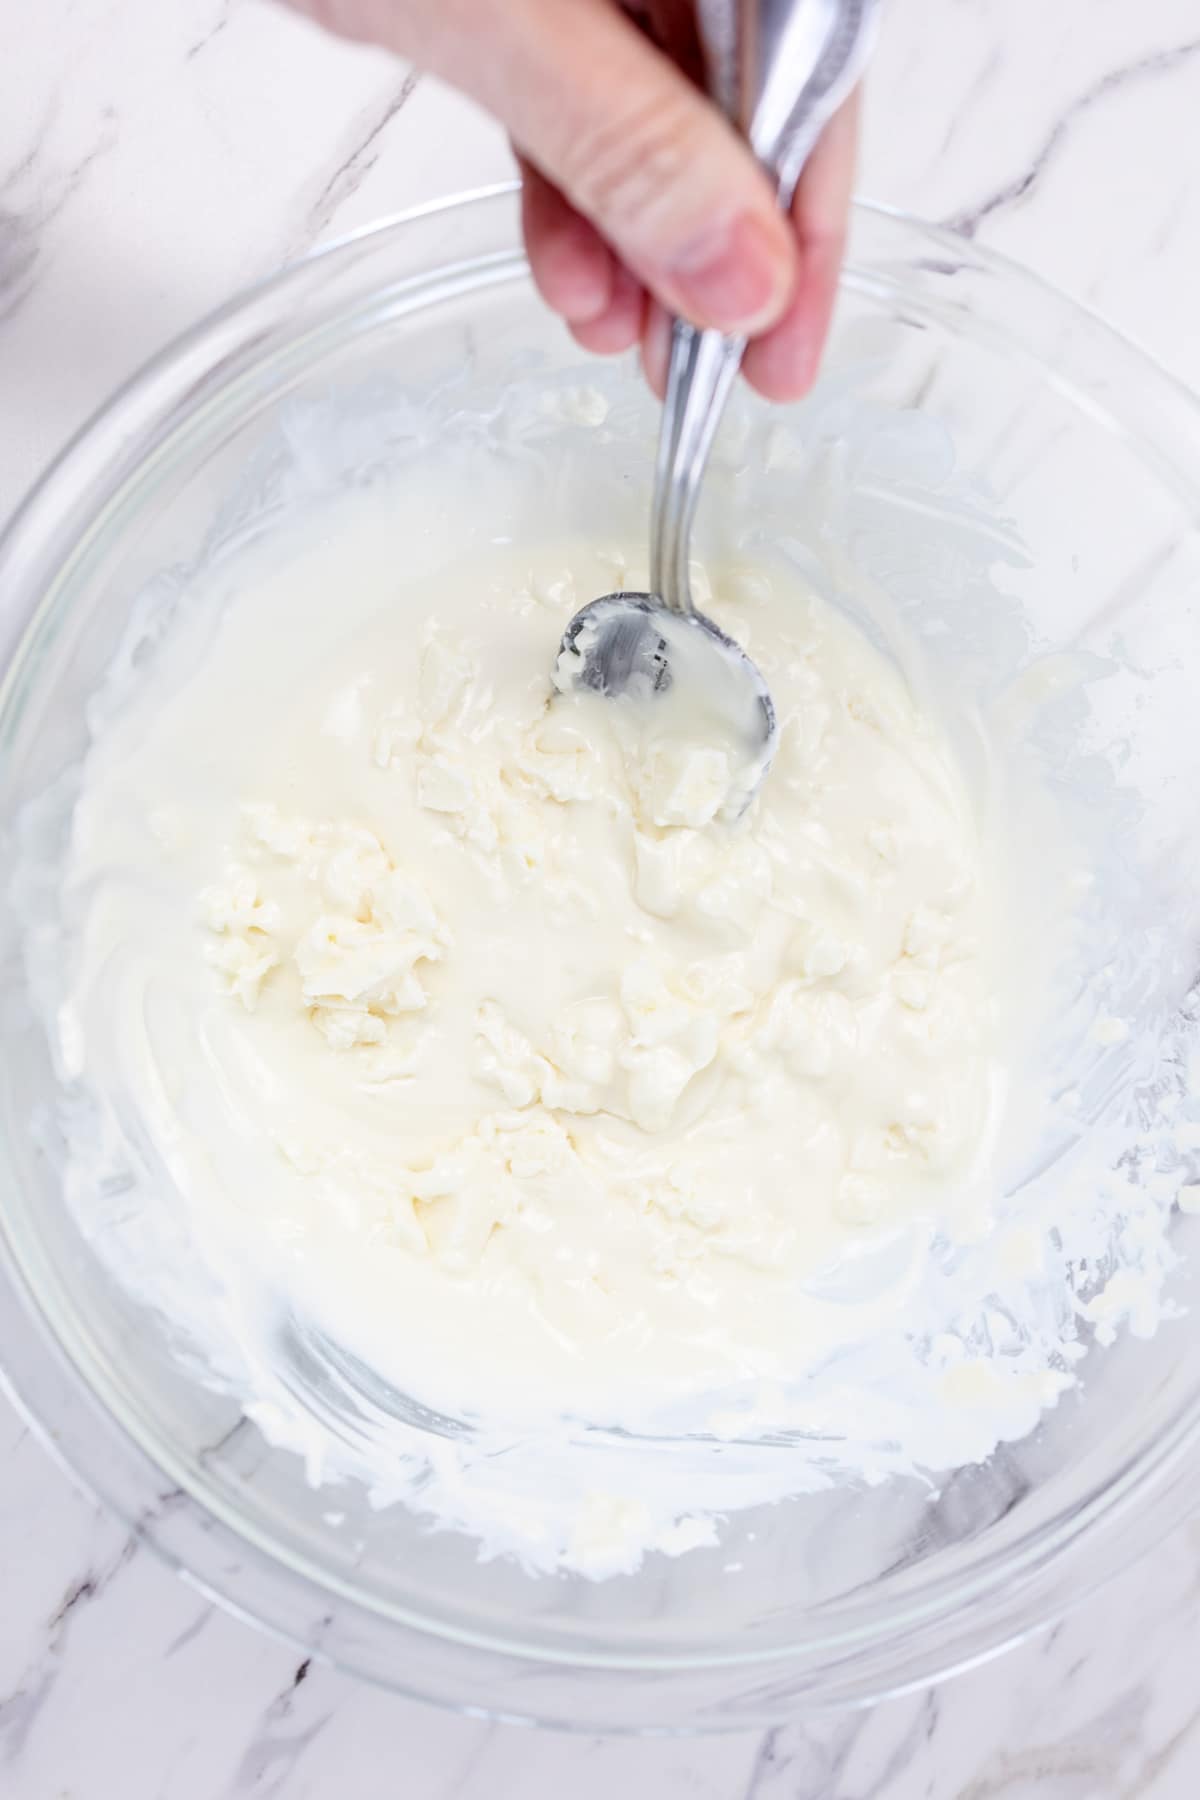
Microwave for 30 seconds and stir. Microwave for another 30 seconds and stir. Continue microwaving for a further 15 seconds, then stir it until smooth.
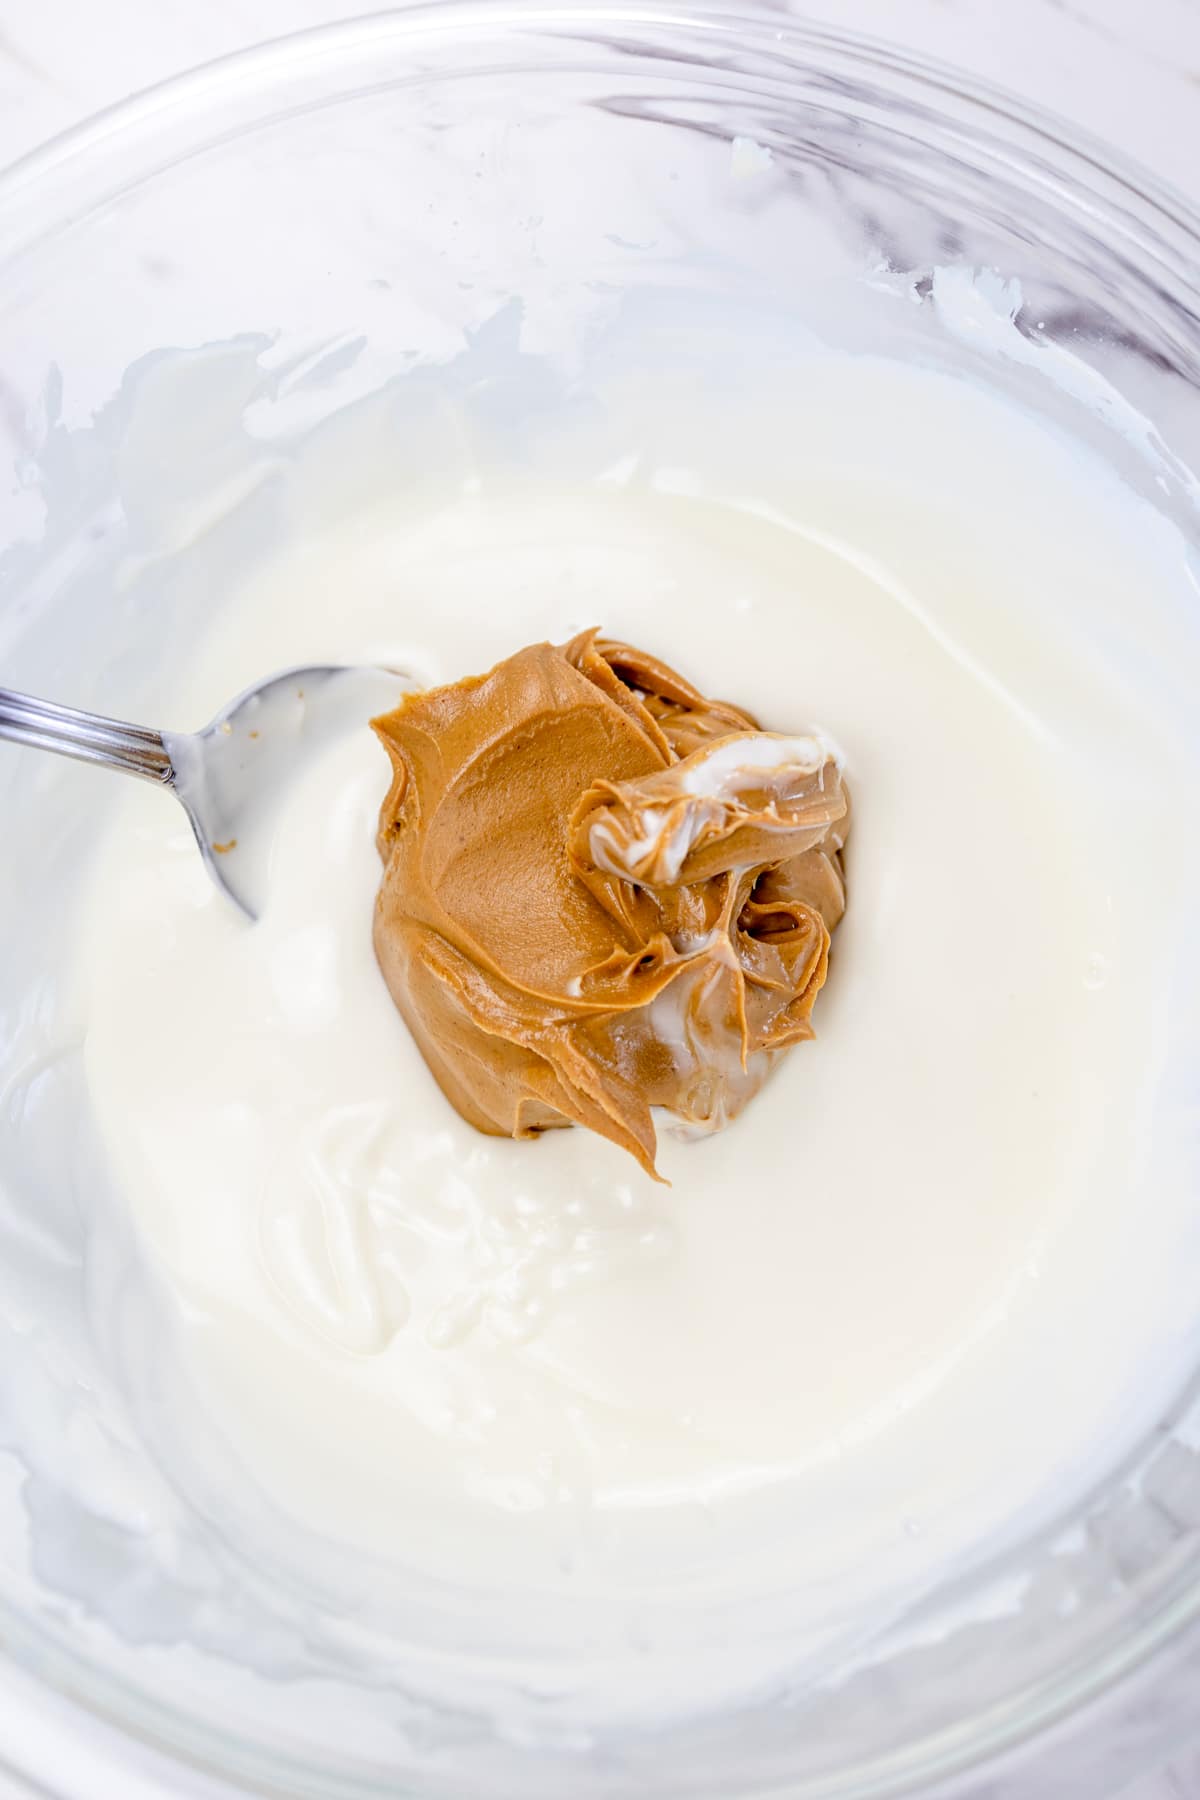
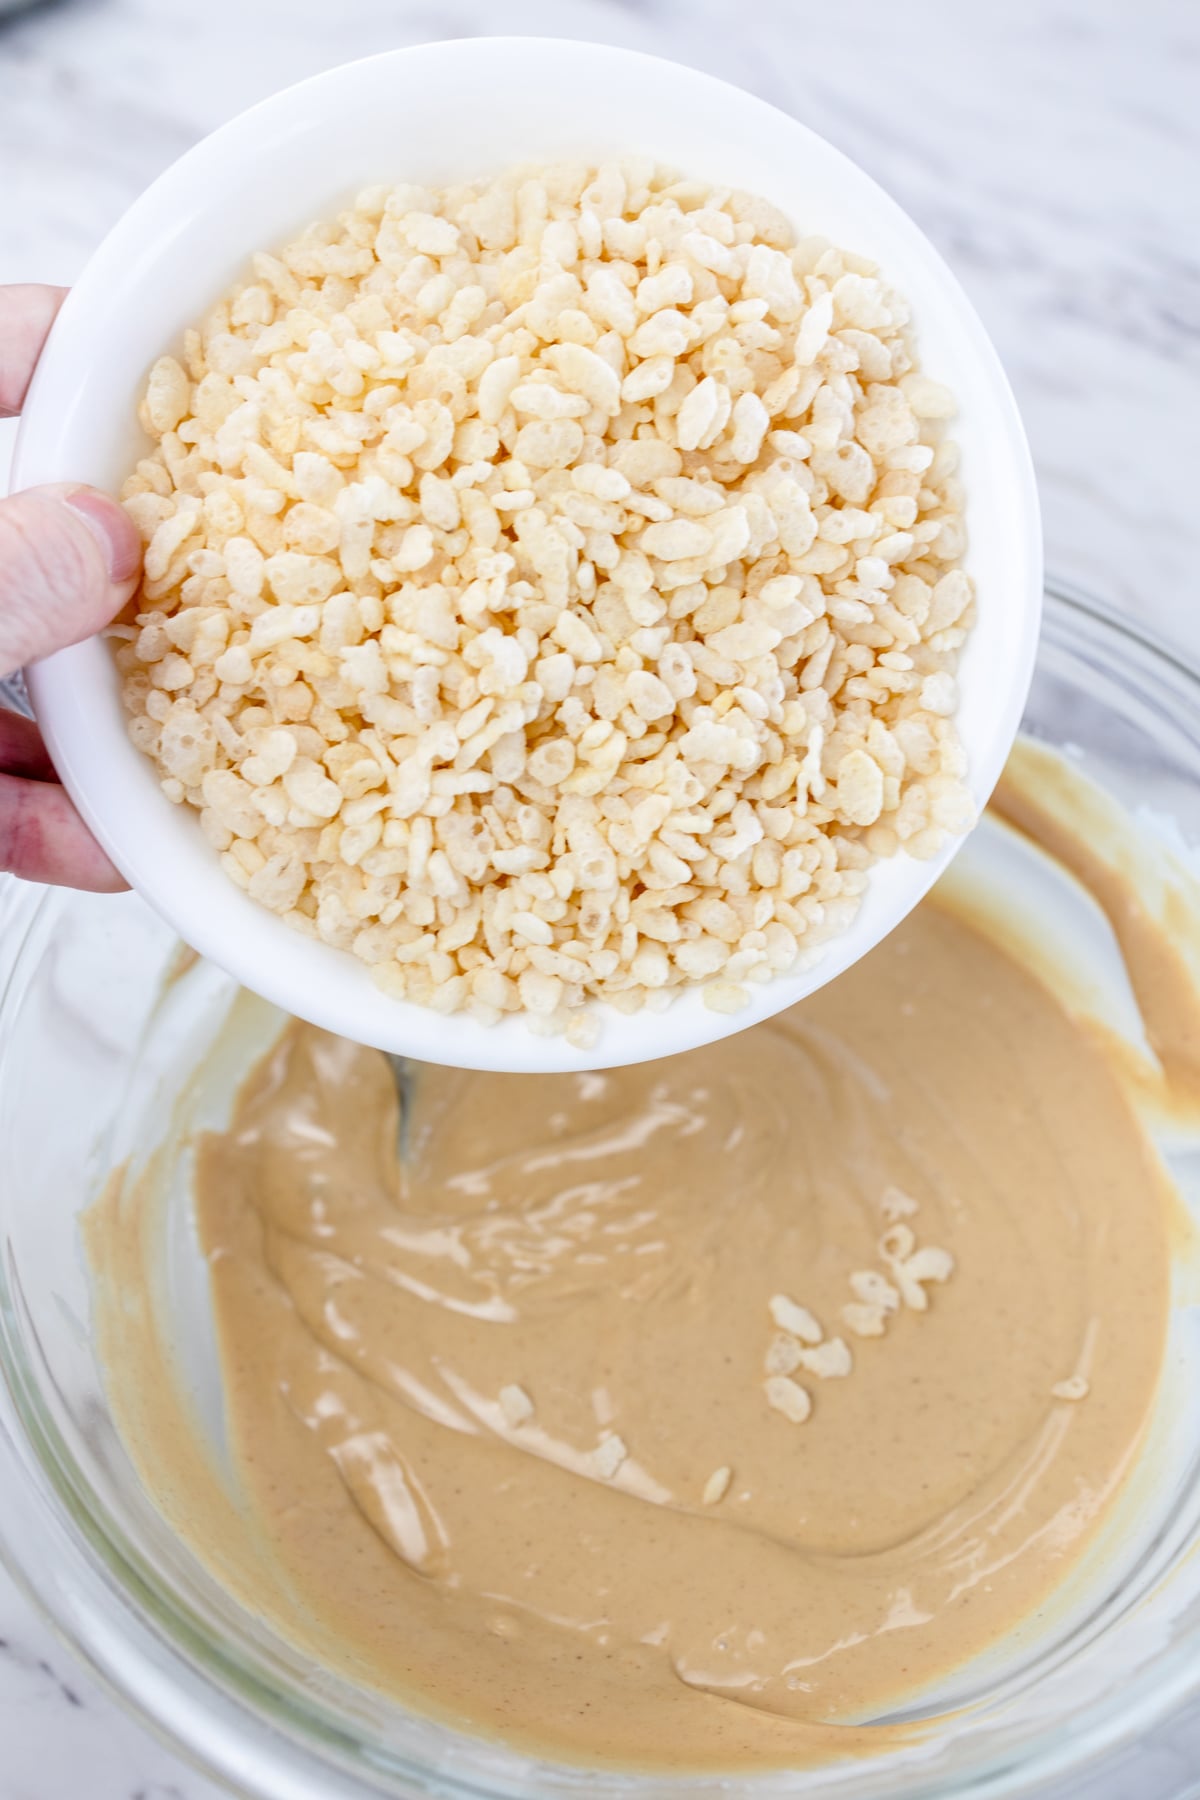
Stir Peanut Butter into melted Almond Bark and mix until smooth.
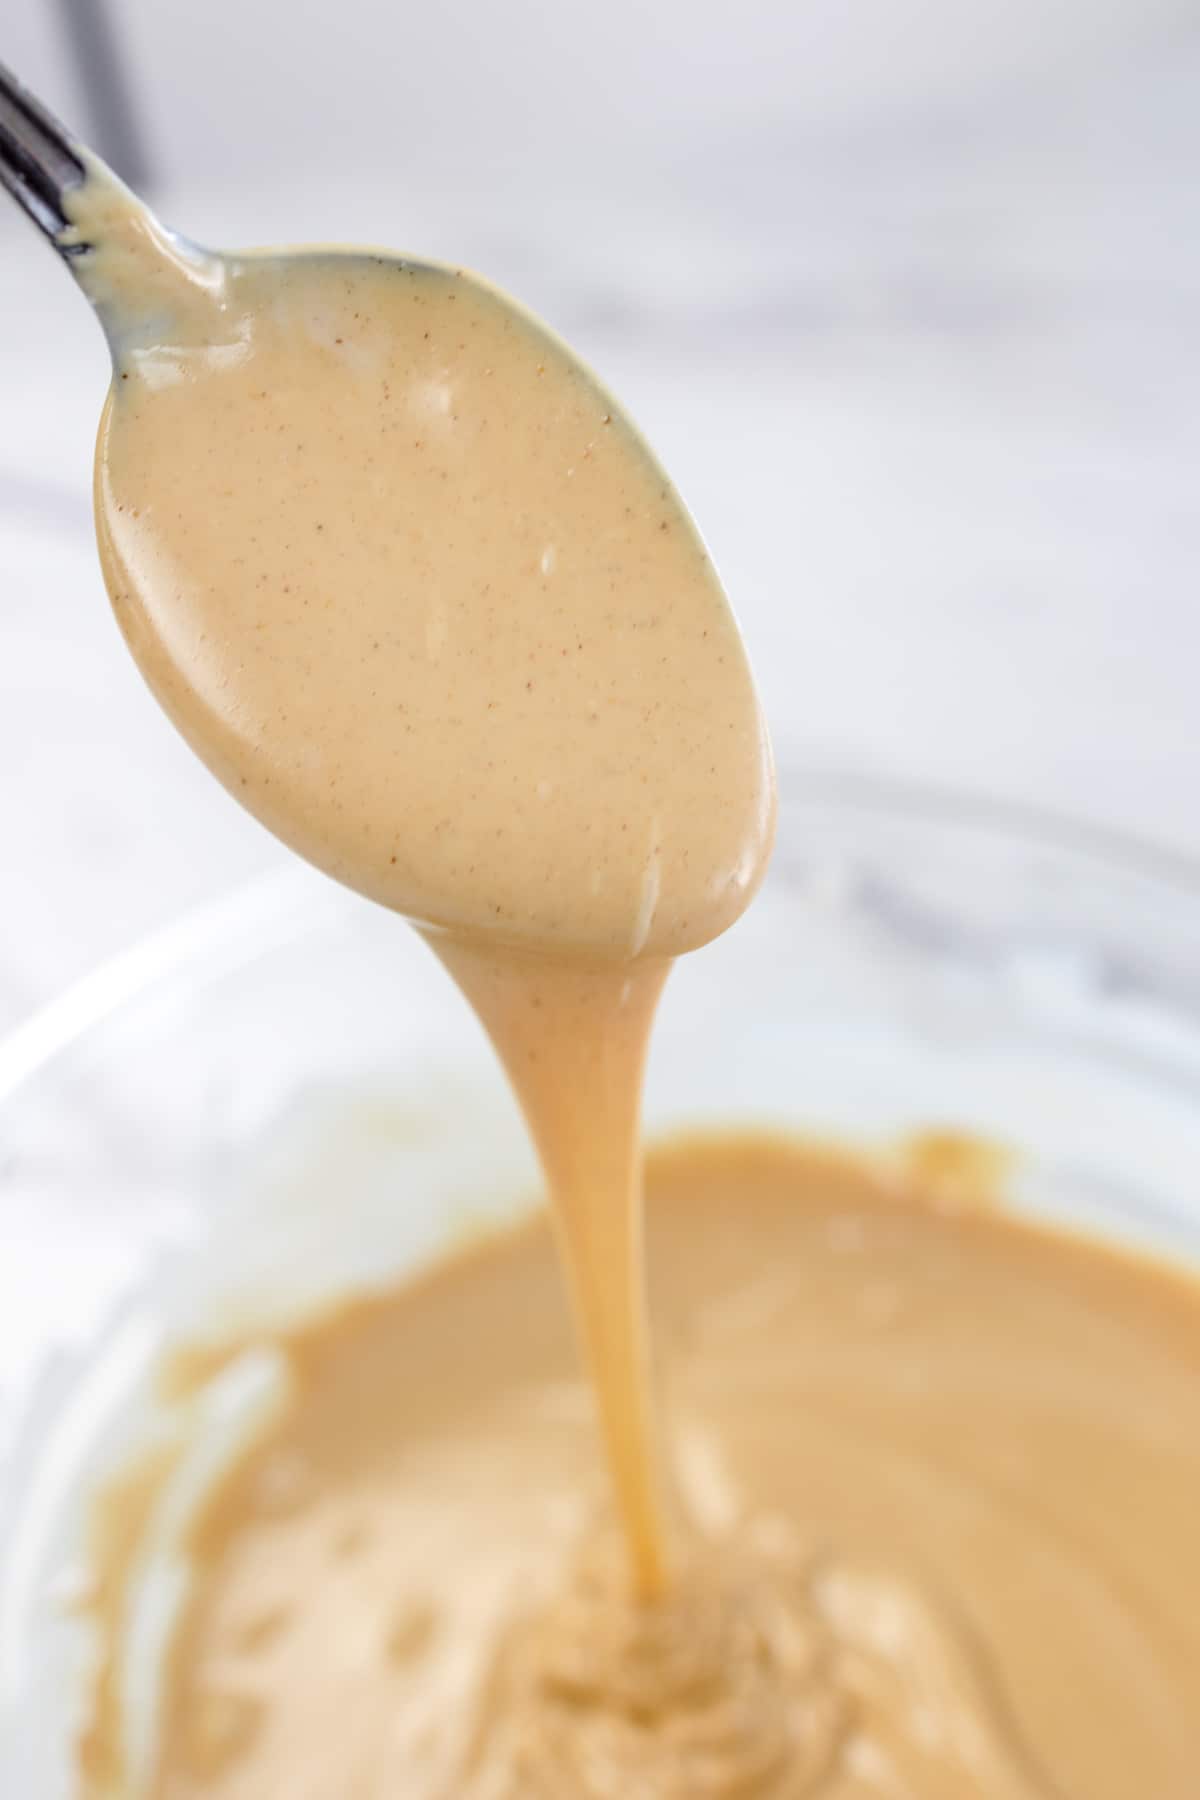
Add the Rice Krispies cereal and stir to coat. Let the mixture cool until lukewarm. This can take about 10 minutes.
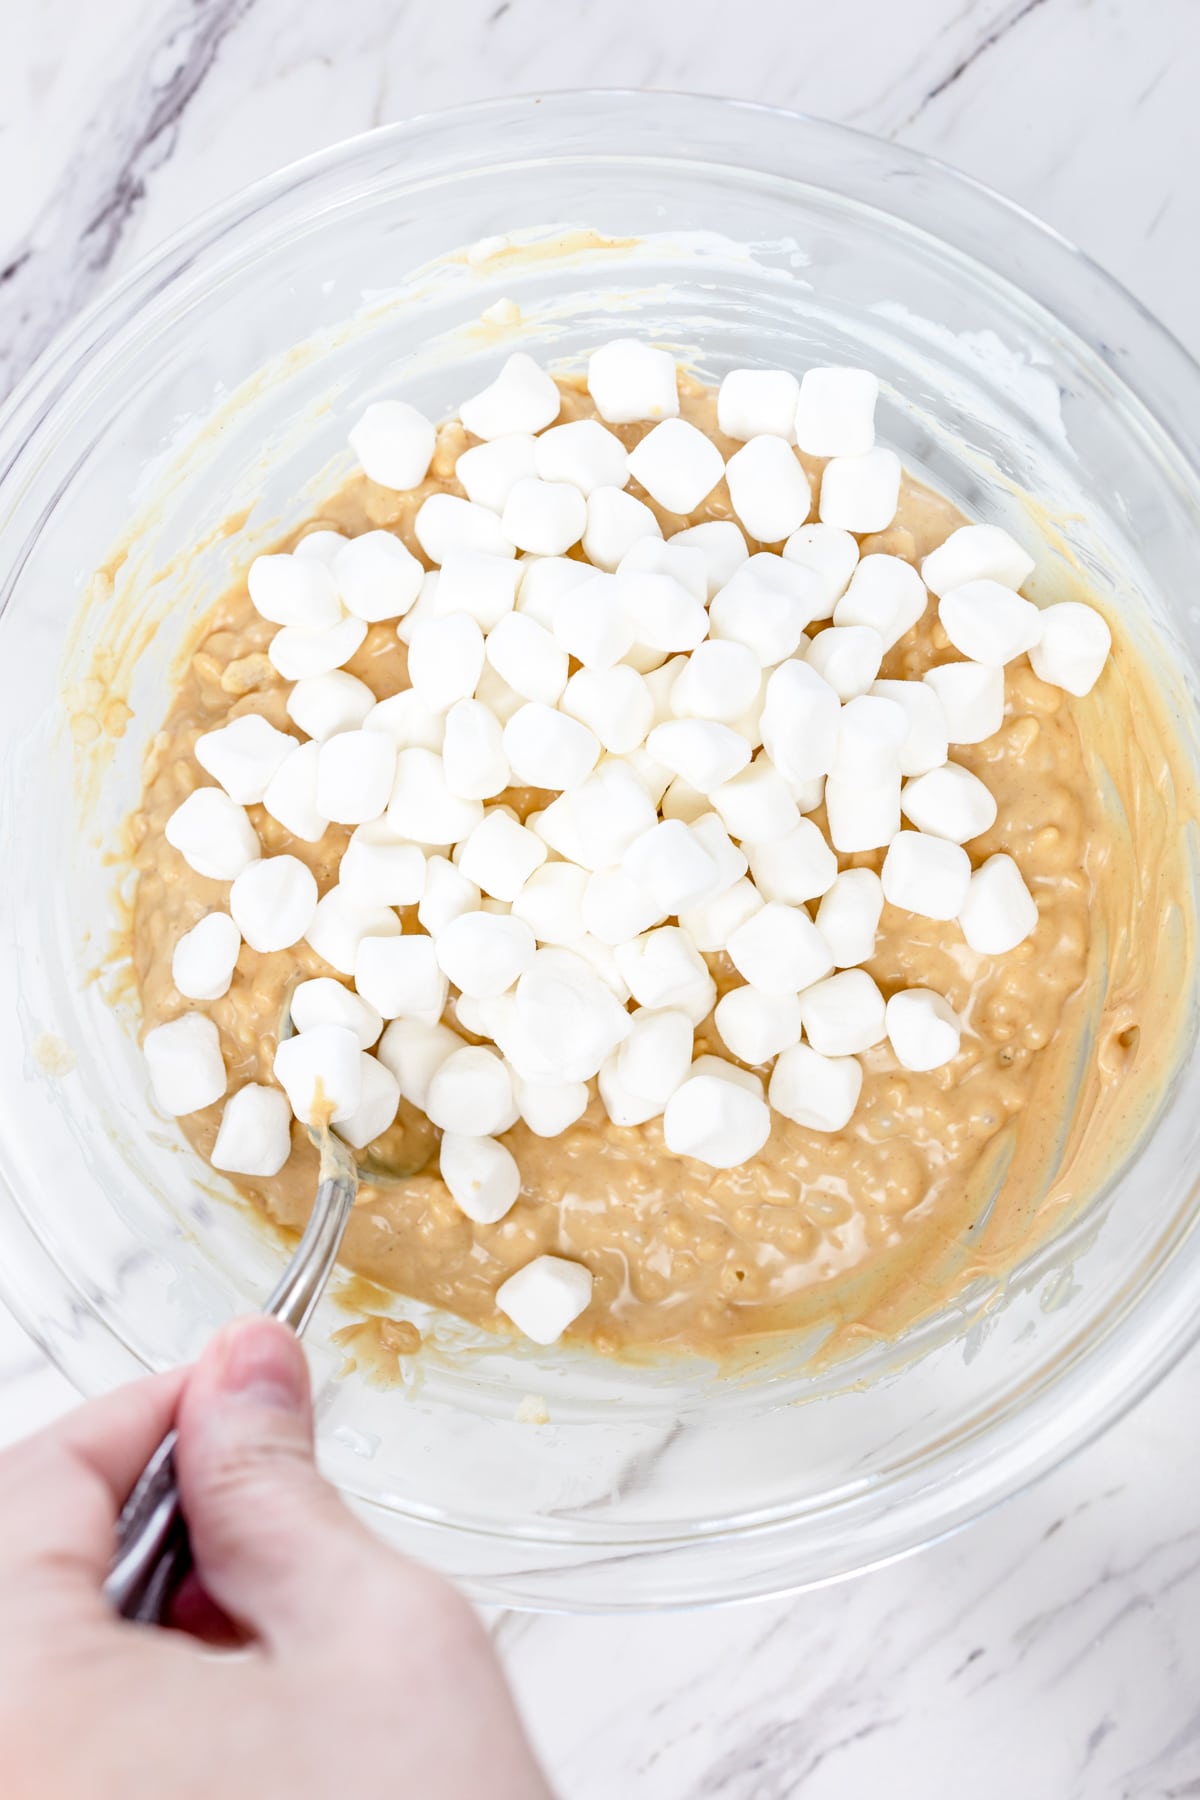
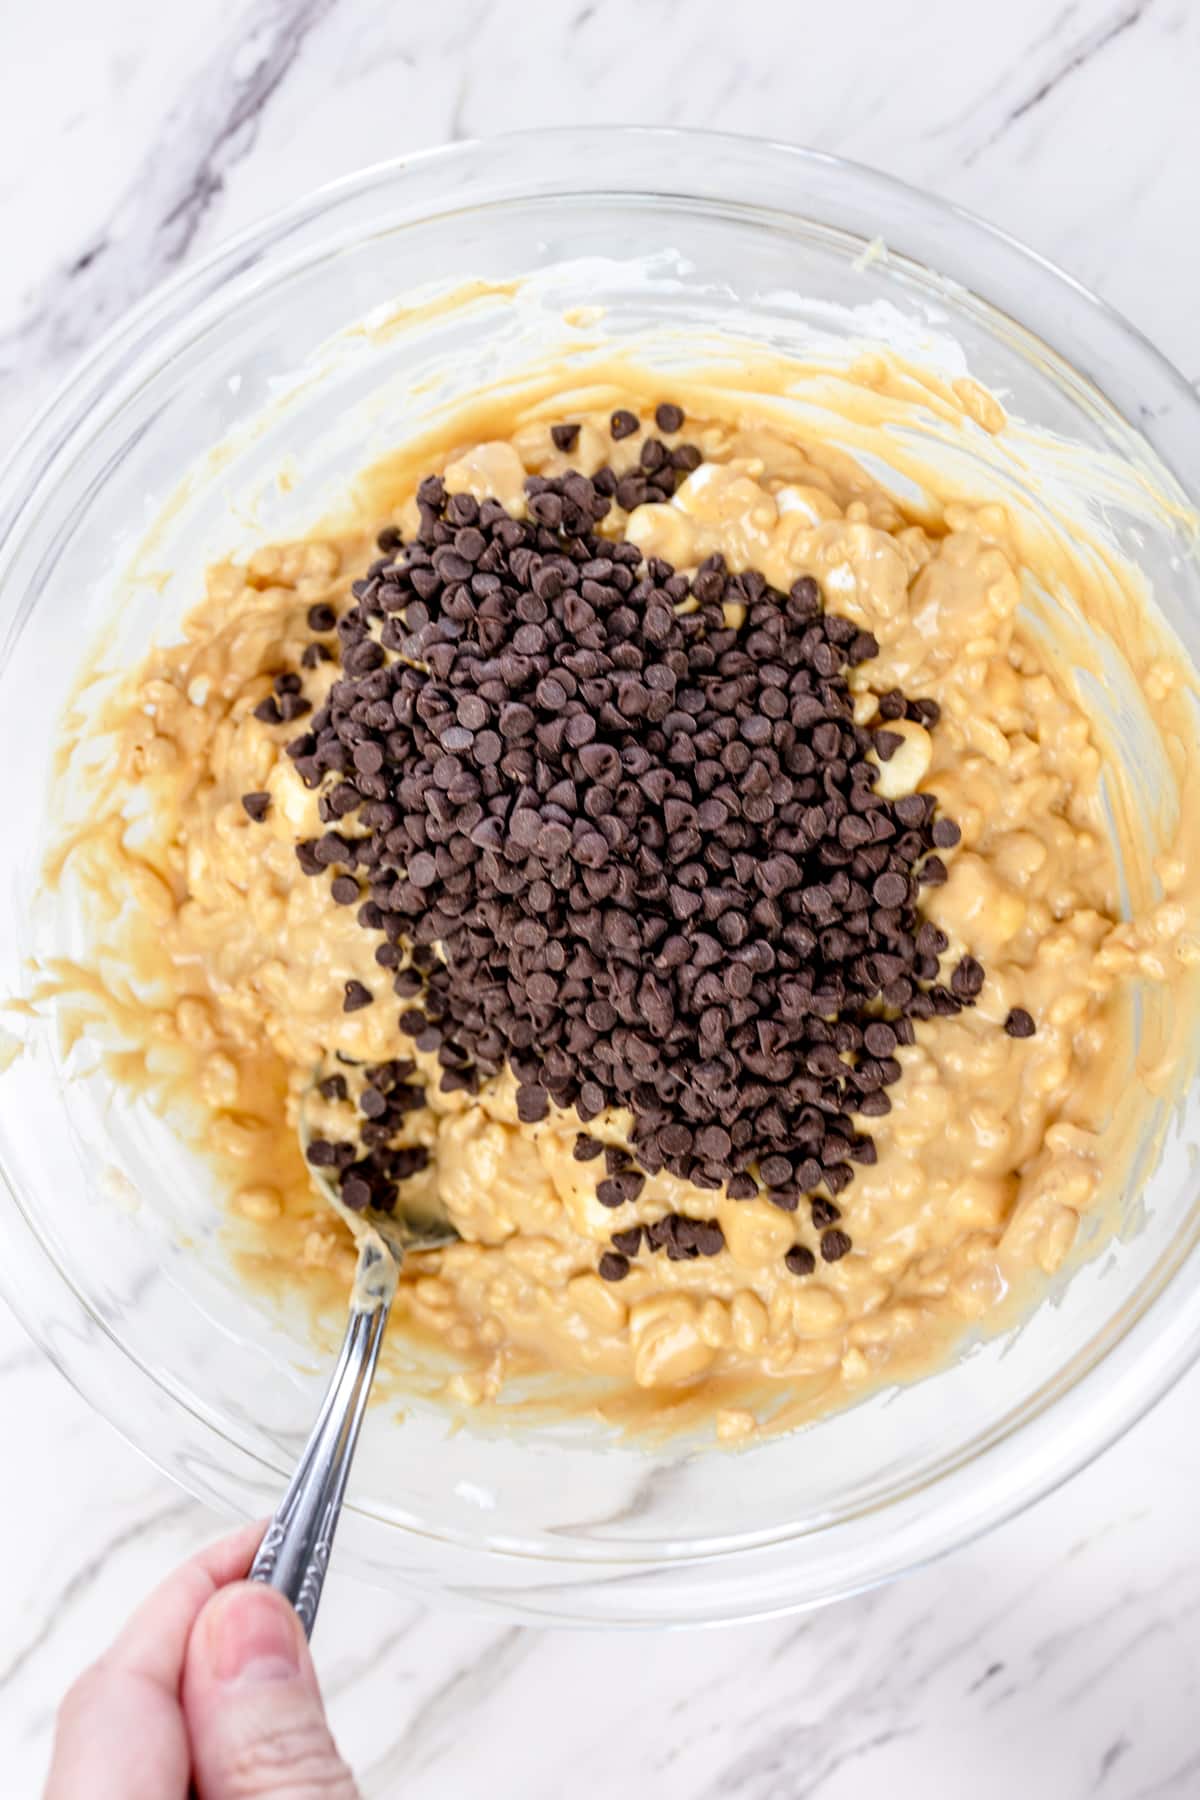
Carefully add the chilled Marshmallows and stir to combine, then add ¾ cup of chilled Mini Chocolate Chips and carefully stir.
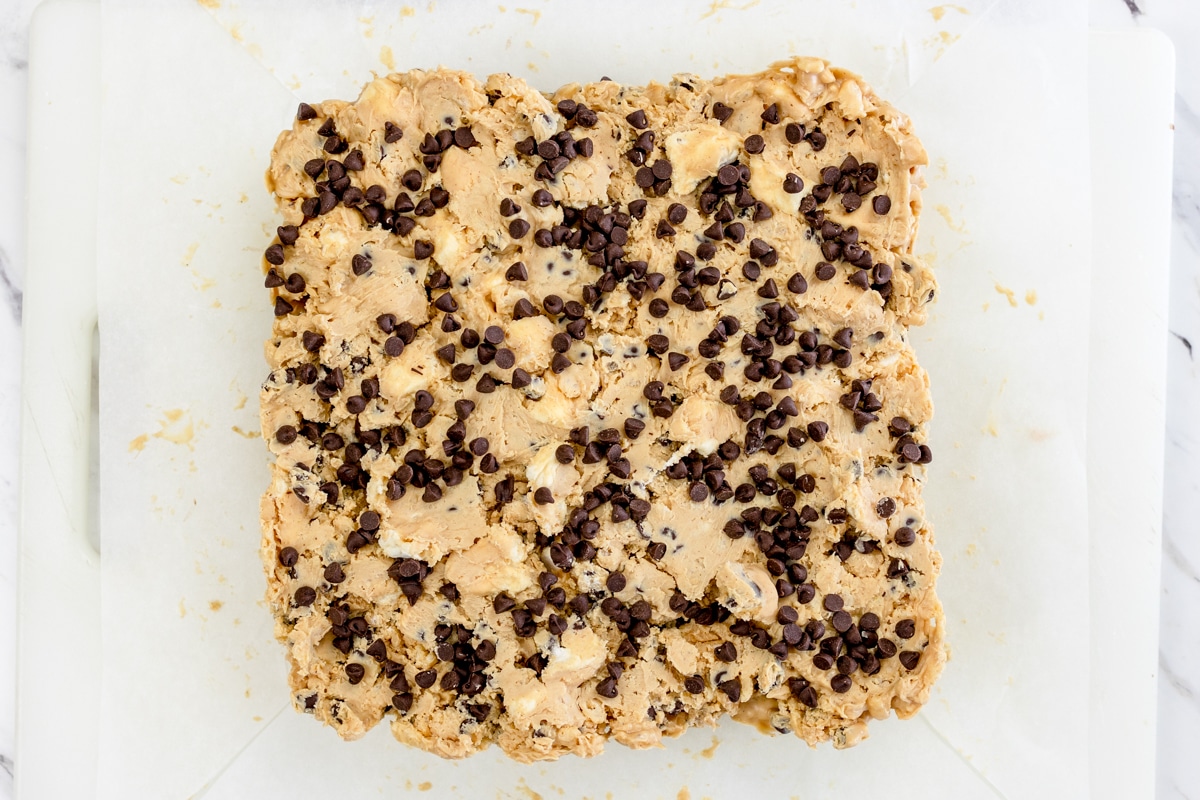
Quickly pour the mixture into a 9x9-inch baking dish and spread it evenly in a pan, pressing the mixture firmly into the bottom of the pan with the back of your spoon.
Sprinkle with the remaining Chocolate Chips before the mixture hardens.
Cool completely until firm before slicing bars and serving.

Storage & Freezing
Storage: Store these no-bake avalanche candy bars in an airtight container at room temperature for up to 7 days. They're best enjoyed within 2-3 days. Do not
Freezing: These no-bake bars can be frozen for up to 2 months. Place parchment paper between each bar if cut to prevent them from sticking together. You can freeze the block as a whole if you prefer. Defrost thoroughly before slicing and eating.
Substitutions & Variations
- Bark. Use White Chocolate, Milk Chocolate, or Candy Melts in place of Almond Bark.
- Color. Make your Avalanche Bars a different color to match your event by adding in a few drops of food coloring, or by using colorful candy melts.
- Peanut Butter. Use Crunchy Peanut Butter instead of Creamy Peanut Butter, or even a biscuit spread for a different flavor.
- Chocolate Chips. Use regular Chocolate Chips instead of Mini Chocolate Chips, or use White Chocolate Chips.
- Topping. Drizzle some melted chocolate over the top once the bars have set for an extra sweet finish.
Pro Tips
I know, I know, you're eager to get on with your no-bake rocky road avalanche bars, and I don't blame you! Quickly check out the list below for hints and tips to ensure you get the best treats every time!
Weighing Ingredients.
Baking is a science and adding too much or too little of any of the ingredients will alter the recipe. Weighing and measuring dry ingredients properly makes a world of difference. Investing in a kitchen scale is ideal. When a kitchen scale is not available, make sure to stir and lift ingredients before scooping them into a measuring cup.
| Volume | Ounces | Grams | |
| All Purpose Flour | 1 Cup | 4½ Ounces | 120 Grams |
| Bread Flour | 1 Cup | 4½ Ounces | 120 Grams |
| Granulated Sugar | 1 Cup | 7 Ounces | 200 Grams |
| Brown Sugar | 1 Cup | 7½ Ounces | 213 Grams |
| Confectionary Sugar | 1 Cup | 4 Ounces | 113 Grams |
Cooling ingredients.
The mixture will cool quickly once chilled marshmallows and chocolate chips are added. Make sure to have the baking dish close by, so you can pour mixture into it quickly.
No Extra Rice Krispies.
At first glance, it will appear that there are not enough Rice Krispy cereal pieces, but trust me - adding extra will result in hard, dry, no bake cookies.
No Extra Marshmallows.
The marshmallows will be chilled, and when added to the peanut butter mixture, they will quickly turn the mixture firm. Adding extra marshmallows will cause problems when trying to mix the mixture together. It will get cold too quickly and be impossible to pour into the baking dish.
- Kitchen Scale. I use this for accuracy in measuring and it's a lifesaver when it comes to consistent baking.
- Wire Rack for cooling cookies. I like to have at least 2 cooling racks.
- Mixing Bowls. A Large Bowl for mixing ingredients and small and medium mixing bowls for other ingredients.
- Parchment Paper or Silicone Baking Mat. Line the Cookie Sheet with parchment paper for easy cleanup and to prevent sticking.
- Storage Container. An Airtight Container to store the bars or a Ziploc Bag works great too.
- Additional supplies. Measuring Cups and Measuring Spoons along with a silicone spatula are all helpful.
To find out more, check out my Pro Tips Guide to find out how to make a great treat every time!
Have you tried this Avalanche Bars recipe?
Let me know what you think of this recipe! Tag @bestcookierecipes on social media so I can see how great your bars turned out! I would also love to read your comments below. Let me know what you think of these sweet treats. It really does help!
More Delicious Sweet Treats
- Biscoff Cookie Butter Cookies
- Cherry Chocolate Chip Cookies
- Unicorn Cookies
- Snickerdoodle Sandwich Cookies
- Pecan Pie Bars
- Cranberry Bars
- Peanut Butter S'mores Cookie Sandwiches
- Hot Cocoa Cookies
Avalanche Bars
Ingredients
- 16 ounces White Almond Bark Melted
- ¾ cup Creamy Peanut Butter
- 2 cups Rice Krispie Cereal
- 1½ cups Miniature Marshmallows Chilled
- 1 cup Mini Chocolate Chips Divided
Instructions
- Start by placing Chocolate Chips and Marshmallows in Freezer for at least 30 minutes. This is very important so they don't melt when mixing ingredients together.
- Prepare cookie 9x9 inch baking dish with parchment paper. Or spray with baking spray
- Chop the Almond Bark into small pieces and place it all in a large microwave-safe bowl. Microwave for 30 seconds and stir. Microwave for another 30 seconds and stir. Continue microwaving for a further 15 seconds, then stir it until smooth.
- Stir Peanut Butter into melted Almond Bark and mix until smooth.
- Add the Rice Krispies cereal and stir to coat. Let the mixture cool until lukewarm. This can take about 10 minutes.
- Carefully add the chilled Marshmallows and stir to combine, then add ¾ cup of chilled Mini Chocolate Chips and carefully stir.
- Quickly pour the mixture into a 9x9-inch baking dish and spread it evenly in a pan, pressing the mixture firmly into the bottom of the pan.
- Sprinkle with the remaining Chocolate Chips before the mixture hardens.
- Cool completely until firm before slicing bars and serving.
Notes
Storage:
- Store: Keep these no-bake avalanche candy bars in an airtight container at room temperature for up to 7 days. They're best enjoyed within 2-3 days.
- Freezing: These no-bake bars can be frozen for up to 2 months. Place parchment paper between each bar if cut to prevent them from sticking together. You can freeze the block as a whole if you prefer. Defrost thoroughly before slicing and eating.
Rebecca Johnston
I've loved making Avalanche Cookies for ages so why not make an Avalanche Bar cookie too. There were no complaints and the pan was all eaten up!