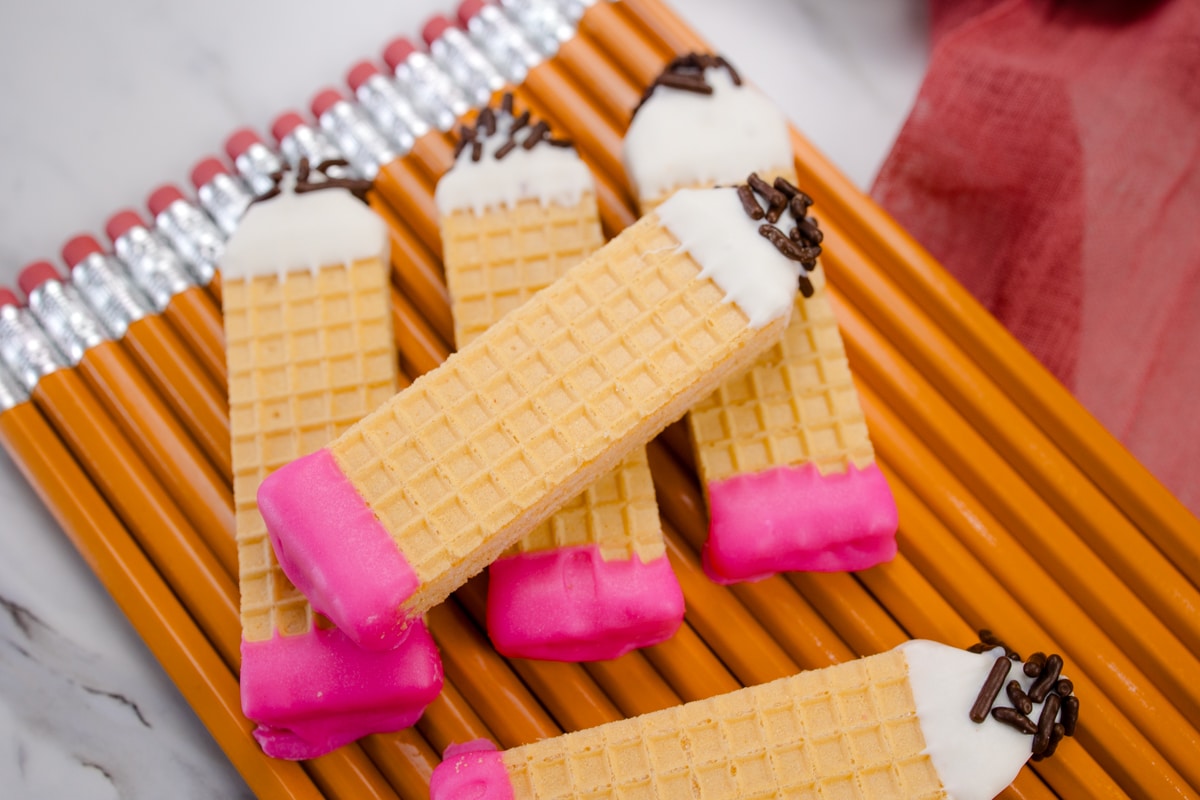
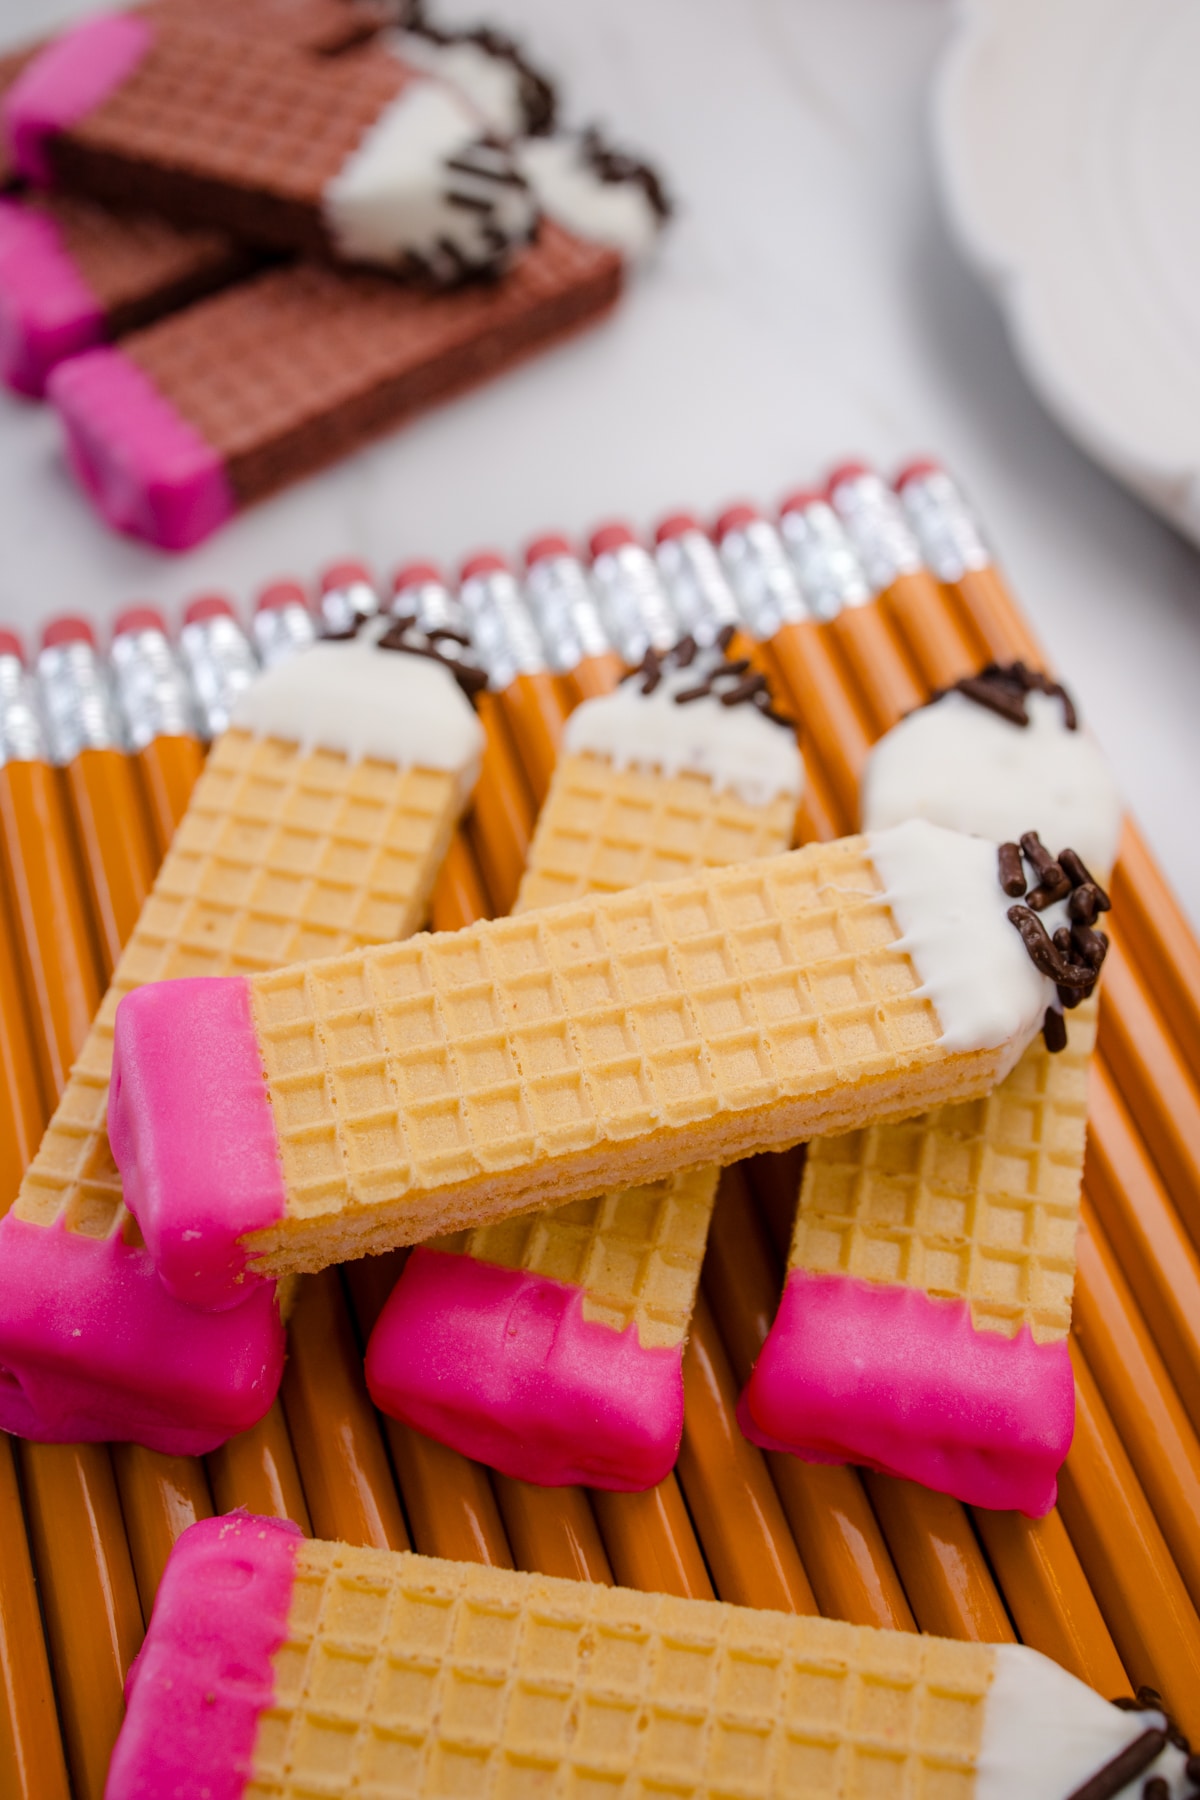
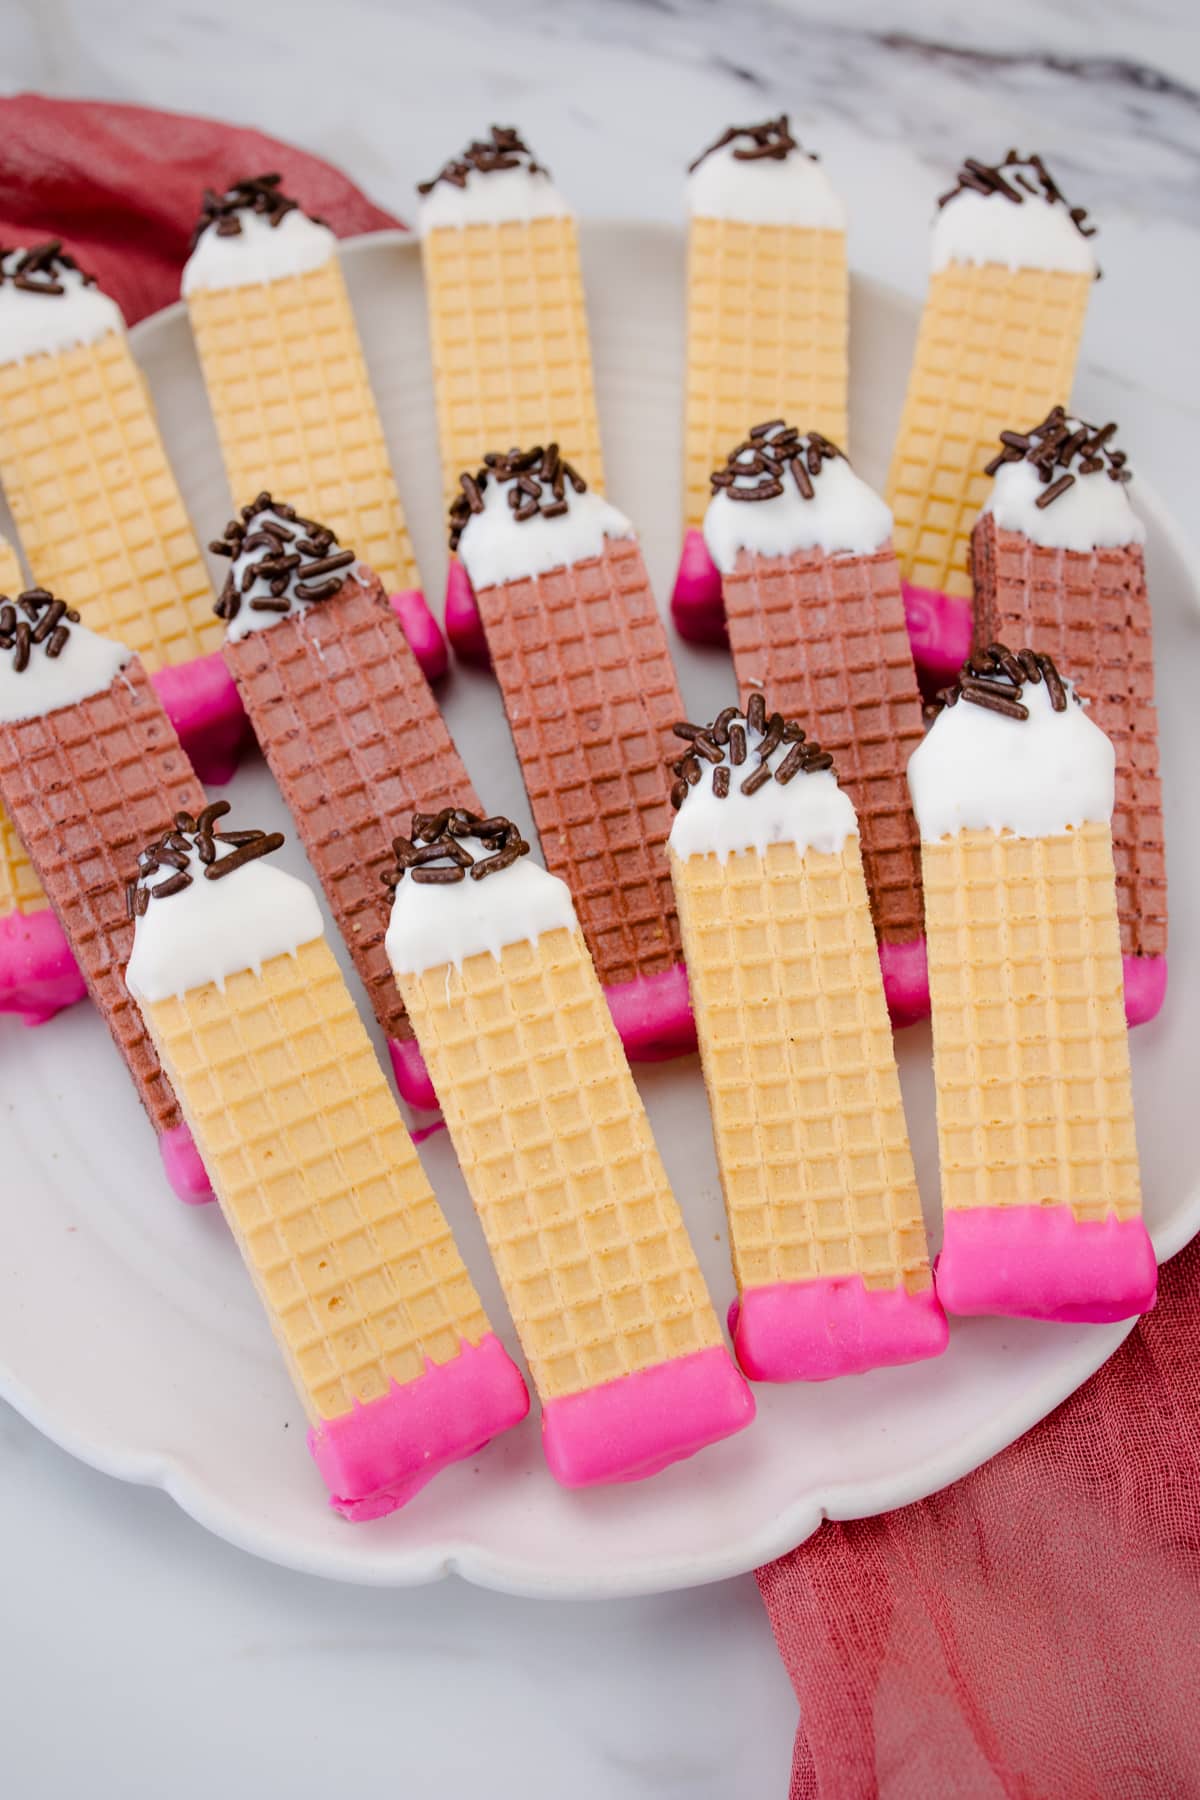
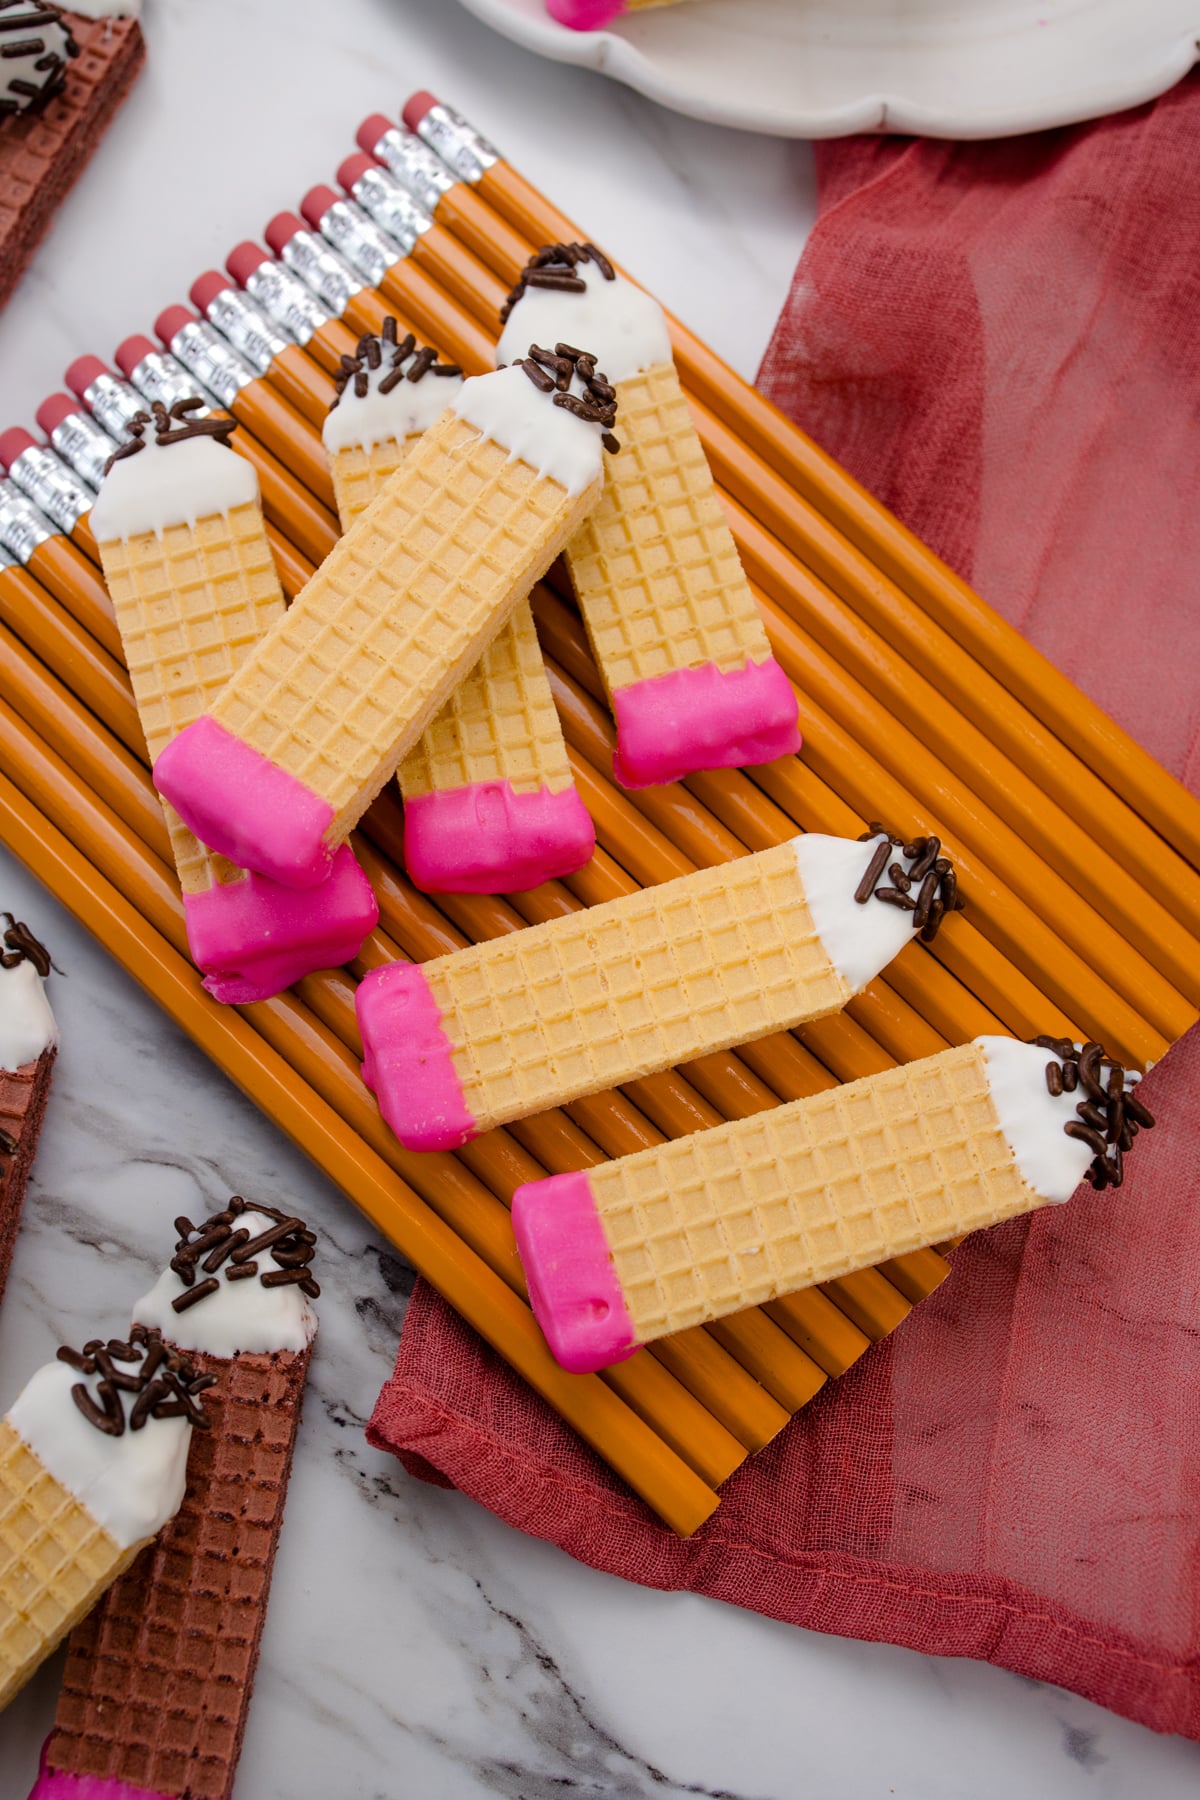
Pencil Wafer Cookies are the perfect way to celebrate the new school year! They're easy to make, delicious, and will surely put a smile on everyone's face on the first day of school!
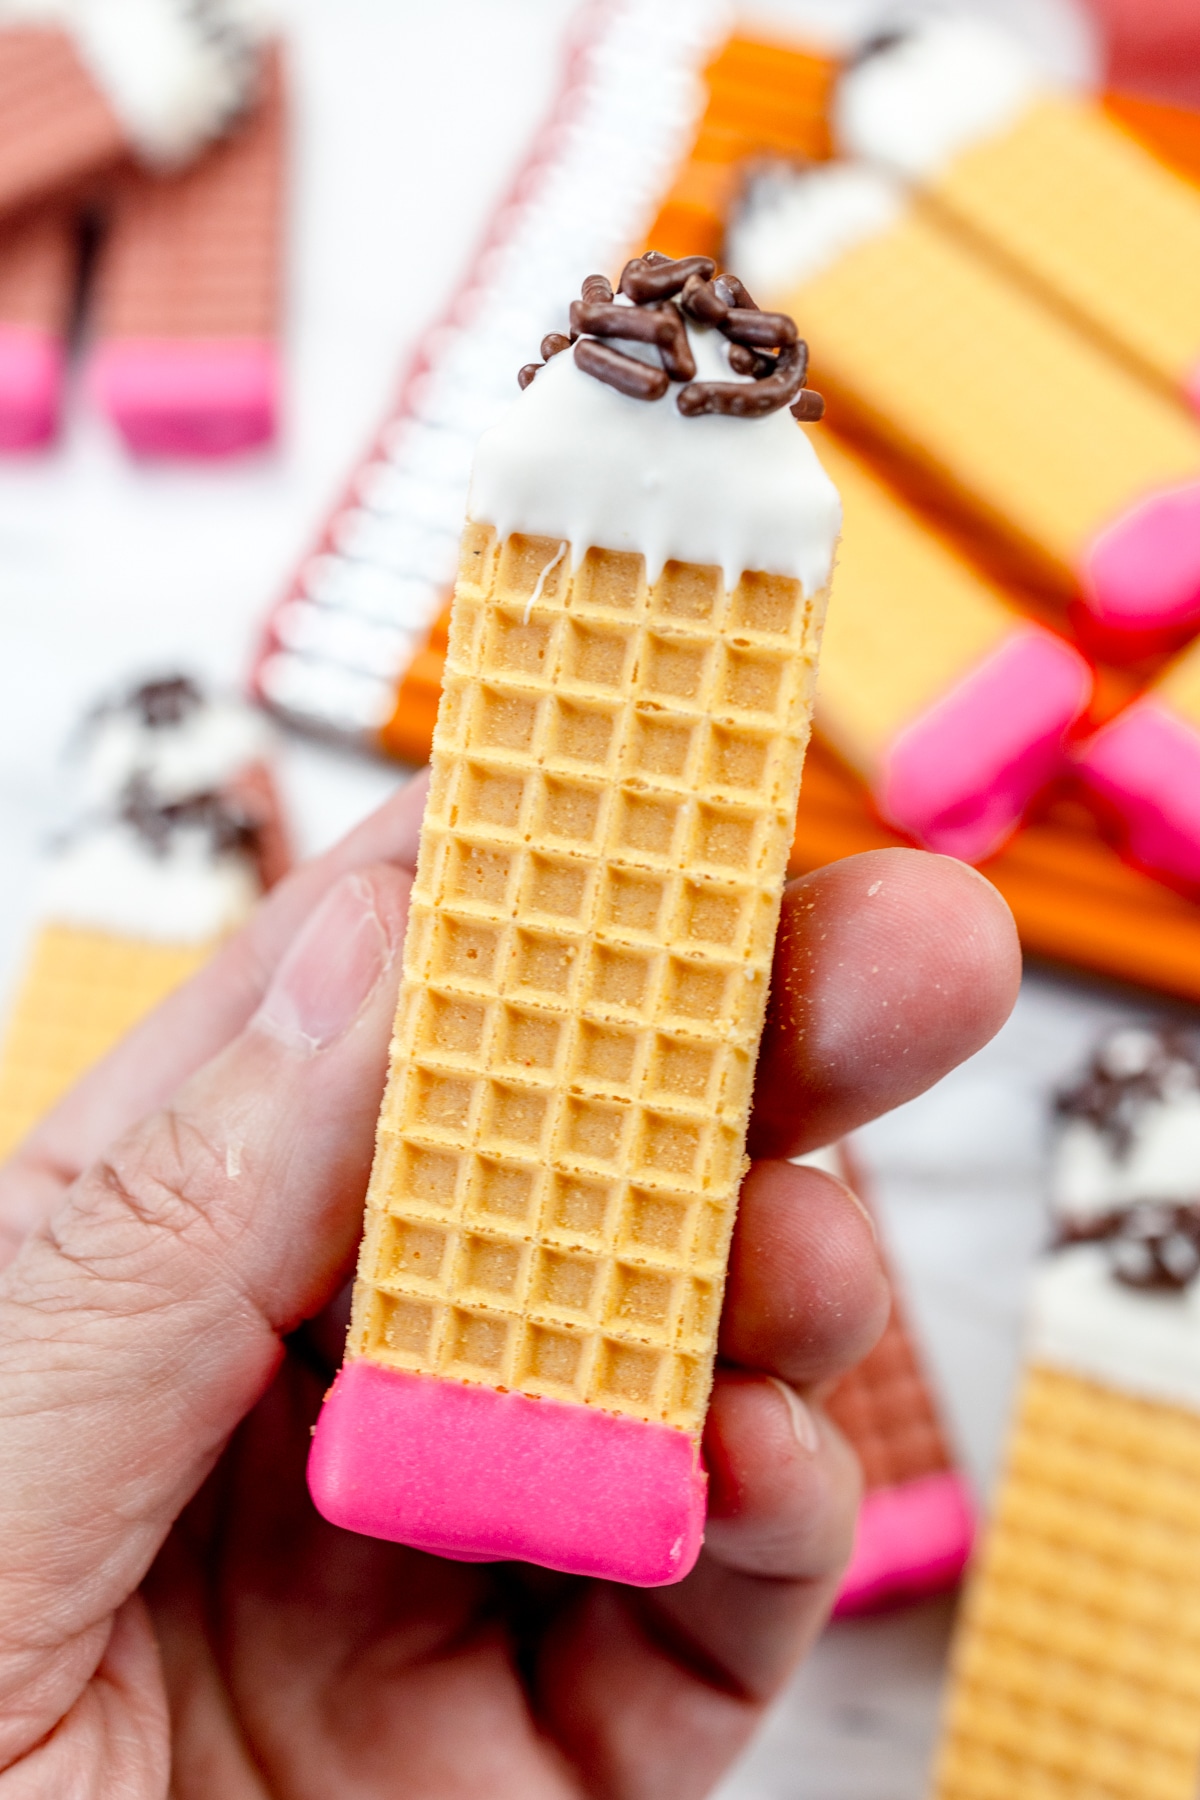
Pencil Wafer Cookies recipe is perfect for busy parents who want to add a touch of fun to the school season without too much hassle! With just a few basic ingredients and a little bit of time, you can create a special treat that looks impressive but doesn't require hours in the kitchen.
They are even more fun to make with the kids and let them create and design their own edible wafer pencil!
These cookies are a great addition to any school party or as a surprise in your child's lunchbox. They are not only visually appealing but also delicious, making them a hit among kids and adults alike. The combination of vanilla wafers, chocolate chips, and colorful candy melts makes for a tasty and fun snack!
Making these cookies can be a fun activity to do with your kids. They can help with dipping the wafers in chocolate, adding the chocolate jimmies, and even shaping the cookies into pencil tips. It's a great way to spend quality time together while creating something delicious and exciting for the school year!
For more fun no-bake cookie recipes that children can help you make, check out my Ice Cream Cone Shaped Cookies, Pretzel Snowman, Nutter Butter Simple Turkey Cookies, Easy No Bake Witches Hat Cookies, Easy Nutter Butter Acorn Cookies for Fall, and Stained Glass Church Window Cookies!
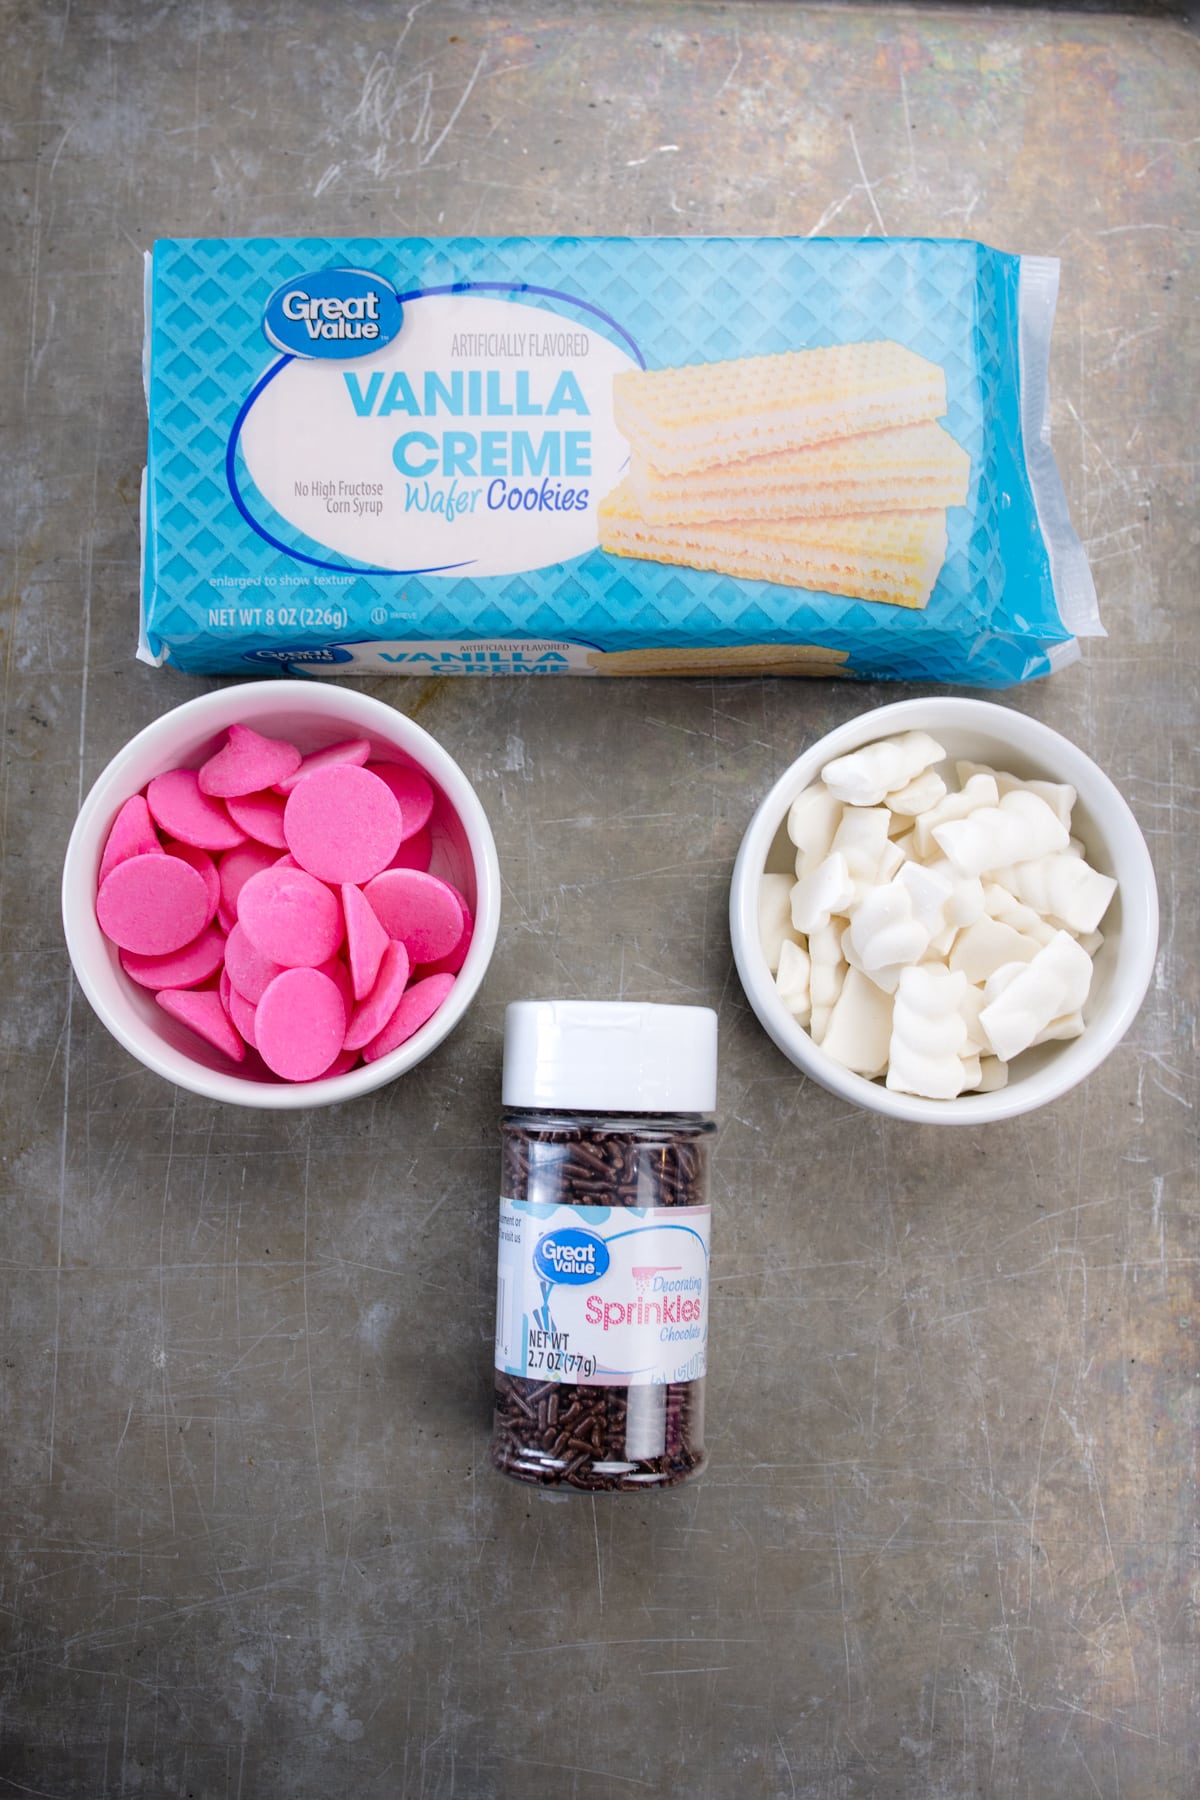
Ingredients for School Pencil Cookies
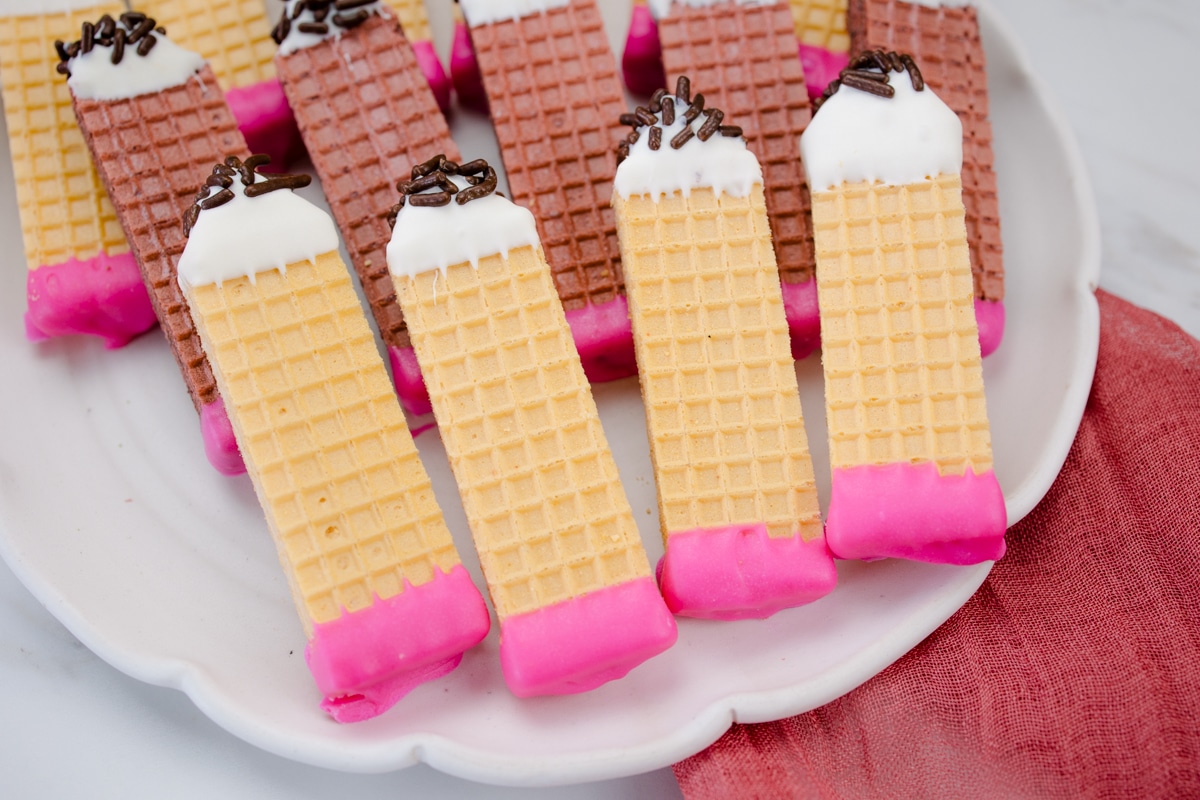
Cookies. Vanilla, Chocolate, or Strawberry Wafer Cookies.
Chocolate. White and Pink Chocolate Melting Wafers.
Sprinkles. Chocolate Jimmies or Mini Chocolate Chips.
How to Make School Pencil Wafer Cookies
- Before you start, make sure you have all the necessary ingredients. You will need 24 wafer cookies (chocolate, vanilla, or strawberry), ⅓ cup of white chocolate melting wafers, ⅓ cup of pink chocolate melting wafers, and 2 tablespoons of chocolate jimmies or mini chocolate chips. Having everything ready will make the process smoother and more enjoyable.
- In small, microwave-safe bowls, melt the white chocolate wafers and pink chocolate wafers separately. Heat them in 30-second increments, stirring each time, until the chocolate is smooth and fully melted. If additional time is needed, heat in 15-second intervals, stirring each time.
- Using a sharp knife, cut one end of each wafer cookie into the shape of a point to resemble the pencil's tip. Be careful while cutting, as the wafers can break easily. The opposite end to the triangle shape should remain flat and squared.
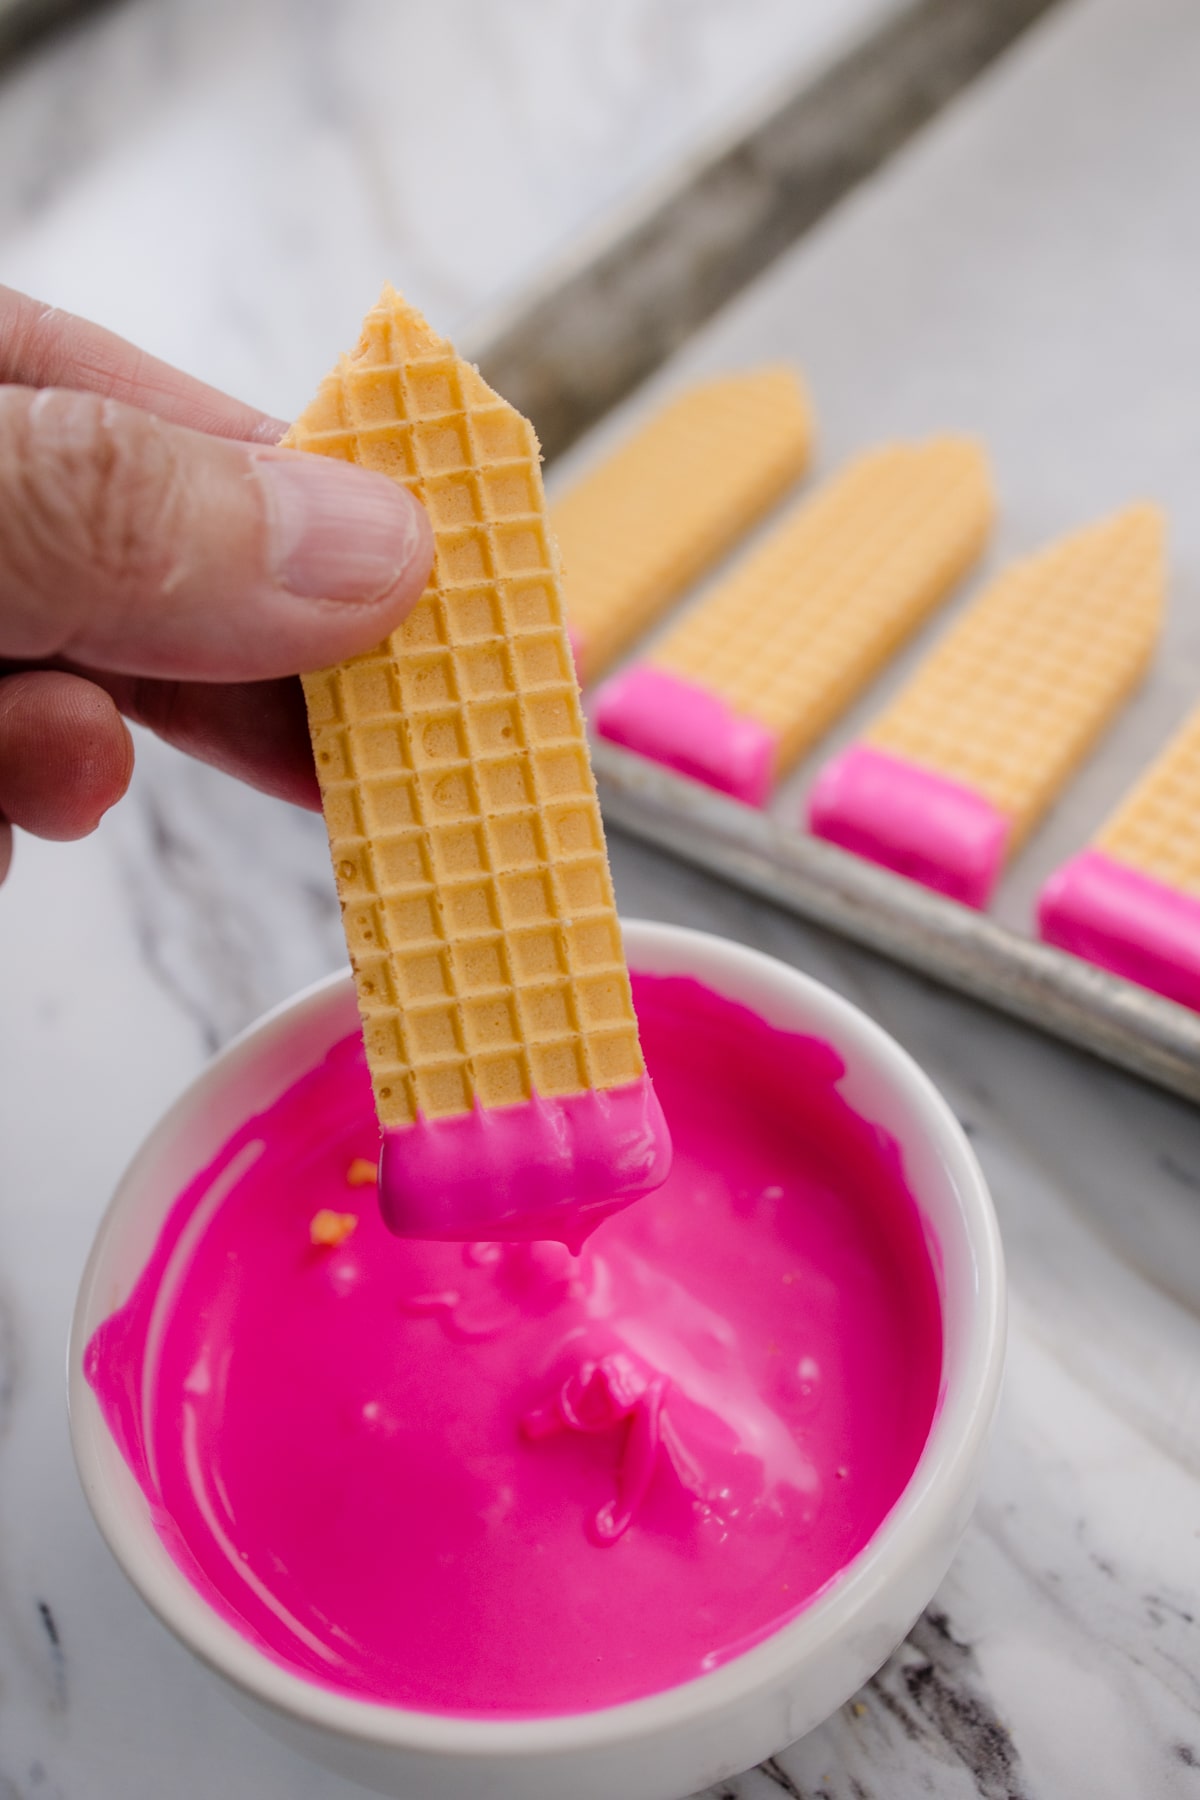
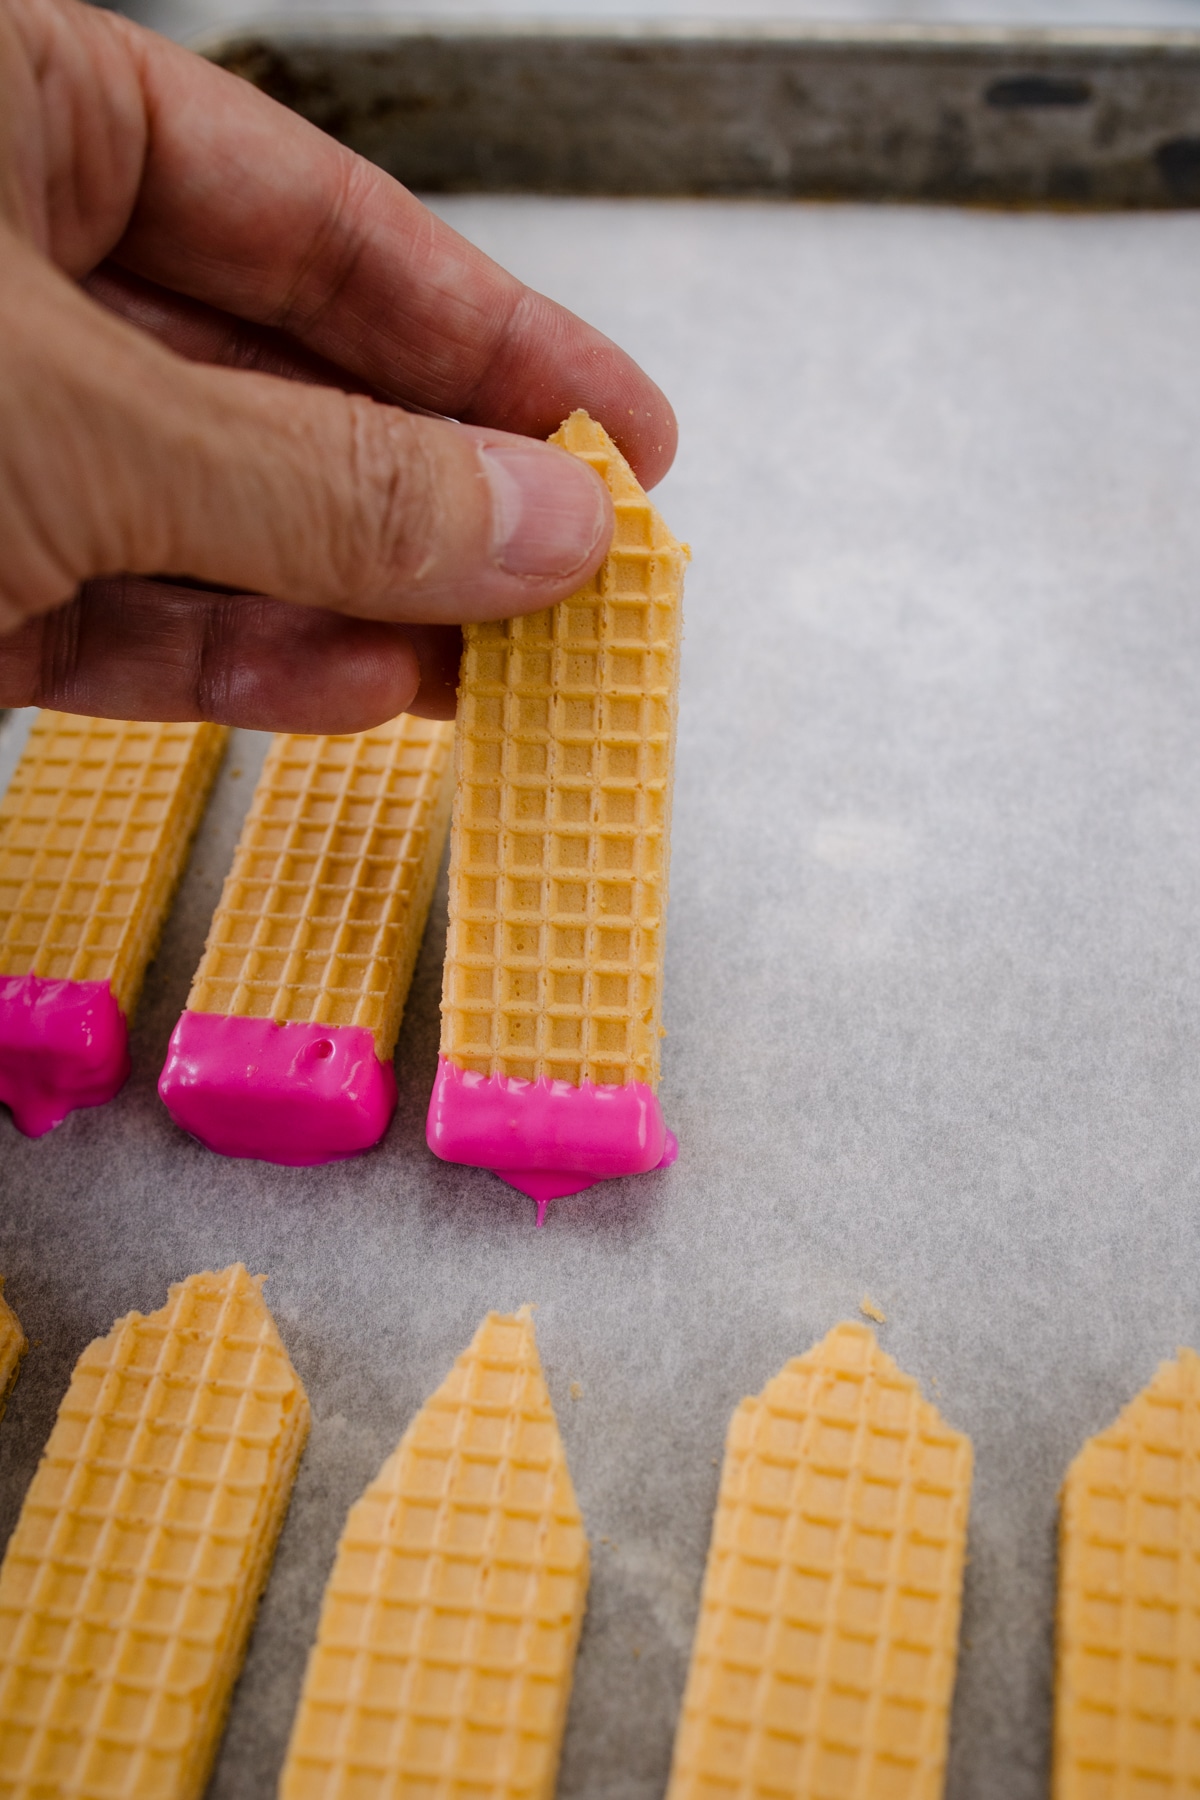
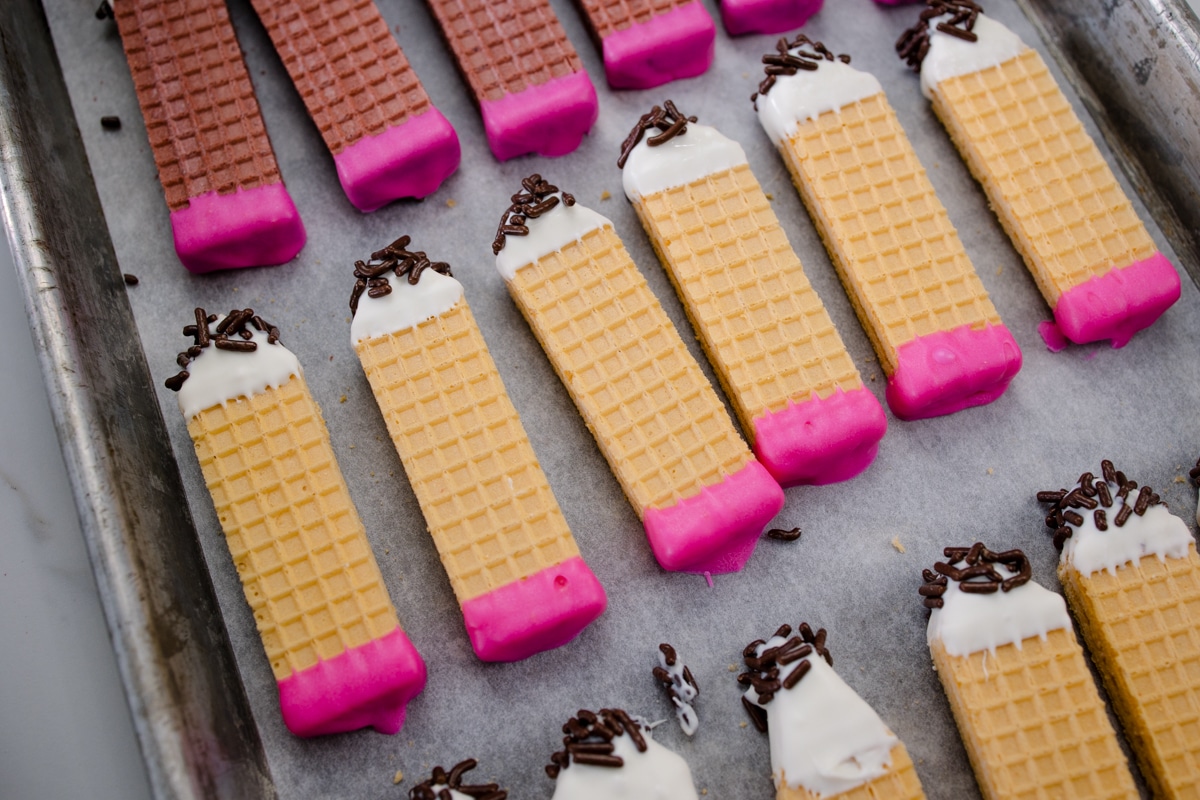
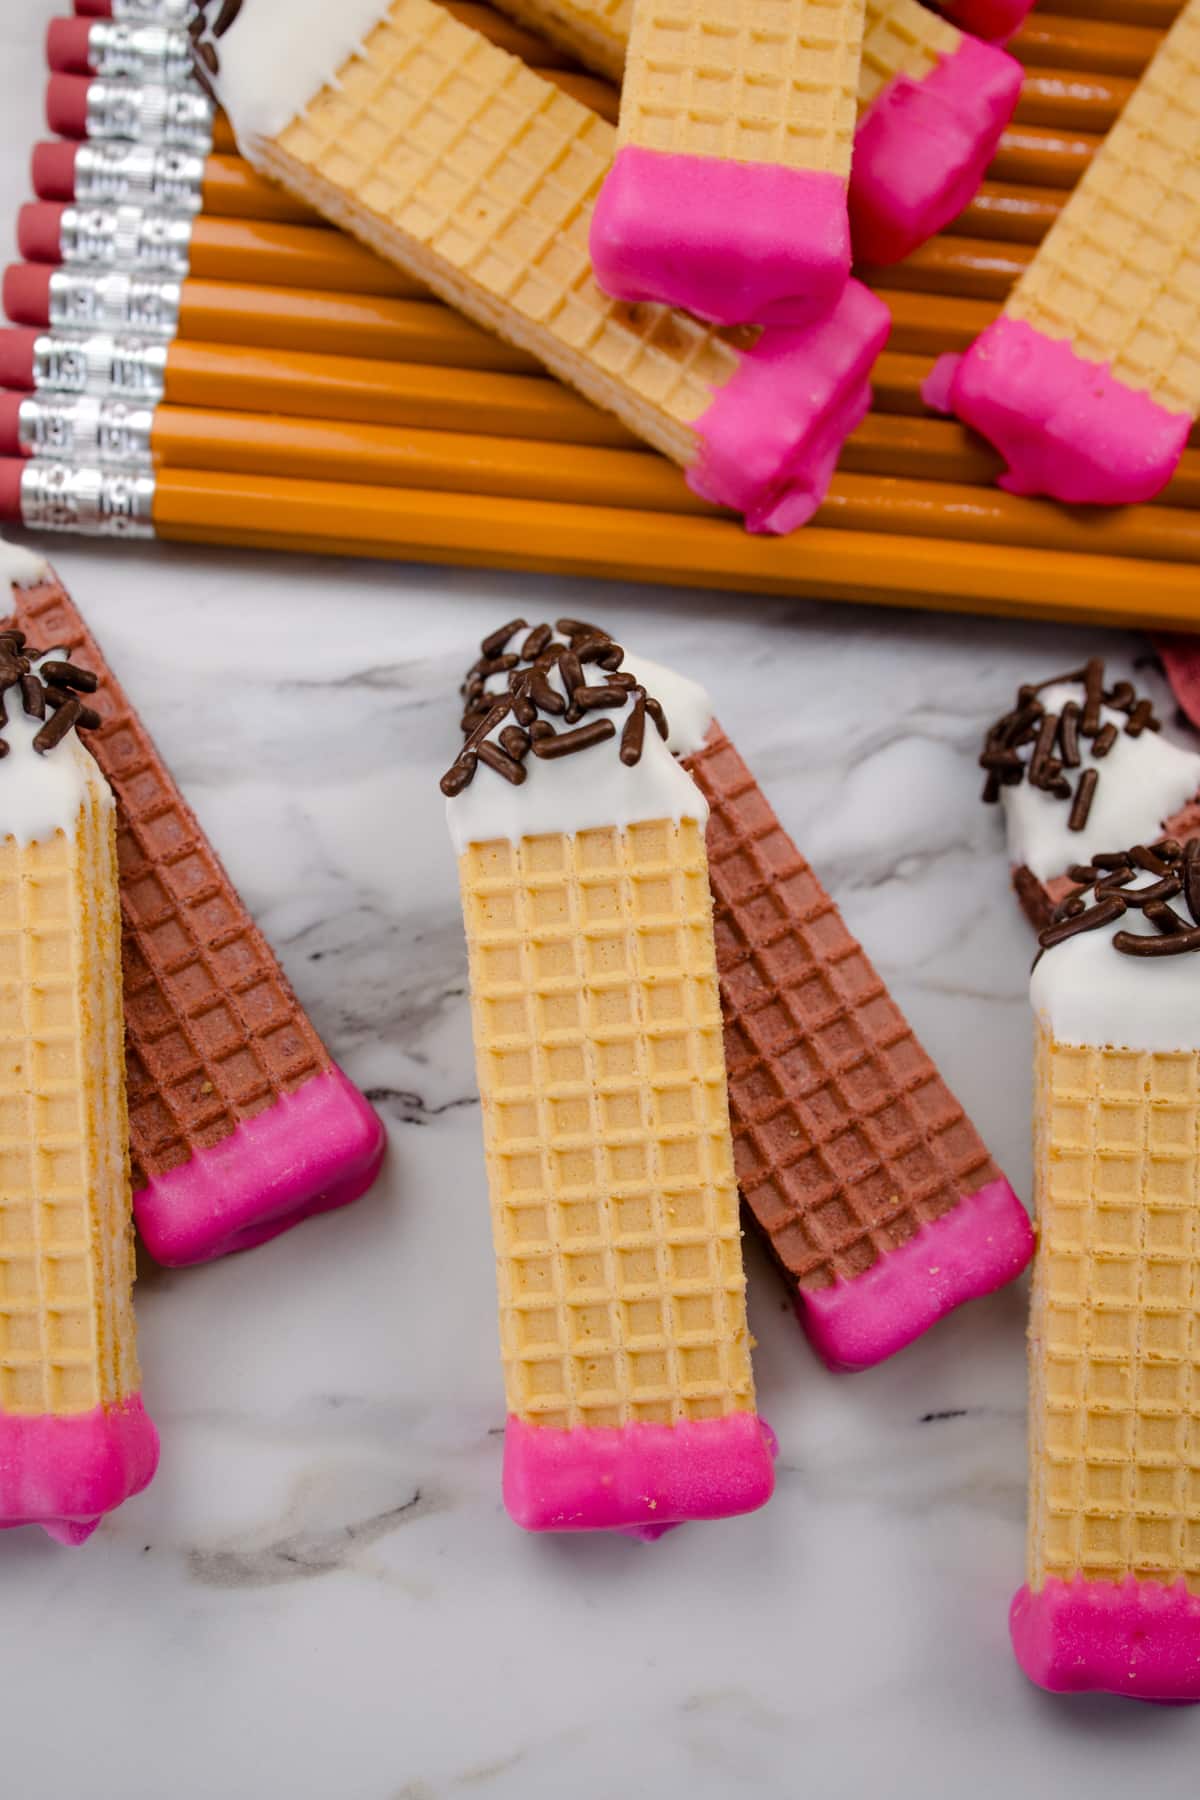
- Dip the flat end of each wafer cookie into the melted pink chocolate to create the pencil's eraser. Place the cookies on a baking sheet lined with parchment paper or a silicone baking mat to set. To speed up the setting process, you can place the tray in the refrigerator for a few minutes.
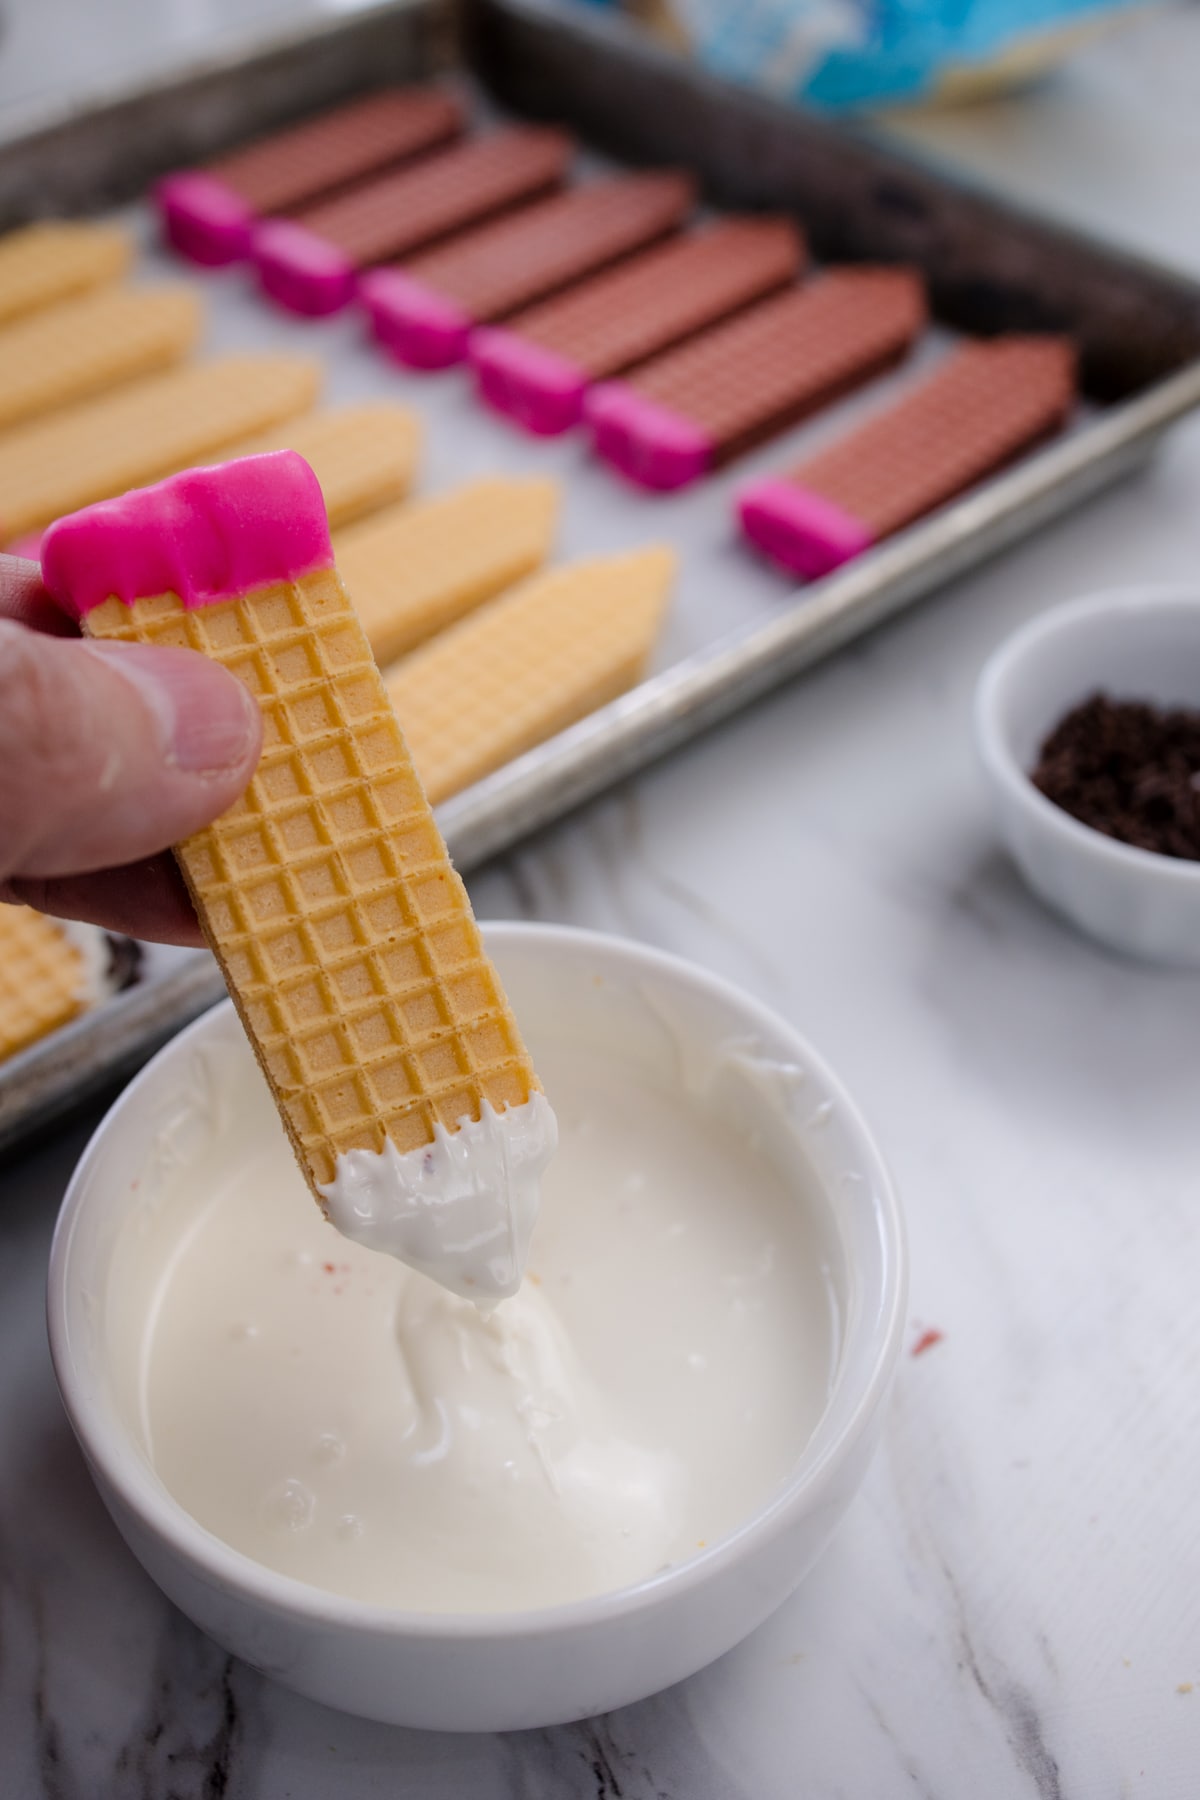
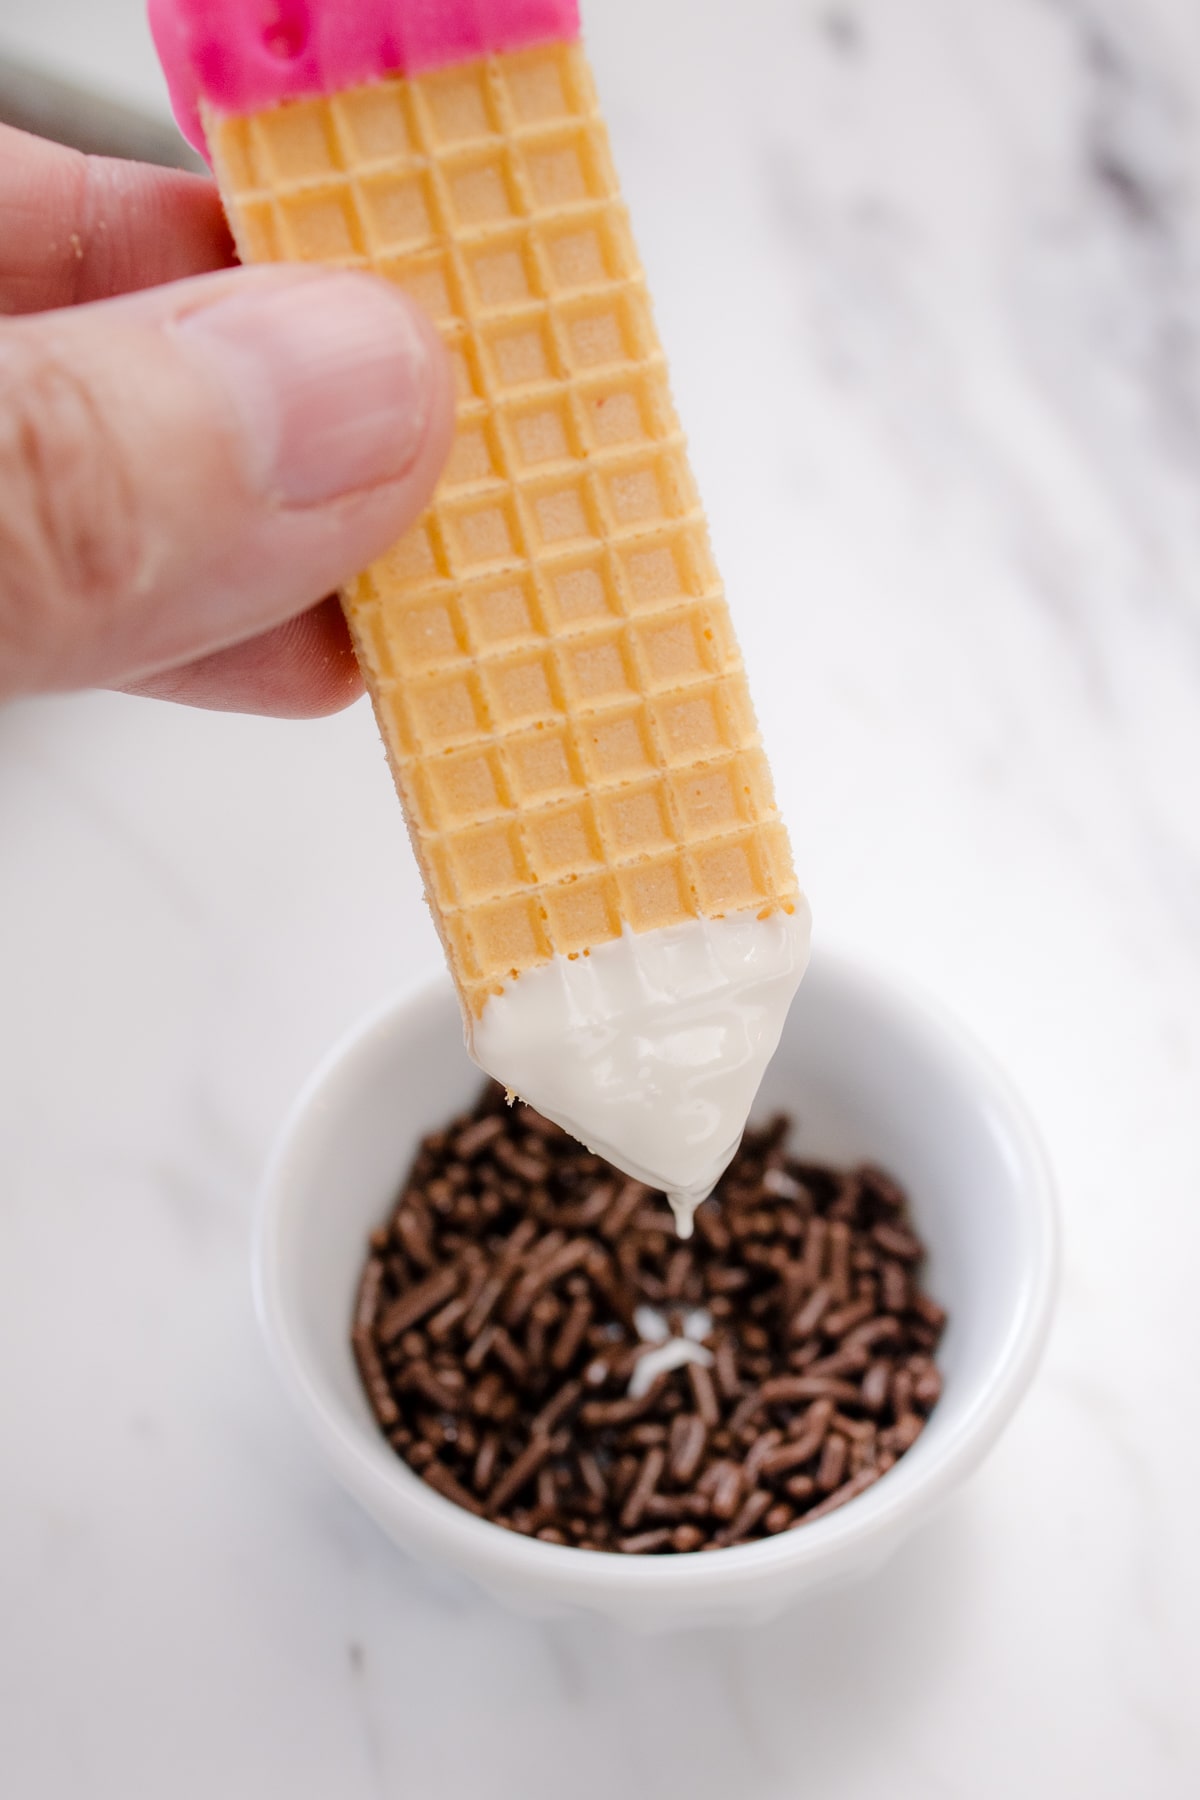
- Next, dip the edge of the triangle tip of each wafer cookie into the melted white chocolate, then immediately dip the pointed end into the chocolate jimmies or mini chocolate chips to create the lead point of the pencil.
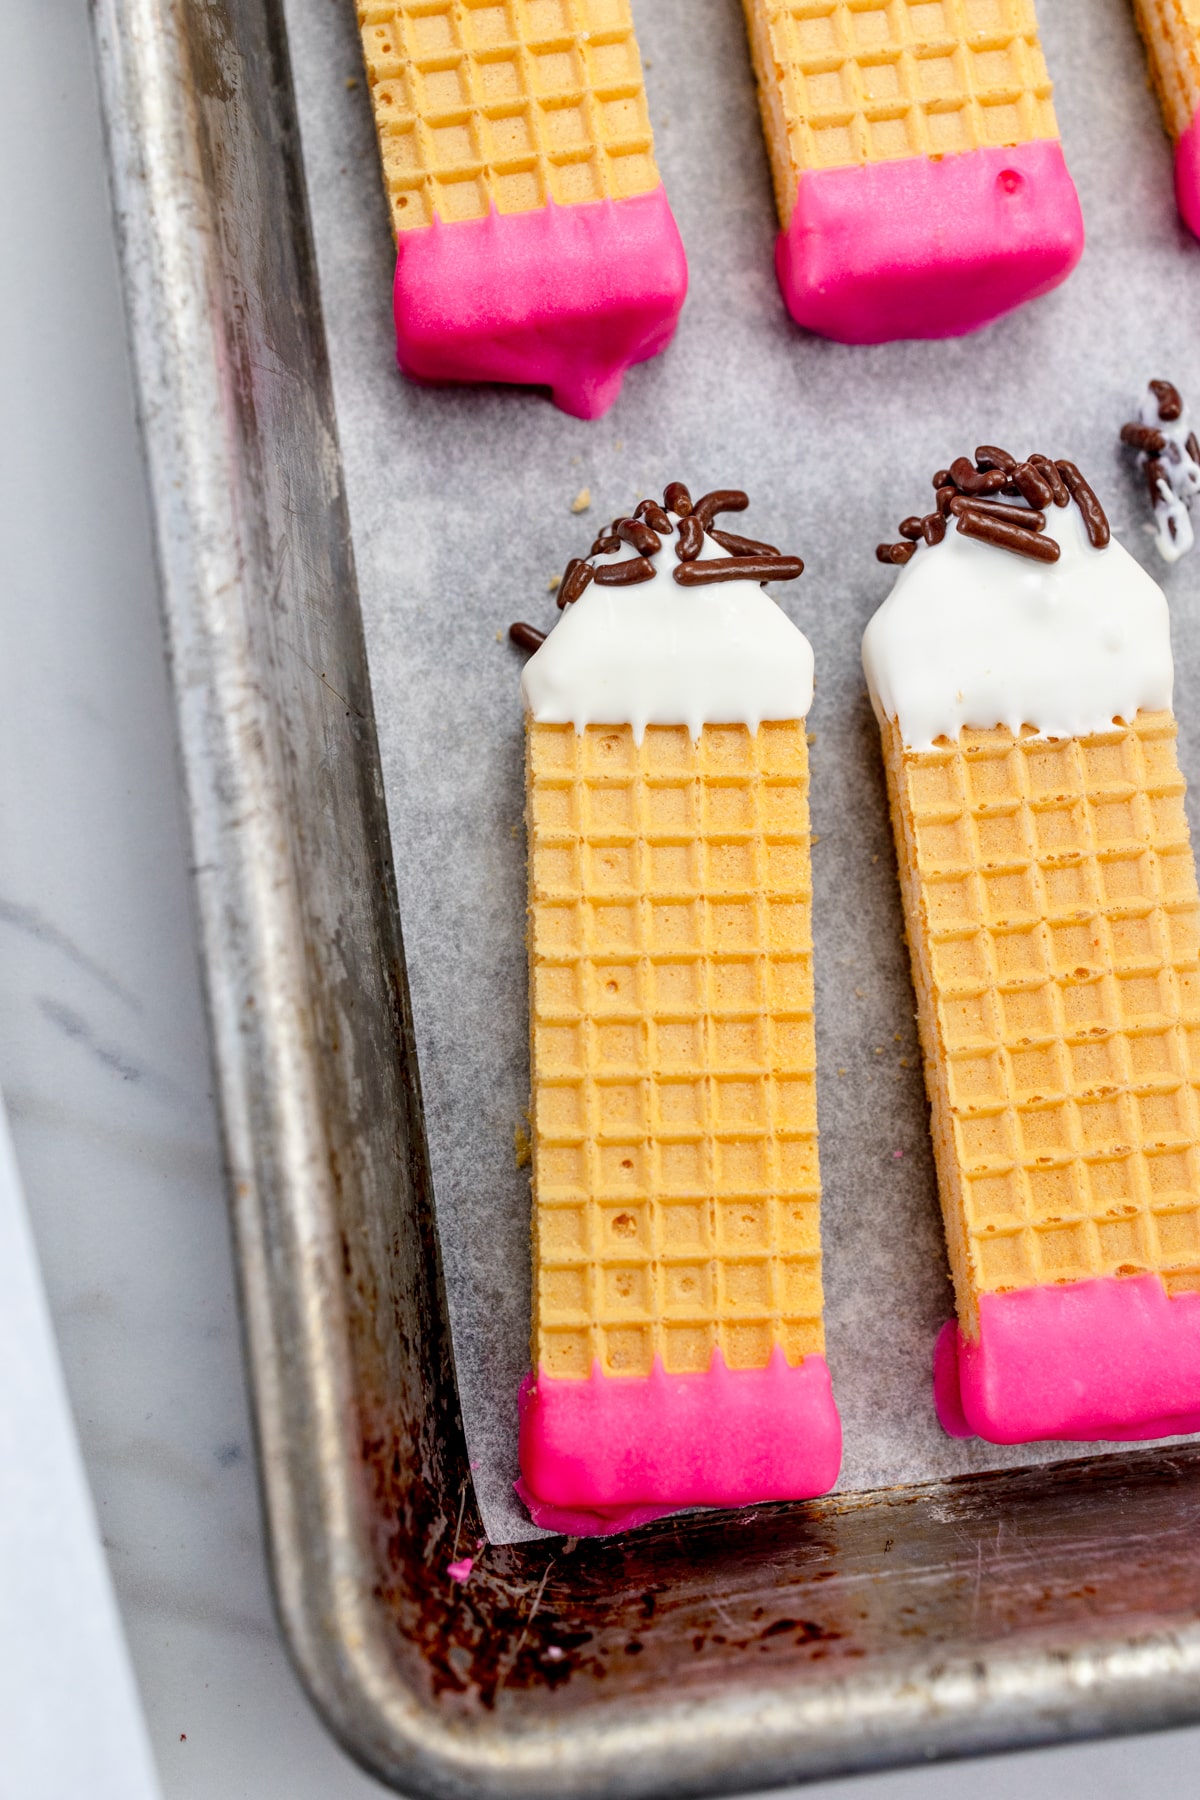
- Place the cookies back on the baking sheet to set completely.
FAQs
Yes, you can customize the colors to match your preferences or a specific theme. For instance, you could use blue or purple melting wafers instead of pink.
You can make these cookies up to a week in advance if stored properly in an airtight container. If freezing, they can last up to three months.
Regular chocolate chips can be used, but melting wafers are preferred as they melt more smoothly and are easier to work with for coating.
Yes, there are gluten-free wafer cookies available in most grocery stores, which you can use as a substitute.
Yes, you can use small chocolate pieces, chocolate sprinkles, or even black icing to create the pencil point.
Storage & Freezing
Storage: Store Pencil Wafer Cookies in an airtight container or ziplock bag for up to 7 days. Cookies are best if stored out of direct sunlight as they will melt.
Freezing: Lay flat in a gallon size ziplock bag placing parchment paper between layers and freeze for up to 3 months. Allow cookies to sit at room temperature for 30 mins to thaw before serving.
Substitutions & Variations
Substitutions:
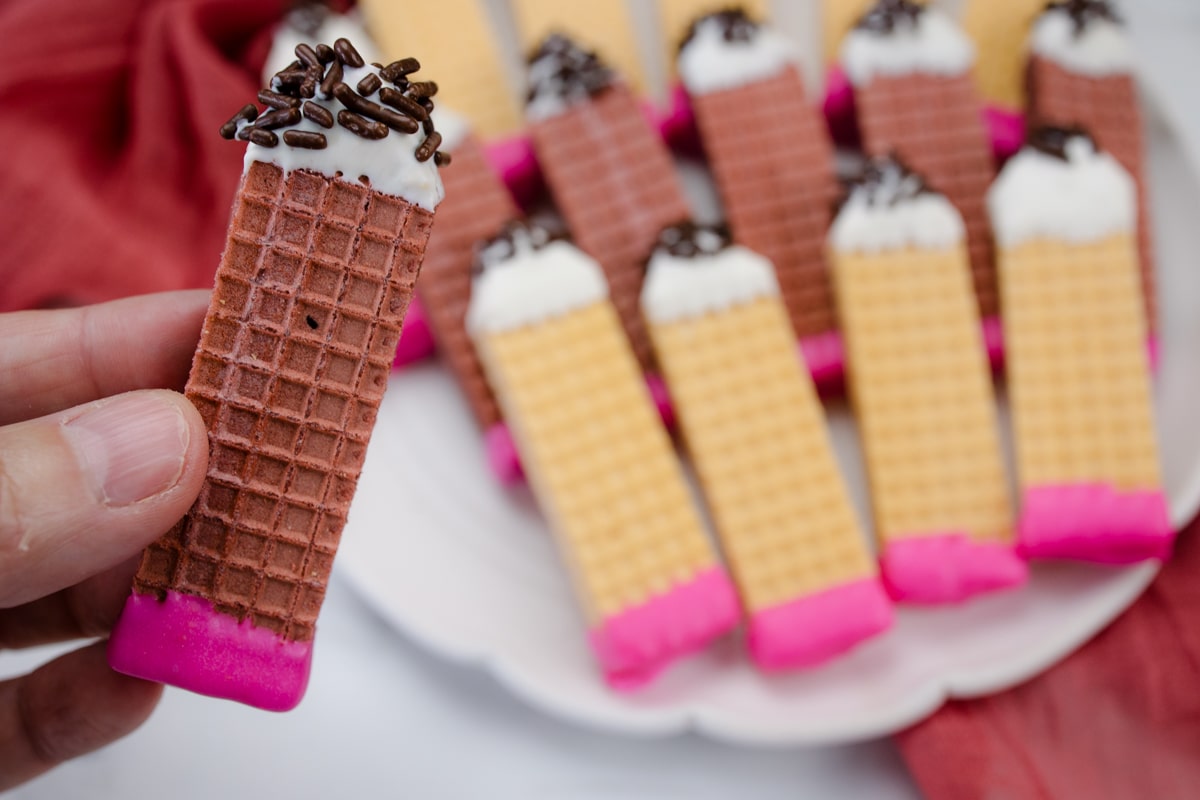
- Vanilla Wafer Cookies serve as the base of the pencil cookies. Use gluten-free wafers if needed, and feel free to experiment with different flavors like chocolate or strawberry.
- White Melting Chocolate Wafers are used for the pencil tip. White icing, white frosting, white candy melts, or white chocolate chips can be used instead.
- Pink Melting Chocolate Wafers create the pencil’s eraser. Pink candy melts or pink icing are great alternatives. You can also use a bit of red food coloring in white chocolate to achieve the pink color.
- Mini Chocolate Chip or Chocolate Jimmies form the pencil lead. Any small chocolate pieces or chocolate sprinkles will work.
Variations:
- Add food coloring to melted white chocolate for different eraser colors.
- Use flavored melting chocolates for a unique taste experience.
- Try different shapes like crayons or markers using the same technique.
Pro Tips
What makes a good cookie? To make perfect cookies every time here are some pro tips.
Smooth Chocolate Melting.
Ensure the chocolate wafers melt smoothly by heating them in short intervals and stirring frequently. If the chocolate is too thick, a small amount of vegetable oil can help achieve the desired consistency.
Cutting the Wafers.
Use a sharp, serrated knife for a clean cut when shaping the wafer cookies. Scoring the wafers lightly before making the full cut can prevent breaking and ensure a precise shape.
Speeding Up the Setting Process.
Refrigerating the dipped cookies for a few minutes helps the chocolate set faster, making the process more efficient, especially when making large batches.
Perfect Presentation.
For a professional look, use a piping bag with a very small tip to apply the melted chocolate. This allows for precise control and neat application, enhancing the overall appearance of the cookies.
Useful Equipment for Making Cookies.
- Kitchen Scale. I use this for accuracy in measuring, and it's a lifesaver when it comes to consistent baking.
- Wire Rack for cooling cookies. I like to have at least two cooling racks.
- Mixing Bowls. A Large Mixing Bowl for mixing ingredients and small and medium mixing bowls for other ingredients.
- Cookie Sheet. Most recipes will take two batches to bake. It's great to have multiple baking sheets available.
- Parchment Paper or Silicone Baking Mat. Line the Cookie Sheet with parchment paper for easy cleanup and to prevent sticking.
- Cookie Scoop. A small #60 Cookie Scoop or a Medium Cookie Scoop #50 are great choices for uniform drops of cookie dough.
- Storage Container. An Airtight Container to store cookies or a Ziploc Bag works great too.
- Additional supplies. Measuring Cups and Measuring Spoons along with a silicone spatula, are all helpful.
To find out more, check out my Pro Tips Guide for making the best cookies every time!
Have you tried this Pencil Wafer Cookies recipe?
Let me know what you think of this recipe! Tag @bestcookierecipes on social media so I can see how great your cookies turned out! I would also love to read your comments below. Let me know what you think of these cookies. It really does help!
More No-Bake Cookie Recipes
- No-Bake Buckeye Bars Recipe with Chocolate & Peanut Butter
- Classic No-Bake Christmas Wreath Cookie Recipe
- Easy No Bake Pumpkin Cookies with Oatmeal Recipe
- No-Bake Pretzel Wreaths: A Sweet Ring of Holiday Delight
- No Bake Avalanche Bars Recipe with Krispie Rice Cereal
- Best Nutter Butter Reindeer Cookie Recipe Treat (No Bake)
- Reindeer Poop Cookies Easy No Bake Recipe for Christmas
- Easy Ghost Nutter Butter Cookies No Bake Halloween Treat
Pencil Cookies
Ingredients
- 24 Wafer Cookies Chocolate, Vanilla or Strawberry Wafer Cookies
- ⅓ cup White Chocolate Melting Wafer
- ⅓ cup Pink Chocolate Melting Wafers
- 2 tablespoons Chocolate Jimmies Or Mini Chocolate Chips
Instructions
- In small separate bowls melt white chocolate melting wafers and pink chocolate melting wafers. Heat for 30 seconds and stir wafers. Heat for additional 30 seconds and stir. If additional time is needed add 15 seconds and stir until smooth.
- On a cutting board using a sharp knife cut ends of wafers in angles making a point. Wafers will cut very easily with a sharp knife.
- Prepare baking sheet with parchment paper or silicone baking mat. This allows cookies a place to set after dipped in chocolate and helps lift from pan easier.
- Dip flat end tip of wafer cookie into melted pink chocolate to form the erasure of pencil and place on baking sheet to set. Repeat with all cookies.
- Tip: Placing tray in refrigerator for a few minutes will speed up setting process.
- Dip pointed end of wafer pencil into melted white chocolate and immediately dip a tiny bit into chocolate jimmies forming the lead of the pencil.
- Place on baking sheet to set.
Notes
- Store: Store Pencil Wafer Cookies in an airtight container or ziplock bag for up to 7 days. Cookies are best if stored out of direct sunlight as they will melt.
- Freeze: Lay flat in a gallon size ziplock bag placing parchment paper between layers and freeze for up to 3 months. Allow cookies to sit at room temperature for 30 mins to thaw before serving.



Submit a Comment